- Joined
- May 29, 2009
- Messages
- 863
- Reaction score
- 997
It has been 5 years since my last large build, and I have been wanting to build something larger for some time. Well, an email on my local club's mailing list finally gave me a reason to do build a bigger! After reading through the email from the fellow club member, I realized that I would love to help, and would need a bird with a 98mm mount, and that could stay under the waiver of our regional launch site. Since I do not own any thing with a 98mm mount, I finally had an excuse for a larger build! It would have to be something that I could build in time for a Labor Day weekend launch, and I wanted a simple, yet strong build...
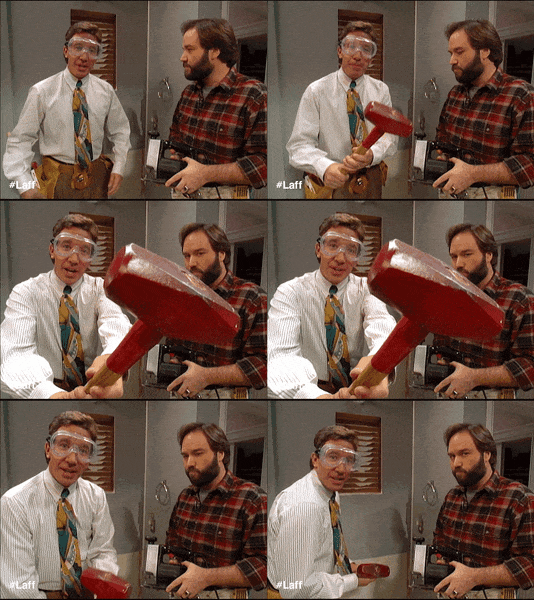
So, enter Grabthar's Hammer! AKA, a basically stock LOC Skinwalker...
After I placed the order on LOC's website a couple of months ago, I obtained the Rocksim file, and I did something I have never done before this early in the process: I started to design a livery and theme for the rocket. Being a fan of the amazing cinematic masterpiece that is Galaxy Quest (And one of the best Star Trek movies), I decided Grabthar's Hammer would be a perfect name for SWR-61, my Skinwalker number. I then came up with a paint scheme based on the character Dr Lazarus's (played by the late, great Alan Rickman) uniform from the movie.


The massive box from Wisconsin arrived on my front porch just over a month ago, and the first order of business was to order a motor retainer and a main chute.
Both were obtained from Wildman: A 98mm Aeropack retainer, and a Skyangle Cert 3XL parachute for the main. I plan on using the Skyangle Cert3 drogue from my L3 build on this to help keep costs somewhat down. Avionics will be a Perfectflite StratologgerCF and a Eggtimer Quantum for altimeters, and a MissileWorks RTX for GPS tracking. The build will be mostly stock, with no fiberglass on the tubes. the entire airframe will be reinforced with couplers, and airframe joints will all have LOC stiffy couplers as well. I will be using West System 105/205 epoxy for the build, and it will be my first time using West Systems, as all of my previous builds have been either US Composites or Rocketpoxy. I may change out the nosecone, but will most likely keep it stock. The proposed motor for this rocket's initial reason for being built will be a large L to mid M, not sure which yet.
Now, on to the start of the build!
I finally was able to get started this weekend, and the first thing to be done was to mark a line for future mounting of the rail buttons onto the booster section.

I then mocked up the fin can to mark the location of the centering rings before starting to epoxy them to the motor mount.

Then it was time to start flowing the epoxy! The lower two rings are in place (although in the photo below, the second upper ring is not epoxied on yet), and the fins will start going on tomorrow after work.

So, enter Grabthar's Hammer! AKA, a basically stock LOC Skinwalker...
After I placed the order on LOC's website a couple of months ago, I obtained the Rocksim file, and I did something I have never done before this early in the process: I started to design a livery and theme for the rocket. Being a fan of the amazing cinematic masterpiece that is Galaxy Quest (And one of the best Star Trek movies), I decided Grabthar's Hammer would be a perfect name for SWR-61, my Skinwalker number. I then came up with a paint scheme based on the character Dr Lazarus's (played by the late, great Alan Rickman) uniform from the movie.


The massive box from Wisconsin arrived on my front porch just over a month ago, and the first order of business was to order a motor retainer and a main chute.
Both were obtained from Wildman: A 98mm Aeropack retainer, and a Skyangle Cert 3XL parachute for the main. I plan on using the Skyangle Cert3 drogue from my L3 build on this to help keep costs somewhat down. Avionics will be a Perfectflite StratologgerCF and a Eggtimer Quantum for altimeters, and a MissileWorks RTX for GPS tracking. The build will be mostly stock, with no fiberglass on the tubes. the entire airframe will be reinforced with couplers, and airframe joints will all have LOC stiffy couplers as well. I will be using West System 105/205 epoxy for the build, and it will be my first time using West Systems, as all of my previous builds have been either US Composites or Rocketpoxy. I may change out the nosecone, but will most likely keep it stock. The proposed motor for this rocket's initial reason for being built will be a large L to mid M, not sure which yet.
Now, on to the start of the build!
I finally was able to get started this weekend, and the first thing to be done was to mark a line for future mounting of the rail buttons onto the booster section.

I then mocked up the fin can to mark the location of the centering rings before starting to epoxy them to the motor mount.

Then it was time to start flowing the epoxy! The lower two rings are in place (although in the photo below, the second upper ring is not epoxied on yet), and the fins will start going on tomorrow after work.


