paul.nortness
Well-Known Member
- Joined
- Apr 14, 2011
- Messages
- 1,262
- Reaction score
- 4
Holy Rockets Batman!
That paint scheme looks great!
That paint scheme looks great!


Wow! Great paint plan.
That'll look amazing. I'll be following the mask.
On the Batrok I did Batman colors, but based it on the costume colors from the old Adam West TV series.
This is no where near what you've got planned.
")


very nice!
Thanks for sharing the build!
Your work and idea's are top notch.
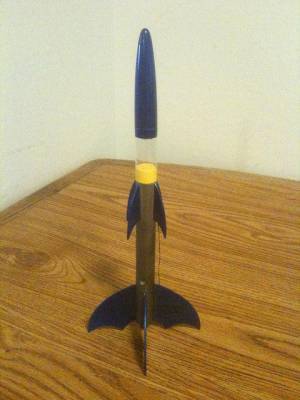
SWEET! I really like the booster fins! Nice job!
very nice!
Ditto!


So going on the assumption that not ALL 2-Stage rockets are lost, I decided to keep this one as a 2-Stage and build it per the instructions.
Someone just pointed out this line from my opening post in this thread to me.
Oh the irony. :cry:
I'm getting another kit though, and I'll definitely rebuild the main section to use with my bat wings from the lost rocket.
Sorry you lost your rocket- I just built one with a much more modest paintjob, but I'm confused about launching it as a single stage.
What holds the engine in place? Seems to me as soon as it stops producing forward thrust, it's gonna either drop out the bottom of the upper stage and/or shoot out once the secondary blast fires. Seems to me it might not even be able to blow off the nose cone.
I must be missing something here...
-Drew
Someone just pointed out this line from my opening post in this thread to me.
Oh the irony. :cry:
I'm getting another kit though, and I'll definitely rebuild the main section to use with my bat wings from the lost rocket.
Keep visiting back to the field. There's a chance it will come down on it's own....or low enough that a wind gust might free it.... (well, you can hope...)It was a B6-2 I believe.
Keep visiting back to the field. There's a chance it will come down on it's own....or low enough that a wind gust might free it.... (well, you can hope...)
Enter your email address to join:

