"Hello darkness my old friend...", aka J-ABLO redux

The Rocketry Forum

Help Support The Rocketry Forum:

This site may earn a commission from merchant affiliate links, including eBay, Amazon, and others.

dixontj93060

Well-Known Member
Joined
Feb 19, 2009
Messages
13,083
Reaction score
45
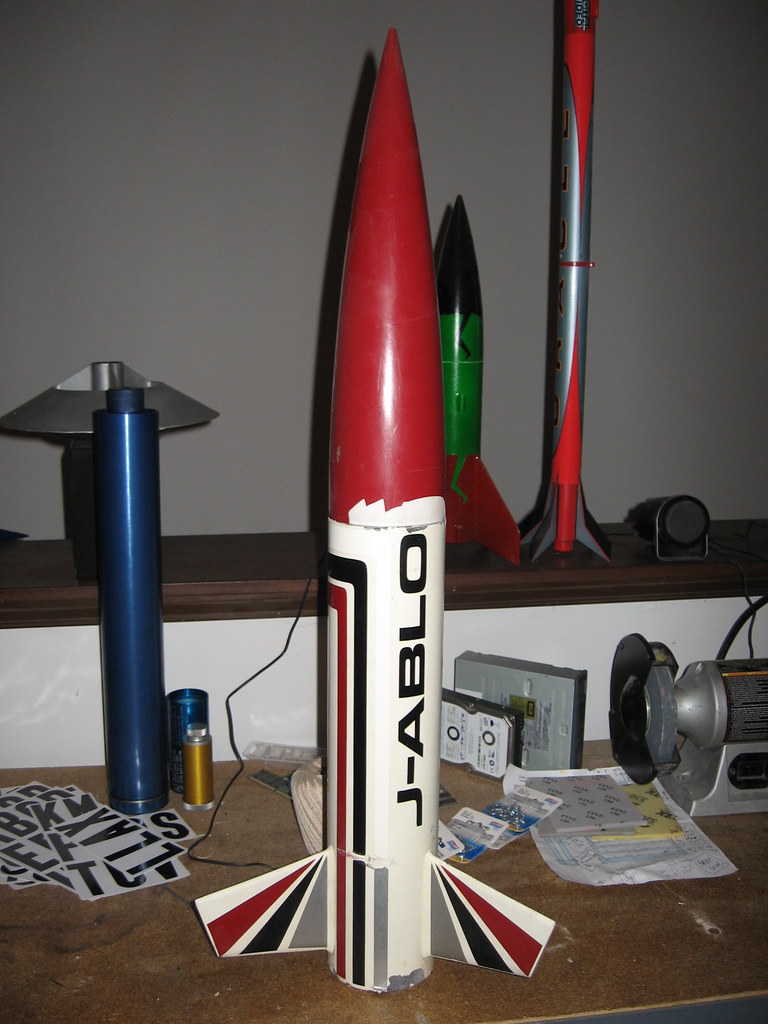
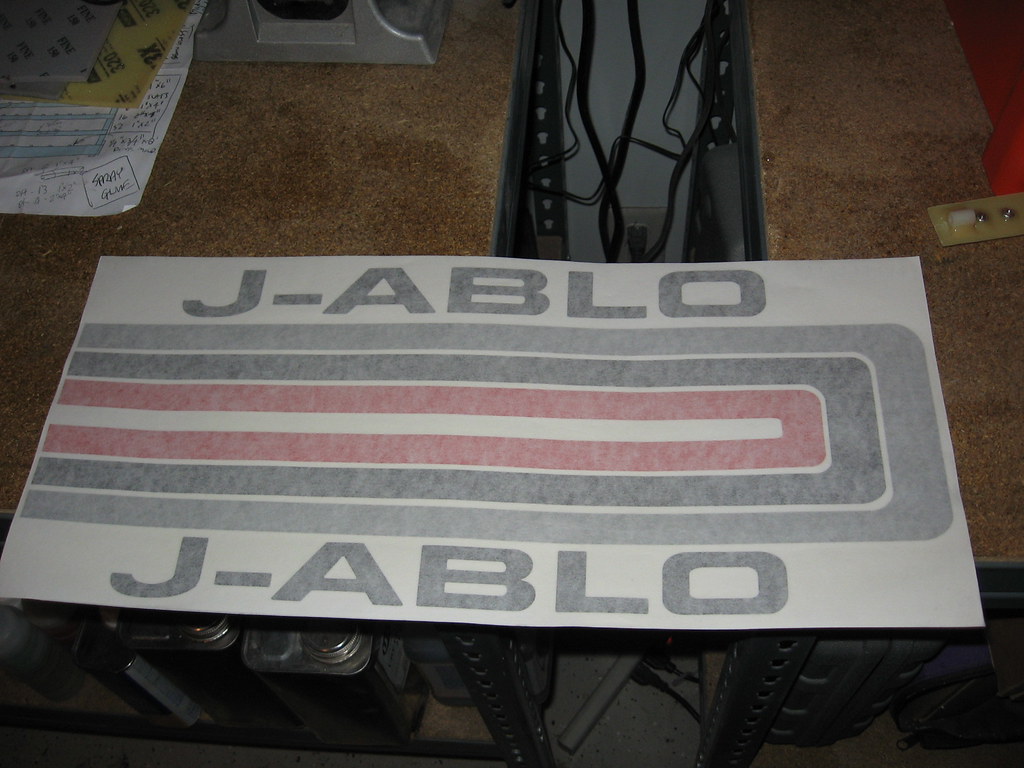
I don't know why I think of this song every time I grab a hold of this rocket. I guess it's because I've "put it to bed" so many times in a wrap of newspaper inside a box in a dark attic or basement--always to be resurrected another day. It is an "old friend" and has flown on everything from an H112J to a J350W, thus "J-ABLO".

I notice we have a lot threads of fresh builds and crash re-builds. Those are pretty easy as you are working with fresh components (even if sawing off a section and adding a new tube) but we have few refurbs of what you might call the "ugly" rockets. You know, the ones that you are kind of embarrassed to bring to the RSO table.

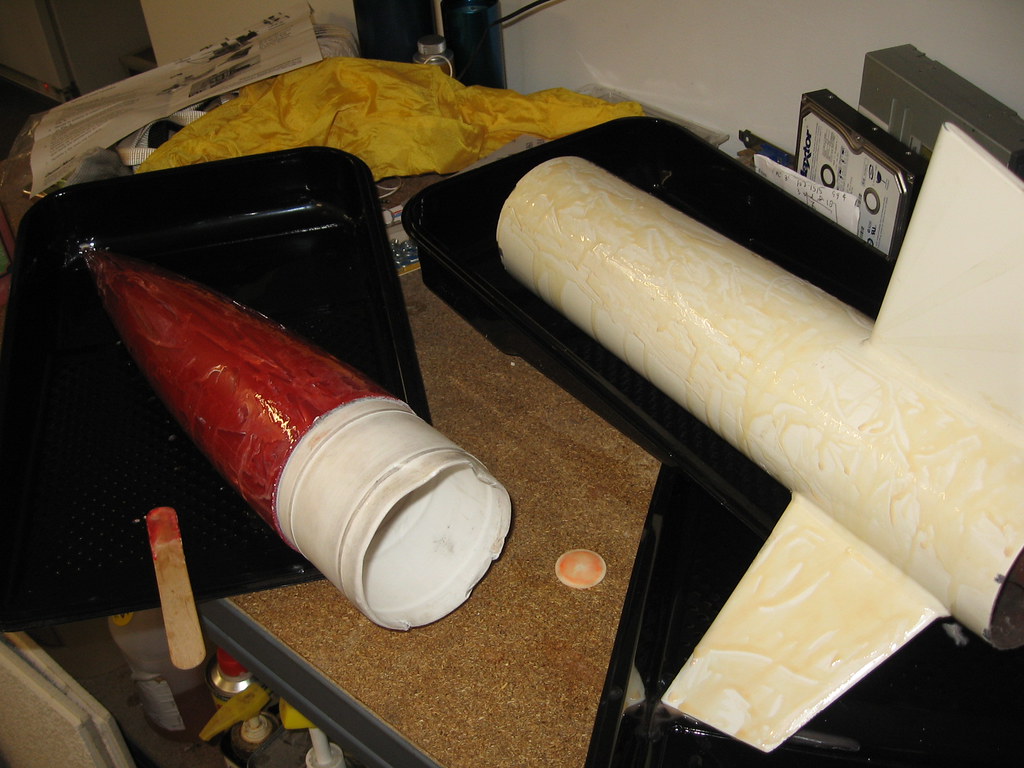
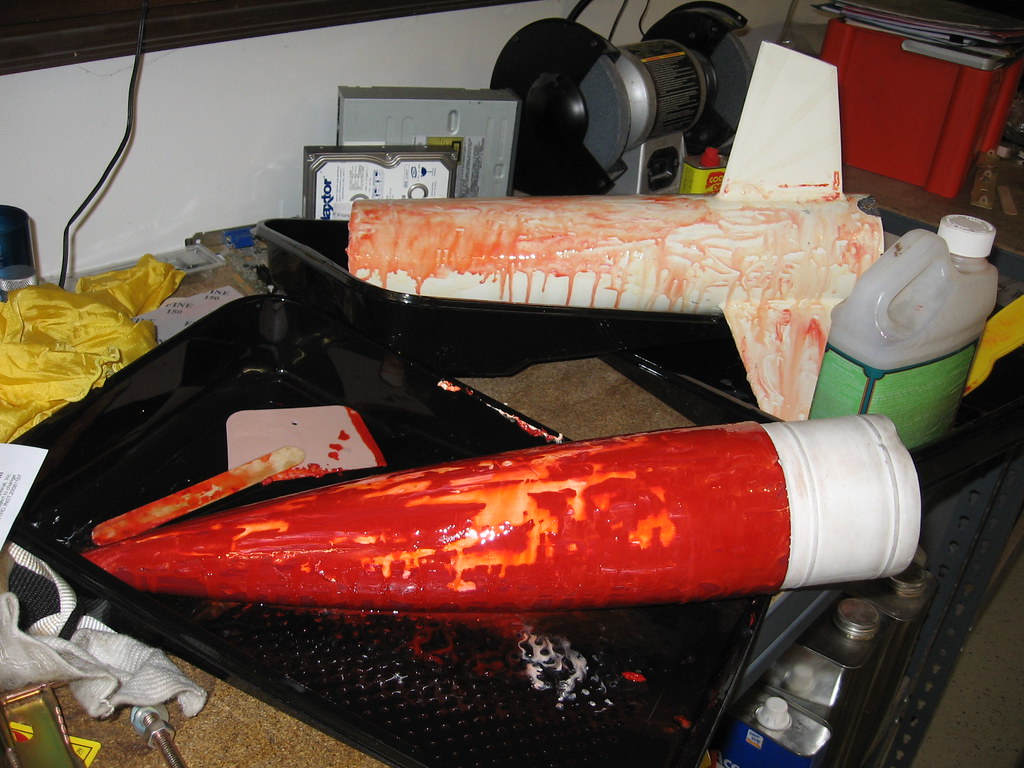
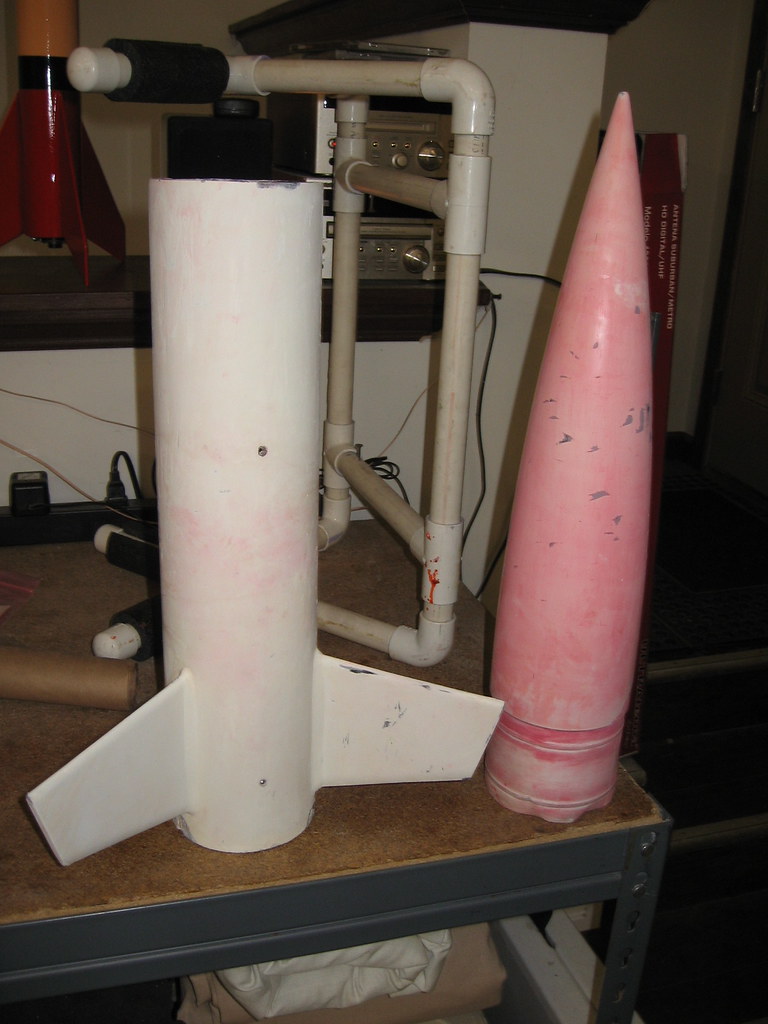
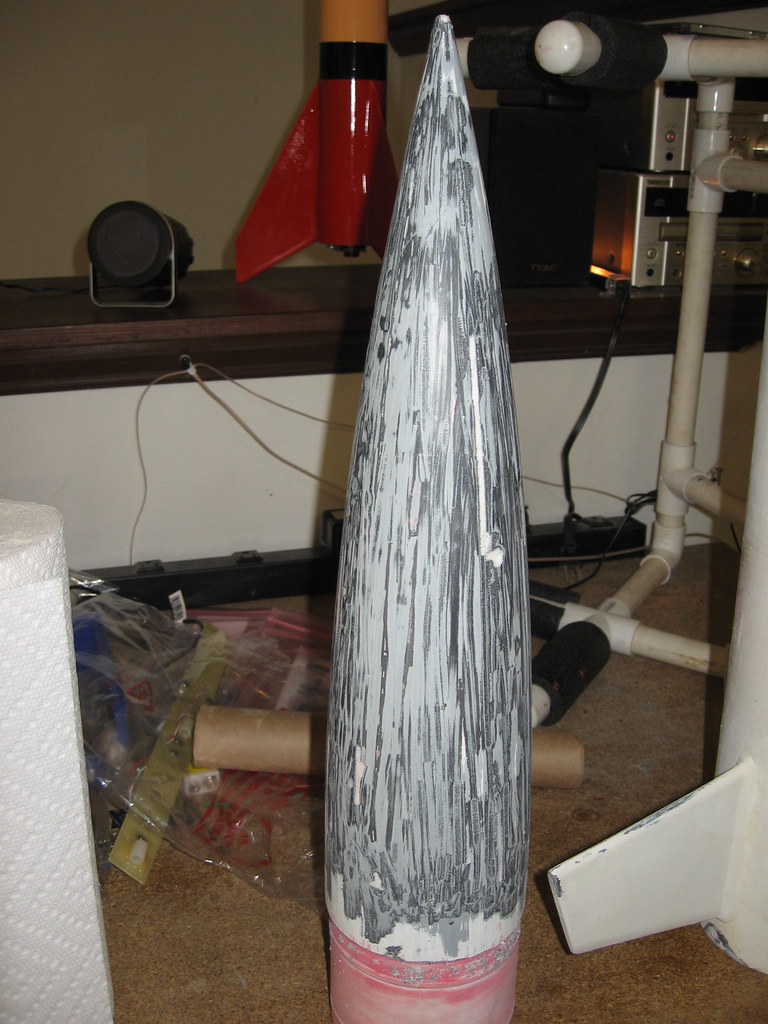
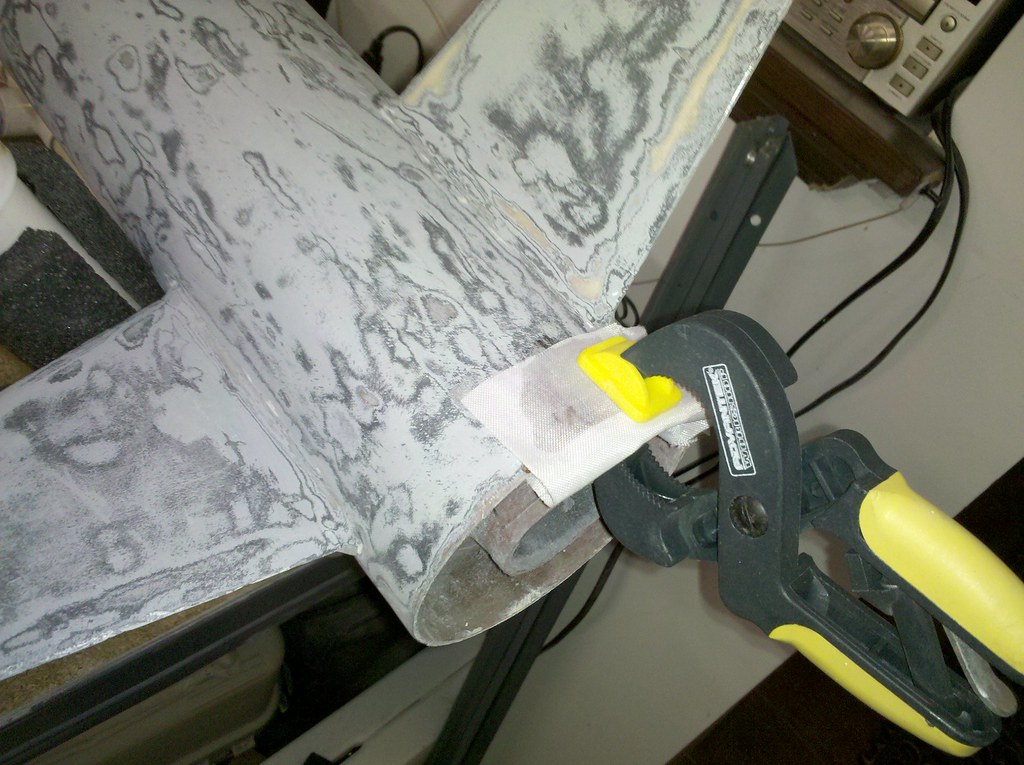
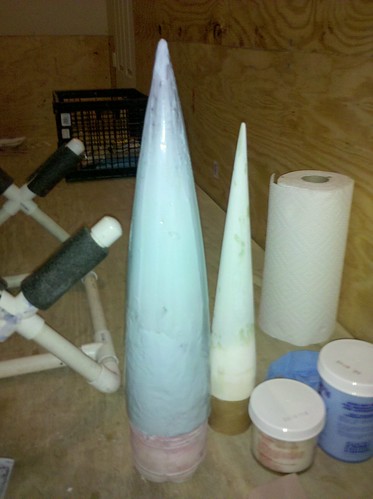
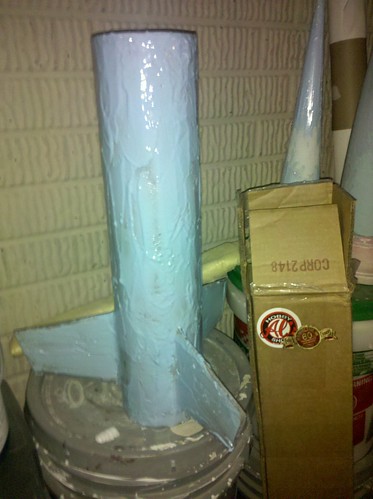
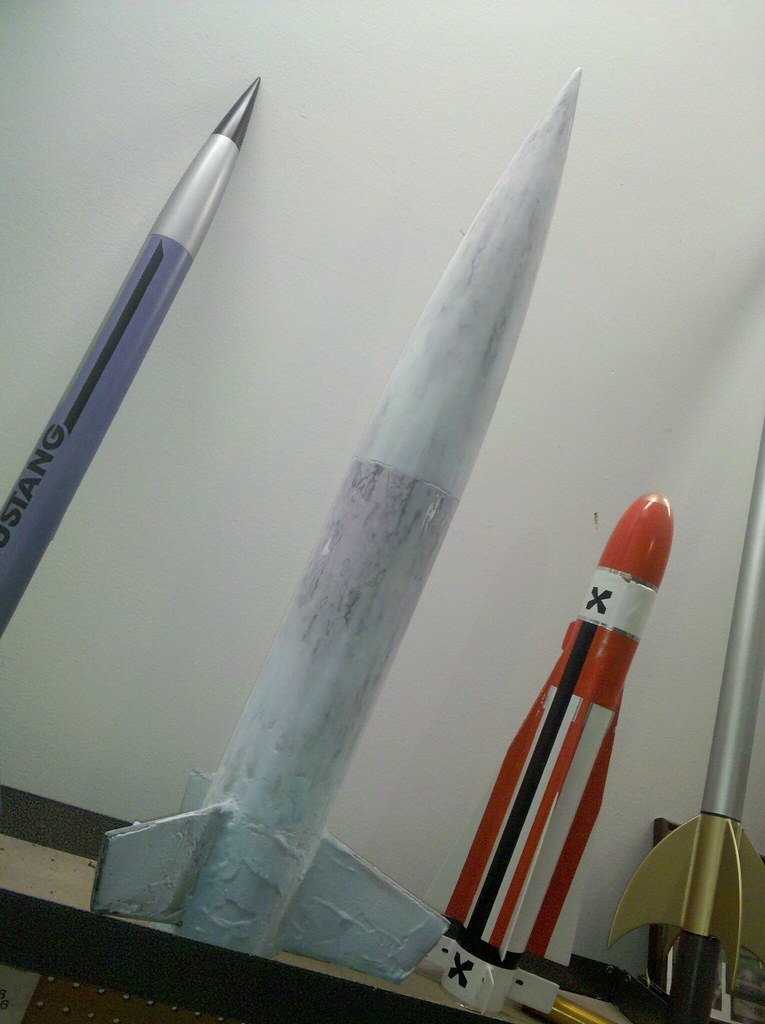
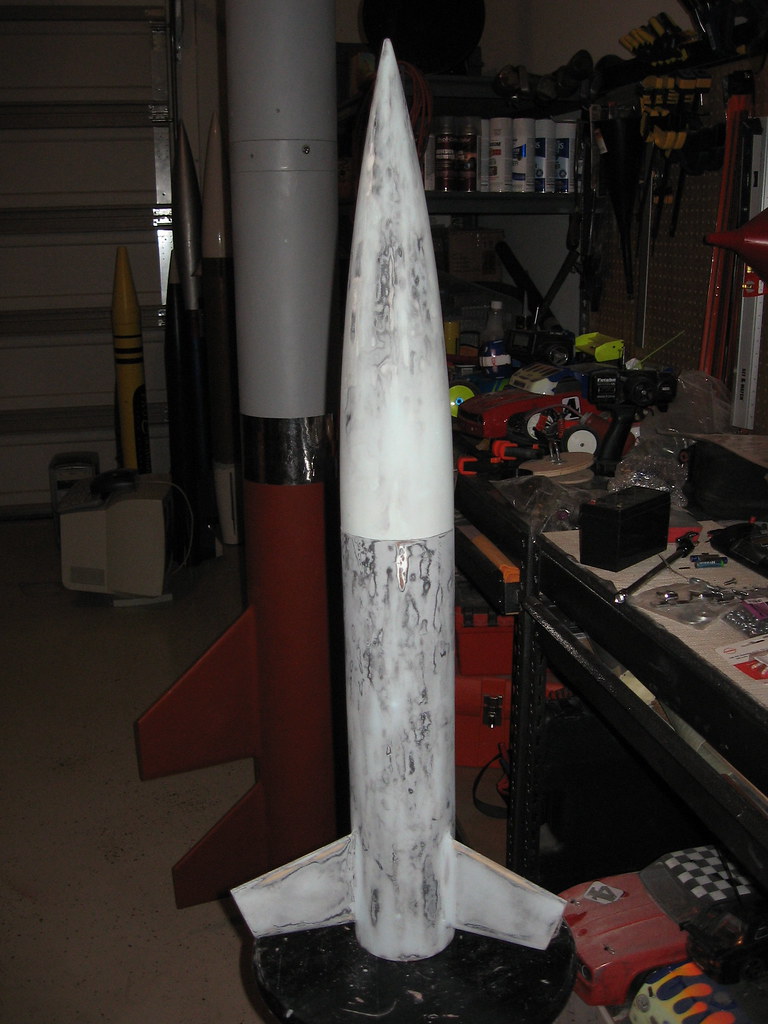
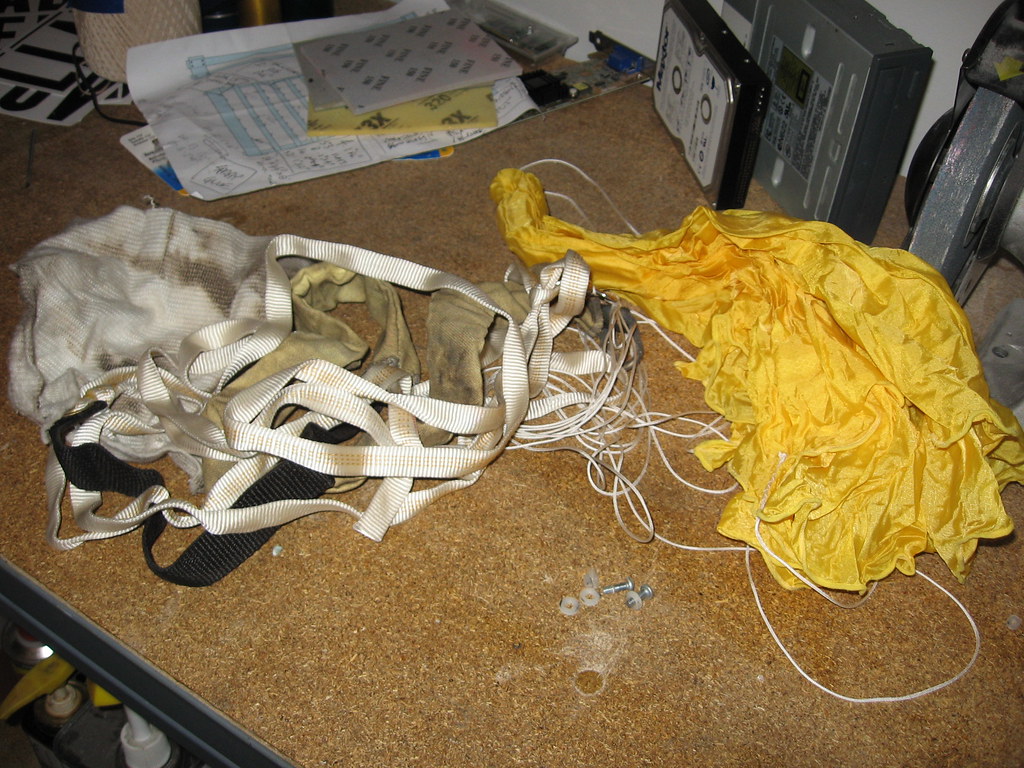
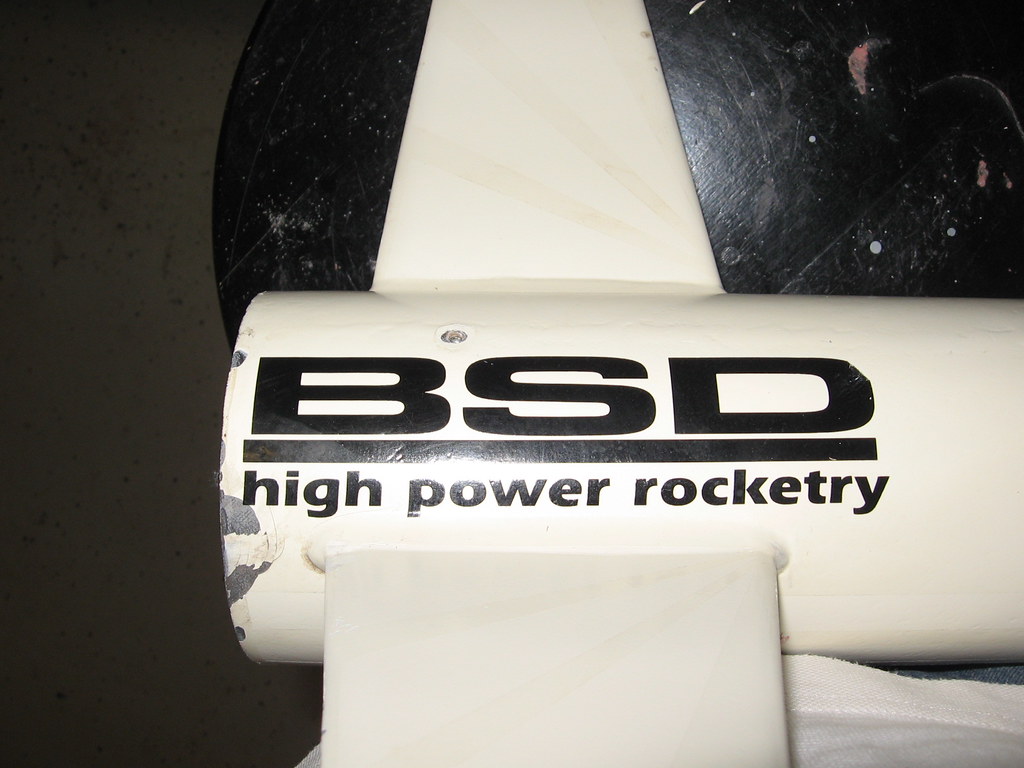
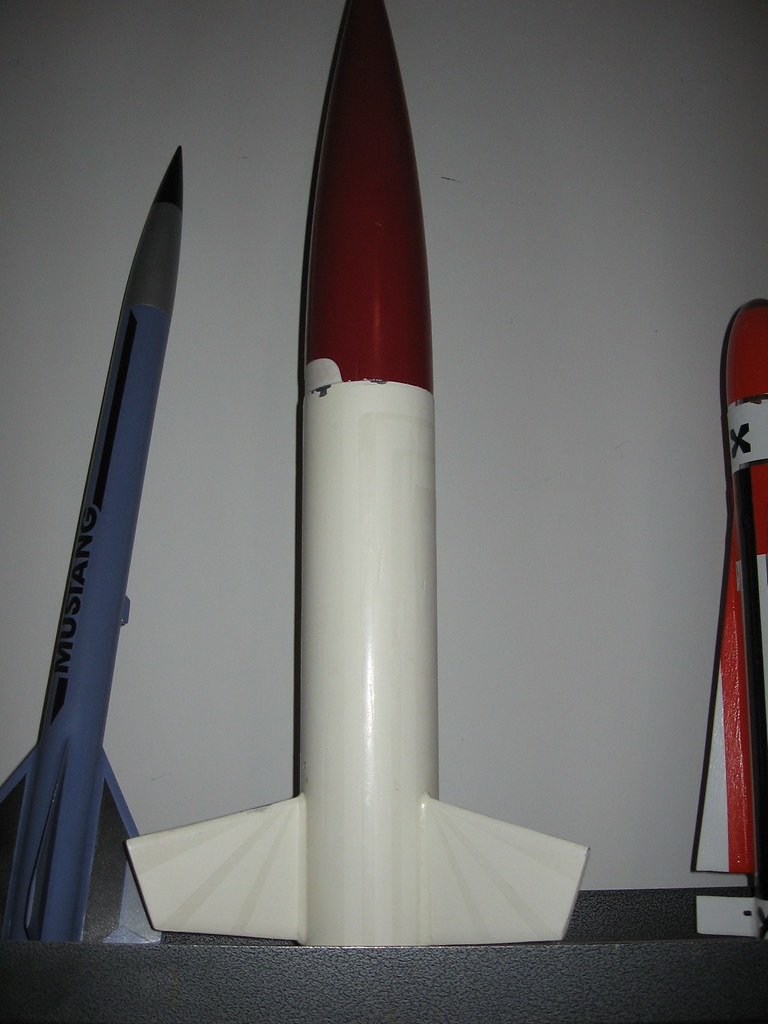
In this case, everything is there, just very banged up. Dents, scratches, chips, etc. all coming from nearly a decade of flight and from building back when my finishing techniques were not all that well-honed. But if any rocket in my fleet deserves a redux, it is this one, near and dear to my heart--an old (I mean the original) BSD Diablo.

4578576296_a416877516_b.jpg
 
Impetus for this started when Mark at Stickershock posted his "Leftovers sale". I had two-stage build planned where I needed black lettering, but couldn't think of a decal set I wanted. Then it hit me! My J-ABLO. Ordered these on Friday of last week and received them yesterday!!! Great service! Came on two sheets, first the body decals...

4577944951_9e866b4d05_b.jpg


And the fin decals...

4578576480_db89c0b486_b.jpg


Just having a desire to do "full disclosure", I want to say that the decal set is not exactly the same as the original BSD set. For one thing, the BSD logo is not included. Also the sizing and spacing of both the stripes and fin shapes are not the same as the original. Also the lettering is much larger than the original "DIABLO." But saying all that, it is a reasonable facsimile and with a few cuts/adjustments here and there it's going to look great.
 
Last edited:
The "tools" for this first phase are all in bottles(?). This is where I'm out of my realm already having never done a complete strip of a rocket before. I originally intended to do what I always do, just remove the Future finish with ammonia and then fill the dings and then sand down, then re-shoot the paint and apply Future. The problem here is that my original base finish is so iffy on this rocket. You can see the chipping on the nosecone. At the time I built this rocket, I wasn't using Duplicolor Adhesive Promotor and this rocket has paid the price. In addition, this rocket was one of the first rockets I fiberglassed (if I remember right, one wrap vacuum bagged and one layer tip-to-tip on the fins in anticipation of J350 flights). Needless to say my fiberglassing and subsequent finishing techniques left much to be desired; thus chipping on the body and many unsightly undulations. So, strip the whole thing it will be. This is what I found on my shelf in the garage. Ammonia obviously used just to strip off the Future finish. I am unsure about the other products as I've not done this before so it'll be a bit of an experiment. I'm posting these early though to get some feedback if so inclined. (BTW, I intend to do a test of the Citrus-stripper tonight on the shoulder of the nosecone to see if there are any ill-effects).

4578576126_7fe8010147_b.jpg
 
Last edited:
Before doing anything, I removed the recovery components. Parachute had one shroud line sheared. I'll likely replace the chute with something more substantial anyway. Biggest thing is lengthening the shock cord. Since this is just a motor deploy rocket and its often hard to get just the right delay especially given the range of motors this rocket sees, a longer cord would help reduce the "ding factor."

4577945065_d7f1586a45_b.jpg


After stripping the clear coat, I began pulling off the old decals. Wow, were they "on there"--really high quality likely from the original decal source for BSD, Scott Binder. Actually got kind of sentimental removing this last one...

4577945231_ceb65046ee_b.jpg


Now semi-naked and ready for a "bath." Stay tuned.

4577945421_e66ab5c5e4_b.jpg
 
Now, down to the "dirty work." Round one of the CitriStripper. Certainly smells good and they say "all natural", but what it does to the paint :eek: 
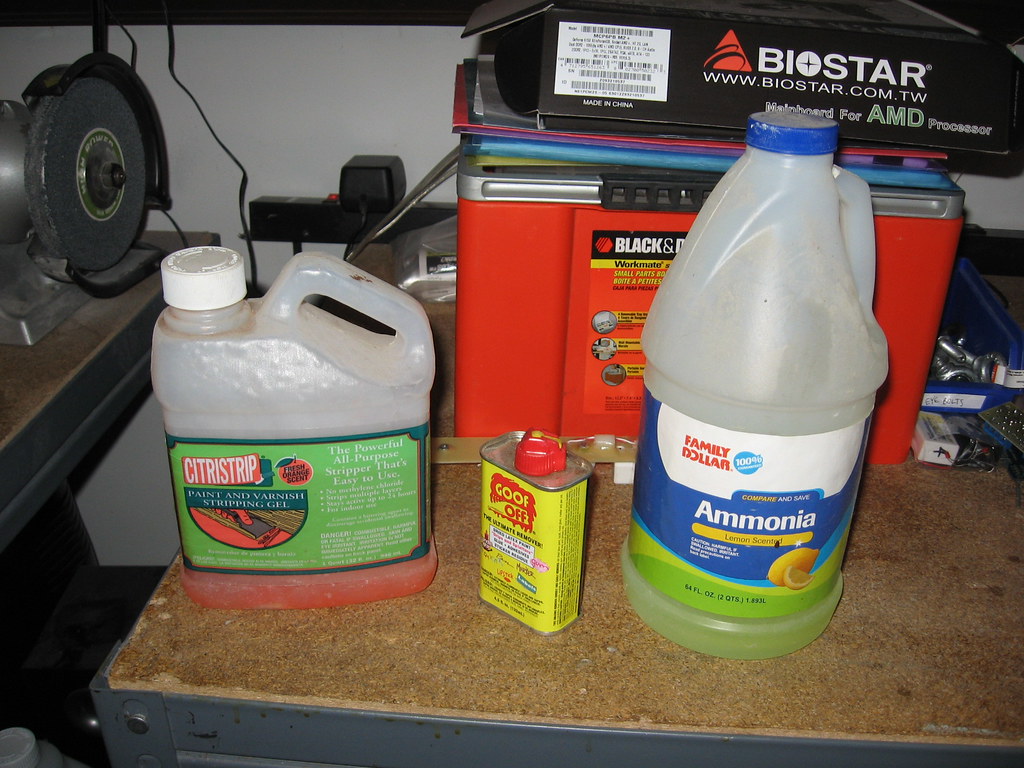
Can't be good for you.

4582232299_e2964b010a_b.jpg


Stripper has to sit for 30 minutes and then used a plastic paint scraper and began to dig into the first layer. Second application of the stripper slathered on below.

4582232309_378b4d4c84_b.jpg
 
Well things seemed to be going well. The maroon on the nosecone came off like butter. The off-white on the booster/body came off with a bit more coercion (I think the maroon was Krylon, the off-white was Rustoleum), but after that I hit a brick wall. There was a white layer that was nearly impenetrable. I tried the CitriStripper, then lacquer thinner, then acetone--but nothing. Then it dawned on me... I had used UV Smooth Prime (from the same folks that make SuperFil) as a filler on this rocket given its high solids content to fill pin holes. The problem I had here was that I put the UV Smooth Prime not over the SuperFil layer, but after the fact, on top of regular high-build Rustoleum primer (oh, well, I was learning then). Anyway the UV Smooth Prime is water-based and actually has a cross-linker that you mix with the primer base kind of like an epoxy paint. Whatever it is, it is hard as a rock and did not respond to any solvent and thus I was left with this. A chipped up, tack mess. So I went over best I could with acetone to strip off all remaining "regular" paint and then sat and thought.

4582232313_6011f13fa5_b.jpg


Oh, and I still have some of that UV Smooth Prime on my shelf in the workshop.

4582232319_28d2c959fa_b.jpg
 
So after a bit of frustration, then contemplation... How do painters in general get down to a base that they are comfortable with refinishing? On a house, they scrape it. So hey, why not? I got out a wood chisel and a Bowie knife and went to work. Here's the first round of scraping on the nosecone exposing two layers of Rustoleum filler-primer one gray, one black.

4582232323_196a7192f0_b.jpg


And then the whole rocket after a second round of scraping with the wood chisel and "touch up" with the hunting knife. Now I'm down pretty close to the fiberglass on the body and fins, actually to the fiberglass in some places. I think I will go the power sanding route from here.

4582245767_692d55c28e_b.jpg
 
Did some overall sanding and it revealed one more layer of gray primer before getting to the body proper. I did have one major blemish (crack about 1/2" long) to fix before beginning to fill and so got out the West System and patched with a layer of FG.

4589969875_b43541ee40_b.jpg
 
DM1975 thanks.

Only had time to apply SuperFil to the nosecone this morning (sorry for the bad pic). Will have to get to the body tonight.

BTW, to the right is another nosecone for a build in progress called "Hybrid Dart" sanded already, but needed another "touch up."

4598506596_78def1ace1.jpg


HybridDart.jpg
 
I sure wish BSD would start making kits again, I sure do like their rockets. Can't wait to see yours refinished.
 
Great job and a worthy cause.. All the battler scars from in flight action I don't mind, But the ones from me closing it in the car door, Getting knocked over by the cat as the epoxy sets or whacking it on the door jam as you carrying it out to the car? Those are the ones that hurt the most:mad:

My 7.5" Upscale Diablo on a J570W.
Red_Glare_VII_0090.jpg
RedGlare8011.jpg
IMG_6400-1.jpg
 
And then the body. More SuperFil than I'd normally use, but I had ups/downs all over the body after the chisel routine so easier just to cover it all than to hunt the imperfections down. All will be taken care of in the next step. I'll let the SuperFil really harden up over the next 4 or 5 days before sanding (plus I'm doing some traveling for work) so see you next week. ;)

4599410554_738dc5ed81.jpg

I haven't heard of SuperFil before. It looks like a gel in the picture. How do you use it? Is it easy to sand? Where do you get it from?
 
I haven't heard of SuperFil before. It looks like a gel in the picture. How do you use it? Is it easy to sand? Where do you get it from?

SuperFil is a lightweight epoxy aircraft filler (about 1/3 the weight of Bondo). Becomes rock hard, but is still pretty easy to sand (although I use a power sander for most jobs on larger airframes). Consistency when "wet" is not a gel, but more like "soft serve" ice cream when still cold. It conforms to the surface and looks smooth/gel-like as it sets up.

I get mine from Aircraft Spruce or Wicks Aircraft or Stits depending on what I'm ordering (i.e., combinations of other products) and when.
 
Last edited:
I think I'll be wanting to try this stuff out. Thank you for passing on the information.
 
The Superfil is great product and sands really nice as well. Got mine at Aircraft Spruce as well.
 
Wow, a lot more sanding than I expected with as much SuperFil as I slathered on there. I got the NC and upper BT section done last night. Will try to finish up the fin can area tonight.

4608724486_8de3e674f0_b.jpg
 
LOL Yup, Once I saw how much Superfil you put on I said man he's gonna have his work! cut out for him with that sanding job:D
 
Uh, huh. Get lazy on one step and you usually end up paying for it down the road.

LOL Yup, Once I saw how much Superfil you put on I said man he's gonna have his work! cut out for him with that sanding job:D
 
BTW, on the SuperFil, for those who've not used it before, buy it from someone who moves a fair volume of the stuff, such as AirCraft Spruce -- it has a shelf life, and if you get old material, rather than being like soft serve icecream, it's more like cold natural peanut butter.

-Kevin
 
This is an inspirational thread!

Am enjoying reading about the TLC you're giving this one. I'll enjoy seeing the completed pics.
 
Whew! Base filler sanding complete. Now on to more reasonable prime/fill/sand cycles.

4612717791_be0b6627d7_b.jpg
 
Back
Top