Blackhawk 29 aka 2nd Stage Sustainer Build "and More"

The Rocketry Forum

Help Support The Rocketry Forum:

This site may earn a commission from merchant affiliate links, including eBay, Amazon, and others.
Not the same, but quite similar:
https://www.cafepress.com/tripoliidaho.550432119

Reinhard

I like this one even better. Also designed by Tripoli Idaho and available on Cafe Press (right out of my closet). "Perfect" mental health:

6644961471_c30197e0e0_z.jpg
 
OK, pretty critical step... Drilled sustainer av-bay sampling hole and switch access (see light blue cap on switch through hole; about a 1/16" across).

6877515999_20dfd3cb91_z.jpg
 
Totally random question but is that a motor casing as your AV bay or just gold tubing?

Just wondering

Matt
 
Totally random question but is that a motor casing as your AV bay or just gold tubing?

Just wondering

Matt

Yep. Former split thread / CATO. You have to look really close to see the crack, but it is there (see attached) and that keeps it from reliably holding onto a closure, thus, now a great 29mm av-bay!

IMG_0472.jpg
 
Last edited:
Wow, I am so glad to have this done! As you can see from the sampling of mis-aligned hash marks, x's, filled holes, etc. that I had trouble with this (more than usual). The interstage coupler houses a Raven2, as does the sustainer av-bay, but the operation is much different. I have 9 shear pins, one sampling hole, two pressure relief holes, e-match and initiator access holes, and hopefully no others for good measure!

6882410123_58789f854a_z.jpg
 
I know I showed it before, but here is the stack up now complete with all electronics, stage coupling (screws/shear pins, etc.). All that is left is fill and finish on the booster and primer/paint. Height 73", weight 1-3/4 lbs. Expected altitude ~15Kft on J570W to I200W.

6882890557_78bbbac6a1_z.jpg

Beauiful
I love the design, and I am Sure you'll make her purdy.
 
I don't know if I missed this previously in the thread but how is the sustainer attached to the booster?

Matt
 
Thanks Eric.

Working on the nosecone shear pin locations yesterday, I began to worry about the exposed antenna for the BRB tracker trailing out of the nosecone bulkhead so I added a piece of RC car antenna tubing to protect it.

6886913797_15b06381e7_z.jpg
 
First time really prep'ing the interstage coupler drogue (booster apogee) with shock cord rubber-banded, chute folded as in launch and shear pins to hold everything together. Really quite surprising and more room than I had expected; although I did move away from using small eyebolts and just knotted the shock cord to the #8 SS screws on the bottom of each compartment which saved tons of room.

6887632609_92e34aa1ed_z.jpg
 
And then fully configured recovery for the booster with the 12" thin-mil Topflight chute for the apogee and a 36" Public Enemy Rockets chute I picked up when they were going out of business (don't know who made it for them but nice bright red-orange and has a slick finished feel to it).

6893542973_057e2cc8c7_z.jpg
 
Well now into the fill, sand, fill, prime, etc. phase on the booster. Oh, also added the rail guides (can see one in the picture).

6979033649_6d24efc791_z.jpg


And no fill for the sustainer, but priming the fins for a top coat. Planning a contrasting color scheme for booster-sustainer.

6979033837_0662786384_z.jpg
 
Last edited:
Hi Tim. Very impressive. You going to have it done and ready to fly at Thunderstruck?

Would like to but don't know for sure. I think I'm going to adopt Sather's (SMR) view of having a plan but no deadlines as a means to keep my blood pressure in check. Heaven's knows, I have way more than enough rockets to fly at any launch I attend so new ones rolling out on a piecemeal basis is probably OK.
 
OK, well just about done. I have a coat of flat white to put on the bottom of the booster (just have the primer on it in these pictures) after the fins cure and then finally buff it all out. The top of the booster (mini payload and av-bay combo) already has a coat of Rustoleum high-temp BBQ paint on it (for obvious reasons). But anyway, it was a nice morning, so I thought I'd take a few snapshots from various angles to share. First vertical...

6856879148_9afbd9f292_c.jpg


6856878710_5fdd1ee941_c.jpg


And then a few from front/back laying down in the cradle. Note just how stable the interstage coupler is. Even without the shear pins installed, I can shake the thing back and forth and it does not move. Of course, being propelled by a J570 on ascent may be a different story, but hey that's the challenge, we'll see.

7002991907_a4a1cd79b1_c.jpg


6856877134_b0fd1248e0_c.jpg


6856877514_0d0e11039c_c.jpg
 
Last edited:
Sweet ride! That really came together nicely, Tim. I like the color scheme and proportions; it should serve well as a sounding rocket! Well done:D

-Eric-
 
That came out great Tim. It seems there should be some black on the booster section?? Maybe a 0.25" line between each set of fins extending from the upper stage to the aft?? That would blend the two.

I like it!! Wanna see it fly SVP
 
Sorry if I msissed something but...has it flown?

What a fantastic build report.
 
Thanks for the comment.

No though, it hasn't flown. I had an issue with the UV clearcoat application to the fins and had to "punt" before Thunderstruck. I need to do some detail sanding and reshoot it (on sustainer only, booster is fine). Not that much work, but also need to ground test. Have four other builds in progress. So I will likely get them all up to the same stage and ground test together. Probably won't fly until Midwest Power 10.

Sorry if I msissed something but...has it flown?

What a fantastic build report.
 
Last edited:
This rocket will be flying at MWPX. Given it is the first flight and the experimental nature of this craft, I am going very light on the motor configurations. The booster will use an I161W and the sustainer an F52T. Apogee for the booster should be right at 5000 feet.

This is the first time I will be using Ravens in a two stage configuration so I would like some feedback from TRF members that have similar experiences (Jim Jarvis, Adrian, etc.). Just to summarize the configuration... The booster has an interstage coupler that houses one Raven. This Raven controls both the drogue and main deployments for the booster plus it also ignites the second stage. The sustainer also has a Raven in a typical mid-airframe dual deploy configuration.

So, first the booster Raven... Below is the setup page. Channel one is set for apogee/accel deploy and channel two baro/altitude deploy (700ft) as normal. The third channel which will light the sustainer is set (I believe) to fire 2.5s after burnout of the booster motor AND at an altitude of 1280 feet or greater (actual altitude for a fairly vertical flight should be ~1600 feet).

Screen1.JPG

Then the Raven for the sustainer is set with channel one as normal apogee/accel deploy and channel two baro/altitude deploy (1000ft). I had thought about further qualifying both these events with an "after motor #2 burnout" but then decided not to just in case I didn't get ignition of the second stage.

Screen2.JPG

Big question of course is, does this all sound/look right?

SCRATCHING HEAD: OK, the more I look at this, the more I think it is wrong. I need a 2.5s delay after burnout, that is OK. But, adding the safety feature of wanting it to be above a certain altitude nullifies the exact timing that I want because, as I understand it, both conditions have to be true before the 2.5s count begins. If so, that makes the "check altitude" safety feature that Adrian has been touting not of much use (at least if you are trying to finesse a nice coast time with a moderately powered booster). I may be looking at the whole thing wrong though...
 
Last edited:
When I first started staging, I used a timer in combination with an altimeter that fired at a certain altitude on the way up. This allowed me to execute the logic statement "fire the sustainer at time = T if the rocket is at least at altitude = A". When I started using the Raven, I found, as you have, that you cannot control the time of the sustainer ignition and also use the altitude safety. However, you can actually do something even better, at least for my applications. Just to illustrate, I had a recent flight in which the simulation around the staging time was as follows:

T = 10.5 sec, V = 910 ft/s, A = 10,182 ft
T = 11.7 sec, V = 846 ft/s, A = 11,261 ft
T = 12.8 sec, V = 792 ft/s, A = 12,162 ft

My goal was to light the sustainer ematch at 900 ft/s so that the motor would light a second or so later when the velocity was about 850 ft/s. I set the logic to Tval<16, AGL2>9600, V<900, pressure decreasing and burn-out 1. This logic lets the velocity < 900 be the variable that actually lights the motor. Since a simulation of the initial boost can be relatively acurate, this is just about as good as using time to control the sustainer. In many of my flights, I want to light the sustainer at a very specific speed (not too fast to burn up the sustainer and not too slow so that it arcs over). So, the Raven allows me to control the sustainer using the variable that i actually want to control.

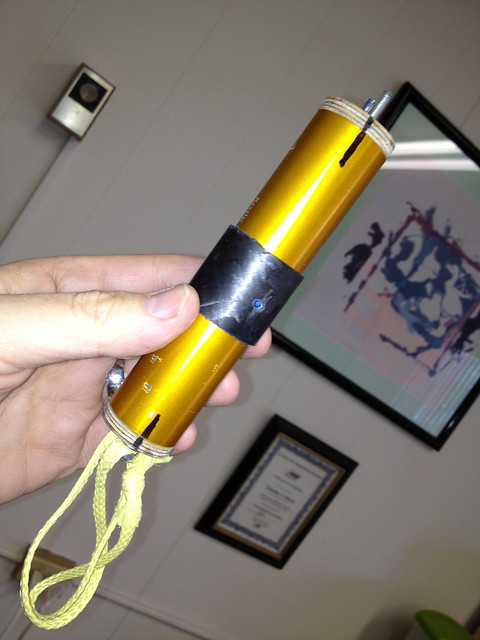
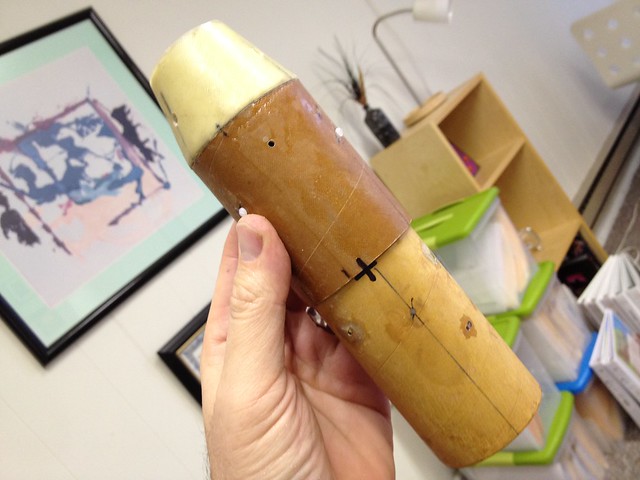
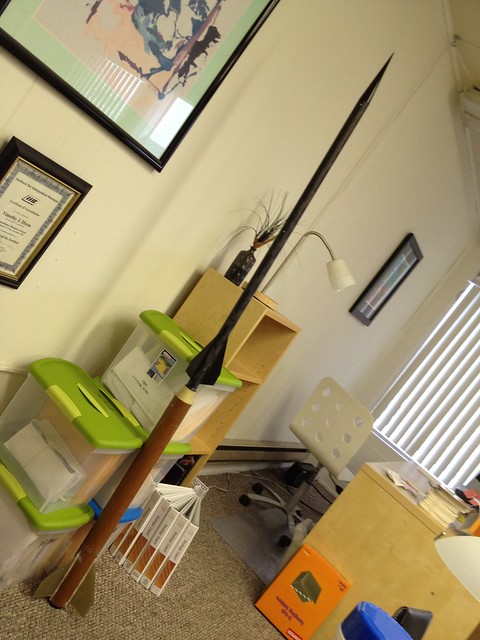
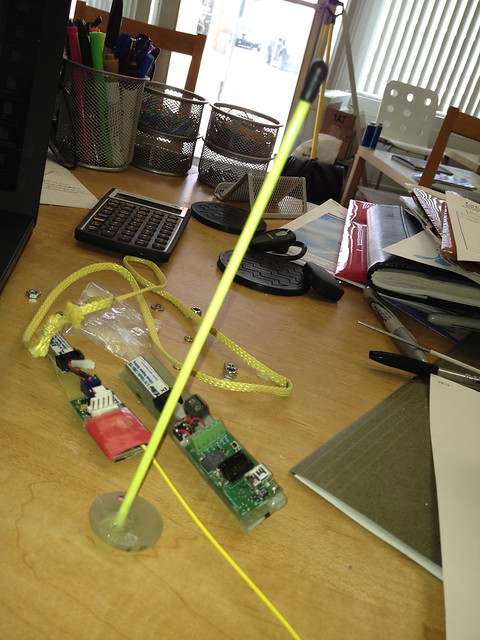
Since you would be using the accelerometer to control the sustainer ignition (and also your apogee), you will want to make sure that the accelerometer is accurate. Otherwise, you won't really be controlling to the speed you want. One way I have done this is to swing two Ravens together (a 5-foot string allows the accuracy of the two Ravens to be tested at up to 30 G's). If the two Ravens agree, then the odds are that they are reasonably accurate. Tim, since you have two Ravens, you can do this check as I've outlined above.

Edit - And if you want a simpler approach, you can use Tval<T and Alt2>A. You can then simlate the altitude with your 2.5 second delay and set the time to a few seconds above your expected time to reach that altitude.

Jim
 
Last edited:
Thanks for the input. Jim, I had already been considering the velocity route. I will pursue that further.
 
Back
Top