What's mudwet power ?
Midwest Power- yearly rocket launch we have the first weekend in November in Princeton, IL
This year we only got one launch day, and lots of rain otherwise.


What's mudwet power ?
Looks fantabulous!

Eric that is indeed a beautiful looking rocket! Happy New Year to you and your family. Same goes for all the rocket community. Greg Olson


You mistyped "will"


Getting down to the nitty gritty. Only a few minor details left to complete before the Load gets some air time. DJS is being mean and pressing me to fly this thing Saturday...I'm caving to the tremendous peer pressure!
Nose Cone Prep Work
We already covered the long cone in shiny silver stuff. Now it's time to optimize it for repeatable flights. I make two mods to the stock 5.54" cones for dual deploy rockets, typically. Here they are.
1. Add brass strips to the cone's shoulder. This helps shear the shear pins upon pressurization of the payload bay. Plastic pins in a plastic surface may lead to elongation instead of clean shearing.
I like four #4-40 nylon screws as pins in the nosecone. Therefore, the cone's shoulder is marked off every 90 degrees (circumference/4).
[/url][/IMG]
Thin brass strips (or aluminum...or any thin material harder than plastic) are cut into 1" x 2" strips using a tin snips. They're clamped into a vice where a pair of holes are drilled on each end of the strips.
[/url][/IMG]
Out comes the Dremel and drill for a bit of grinding and cutting. The plastic eyelet is cut off the base of the cone, the areas of the base of the cone where the brass will lay are roughed up, one side of the brass strips is roughed up, and two holes are drilled in the base of the cone. The resulting puzzle pieces ready for epoxy.
[/url][/IMG]
A small amount of Rocketpoxy or Proline 4500 is mixed up and applied to the roughed areas of the cone. I find that these two epoxies form a solid bond with many plastics; but they do need some surface area in order to work well.
[/url][/IMG]
Brass strips are applied, rough side down to the desired locations. The holes drilled in the strips should fill with epoxy as pressure is applied, forming a rivet which helps hold everything in place.
[/url][/IMG]
Apply a few pieces of tape over the strips to secure in place.
[/url][/IMG]
Wrap in more tape if necessary. Electrical tape works nicely here because you can put a decent amount of pressure on the strips being bonded due to the stretchy nature of the tape.
[/url][/IMG]
Allow epoxy to cure. Remove tape. I like to sand down the edges of the strips and any excess epoxy by hitting the bonded areas with a palm sander briefly. Only takes a few minutes and leaves a nice smooth surface!
[/url][/IMG]
2. Take a short length of Kevlar or nylon strap and pass it one of the holes and out the other in the base of the cone drilled previously. Tie the ends together and you have a solid attachment point for the nosecone. The little plastic eyelets tend to pull free with a good tug, whereas you'd have to rip the entire base of the cone off with the two hole method. No photos of the loop, currently.
Almost there...
Eric,
Do you counter sink those strips into the cone shoulder at all? Or is the fit into the tube loose enough that you don't need to?
When I did this to my IRIS, I had to make them level with the cone shoulder to keep the fit the same.
Awesome build BTW... I might have to venture North Saturday :horse: :horse:

djs how did Eric's flight go? It was -20 here this morning so I just stayed home. Does WOOSH have a Jan. launch planned?
Se ya
Gary
In this case, I didn't counter sink. The cone was a slightly loose fit and thus made them "proud" of the OD of the shoulder. In other cases as you mention, I've ground out enough material to make the plates relatively flush with the cone's shoulder.
Hope to see you Saturday! Got the "K-Load" stickers done...
[/url][/IMG]
Definitely like the long cone, boat tail version better; but this will do for the first flight on a K load. More color to be added post maiden voyage....assuming it survives intact!

Eric very nice build. How did the flight go at Bong today? Is that a LOC kit?
Gary
I hear you Gary. I spent all week working in the cold. I decided I didn't want to play in it too...
Hoping for mild temp (and winds!) next weekend at QCRS to maiden my Wild Thang Extreme.
What did you pop its cherry with ?
Eric
I wish I could have been there, but alas, have a large project at work...
Wow, do those RRC2's look lonely on that giant board!


See you next time, Adrian! I saw King Viper III parts by Tim's trailer, by the way....
Ooh... I better start weighing the parts that I have so I can whip up a sim for motors! And a chute...
Tim D will be happy that it will live to fly again. Somehow :dark: I managed to get a 3rd 54/1706 case, so.... Three K185's???
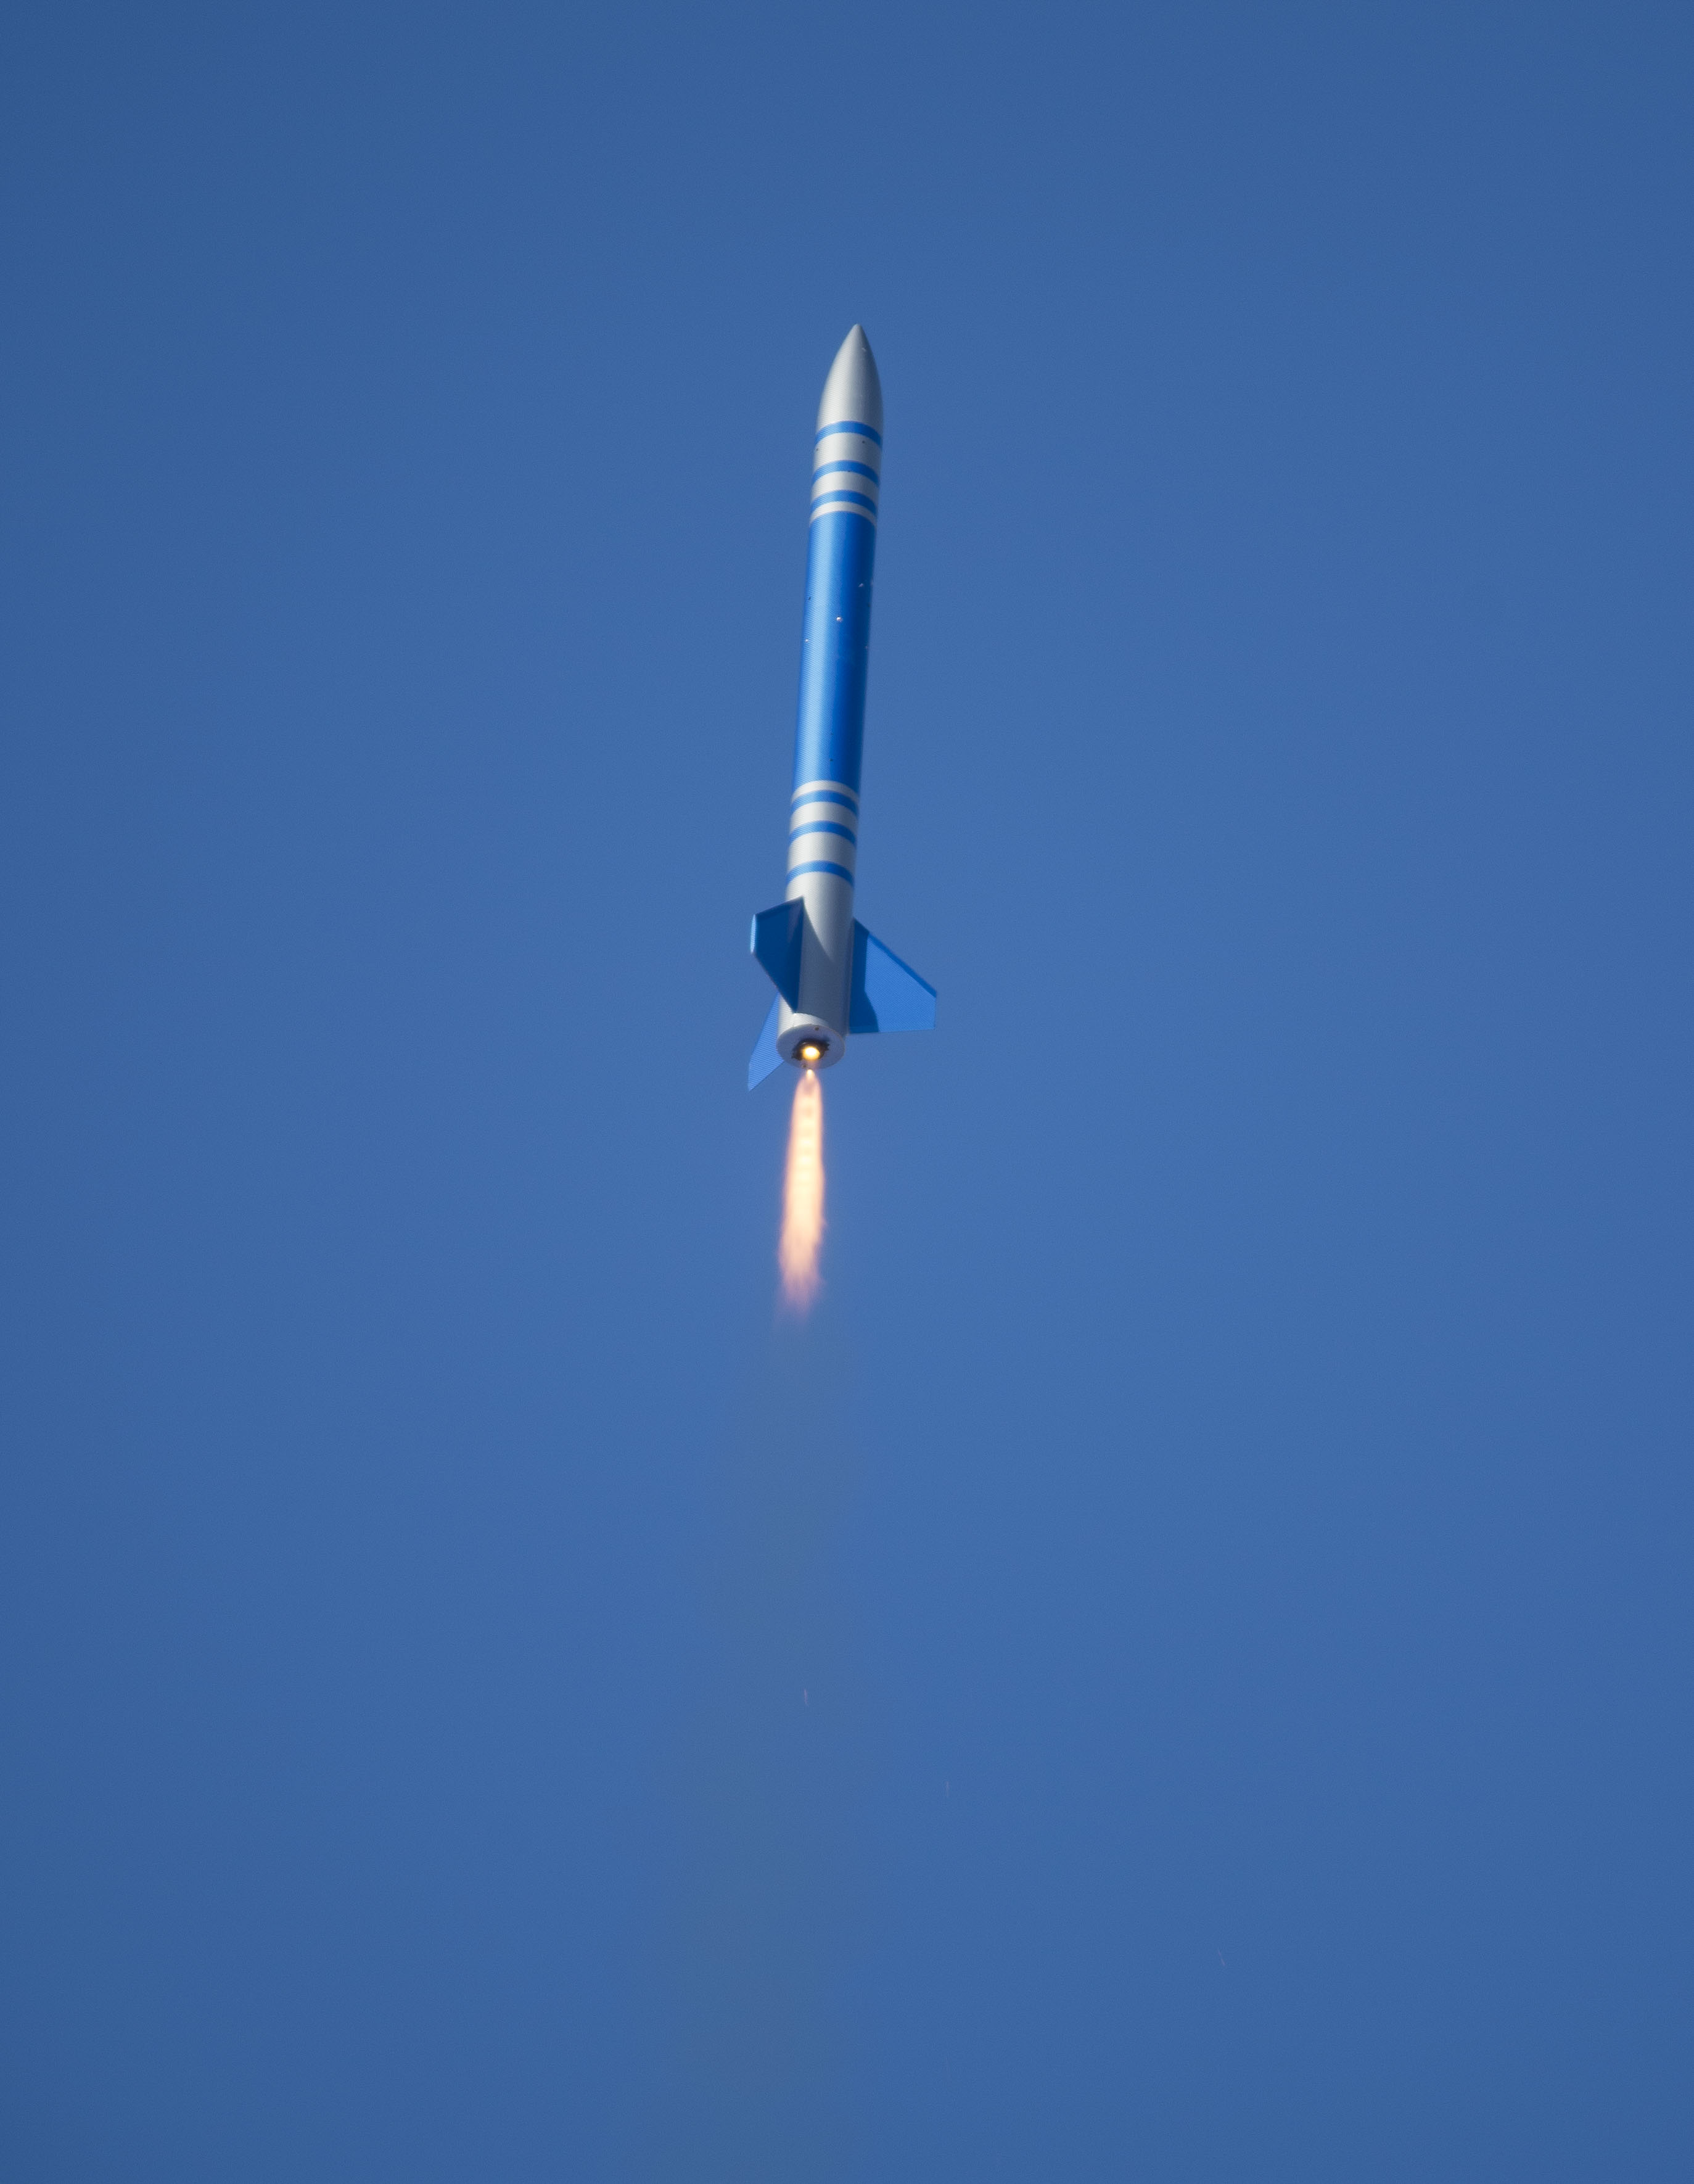
Love the mach diamonds! Great photos!

I like it! That should give her a great ride...talk to me sometime about reliable cluster ignition of White Lightning propellant....if you like!:wink:


Enter your email address to join:
