NZM305
Well-Known Member
- Joined
- Dec 19, 2015
- Messages
- 77
- Reaction score
- 10


Lol :blush: I went back and had a look and yup just needed to rearrange and look again. Tonimus's link helped get the right orientation in my mind.
So all cut out and paper tomorrow I think.
And yes Happy New Year to all")
Thanks K'Tesh, I'd had a read of your papering method and liked it. I'll use white glue rather than a glue stick, but it should work fine.
Any suggestions for how to hold the fins together whilst sanding to shape?

Well a couple of lessons learnt......
1) Left too much overlap on the paper, which meant when I squeegeed the paper on I couldn't wipe the excess glue easily.
2) Don't leave damp things to dry between a steel bench and a 10mm thick piece of steel............. = rust spots on the fins
Oh well they will still be usable and it has definitely stiffened the fins. Still have to add the extra stiffening that TLP provide. Going to cut that slightly differently to the plans to try and make it look like it has separate steering fins.
And the 1in foam brush worked wonders for getting a nice even spread of the glue Rex
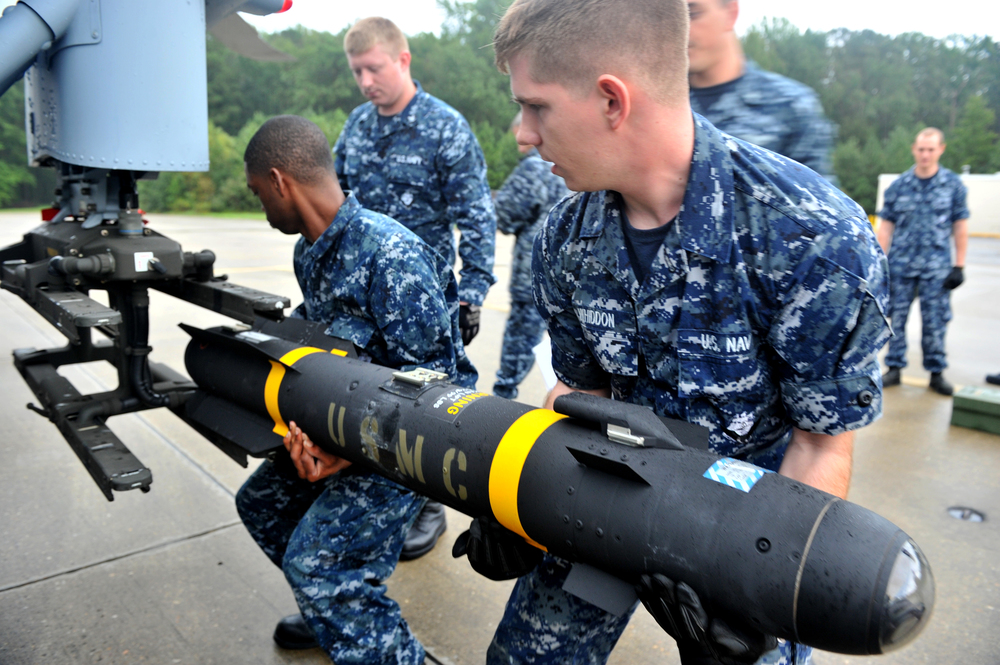
. It's finally starting to look like a missile For a rocket this light I would go with a rod for launch. If you want to go rail you will probably need to get some glue on guides as opposed to screw on. With thin cardboard you would need to have some wood backing block inside the tube already to screw into. I would imagine you could get around this, but the "Acme conformal rail guides" from giantleaprocketry.com are made to be epoxied on. They look very military also. Best to attach would probably be tape off the tube where you will put them, finish painting, remove tape and epoxy in place.
Many ways to go about this though.
So filleted fins, put the shock cord in the body and rigged the chute. Got some nose weight in but need the rest of the clay to dry a little more before I can finish that.
Any suggestions for the best rail lugs?
Was thinking these. https://www.rocketarium.com/Build/Rail/Linear-Lugs/1010?zenid=iv2115ccs4f2l8246nkgjb9e40
I need to order them before I start to paint.
Had thought about incorporating both styles so I can launch from either rod or rail.
So I'm assuming that the standard lug should be glued on around the same height as front of the bottom fins? or does it need to be at the CP?
PML rail lugs are way too big for this rocket IMO. I use them for my large & heavy HP rockets. On my Maverick I added mini rail buttons (used epoxy to install and it seems strong enough for this light rocket)...along with the lugs which I had from the initial build. The minis look right to me, but from what I've read the micro rbs may be better and suggestions from the others here are also good.
Would look cool with the linear lugs though...maybe make similar out of balsa and put micro/mini rbs in the middle?
Pic showing mount points...front has a fairing though:
(And I've got a crazy idea for a rail pad build) That's been one of my reference pics during this build
I think I'll order the Acme Conformal guides cause they do look like they'll keep with the missile theme
In the mean time I'll fit the standard lugs and then move on to detailing and paint (I'll mask off where I want to place the rail guides)
Anyone know what a D12-3 motor weighs so I can work out my loaded CG accurately?
Also the "crazy idea for a rail pad build" sounds really interesting!. It sucks living in a country that has no fast jets flying, If we are lucky there is a once every couple of year visit from Australian Hornets.Any thoughts on reproducing/imitating the clear lens tip? I tried something on the Maverick (color shift paint over black base with clear coat), but it's no where close. I've seen one build where the person actually used clear plastic, but that sounds really involving (cool, but lots of work).
Thanks for the kind words Cl, and Zeus-cat I have though about upgrading to a nylon chute, I think I will try it on the Mylar and see how it comes through. I still have to order motors etc so when I do that I'll get a nylon chute as well ready to go if the Mylar doesn't hold up.
Enter your email address to join:


