jsargevt
Well-Known Member
- Joined
- Jun 18, 2011
- Messages
- 1,550
- Reaction score
- 7
OK - I finally finished my Secret Santa rocket from Christmas 2011! I want to extend my huge thanks to my secret santa from then for the cool rocket.
This is my first non-mini rocket from Wildman that I have built. It was a lot of fun and I learned a bunch about how to build HP fiberglass rockets. I certainly learned that epoxy can make a HUGE mess!
I did not document the build as this was done in the "standard" CJ build with injected fillets and PVC pulled externals. Rustoleum Purple and Valspar Silver and props to Mark @ stickershock for the kickin' decal!
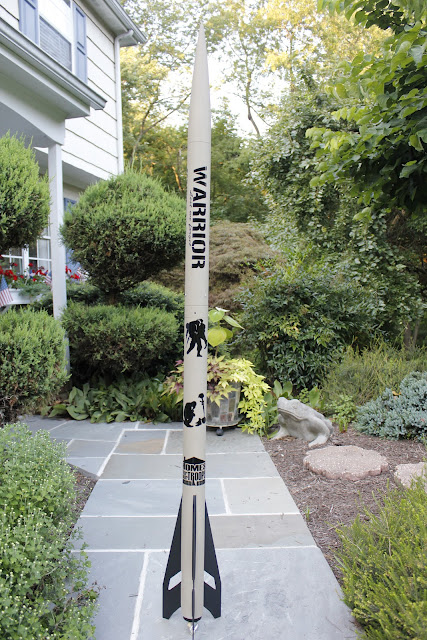
So with out further adieu - presenting the Warrior:
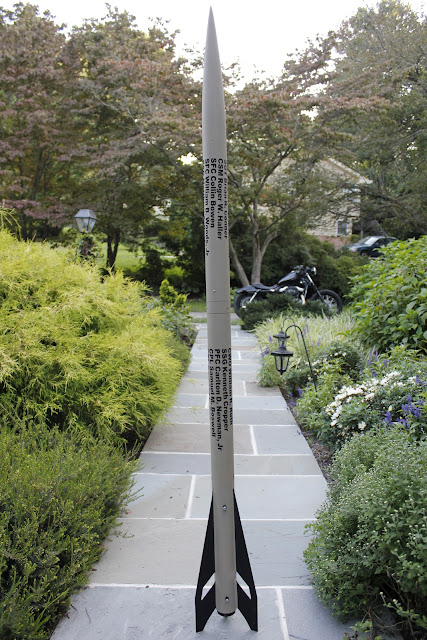
The upright stack:

On the rack:

Not bad for my first large external fillets with West systems! I need some practice on the rear taper but hey if I was perfect I wouldn't be here. I am also happy with how the paint came out on the fin transition:

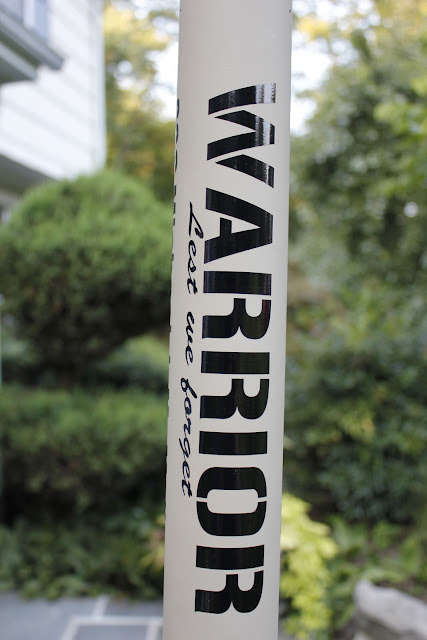
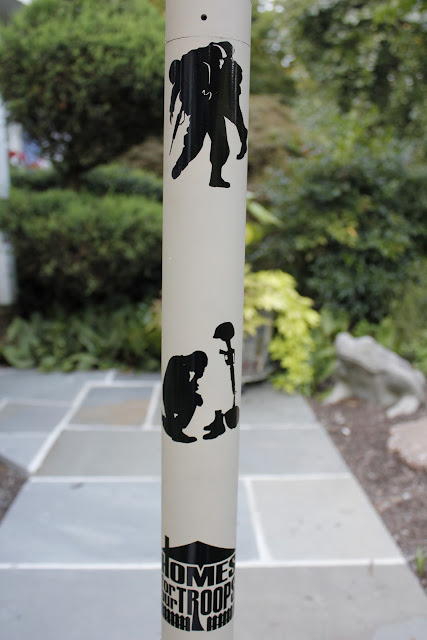
A nice shot of that awesome decal. Thanks again mark!

My son loves this rocket and he asked to have his picture with it. "Dad its a SWORD!". Hopefully the weather will cooperate next weekend and he can see it take to the sky!

Some lessons learned:
Future & Simple Green is good, but it does not like the silver paint and leaves the equivalent of "water marks" on it. At this point I don't really care as I don't want to mess with it. I'll live with the imperfections - plus you can't see it unless you are right next to it. On the pad or streaking skyward who cares? I just wanted to get some protection to keep the decal down and to help prevent the paint from chipping.
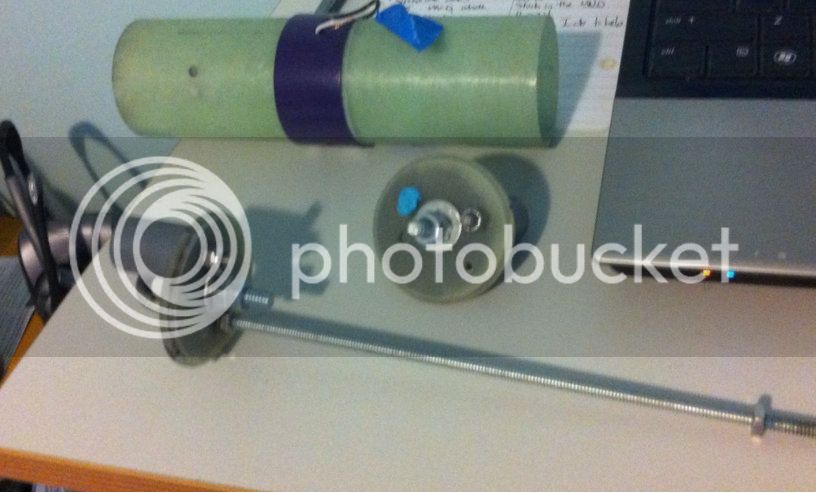
You don't need much bondo when filling in pinholes and gaps. Luckily it sands quickly.
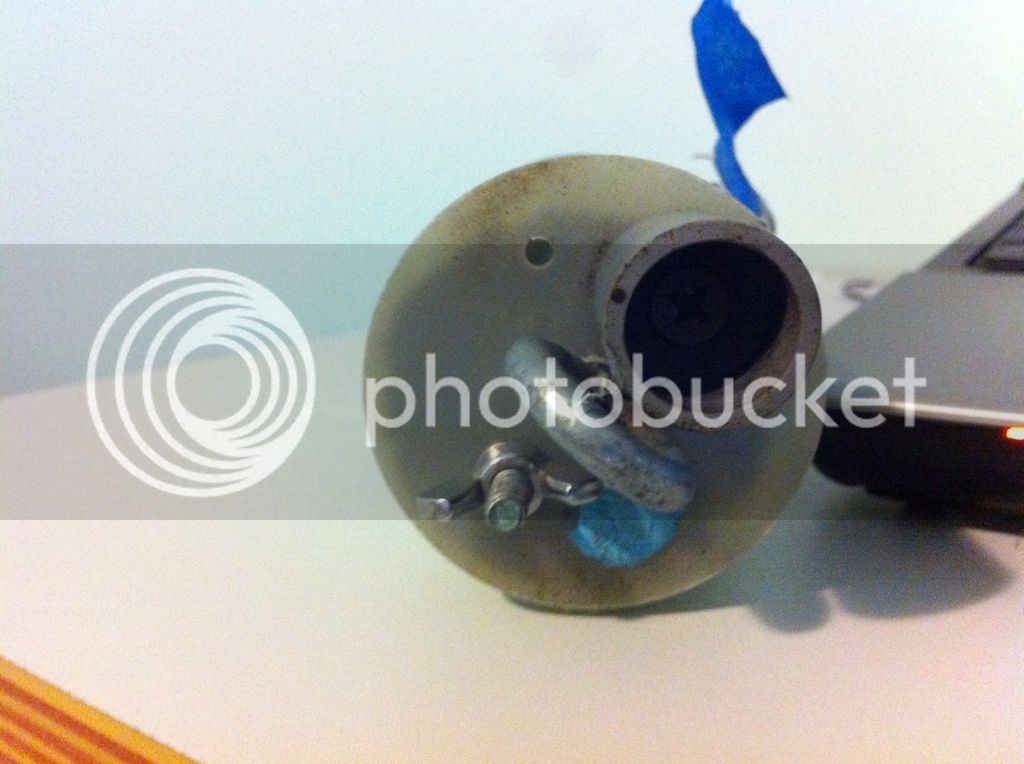
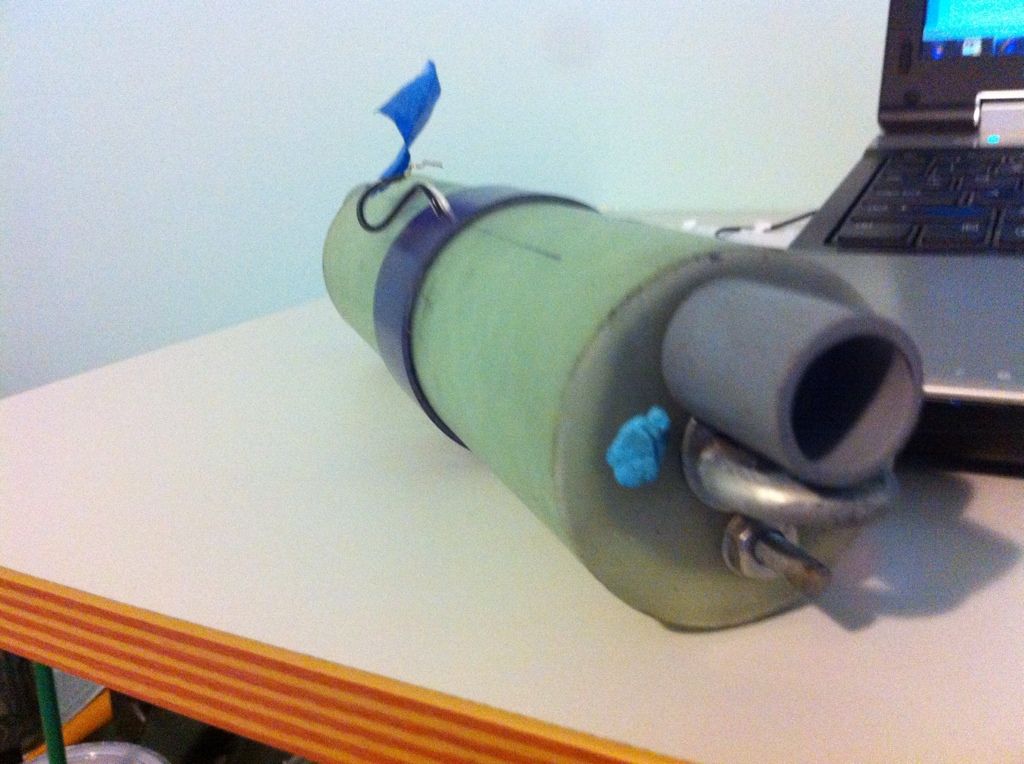
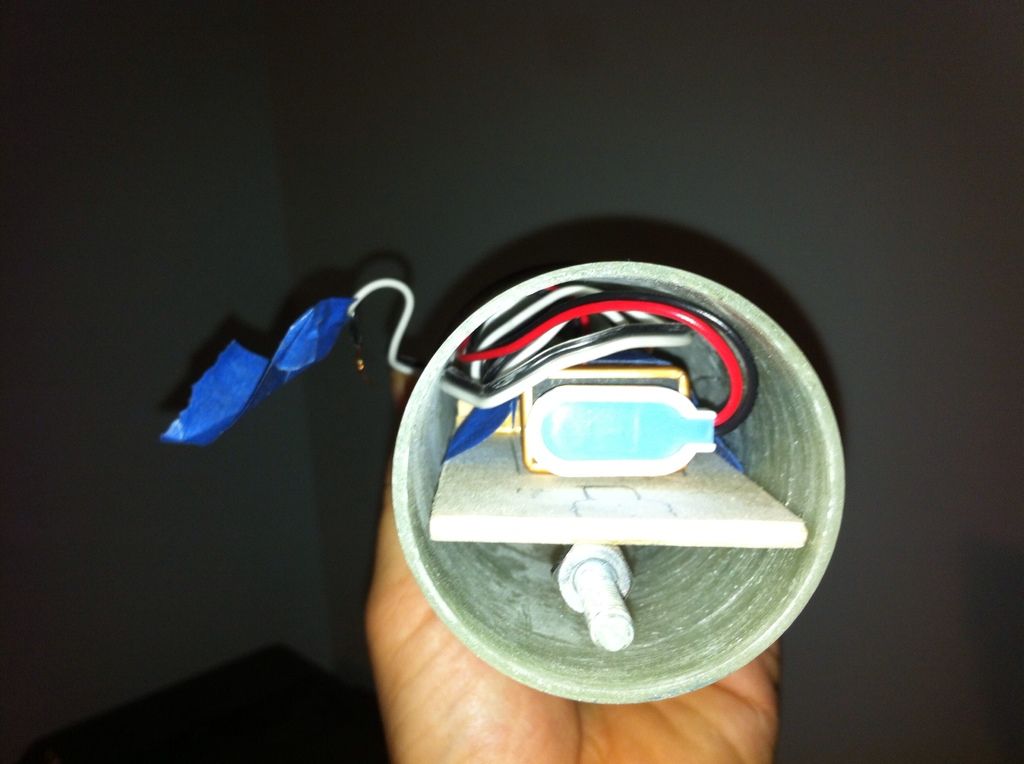
When injecting make sure that you get a good seal with epoxy on the fins and TAPE UP the bottom fin holes. Be SURE to do it over something that you don't mind dripping epoxy onto!
There were some others but those took the cake. I really liked this build and LOVE how the colors came out. Thanks again to my secret santa for the kit - This one will be around for a while!!
This is my first non-mini rocket from Wildman that I have built. It was a lot of fun and I learned a bunch about how to build HP fiberglass rockets. I certainly learned that epoxy can make a HUGE mess!
I did not document the build as this was done in the "standard" CJ build with injected fillets and PVC pulled externals. Rustoleum Purple and Valspar Silver and props to Mark @ stickershock for the kickin' decal!
So with out further adieu - presenting the Warrior:
The upright stack:
On the rack:
Not bad for my first large external fillets with West systems! I need some practice on the rear taper but hey if I was perfect I wouldn't be here. I am also happy with how the paint came out on the fin transition:
A nice shot of that awesome decal. Thanks again mark!
My son loves this rocket and he asked to have his picture with it. "Dad its a SWORD!". Hopefully the weather will cooperate next weekend and he can see it take to the sky!
Some lessons learned:
Future & Simple Green is good, but it does not like the silver paint and leaves the equivalent of "water marks" on it. At this point I don't really care as I don't want to mess with it. I'll live with the imperfections - plus you can't see it unless you are right next to it. On the pad or streaking skyward who cares? I just wanted to get some protection to keep the decal down and to help prevent the paint from chipping.
You don't need much bondo when filling in pinholes and gaps. Luckily it sands quickly.
When injecting make sure that you get a good seal with epoxy on the fins and TAPE UP the bottom fin holes. Be SURE to do it over something that you don't mind dripping epoxy onto!
There were some others but those took the cake. I really liked this build and LOVE how the colors came out. Thanks again to my secret santa for the kit - This one will be around for a while!!