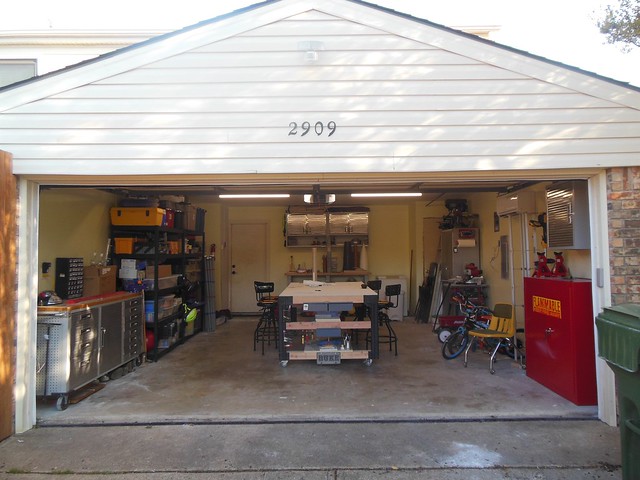
My workshop is in the basement. Since my house was built into a hillside, it turns out that the floor and 2 walls of my workshop are actually parts of the foundation.
The largest room is 16 ft. by 12 ft. The adjacent paint room is 12 ft. wide and 6 ft. deep. The ceilings are 10ft. allowing me to take advantage of height for storage.
I do MMX though L1 builds, therefore, my shop is proportioned accordingly. I also prefer to do multiple projects at once. Therefore, I have set things up so that projects can be swapped to and from the workbench
When I laid out the shop, I paid particular attention to how I was going to store the completed projects.
Starting with the side with the workbench, I'll go clockwise around the room:
[/URL]
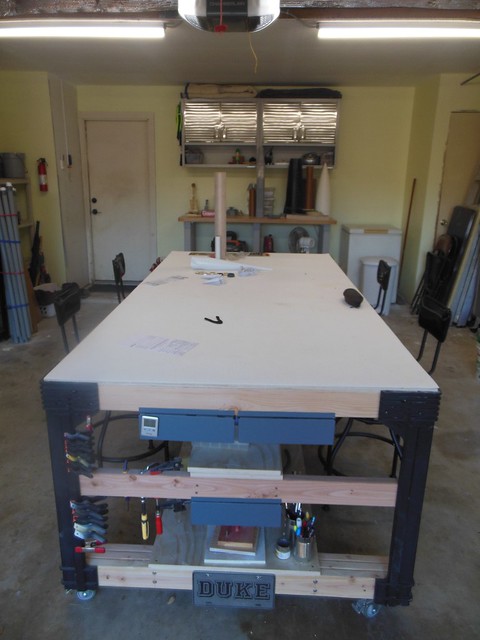
This is along one of the short walls. Below is another view of the bench:
[/URL]
ALL of my tools and adhesives for building are within arms reach of this table top.
I prefer to have other tables nearby where I can put in-progress assemblies out of the way. Going clockwise around the room, just behind the workbench is an area where I set aside things to dry, and also a surface where I can use fillercoat:
[/URL]
Just in front of this table is an old easy chair I bought from a surplus store, covered with a moving blanket. In the picture above, you can just barely see the top of the chair. Here is where I sit to do time-consuming sanding jobs, such as filler coat and also wet sanding while watching TV all at the same time.
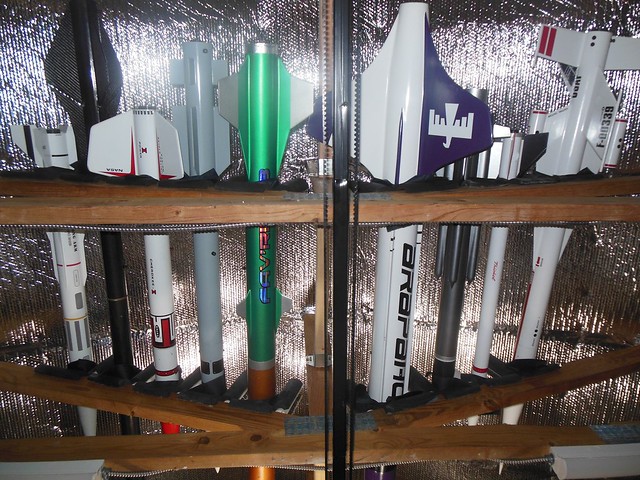
I have 4 customizable
PAX wardrobe systems from IKEA throughout the shop. One is in the paint room for storing...paint. Continuing clockwise around the room, here you see the one in the main room where I store the larger models, closed up, away from dust.
[/URL]
[/URL]
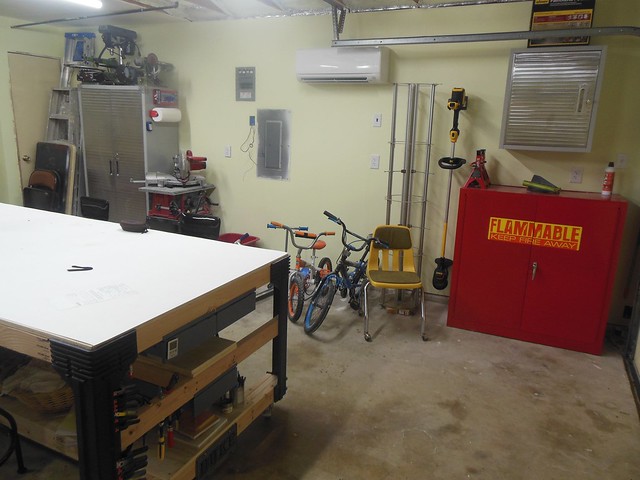
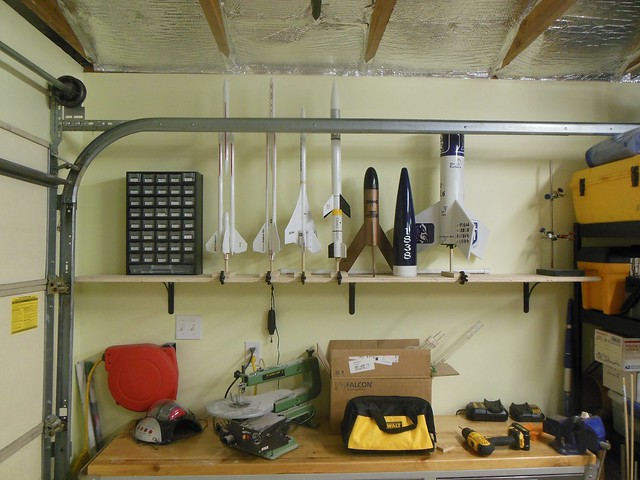
Now a view of the wall opposite of the workbench wall:
[/URL]
In the center of this wall is the entrance to the paint room. This pic was taken before I had my paint booth installed. To the left of that door is the cabinet for storing large models. On the right is where I have all my papers, books, magazines and files. Above the door to the paint room is where I store the LPR models -- 7 ft. up. MMX and 13mm models are stored on spool racks.
If you look at the tops of the wardrobe cabinets, you see plastic tubs. These currently contain the ~200 completed rockets that are in need of repairs and/or face lifts. As these tubs get emptied, more space will free up for storing smaller rockets on top. I purposely put my media and rocket storage areas high up and on the opposite side of the room from the workbench to minimize the amount of dust and debris falling on them.
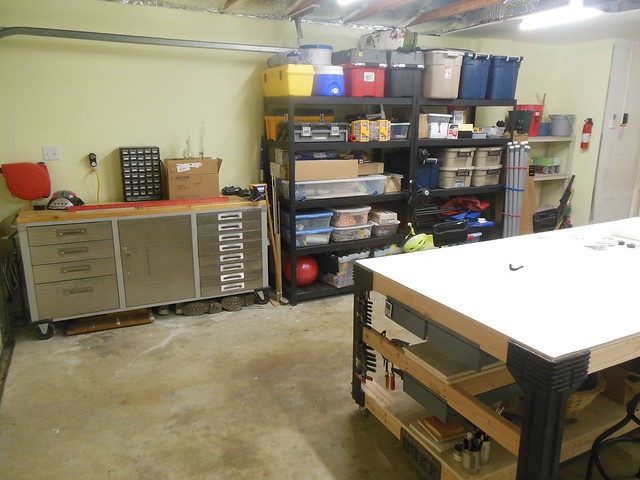
Continuing on the clockwise tour, there are 2 cabinets side-by-side. I don't have a pic of the interior of the first one. I contains motor storage, field boxes, cameras, binoculars, etc. - the stuff you need out on the field. The next cabinet is chock full of parts:
[/URL]
Now we return where we started. This little table is where I stage new projects. My process is to use plastic boxes, each outfitted with an erasable label. When I start a project, I label and load a box with all the parts. This keeps everything together in once place and allows me to easily shift projects to and from the workbench.
[/URL]
I hope this gives you food for thought!


 and have been looking at houses daily, so I am scoping out each home to see where I can have a possible build area