USS Enterprise Build

The Rocketry Forum

Help Support The Rocketry Forum:

This site may earn a commission from merchant affiliate links, including eBay, Amazon, and others.

SCIGS30

Well-Known Member
Joined
Jan 18, 2009
Messages
1,862
Reaction score
299
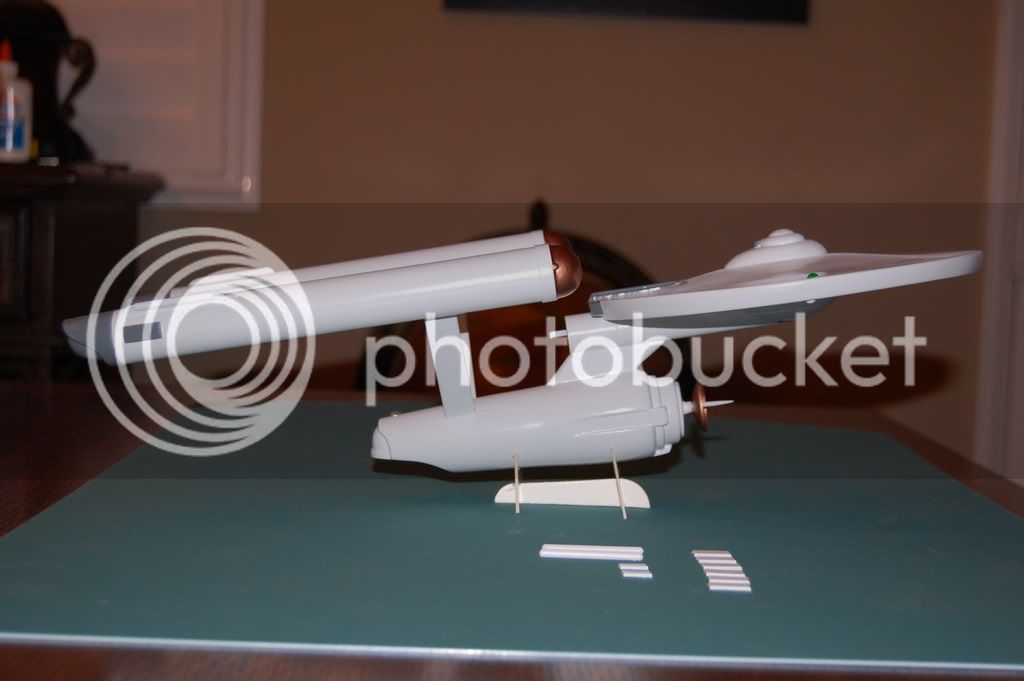
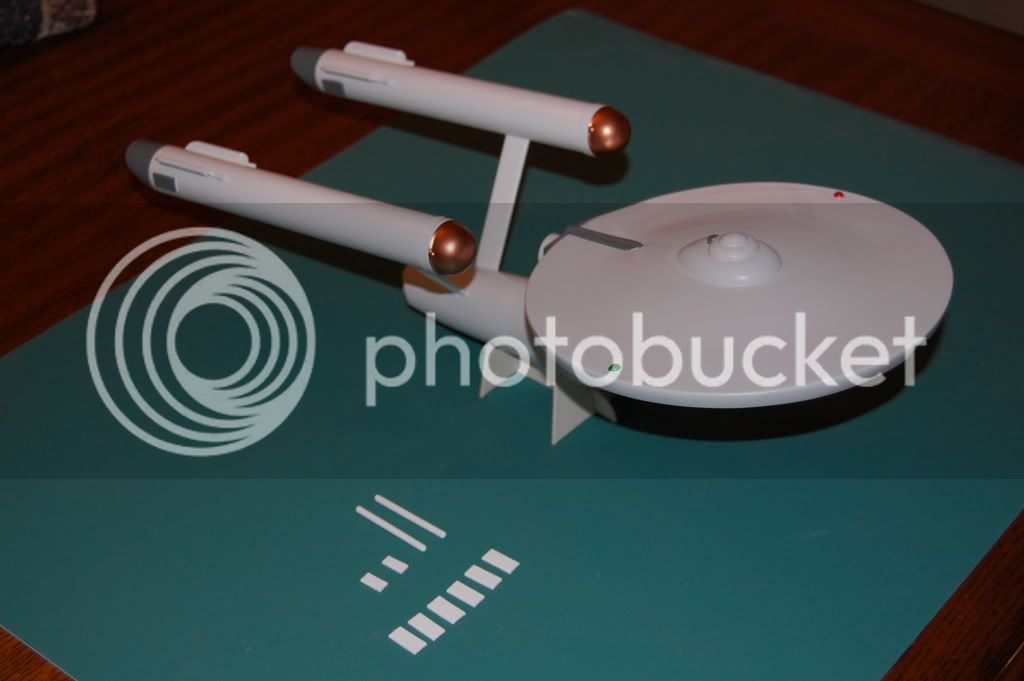
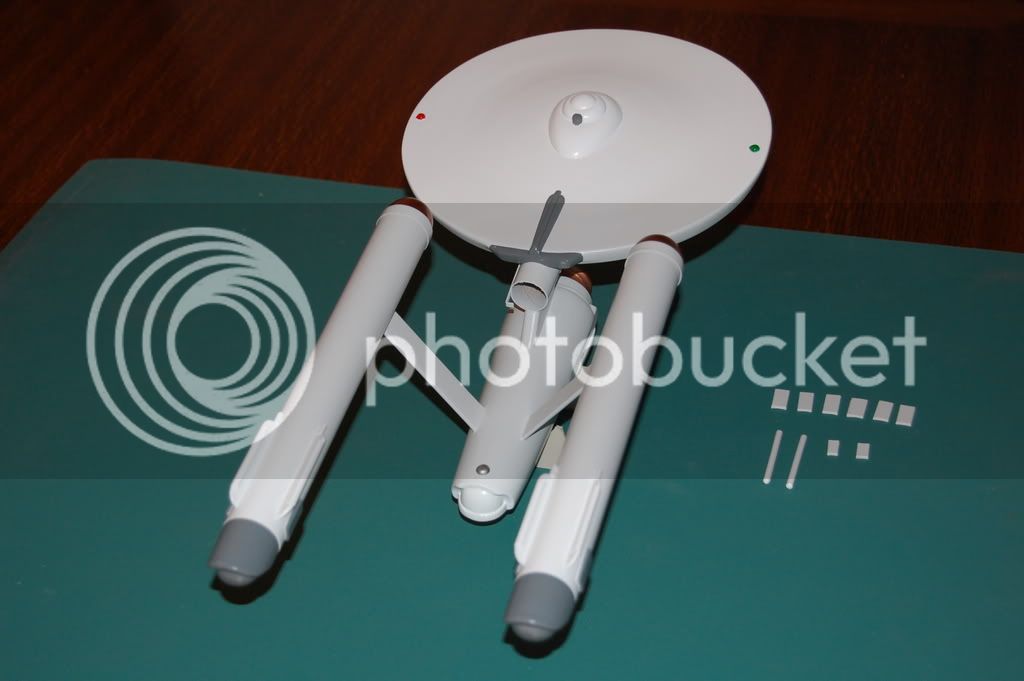
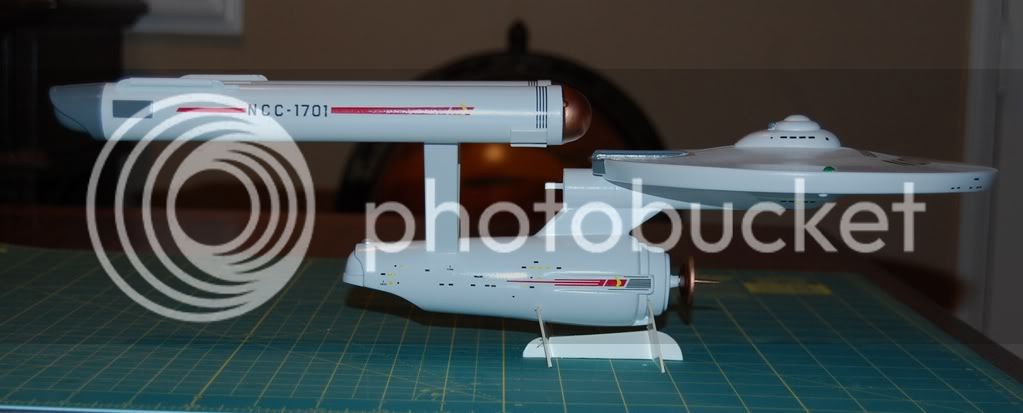
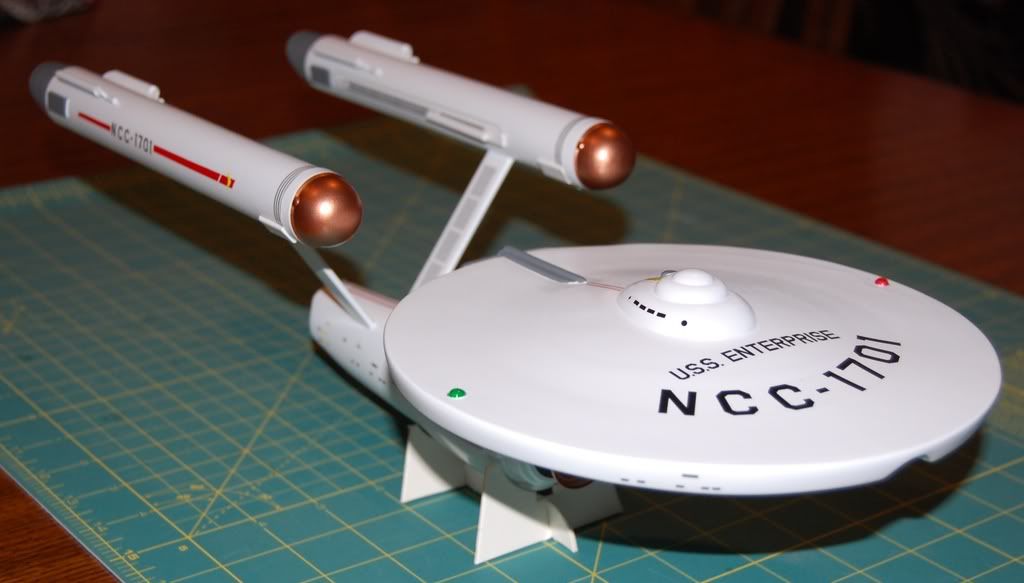
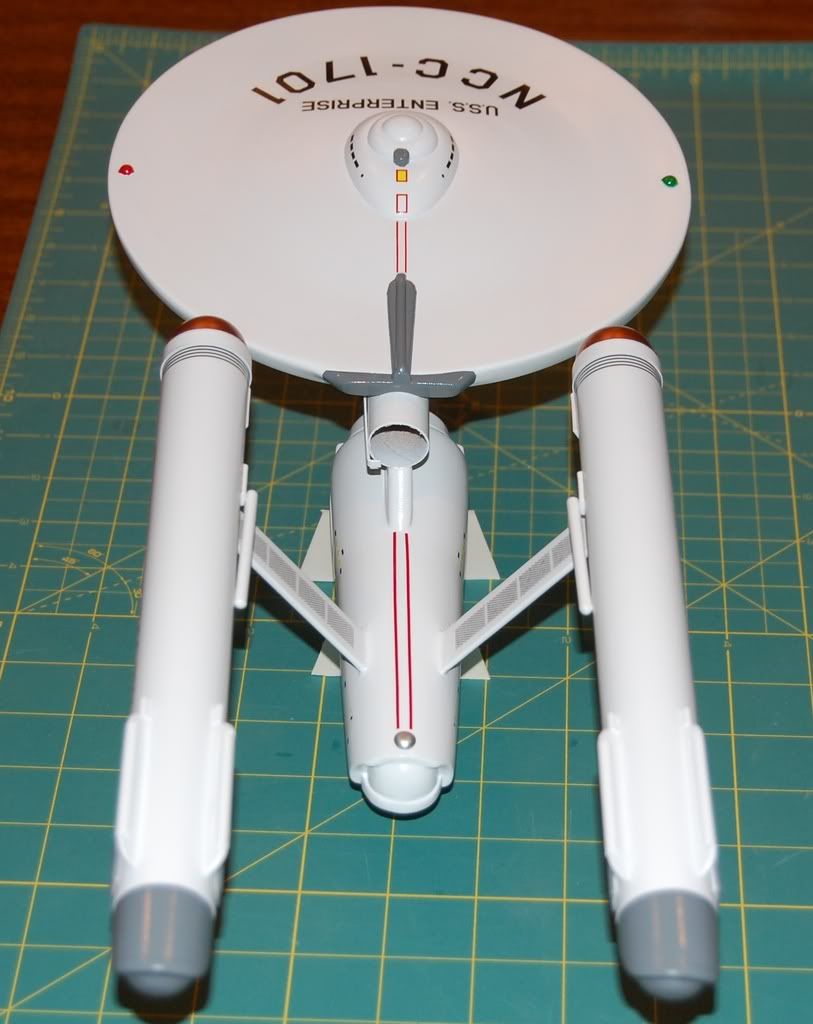
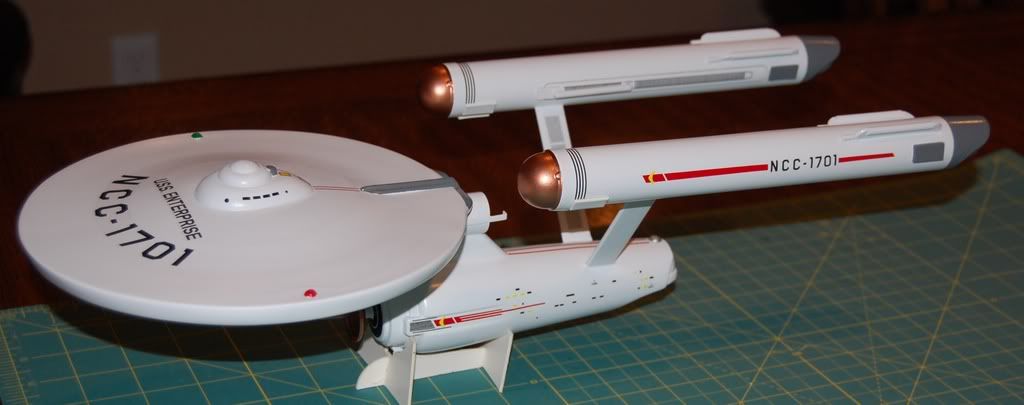
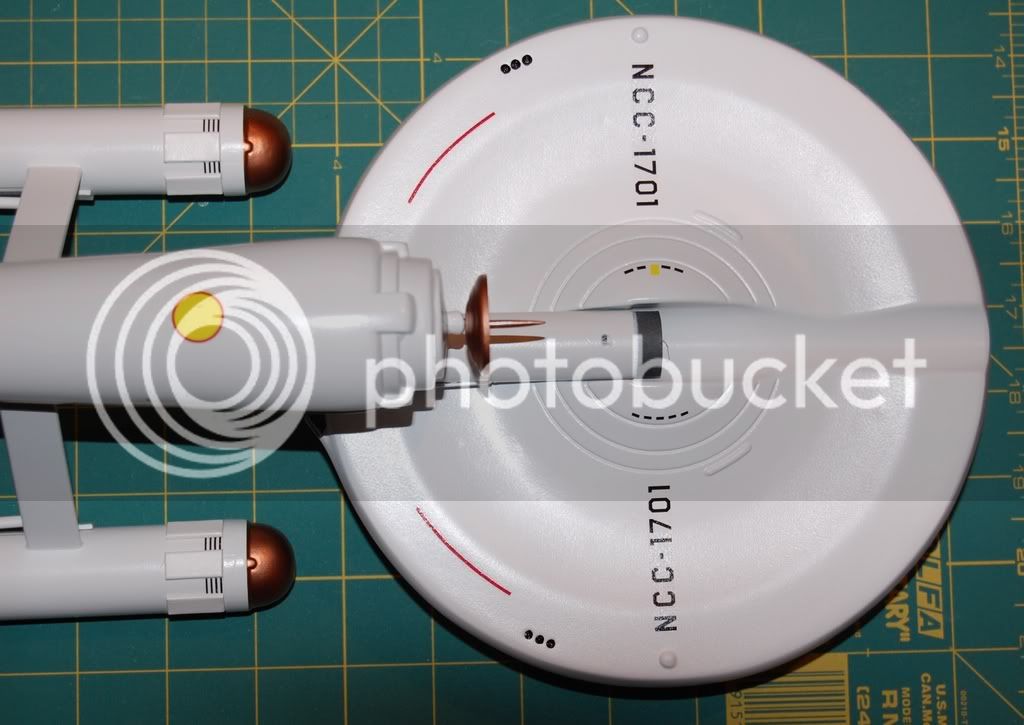
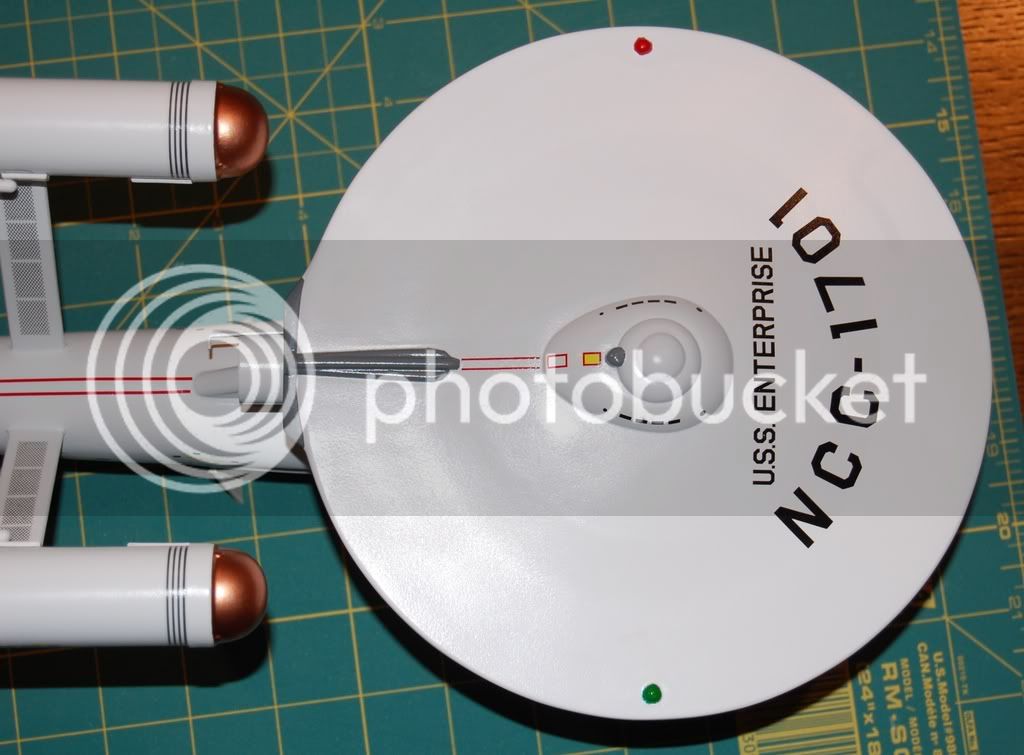
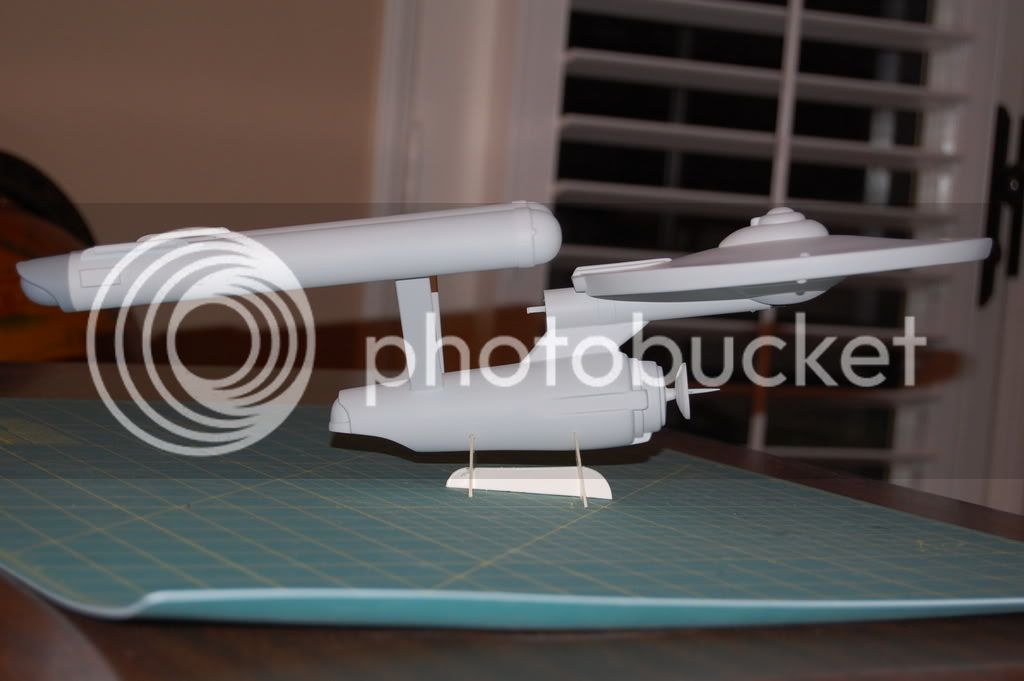
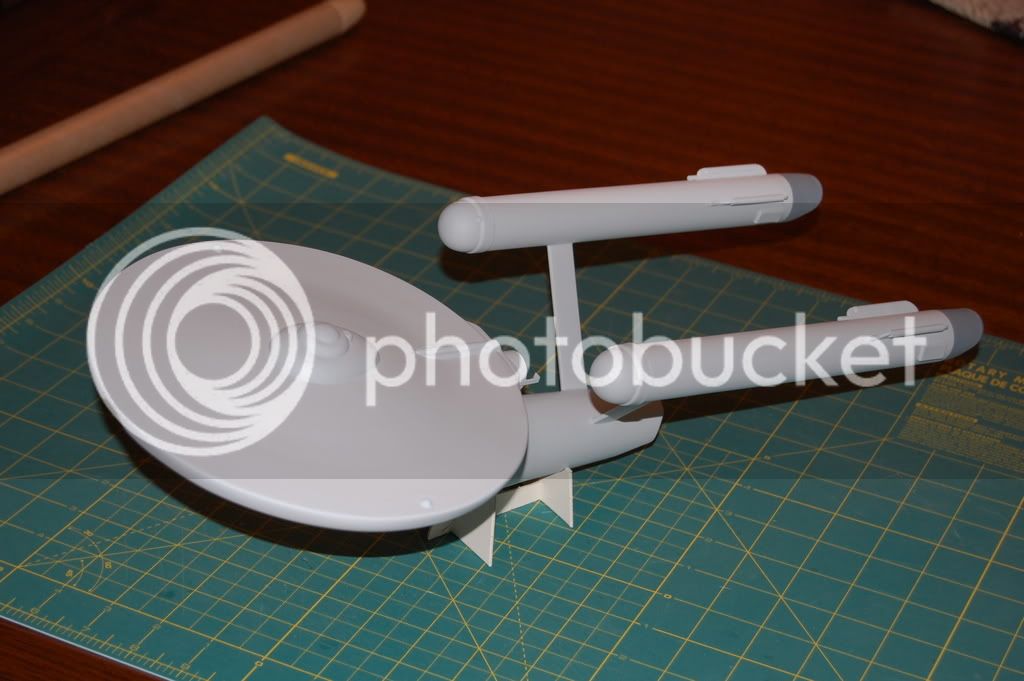
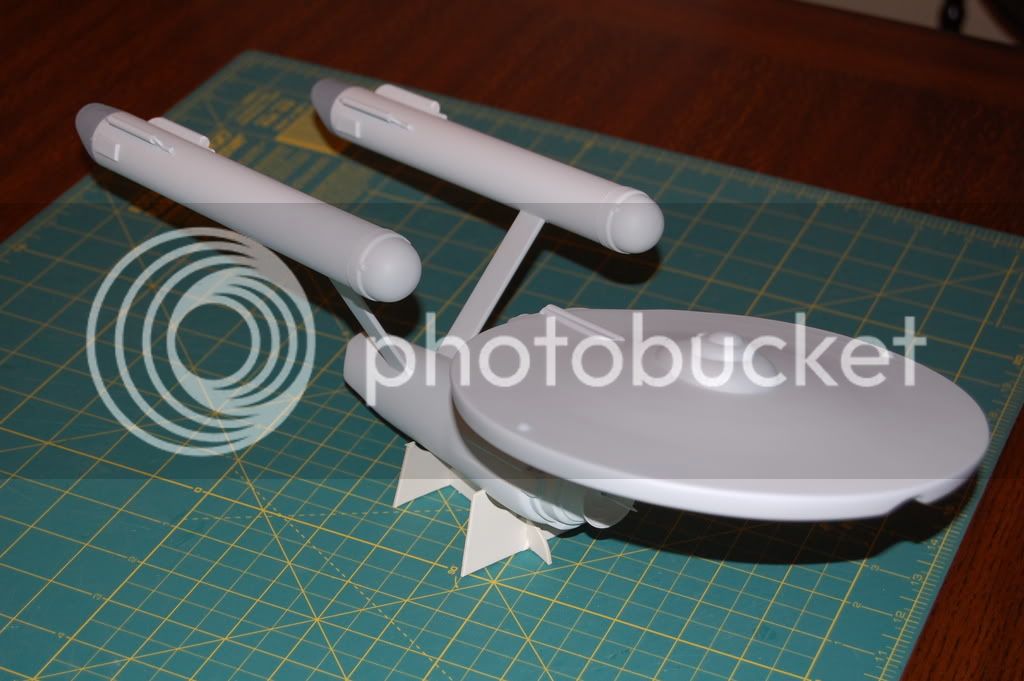
I started on this build a couple of weeks ago. It is a straight forward build but does take some time because of filling the seams. I sprayed on coat of gray primer and one coat of flat white. I will finish next week once the rain stops. I coated all the wood with 3 coats of balsa sealer. I am going with white as the overall color and not the light gray.
DSC_0059.jpg

DSC_0058.jpg

DSC_0057-1.jpg

DSC_0055-2.jpg
 
good god man its beautiful now lets see the build photos. as for the filling the seams how did you do that. as i can never get it right.
 
i've had one of these kits sitting in my build pile for years now - must get around to building it.
For some reason i can't see any of the photos you have posted??
 
I can see them, make sure your firewall isn't blocking Photobucket.
 
Scigs:
Does your Enterprise have one or two pod retaining hooks?
Mine only came with one and it proved to be a desaster on her first flight:(
About midway through the motor burn the pod crimped just at the single hook connection point sending the model into a very kewl, but erratic spiral flight path then sort of floating horizontally toward the ground until the ejection charge burned thur the crimped pod damaging the model giving it a "Return of Kahn" sort of look:(
Still have her hanging in the basement as a reminder to ask folks who build this model to be sure to look for 2-point pod retention;)

Hope this helps with yours

Starship Enterprise-a-sm_ NCC-1708 Front top(Estes)_78.JPG

Starship Enterprise-b-sm_NCC-1708 Top_78.JPG

Starship Enterprise-c-sm_NCC-1708 Starboard side_78.JPG

Starship Enterprise-e1-sm_NCC-1708 4pic Damage pg_78.JPG
 
Last edited:
Micro,

Thats a shame, looks like it met the doomsday machine!

SCIGS,

Beautiful job on the big E! you did a very nice fill job on the seams.
 
Beautiful job Scigs! :D I have 2 of those kits in my 'Kit Room' along with another Klingon cruiser..Another 'one of these days' project!..LMBO!:rolleyes:
 
I had a bunch of pictures during the build process, but they were erased off my camera before I could download them. The seams were not that bad. For the fuselage: After I glued it together I applied masking tape to both sides of the seam exposing just the seam. I then applied plastic model putty and let this dry overnight. Next day I dry sanded the seam. I then hit the seam with gray primer and sanded until there was no more seam. As far as the pod and plywood braces: I just used slow drying CA, you know the real thick stuff. I was able to apply this and wipe it away before it dried. This made for a nice fillet. The Saucer? There is an over hang of the top portion. That did not look right to me so I sanded most of that off then applied a lot of plastic model putty to even out the top from the bottom. At first before I sanded and applied the putty it looked like this IIII Top side view,
III Bottom
So you could clearly see the over hang from the top. After the putty I hit that with gray primer and sanded smooth.
Micro: I have one retainer, hope that works.
 
I have all the painting done except for some Copper paint on the sharp dowel up front. I used Testors spray can paint for most of the colors. I will put the decals on when I get back on Tuesday and the small pieces you see get glued over some of the decals.
DSC_0062-2.jpg

DSC_0063-2.jpg

DSC_0065-2.jpg

DSC_0067-1.jpg
 
A very nice build, brings back memories of my Enterprise from the 80's. Well on to eBay to start bidding on an Enterprise.
 
Well it is still raining so today I applied the decals to the Enterprise. The decals went on nice and easy, just had to be careful with lining things up. All and all this is a great kit. Estes did a nice job designing this rocket. I am not a big Star Trek fan so I apologize if the details are wrong on the model......I went off the box and directions. I am glad I went with the white, I think it looks the part. My Klingon Ship will be a light Testors Gray. The pod and rocket together weigh in at 3.9 oz. That is without the pod being painted. I may forgo painting the pod since the weight is were it should be and the balance point is right on. I can't wait to take here out flying. Now on to finishing the Klingon Ship.
DSC_0065-3.jpg

DSC_0066-1.jpg

DSC_0062-3.jpg

DSC_0071-1.jpg
 
More then awesome! THAT, is museum display grade workmanship!:D

Sweet!

One MINOR detail..The bottom of the saucer section, shouldn't those 'bumps' be like the 'clearance' markers on top(red and green)?
 
More then awesome! THAT, is museum display grade workmanship!:D

Sweet!

One MINOR detail..The bottom of the saucer section, shouldn't those 'bumps' be like the 'clearance' markers on top(red and green)?
I almost painted them like the top, then I read the directions and it said to leave white.
 
Back
Top