Trois Duex How Do You Do Reduex!

The Rocketry Forum

Help Support The Rocketry Forum:

This site may earn a commission from merchant affiliate links, including eBay, Amazon, and others.

Pantherjon

Well-Known Member
Joined
Jan 19, 2009
Messages
7,434
Reaction score
9
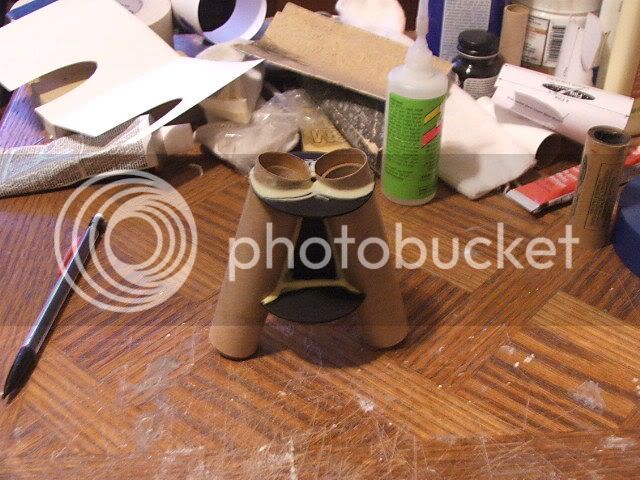
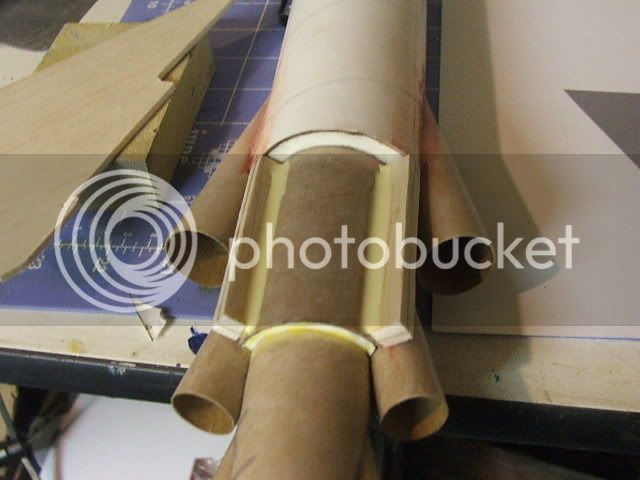
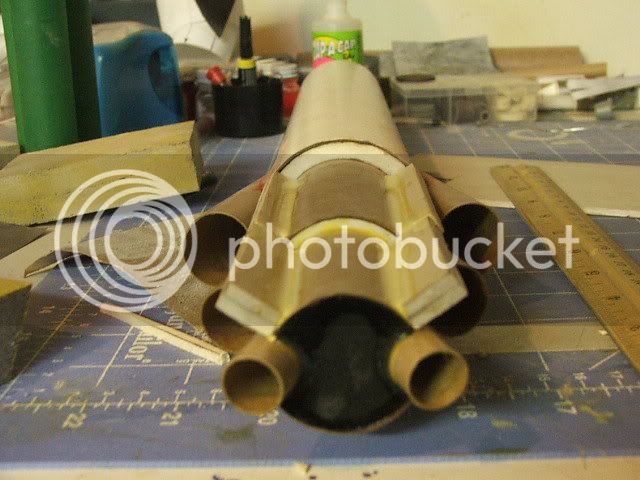
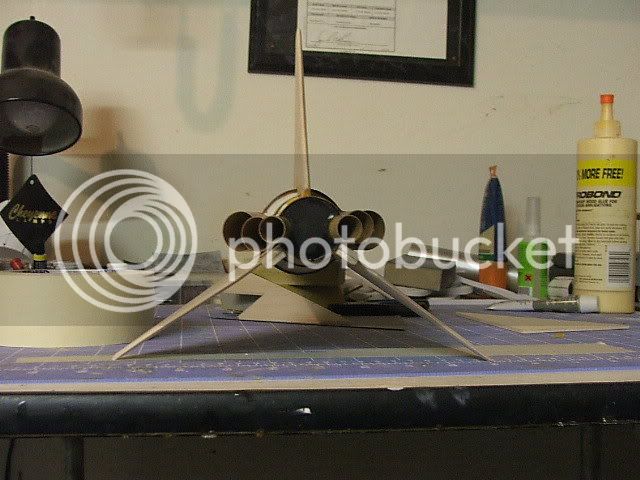
Well, just prior to the TRF 'meltdown' I had done a special build using all 3 sizes of the Fliskits' deuce motor mounts in a stacked configuration..Hence the name Trois Duex(pronounced TWA DOO)..It flew at our January launch in Orangeburg..and flew great! Only problem was on recovery one of the fins got broken off..

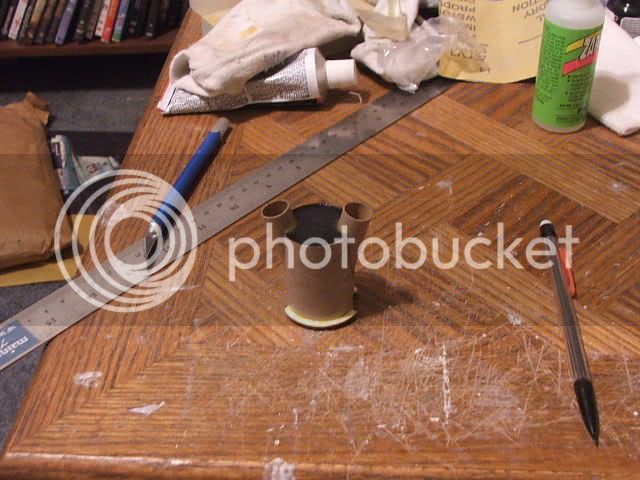
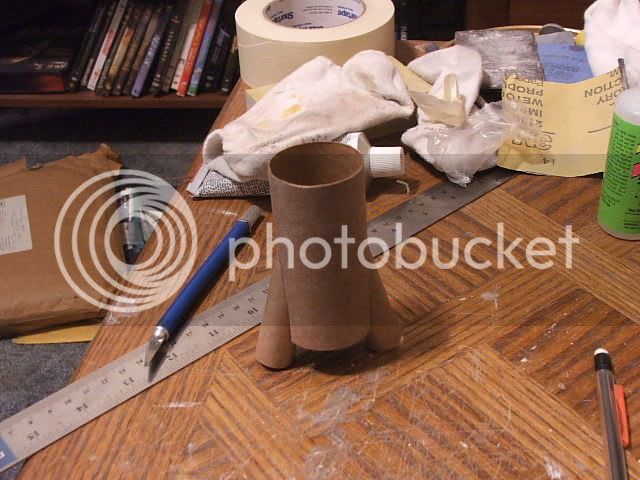
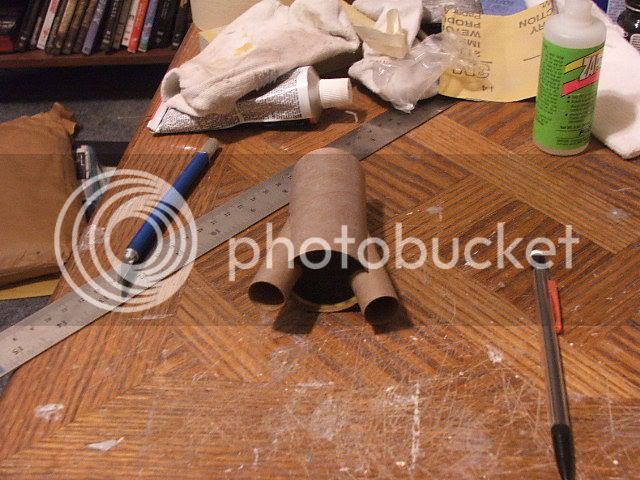
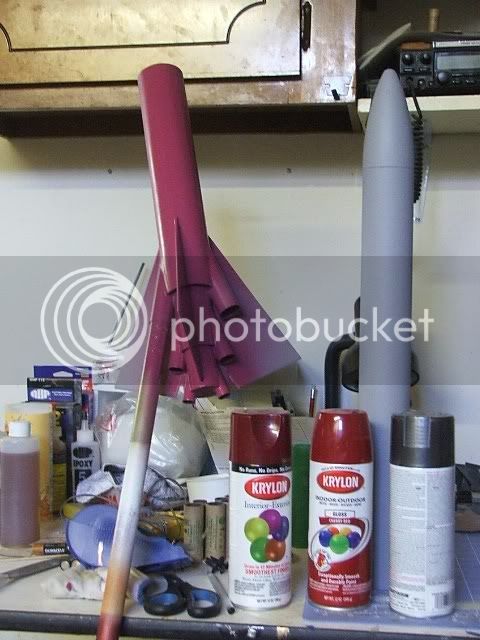
If there is enough interest I can go thru the build process again, as I have the pictures saved online..But for now I will just show a few pictures..

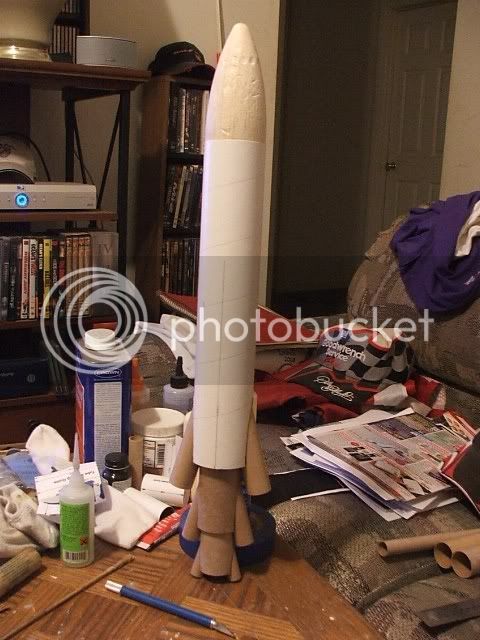
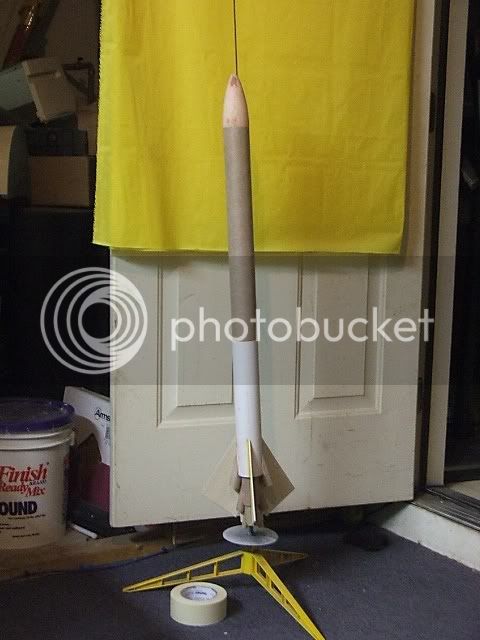
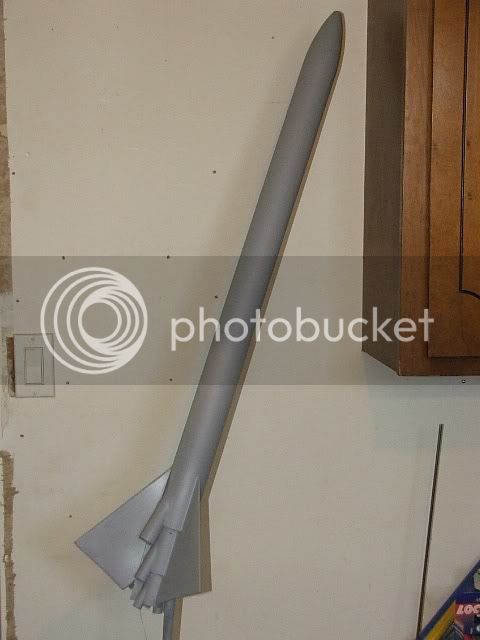
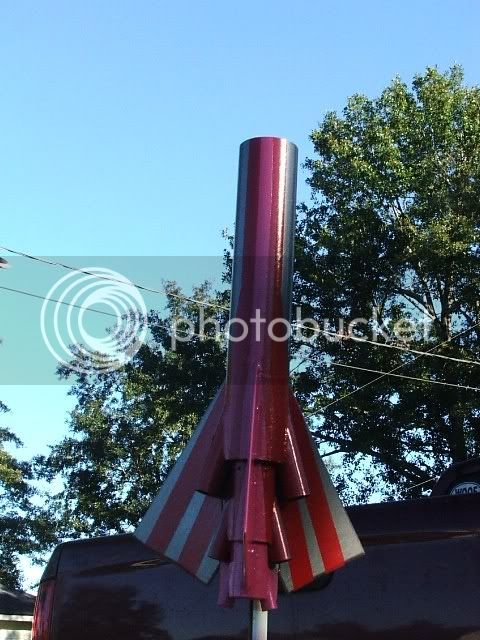
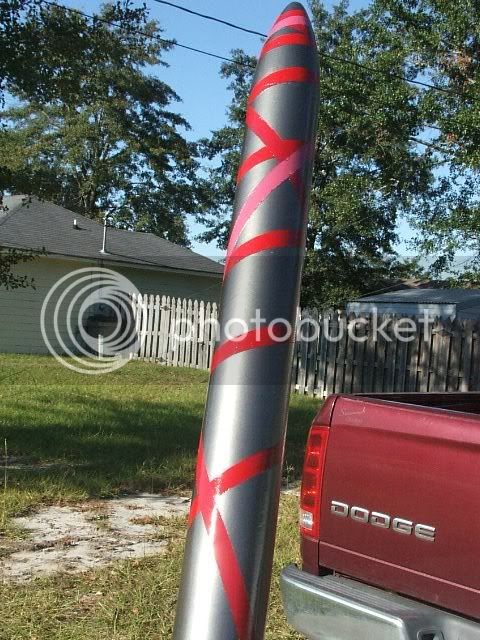
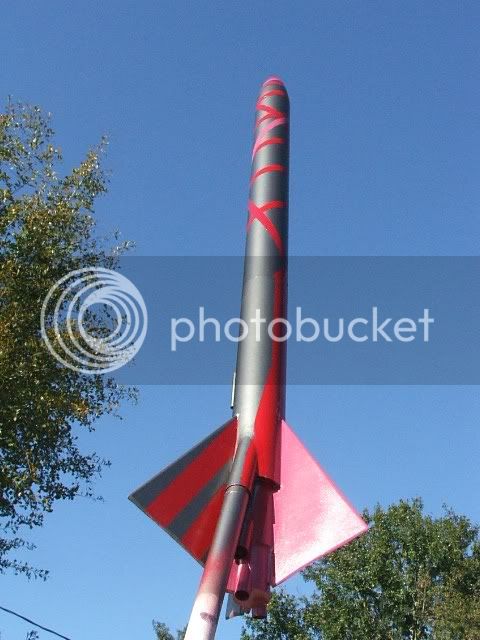
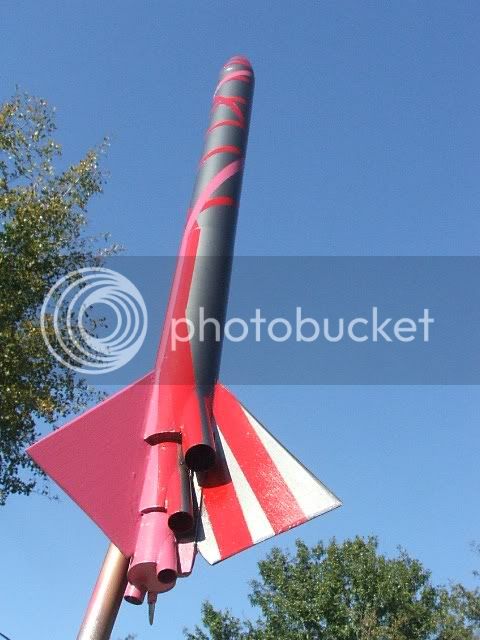
Here she is all pretty after painting and ready for the first flight:
NoName038.jpg


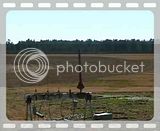
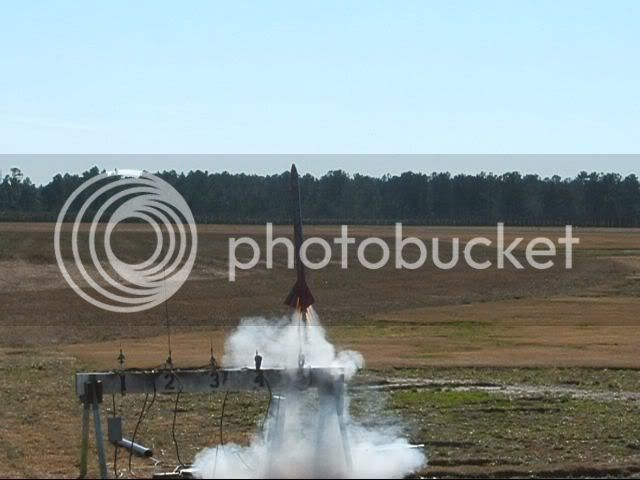
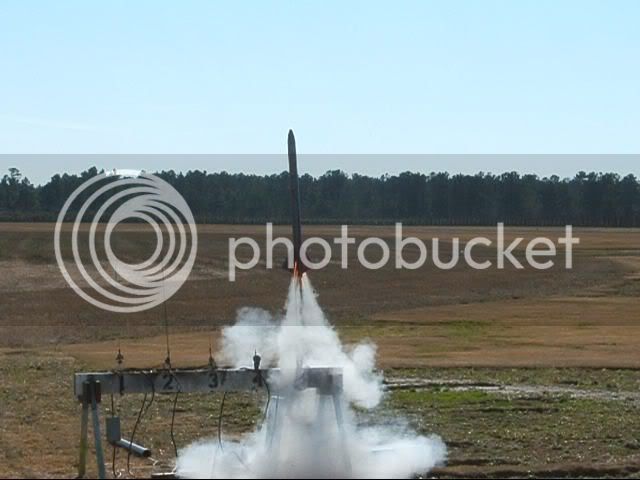
Here are a couple of frames captured of the video taken on her maiden flight..Gotta love those 6 flames coming out!
TroisDuex_07.jpg

TroisDuex_08.jpg


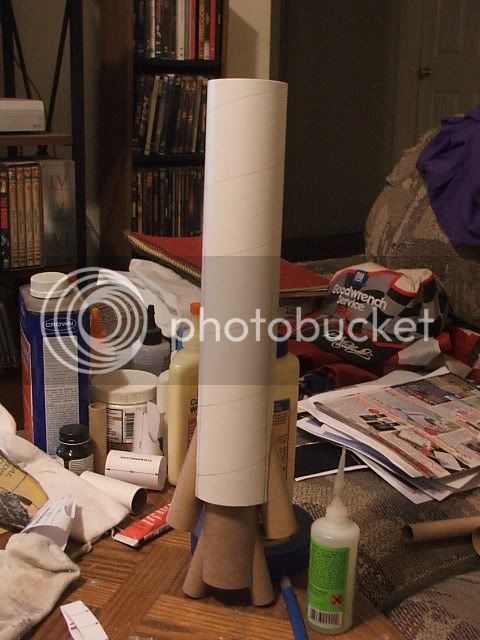
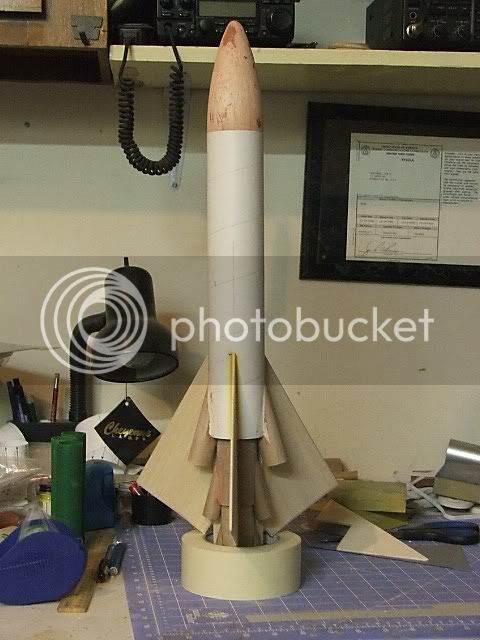
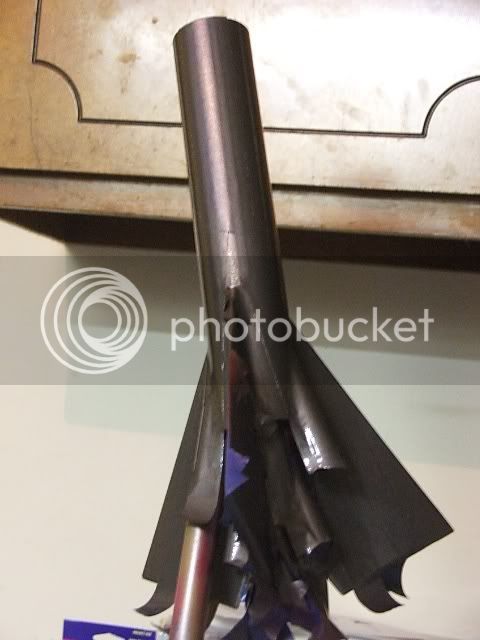
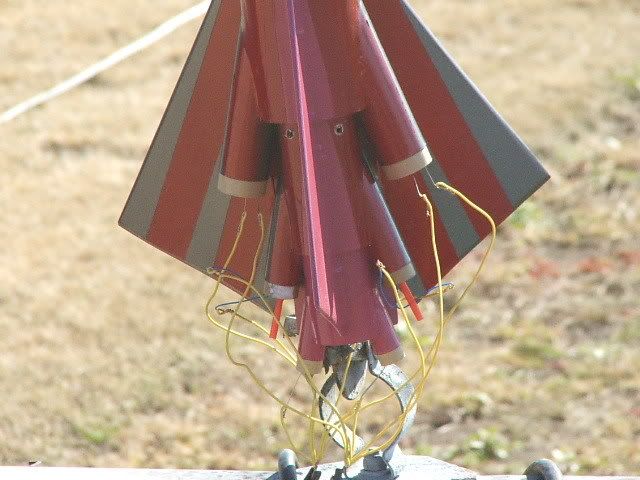
And here she is on the workbench with glue drying on the new fin:
TroisDuex036.jpg


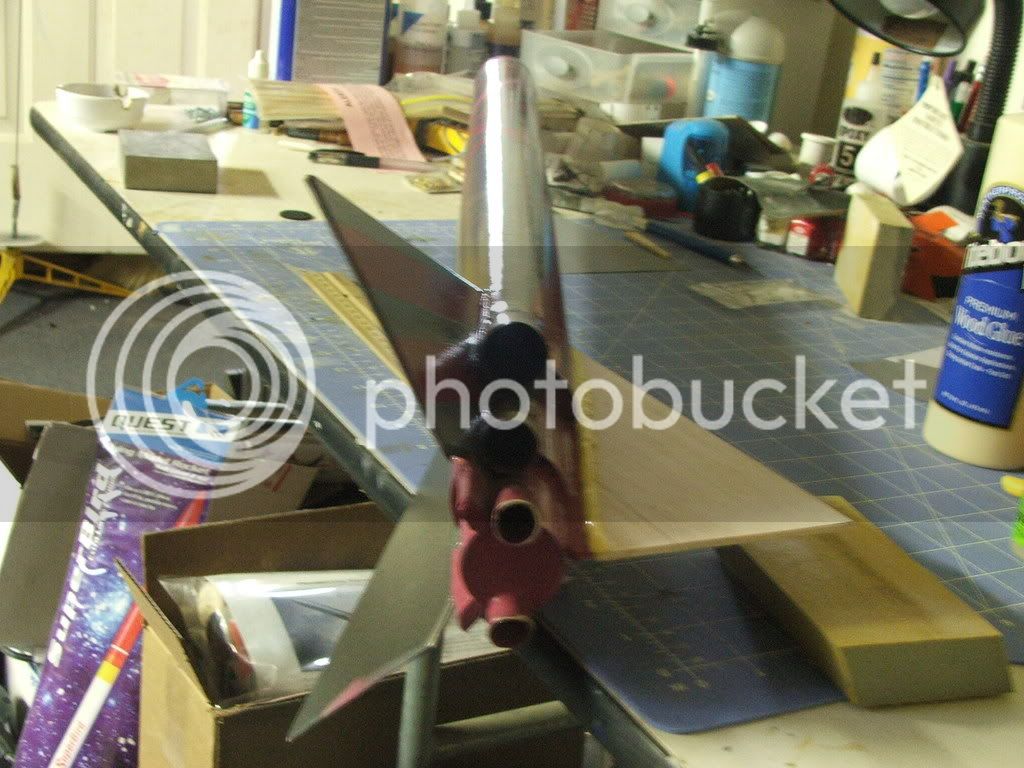
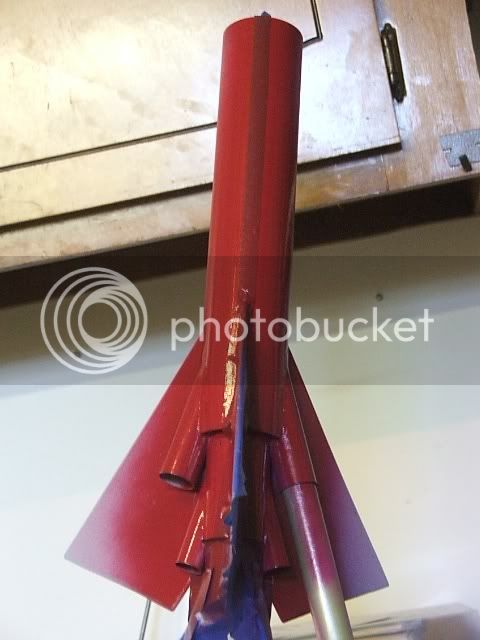
I believe that the demise of the fin was due to the wind on launch day..It was whipping pretty good, about 12-16mph and the rocket got dragged a good bit on the harvested part of the sod farm..Not sure if I will continue the current color in that area of repair onto the fin..Am thinking of painting it a bright red..
 
It was great then and its still great now.
 
can you upload the video somewhere and post the link Por Favor

In process right now! :D It is ONLY of the liftoff..I didn't track it with the camera thru the whole flight..Being its first flight I was as anxious to see as much of it as everyone else was!;)
 
Alrighty, then! :D Here is the video..As stated earlier I was only concerned with the liftoff when I shot this video, tho I did make a halfhearted attempt at following the flight..Purpose was just to 'grab' a few frames of the motors firing-which I posted in post #1..But here we go with the video-you can hear how windy it was that day...Enjoy! :D Next time I launch it I will endeavor to follow the whole flight..

 
Tres kewl :D

I don't know about anyone else, but I would love to see the build thread re-built, as it were :)

jim
 
Tres kewl :D

I don't know about anyone else, but I would love to see the build thread re-built, as it were :)

jim

Should be fairly easy to do as most all of the pictures of the build are on the photobucket web server...My C: drive on this puter croaked so I lost MY copies..But, at least I can still pull them from 'somewhere'...lol..

Will re-build the build thread in the morning! ;)
 
Okay...We all know what the final product looks like..But how did it get to that state? Well, by putting parts together in the proper sequence and location!..LOL... SO first up is the 13mm Mini Deuce motor mount..Isn't he talented standing on his head? Why is there that black ring there? Good question! That is the centering ring to allow the 13mm mount to be 'nested' up under the 18mm mount..Notice the 2 grooves cut out of the ring to clear the motor tubes on the 18mm mount(see 2nd 18mm mount picture below)..
NoName001.jpg


Next up comes the 18mm Deuce motor mount..Standing on his 'feet'..
NoName002.jpg


Uh, oh! Someone tipped him over!LOL
NoName003.jpg


Next up is the Big Guy..The 24mm Maxi Deuce motor mount..Here the glue is drying on the top 'centering' ring..
NoName004.jpg


So far things have been fairly simple..The hardest task had been cutting the body tubes where the motor tube come out..Next up is the stacking, which at first I thought MAY prove problematic, actually turned out to be pretty simple and straight forward..
 
Now comes the fun part..Nesting the motor mounts together..The 13mm mount got the centering ring so it would easily nest up to the 18mm mount..On the 18mm mount I trimmed back the body tube a little bit and cut a couple of 'channels' to be able to clear the motor tubes of the 24mm mount..Didn't use a centering ring on the 18 to 24 mount, just got proper alignment, cut the grooves and they slid right together..

Here the 18mm mount is nested up to the 24mm mount with the lower section of main body tube..
NoName006.jpg


Here we see the 13mm is now nested up to the 18mm mount..And a well used nose cone..
NoName008.jpg


Next up is the fins..Seeing as there are these 'step downs' with the motor mounts I needed to fashion some sort of 'steps' on the fins root edges..Thie was easier said then done..When I cut out the 3 fins I tried my best to do the steps, but apparently my 'calibrated eye' was out of whack..I got one spot on but the other 2 were WAAAAY off..So, plan B:Make build ups for the step downs for those 2 fins..Here the first set of 'build ups are attached to the 24 to 18 step down.
NoName010.jpg


Here the other 'build ups' are attached for the 18 to 13mm step down..This way the 2 fins I mucked up in cutting the step downs on the root edge can have a straight root edge..
NoName012.jpg


Next up is fin attachment and the question of being short or going long..
 
Next up was fin attachment..Got lazy at this step plus it would be kind of boring to post 3 pictures of:Here the 1st is on then here the 2nd goes on, etc..LOL..So, after the build ups were attached some minor sanding was required to get that 'flat' surface for the fins to attach to..Now, why did I choose to place the fins all the way to the rear? Well, after a number of simulations in RockSim it was the most stable..Yeah, I could have mounted them wholely on the big tube but would have needed a bit more(like another 2oz!) nose weight..So anyways, here she is with all 3 fins attached..
NoName014.jpg


Next, stay short or go long? She looked kind of cool in a funky since in the short configuration..
NoName013.jpg


But a little more 'elegant' in the long configuration..Plus, again, stability in flight dictates which way would be more appropriate, and the long version was the way to go..Plus by using a full length body tube extension I eliminated the need for any nose weight!
NoName017.jpg


Next up is the 'dressing' ..Here she gets her 'underwear' on..
NoName021.jpg


If anyone has any questions regarding the construction phase ask away! Next we get to do some painting!
 
Painting..What colors and how to arrange them..A unique rocket requires a unique paint scheme! So after some contemplation, the colors were picked out and a plan was formed in my little noggen..Here the colors are chosen and the first coat was applied..At this time the upper section hadn't been permanently attached to ease painting..
NoName023.jpg


Next, tape is applied for the first color stripes and a second color is applied...I will have to dig thru my paint cans and figure out what colors I actually used!LOL
NoName027.jpg


More tape is applied once color number 2 has dried and color number 3 is applied..I think I went thru almost half a roll of tape in the all the taping on this rocket!LOL
NoName025.jpg


And here is the lower section after the paint had tacked a bit and the tape had been removed..
NoName032.jpg
 
The upper section got painted in the same manner as the lower section..Spray a base coat on, tape off for a spiral stripe, shoot color number 2 then tape for a spiral stripe then shoot color number 3, tape off another spiral stripe and shoot color 4 which is the 'silver' looking color...Here is the top section after all the paint had been applied..
NoName046.jpg


And here she is fully together ...After taking a close look at things I find that I used 4 colors and not 3..The 2 red stripes are actually different shades but the difference didn't come out as drastic as I had hoped they would..
NoName041.jpg


It was a fun experience..Sometimes the wildest ideas actually do work! :D
 
[monty burns voice over]

excellent!

[/monty]

:D

Very kewl, thank you!
jim

You , sir, are quite welcome!

Neat how wild ideas come to fruition and actually work! I have a couple more wild ideas percolating along this same line BUT with a twist! Should be velly interesting to say the least!:D:cool:
 
Very nifty Cluster Pantherjon:
and cool video. Gotta love clusters:)

Thanks John! Yeah I love clusters! That day was my 'cluster' day..lol..I had 2 6-motor clusters, 1 4-motor cluster and 2 3-motor clusters!

Here is a shot of the wiring for the 6-motors in the Trois Duex sitting on the pad, to avoid using a 'clip whip'..On this maiden flight the motors I used were: 2 A10-PT, 2 Quest C6-5(the new Super C) and 2 E9-6-the E's provided the ejection charges to deploy the chute and the C's ejection charges were vented out the body tube(you can see 2 of the 4 vent holes)
Jan2009Launch019.jpg


Oh, and on all those clusters I did this same fashion and had 100% successful motor ignition.;)
 
PJ, were those vent holes large enough to prevent the C motors from ejecting?

They sure were!:) Kind of funny tho..I used the new Super C's from Quest in the 18mm section and they wouldn't fit the tubes unless I peeled off the paper wrapper..Then I ran a piece of tape around the front end for 'friction fitting' ..It's funny cause I really tried to put them in straight from the packaging, but if I had pushed any harder with the wrapper on I risked mangling the engine tube or crushing the body tube I was clamping down on in my other hand..Go figure..Too tight with the paper wrapper, but fit 'snug' with a wrap of tape..:confused:
 
Panther...

That is a very cool cluster idea you had, and a very cool rocket! Thanks for sharing (and inspiring).

I have a question: Are those things sticking out the back of the 18mm motors Quest ignitors? <pardon my ignorance - I have never used Quest motors>

Untitled-1.jpg
 
I've also had to peel the label off all the Quest Chinese C's I've used.

I don't know about the "Chinese" part but my experience with Quest motors has usually been the need to build them up, not peel them down.

I still like them.
 
I don't know about the "Chinese" part but my experience with Quest motors has usually been the need to build them up, not peel them down.

I still like them.

I have had that situation as well, John..I have a bulk pack of B6-4's I got a while(quite a while ago actually) back that were manufactured in Germany..These motors had to be built up to fit properly in the 18mm motor tubes..
 
I have had that situation as well, John..I have a bulk pack of B6-4's I got a while(quite a while ago actually) back that were manufactured in Germany..These motors had to be built up to fit properly in the 18mm motor tubes..

I guess I have the germans too. I have a bulk pack of the A6-4s and a few B6-0s.

I want to get a lot of the long burn Cs in the near future. I'm working on a 12x cluster that will work better, if it works at all, on longer burning motors.
 
Back
Top