TRF Summer Build Off: SSC - Spiral Spin Can

The Rocketry Forum

Help Support The Rocketry Forum:

This site may earn a commission from merchant affiliate links, including eBay, Amazon, and others.
Well Mr. Twisty sure looked good. If you can get this thing to work at 29mm or 38mm it should be really cool.

Would you like fries with that? :wink:

J/K - Already trying to figure it out. Hard part is finding/having the right parts. I figure I'll need 4 CRs (29mm to 38mm) and I don't have that many and don't know if I want to sacrifice two 38mm kits for them. Also gotta decide on paper or plastic (or both). Also if paper, maybe lite ply fins?

Don't mind me...I'm rambling a bit since I took "Severe" cold medicine. :eyeroll:
 
It would be pretty cool if you find a way to make the acrylic work. It kind of gives the rocket a fragile, toy like appearance that you don't expect to survive the launch. Makes me remember the fun times that I had as a kind trying to make various air vehicle like objects fly.
 
It would be pretty cool if you find a way to make the acrylic work. It kind of gives the rocket a fragile, toy like appearance that you don't expect to survive the launch. Makes me remember the fun times that I had as a kind trying to make various air vehicle like objects fly.

I know what you mean! I'd still like to make one with the fluorescent glow plastic and I figure that some rockets have fragile balsa fins, so how bad can acrylic really be? :)
 
Maybe I have to find just the right temp, but the preliminary test didn't go so well...
2016-07-04%2021.27.45.jpg

Just like a composite layup, try using a mold with curviture, so that when you heat the acrylic, it will bend to that shape. Dont know how you tried heating that one and if wiki is right about the melting point (320F according to them) you shouldnt have too much trouble with a mold.

Hope this helps.


Alexander Solis - TRA Level 1 - Mariah 54 - CTI-I100 Red Lightning Longburn - 6,345 Feet
 
Just like a composite layup, try using a mold with curviture, so that when you heat the acrylic, it will bend to that shape. Dont know how you tried heating that one and if wiki is right about the melting point (320F according to them) you shouldnt have too much trouble with a mold.

Good suggestion! I'd forgotten about that one. :)

SinfulDarkLord now has become SPinfulDarkLord...

:lol:
 
I just hope that SDL doesn't get too wound up by my change to his name.

Nah, its all good, that one actually turned out hilarious.


Alexander Solis - TRA Level 1 - Mariah 54 - CTI-I100 Red Lightning Longburn - 6,345 Feet
 
Not really...acrylic is just naturally brittle.
I don't want to make an argument of it, but it was you yourself who stated:
Acrylic is too fragile for this since... there is stress already present.
Annealing is the way to handle that, if the acrylic can be annealed.

Based on this:
Just like a composite layup, try using a mold with curviture, so that when you heat the acrylic, it will bend to that shape. Dont know how you tried heating that one and if wiki is right about the melting point (320F according to them) you shouldnt have too much trouble with a mold.
I'd suggest staying well under 320. Either using a mold as SDL suggests, going only hot enough to bend, or bending cold then going up to about 250 (just a guess) for a half hour and then cooling slowly; turn the oven off but leave the door closed. Actually, cool it that way whichever forming method you use.

OK, I've said my piece, and now I'll leave it alone.
 
I don't want to make an argument of it, but it was you yourself who stated:Annealing is the way to handle that, if the acrylic can be annealed.

Based on this:I'd suggest staying well under 320. Either using a mold as SDL suggests, going only hot enough to bend, or bending cold then going up to about 250 (just a guess) for a half hour and then cooling slowly; turn the oven off but leave the door closed. Actually, cool it that way whichever forming method you use.

OK, I've said my piece, and now I'll leave it alone.

No prob at all! Yeah, that's likely a result of some of the loopy logic I go through when doing a scratch build..."no that won't work"..."maybe it can work"..."nah, too much work and trouble"..."but it would be cool"..."why not give it a try?"..."that wasn't too hard, let's see how it flies"..."ouch". :wink:

I thought that despite acrylic being prone to stress breakage that having rockets land on grass would help mitigate damage along with the fins being in a curved/angled position (this makes the distance between fin tips lesser, which makes the bottom stronger in a way since a long fin sticking out is more likely to take higher landing impact forces due to leverage than fins close or almost like in a circle where more fins can take the impact and the footprint is "denser"). Still, the first test landed in dirt and I heard a distinctive "tink!". The fracture wasn't so bad (easily fixable) and I didn't have much flexing force on the fin, but I didn't think I'd get damage on the first shot; however the suggestions are much appreciated and I will likely try them eventually. Also I initially considered the heating more as a way to form the spiral fins, which have much more curvature.


Plus I have one small thing I'd like to do ahead of this...

gobig.jpg


:grin:
 
Oh, and just to be clear, my line of thinking was that acrylic is a bit more brittle by itself than I'd like - even without any flex stress...just drop a sheet on a hard surface and it is likely to crack; however not necessarily the same for other common fin materials. It is the combination of weight and fragility/inflexibility that makes it tricky to use. Even that one warped piece I had on my desk developed small fractures from handling. :eek:

Still, I've already got the materials (as well as a sheet of Lexan) and I do plan on revisiting it...at a later time/if I have time. :)

2016-07-05%2015.02.54.jpg
 
:facepalm: (Oh, I thought I was bad.) K'tesh, that was really strained. I think you've finally cracked.

I'll blame it on a lack of building rockets!

Help save K'Tesh's Mind! Send Rockets! Supplies!

So far, I've received two rockets that would have been buildable (presuming I had the supplies) had they not been mangled in shipping. I've got parts for a 3rd, but need a body tube and supplies.
 
Well, I started on the upscale fins last night...after hours of trying to figure out the 29mm design (MD or 38mm bt?), I figured I'll use 29mm blue tube first and was aiming for 38mm cardboard outer. I considered 29mm CF (I actually got one from Rocketry Warehouse for $50 during the last BF sale); however I decided against it for now since it wouldn't quite make sense if I was going to add on 38mm parts.

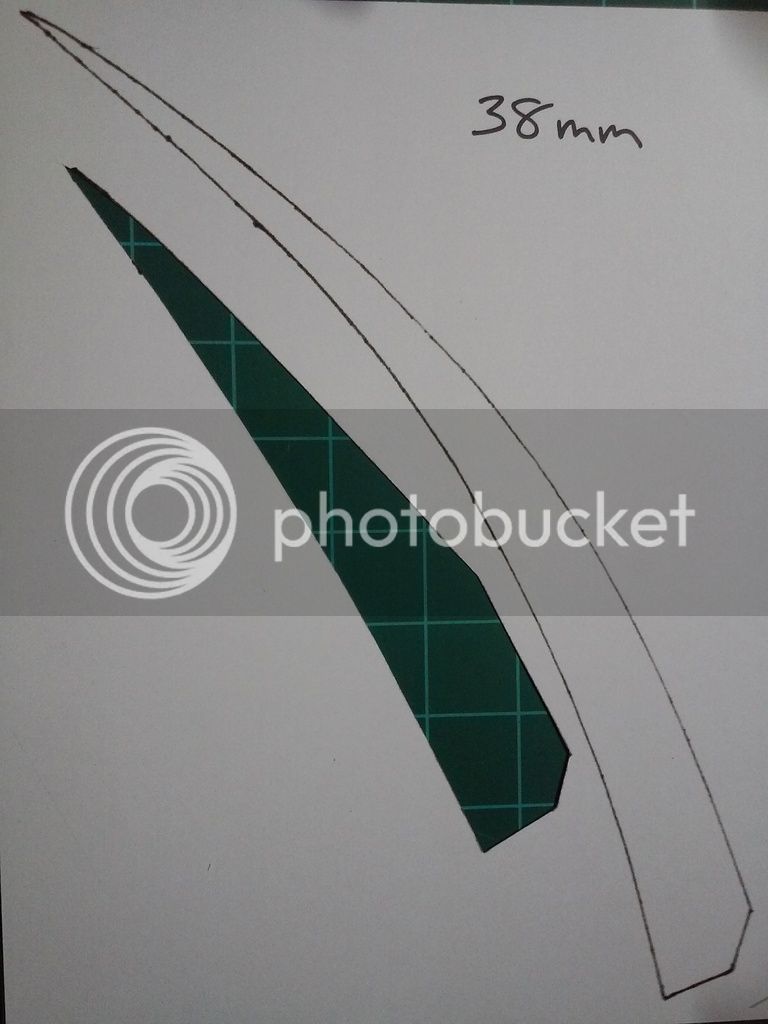
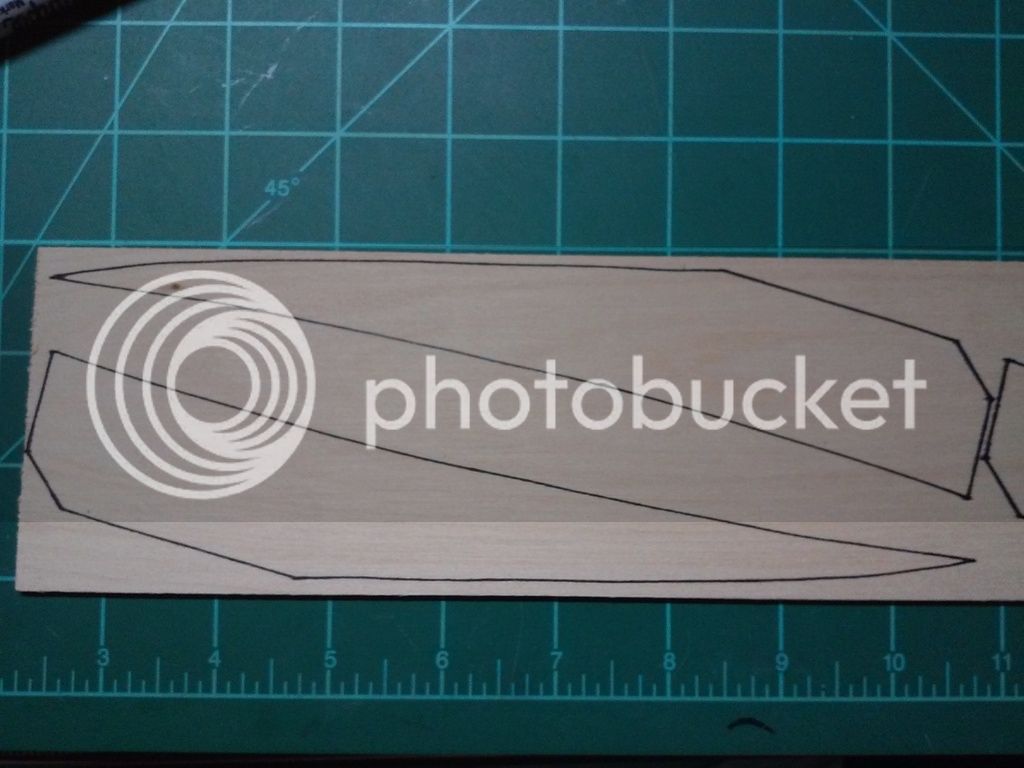
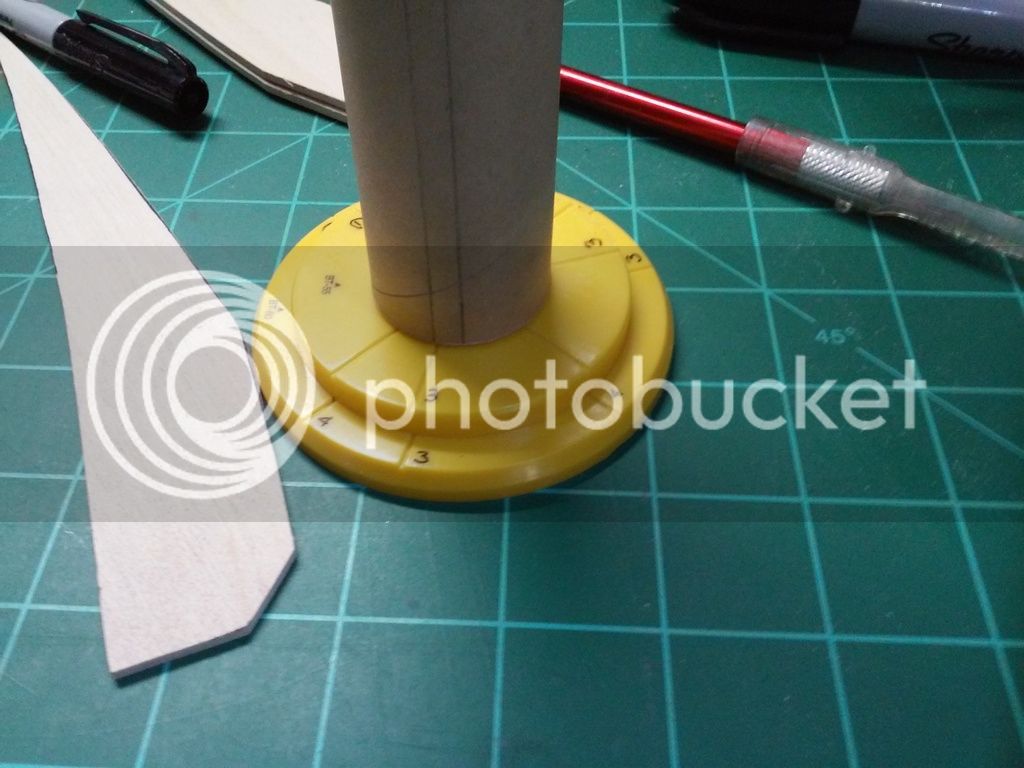
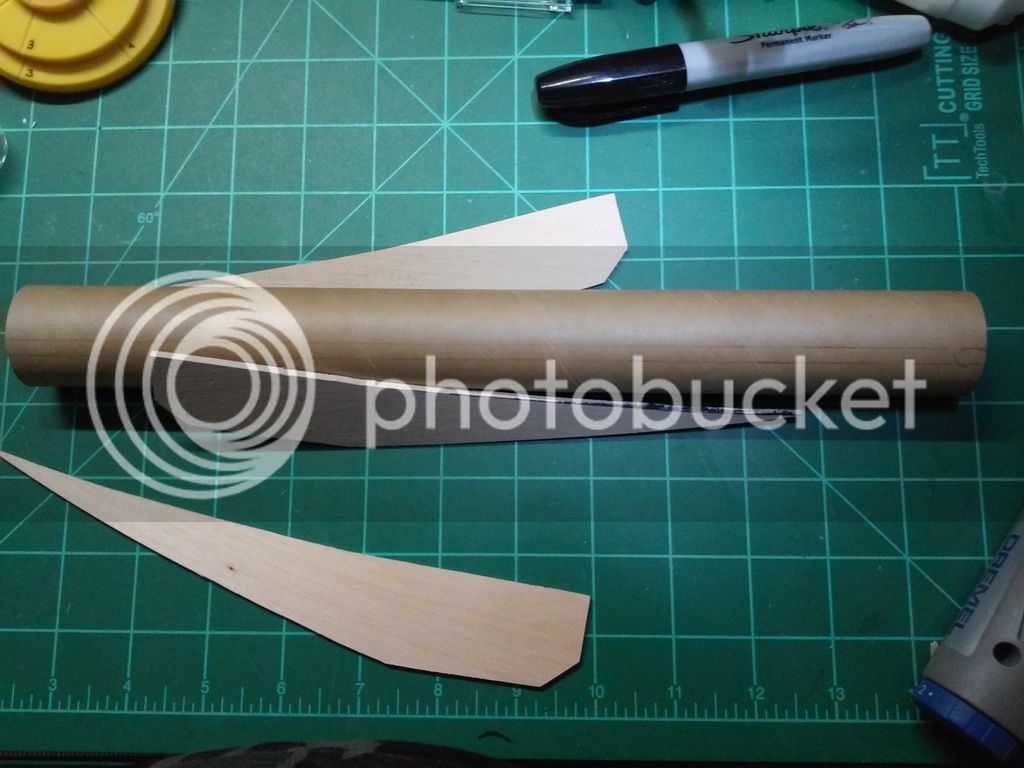
So first I enlarged the fin template I have to 38mm, printed it out on cardstock, cut it out and traced it onto basswood:

2016-07-05%2022.21.41.jpg


2016-07-05%2022.25.50.jpg


2016-07-05%2022.56.02.jpg


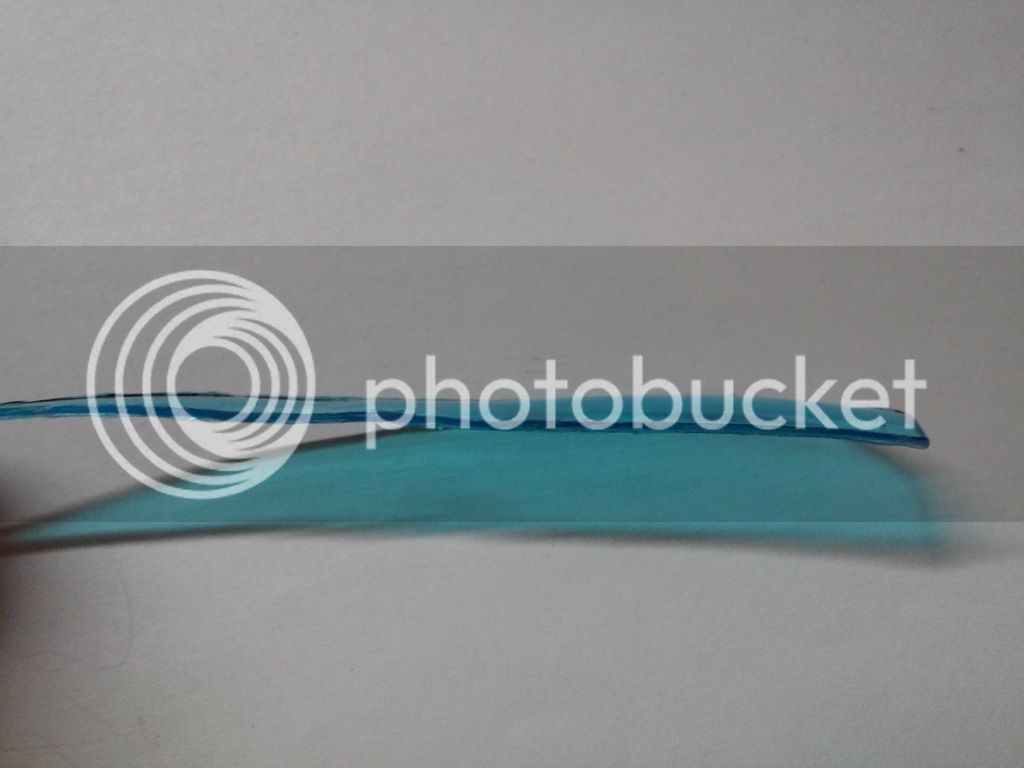
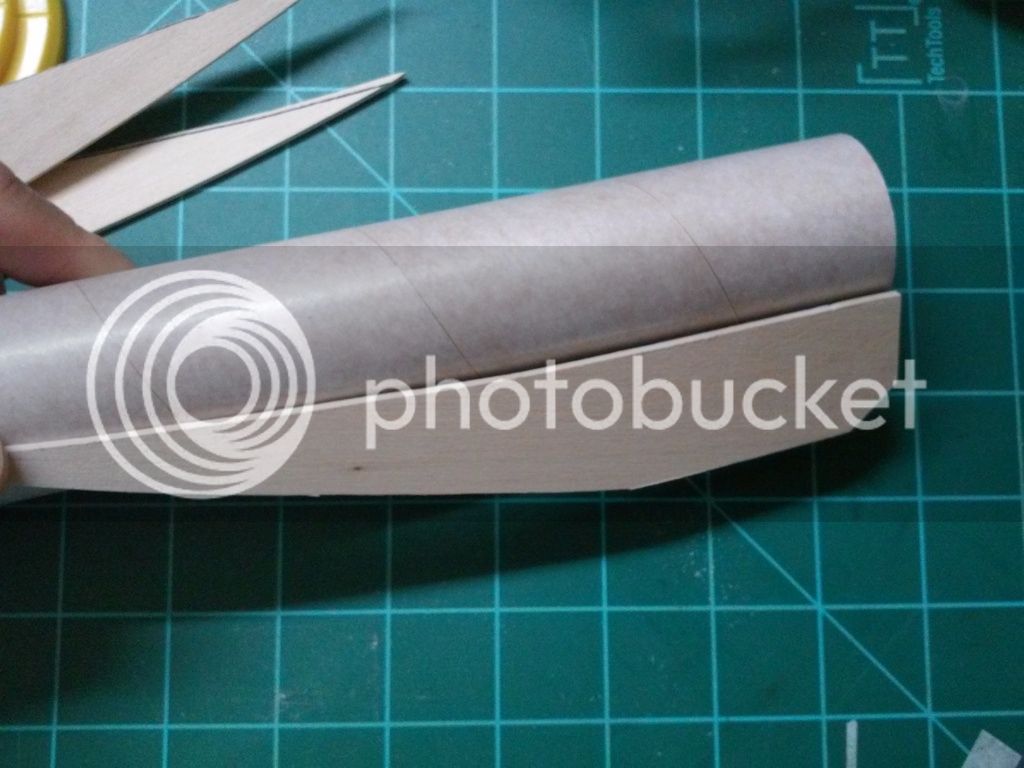
Then I tried a dry fit on a 38mm tube and...it just didn't look quite right. :confused:

2016-07-06%2011.35.19.jpg

Turns out I thought the template I grabbed for enlarging was for 18mm fins, but it was actually for 13mm fins, so these are too small. :facepalm:

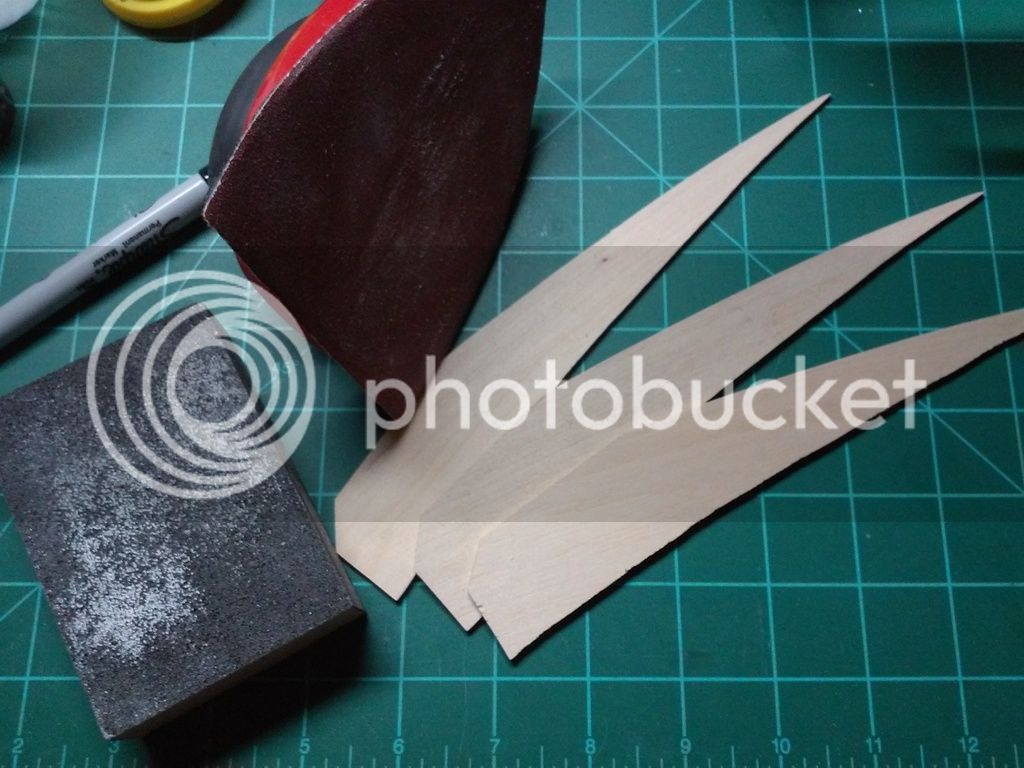
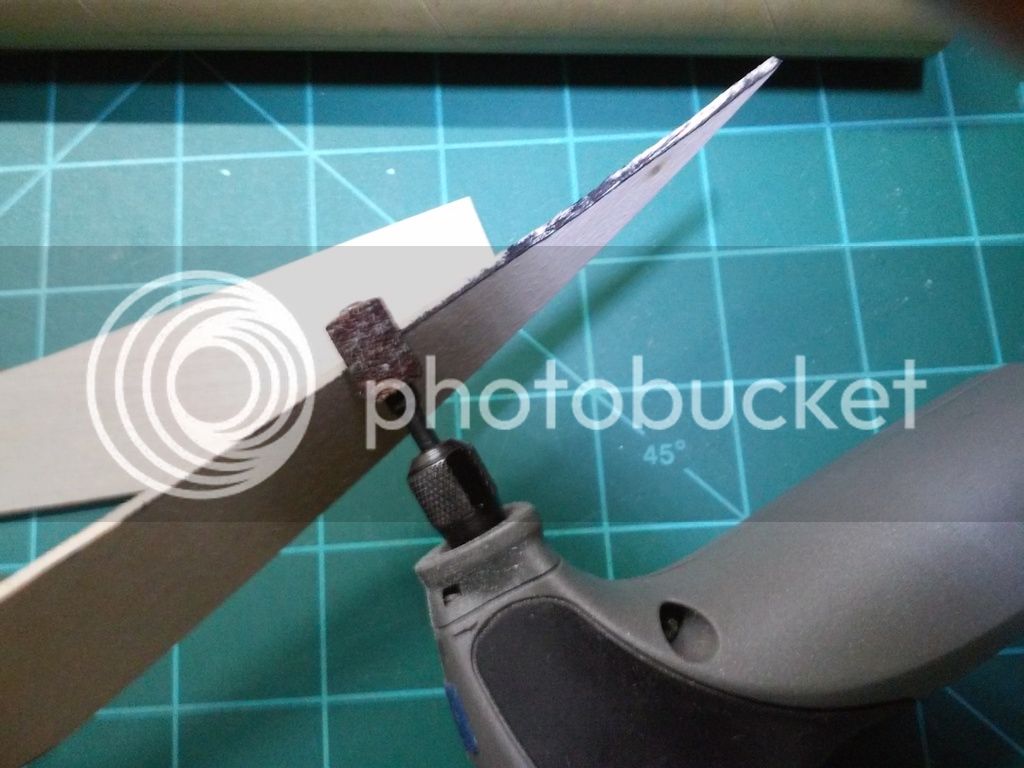
Yup, failure is always an option. Still suffering from a bad cold, so my brain is still a bit foggy (which made using a bandsaw take doubly long since failure is a very bad option there). I think it'll work for 29mm MD, so I may use it for that first and then 38mm after that. I'm still building modular, so I'll make it as adaptable as possible.

Other possible build parts:
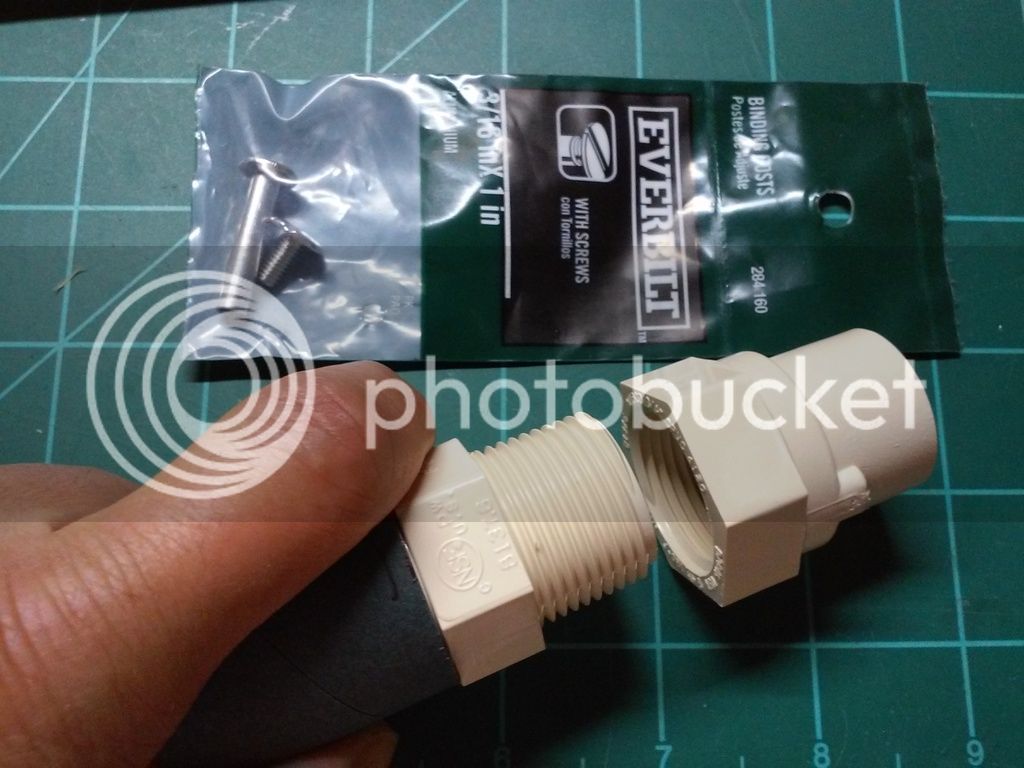
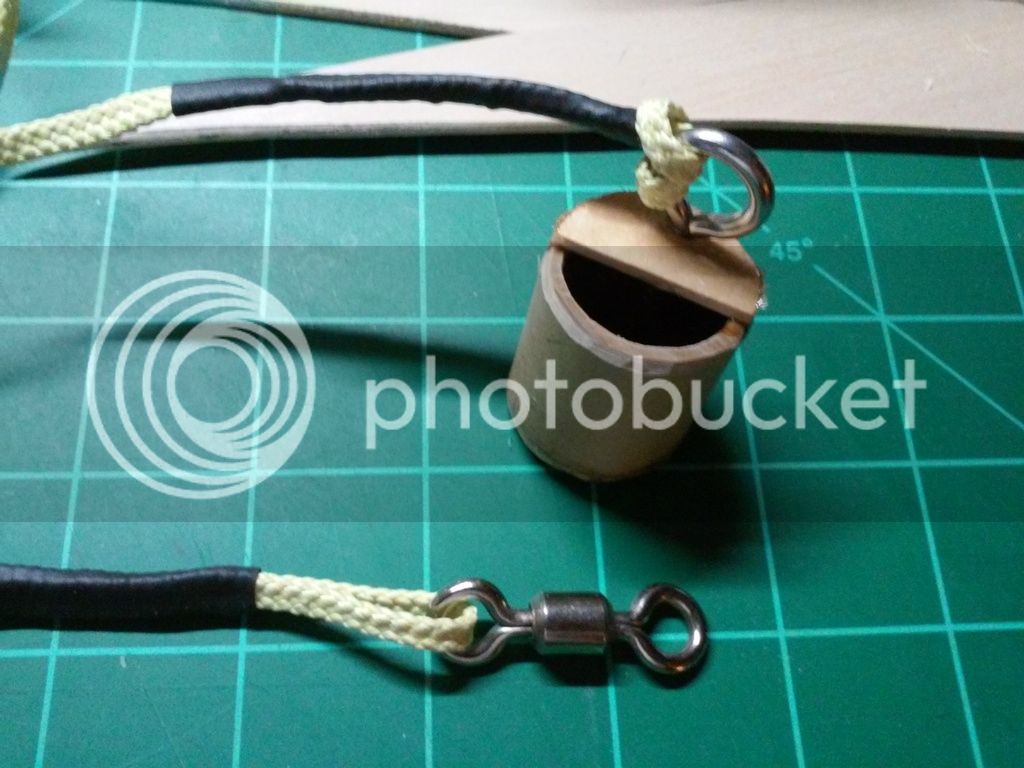
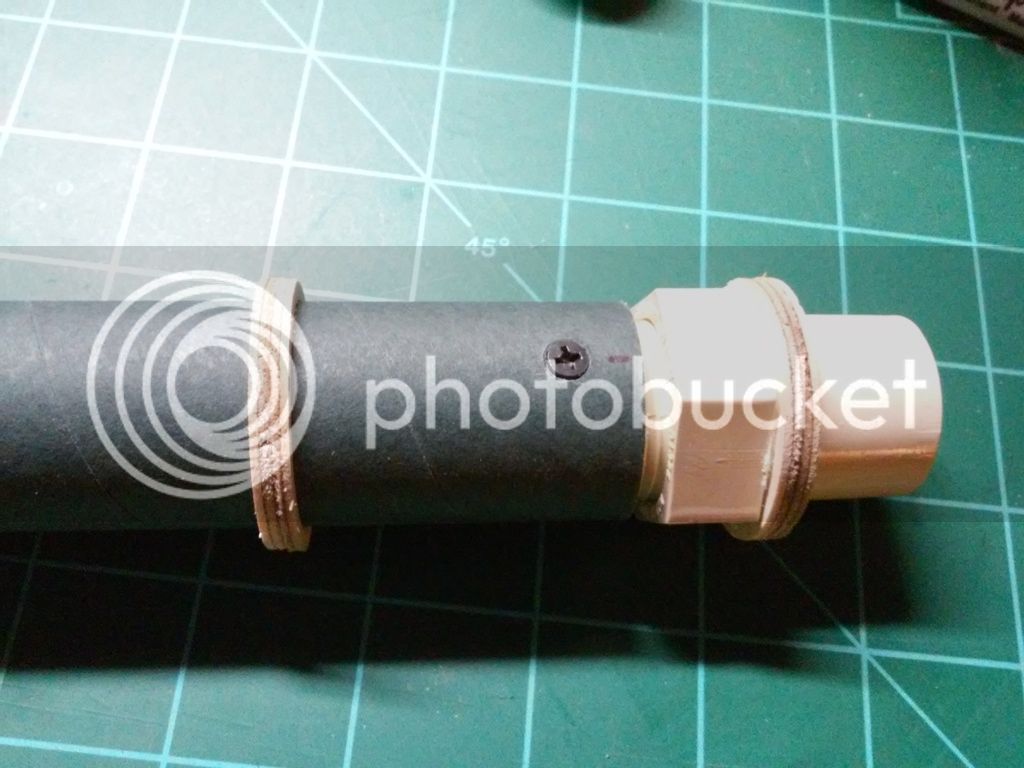
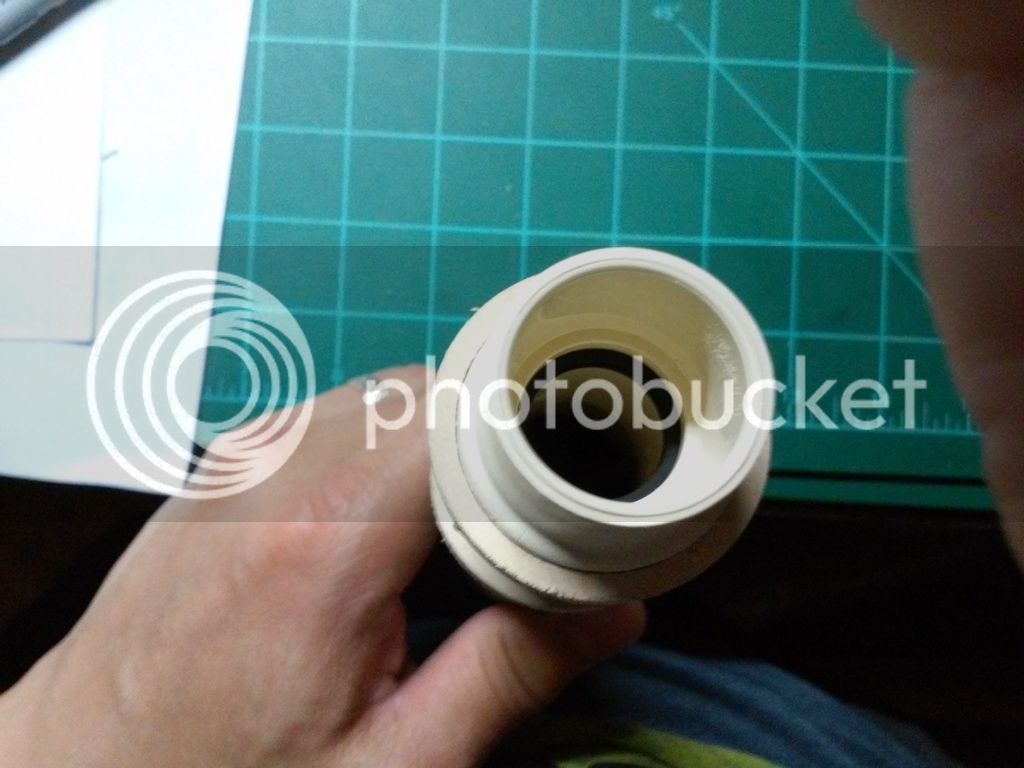
-I may go with an ejection baffle, that way I can maybe have the collars screw into it and also use it as an anchor point for the shock cord (skipping the motor block since this can be MD).
-Considering using a threaded insert at the front end so I can screw on different uppers (ex. 38mm or 29mm extension)...
-Alternatively, may just drill a hole through near the top for an anchor pin for the 38mm upper and still be able to just use a 29mm nose cone straight on.
 
I wanted to add in that I had to order 29-38mm CRs for the 38mm upscale and placed an order from Public Missiles the other night thinking it was for G10 CRs (since the paragraph above the item list mentioned G10); however after placing the order realized G10 was listed further down and I had ordered plywood CRs. :facepalm: I then placed another order for G10 CRs and started writing an email to PM to cancel the first order, but went away (was feeling loopy from cold medicine) and when I got back on the computer, I saw that I hadn't sent the email, so I thought it over and then changed it to combine orders. I got an email yesterday from Kim saying that she cancelled the first order and issued a refund (come to think of it, I tried to cancel in Paypal first, but that didn't quite work), got my email and then sent me a new invoice and also emailed me about what she did.

I paid the invoice and thanked her, explaining I was a bit out of it due to my cold. She replied back with:
"
viewattachment
Thanks Ken. Got it. Hope you are feeling better!"

I'll tell you, that was great to hear. What a great person at a great company. :)
 
Squirrelly, loopy, dizzy, feeling puny...

Rats!

Hope you are feeling better soon Ken!
 
Got some more done on the 29mm...

I'm using a phenolic BT55 collar since it's stiffness should help prevent the tube from warping, causing binding. It just happens to fit over a 29mm blue tube nearly perfectly. I then used an Estes tube marker to mark off 1/3 segments and left a space for the rod.

2016-07-06%2014.47.23.jpg


I considered wetting, twisting and setting the fins, but that's more work than I thought necessary here, so I instead just test fit a fin and using a marker, marked off where I should sand the edge down. The sharp tip will lie more sideways/flat while the wider end would sit more perpendicular to the collar.

2016-07-06%2014.48.54.jpg


2016-07-06%2014.49.25.jpg


Then I applied glue to the fin and using the double-glue method, I put it down on the collar, lifted up, allowed to mostly dry, more glue, and then glue down and tape in place.

2016-07-06%2014.58.24.jpg


I also made sure to insert in the bt to help prevent warping of the collar as the fin dries.

2016-07-06%2015.14.37.jpg


I added glue fillets and while it dried, I started on the baffle by cutting down a piece of spent Estes 29mm F15-0 motor and adding basswood baffle pieces.

2016-07-06%2016.04.19.jpg


2016-07-06%2017.04.38.jpg


I'm thinking I'll add in the shock cord anchor to the baffle and fix the baffle in place with 3 screws (originally thought of glue, but that would be messy and a problem if the anchor or kevlar cord breaks. Next I'll glue on the other 2 fins.
 
Got more done...

First I took another look at possibly making the front end have a screw adapter so I can use the same bt for a 38mm upper chute compartment along with lower 38mm bearinged spin can. Looks pretty good. I would just turn down the hex part and then it should slip right into the bt and maybe lock it in place with a pin or screws. The female end would go in the 38mm upper on top of a CR (the upper of two I figure).

2016-07-06%2023.12.55-1.jpg


I then continued the baffle, adding a screw eye, Madcow kevlar with swivel and also covering it with Epoxy.

2016-07-06%2023.43.15.jpg


Next I inserted the baffle almost above the collar, drilled 3 holes, countersunk and put in 3 screws to hold the baffle in place. I also added on a Slimline 29mm retainer.

2016-07-07%2010.41.24.jpg


2016-07-07%2010.41.13.jpg


2016-07-07%2010.45.40.jpg


2016-07-07%2011.41.52-1.jpg


I might use JB Weld to glue on a brass launch lug to the retainer side (and also one on the upper collar retainer). Cool thing is that I got 3 bags of K&S "cutttings" dirt cheap and they have lots of great pieces I can use.

2016-07-07%2008.38.58.jpg


I had to reglue the first fin since I took the tape off too early and it pulled up the glue joint and let it dry stretched. I'll next glue on the other two fins. Getting very close.

:caffeine:
 
Last edited:
29mm almost done! :grin:

I finished the spin can, painted similar to the 18mm scheme and started on the lugs:

2016-07-14%2021.34.53.jpg


For the rear lug, I roughed up a section of the Slimline retainer and using JB Weld, attached the lower lug. In the latter pic, you can see the upper collar I'm working on. It is a few layers of tubing and at first I wasn't quite sure how to have it fixed in place. I was considering just tape on the inside for friction fitting, but in the end decided on a glued in nut and a bolt for tightening against one of the baffle screws.

2016-07-12%2022.46.39.jpg


2016-07-12%2023.29.15.jpg


2016-07-14%2022.47.46.jpg
 
At the same time, I was working on making the 38mm adapter. The PVC fitting I found looks like it will work like a dream! I test fit the 29mm-38mm CRs and a fg one fits over the female fitting perfectly while the plywood one requires just a bit of sanding. The only real work needed here is that the hex section on the male fitting is too large to fit into the 29mm tube, so I figured I had to turn it down. In preparation, I taped the threads so that they can be inserted into the lathe chuck.

2016-07-14%2020.41.14.jpg


Regarding the lathe, I hadn't used it in many years, so this was a great opportunity to dig it out from all the stuff on/around it and use it again...

2016-07-14%2021.15.55.jpg


2016-07-14%2021.23.48.jpg


I wasn't sure how to install in the fitting so that it can be easily installed and removed. I initially thought maybe a rod or bolt through, but in the end, decided to just use two countersunk screws. The trick is that since the 38mm upper will have two CRs (a single CR wouldn't be sturdy/stable enough), the 29mm bt with fitting attached would need to be inserted through the lower CR first. I ended up deciding on just using two countersunk screws similar to the ones on the baffle since those worked well there.

I then inserted the male adapter into the 29mm bt, drilled it through, countersunk, added screws and tested the parts sans 38mm tubing (note the left CR will likely end up lower than shown).

2016-07-14%2022.45.03.jpg


2016-07-14%2022.46.05.jpg


I may put a bolt through the 38mm upper fitting to allow another shock cord to be attached there as another option and it would also serve to lock the female adapter to the CR (which will be glued into the 38mm upper). I don't know if I'll be able to get the 38mm bearinged version done, but I'd like to.

Right now I should have the 29mm version ready with both fin cans (still need to make the longer spiral one).

Among the many thought points here, I'm pondering making a 29mm DD section so I can really wring this 29mm MD out and possibly putting an Eggfinder in the nose cone (only problem here is that both of mine have the larger Tx antennas and the wire one would be better for 29mm).

This build is quite a brain drain!
 
Last edited:
You know, when you get this kitted out, you're going to need to send one to me.

I'd love to give this a whirl.
 
Back
Top