You are using an out of date browser. It may not display this or other websites correctly.
You should upgrade or use an alternative browser.
You should upgrade or use an alternative browser.
TLP Gabriel III/AS build
- Thread starter sodmeister
- Start date

Help Support The Rocketry Forum:
This site may earn a commission from merchant affiliate
links, including eBay, Amazon, and others.
- Joined
- Jan 20, 2011
- Messages
- 6,387
- Reaction score
- 2,067
Hoooooooo doggie! That looks sweet!! What a master builder you are. Light that puppy up!
:clap::clap::clap::clap::clap:
:wave:
:clap::clap::clap::clap::clap:
:wave:
sodmeister
Well-Known Member
- Joined
- Aug 1, 2009
- Messages
- 6,963
- Reaction score
- 36
Wow, it looks great. I'd be hesitant to launch that bad boy... but I would launch it.
Thanks ,it is a cool looking TLP kit ,different for sure with those fins ,but not as hard as I thought it would be.
Cheers
Paul t
sodmeister
Well-Known Member
- Joined
- Aug 1, 2009
- Messages
- 6,963
- Reaction score
- 36
Hoooooooo doggie! That looks sweet!! What a master builder you are. Light that puppy up!
:clap::clap::clap::clap::clap:
:wave:
Thanks for the good word Jeff ,much appreciated !I`ll have to wait until spring 2013 for launching ,and i`m going to have plenty to launch.
I have a few more pics to post.
Regards
Paul T
sandman
Well-Known Member
- Joined
- Jan 17, 2009
- Messages
- 10,563
- Reaction score
- 20
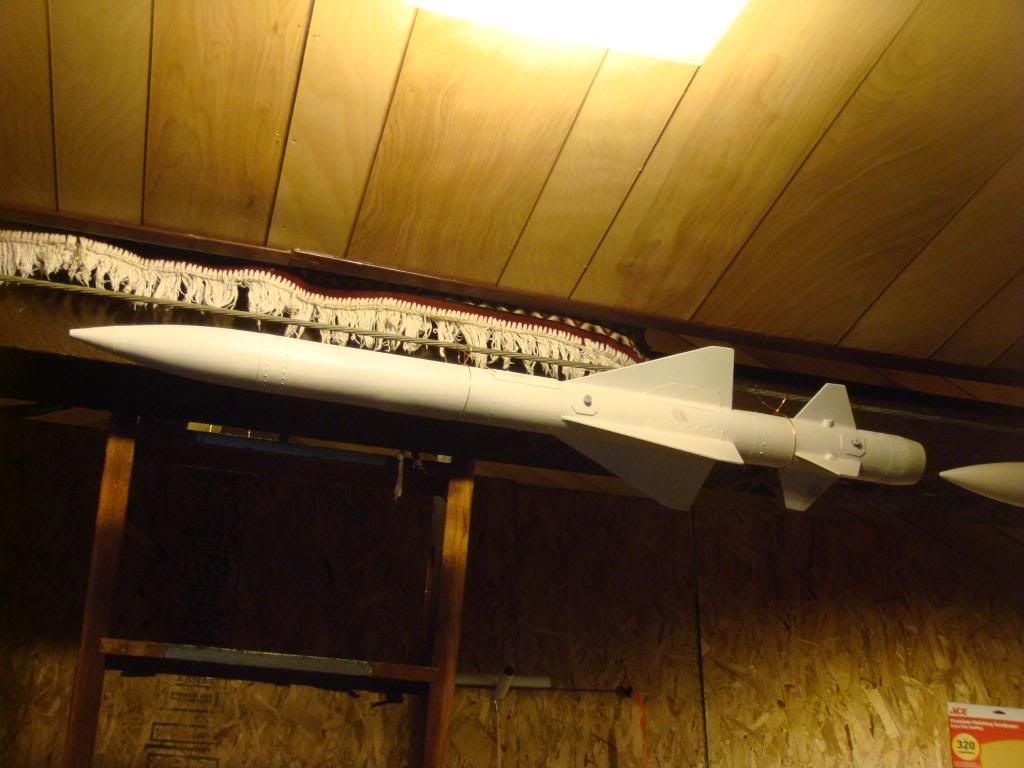
Sheesh ,been quite some time ,but I did not forget about this ,finally got it finished and painted this past October during a warm spell of nice weather.It took plenty of masking and drying between coats and finally oversprayed with Krylon satin clear finish.I made most of the decals myself ,but also used the set from Gordy "sandman" and will say ,they went on without an issue ,top quality product from Gordy.Mine I made using decal paper from David at Sirius Rocketry ,good quality paper ,print and overspray with 3 light coats of Krylon clear UV non-yellowing gloss .I let them dry for 24 hours and apply using Future as my decal setter.
Anywho ,here is the first set of pics.
Hope you enjoy them.This was a great kit from The Launch Pad ,lots of scratch building and the fins were a new adventure ,but I like the way they turned out.
Take care
Paul t
WOW! good job Paul, Whew...I almost missed this one.
Very purdy. The Gabriel is one of my favorite TLP fliers.
sodmeister
Well-Known Member
- Joined
- Aug 1, 2009
- Messages
- 6,963
- Reaction score
- 36
Thankyou fellows ,one and all ,you are too kind !!
The problem with this missile ,is there is very little ,pretty much none ,in the way of info or pictures of the real or practice round.
That`s why I love these kits ,use the bare bones as a guide and go nuts with as much detail as you want ,and with Gordie`s (Sandman) decals ,everything comes together nicely !!
I have a few last pictures to post (I took the darn things ,now you`re gonna see them LOL) and then on to the MARTEL then the EXOCET.......remember those :wink:
Cheers
Paul T
sodmeister
Well-Known Member
- Joined
- Aug 1, 2009
- Messages
- 6,963
- Reaction score
- 36
- Joined
- Mar 15, 2011
- Messages
- 2,158
- Reaction score
- 12
Another out of the park Homerun! Well Done Paul!
- Joined
- Feb 3, 2009
- Messages
- 150
- Reaction score
- 6
Fantastic work! I hate to be That Guy though - I don't see rail buttons on it yet...? Did I miss them or are those still coming?
sodmeister
Well-Known Member
- Joined
- Aug 1, 2009
- Messages
- 6,963
- Reaction score
- 36
Another out of the park Homerun! Well Done Paul!
Thankyou Eric ,means a lot comming from you !!
You take care bro !
Paul t
sodmeister
Well-Known Member
- Joined
- Aug 1, 2009
- Messages
- 6,963
- Reaction score
- 36
Fantastic work! I hate to be That Guy though - I don't see rail buttons on it yet...? Did I miss them or are those still coming?
Thankyou !
Oops......LOL
Yep ,I did forget (sheesh....how embarassing :blush: )
I`ll get them on ,I promise.
Cheers
Paul T
sodmeister
Well-Known Member
- Joined
- Aug 1, 2009
- Messages
- 6,963
- Reaction score
- 36
Very nice build Paul, your building skills and attention to details are second to none. There are other craftsmen on here who's building skills are amazing also.
Jim
Thankyou ,good of you to say !
And yes ,there are some really great builders/craftsman on this site ,I`m always learning new stuff from the folks right here on TRF
I love it here !!!
Paul T
TopRamen
SA-5
- Joined
- Aug 9, 2013
- Messages
- 9,955
- Reaction score
- 111
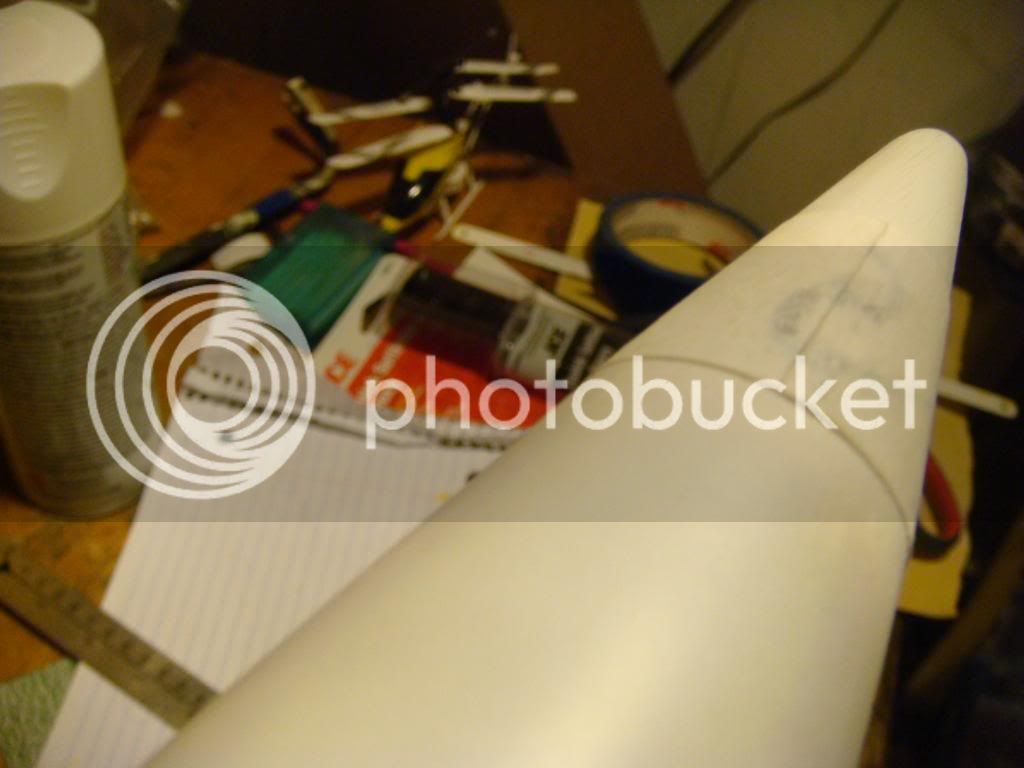
Took a break from the Arcas and did a little rolling of the nosecone extension and the tailcone.
I just use white glue and then clamp until dry.
Just a note when it comes to rolling the tailcone or boat tails for that matter.On the cut out template ,there is a tab that you line up with the other edge and lap it over and glue.Doing this leaves a ridge line that requires careful sanding and filling to make smooth.
I cut off the tab ,and make my own separate one.I cut it about 3/16 wide and the full length of the part ,then draw a centerline and glue this to one of the raw edges and let dry.
When dry ,you simply roll the other raw edge up to the other and glue to the other half of the exposed tab.This makes a nice smooth ,flat joint !
NICE !
It would be nice to do this on the NC extensions ,but it`s just not feasable ,trust me I tried once..........ONCE
Paul T
That's a great Tip right there!!! That will be how I do my Cones from now on. Makes much better Sense.
TopRamen
SA-5
- Joined
- Aug 9, 2013
- Messages
- 9,955
- Reaction score
- 111
Took a break from the Arcas and did a little rolling of the nosecone extension and the tailcone.
I just use white glue and then clamp until dry.
Just a note when it comes to rolling the tailcone or boat tails for that matter.On the cut out template ,there is a tab that you line up with the other edge and lap it over and glue.Doing this leaves a ridge line that requires careful sanding and filling to make smooth.
I cut off the tab ,and make my own separate one.I cut it about 3/16 wide and the full length of the part ,then draw a centerline and glue this to one of the raw edges and let dry.
When dry ,you simply roll the other raw edge up to the other and glue to the other half of the exposed tab.This makes a nice smooth ,flat joint !
NICE !
It would be nice to do this on the NC extensions ,but it`s just not feasable ,trust me I tried once..........ONCE
Paul T
Hi Paul. I did this today for my Nose Cone "Fuze".

Little Primer and sanding and I think we'll be ok.
Oh, and it's just a Band, but the same Principle applies. I used the Original Nose Cone Template from the TLP Kit Information to create it. I can scan it now with my Printer, and make many if I like.
It's funny how I so hated Paper Pieces, and now totally think they are awesome and fun to use.

Last edited:
Similar threads
- Replies
- 3
- Views
- 373
- Replies
- 75
- Views
- 3K


