Tango Papa 2x Mars Lander - looking for help & advice!

The Rocketry Forum

Help Support The Rocketry Forum:

This site may earn a commission from merchant affiliate links, including eBay, Amazon, and others.

emckee

Well-Known Member
Joined
Oct 15, 2011
Messages
586
Reaction score
118
A few years ago I purchased (what the instructions refer to as) a "pseudo-kit" from a fellow in the Seattle area: The Tango Papa 2x Mars Lander.

Based on the instructions and materials included, I'm guessing this must have been a very early version of the kit. Old receipts for hardware that were probably purchased around the time the original owner bought the kit have a date in 1998 (yeah, it's pretty old). It includes some 7.5" tubing and coupler rings, a 3" mailing tube (so marked) as the parachute tube, three centering rings, and some 38mm PML phenolic for the motor mount. There are a lot of drawings, but not a lot of actual materials included (no balsa, plywood, dowels, hardware, etc). The instructions are basically a set of "addenda" to the original Estes kit instructions. Many of the drawings, details (e.g. amount of nose weight), and etc that other reviews and notes have mentioned seem to be totally lacking. It's definitely going to be a "builder's kit"...

So... does anyone know whether there were a later (more complete and detailed) revision of the instructions available in later kits?

Better yet, does anyone have a copy of the instructions that were included in a kit that I could get a copy from?

If you've built one of these in the past, I'd appreciate any advice on materials selection, design modifications, or etc! Please reach out!

Many thanks in advance,
Erik McKee

(Edit: did I mention that the instructions actually call for a 29mm motor mount, even though the centering rings are clearly made for 38mm?)PXL_20220813_003352638.jpg
 
Last edited:
A few years ago I purchased (what the instructions refer to as) a "pseudo-kit" from a fellow in the Seattle area: The Tango Papa 2x Mars Lander.

Based on the instructions and materials included, I'm guessing this must have been a very early version of the kit. Old receipts for hardware that were probably purchased around the time the original owner bought the kit have a date in 1998 (yeah, it's pretty old). It includes some 7.5" tubing and coupler rings, a 3" mailing tube (so marked) as the parachute tube, three centering rings, and some 38mm PML phenolic for the motor mount. There are a lot of drawings, but not a lot of actual materials included (no balsa, plywood, dowels, hardware, etc). The instructions are basically a set of "addenda" to the original Estes kit instructions. Many of the drawings, details (e.g. amount of nose weight), and etc that other reviews and notes have mentioned seem to be totally lacking. It's definitely going to be a "builder's kit"...

So... does anyone know whether there were a later (more complete and detailed) revision of the instructions available in later kits?

Better yet, does anyone have a copy of the instructions that were included in a kit that I could get a copy from?

If you've built one of these in the past, I'd appreciate any advice on materials selection, design modifications, or etc! Please reach out!

Many thanks in advance,
Erik McKee
I also found the instructions confusing and lacking even though I bought the same kit more recently ( maybe 2007 or so).
I ended up downloading the Estes instructions so I could understand how to build it, but I never did finish it. Maybe I will this winter.
 
So, let me start out by saying I've never built one of these and I don't have a kit (though I definitely gave it some thought when Tango Papa had the 1.6x for sale). By the time I got into the hobby, Tom stopped selling the 2x. But I have done some research on the build. One of the things I found, which might be helpful to you, is a number of posts to the old rec.model.rockets usenet group. These are posts from Tom Prestia himself giving hints and tips on building the upscale landers. Scroll a little down and you will see a post on motor selection. I don't know if these will be helpful to you, but maybe you can glean some info from the various posts.

https://groups.google.com/g/rec.models.rockets/search?q=tango papa mars lander&sortBy=RELEVANCE
 
Last edited:
I bought my kit 2nd hand a year ago (or so) and it is very complete. So you must be right about there being earlier versions that were less inclusive. I contacted the creator of the kit and got the latest PDF version of the instructions. I'll post here for our reference. If it is helpful, I can also lay out the parts from my kit and take a picture so you can get an idea of the other parts you'll have to build.

I agree with previous comments about the instructions. While they are written out with lengthy descriptions, there is a lack of diagrams that make interpreting the words in some cases ambiguous "slide the centering ring up until the back side is even with the mark..." Define backside, what if I'm sliding from the top of the tube to the bottom, is it the side opposite my direction of sliding or is does that mean the aft end of the rocket... stuff like that.

I'll also attach the posts that I've saved that I located on the old forums mentioned above.

One of these days I'll start actually building this rocket... just need to read through those instructions one more time to really figure them out. :)
 

Attachments

  • 2X Mars Lander Kit Instructions.pdf
    1.5 MB · Views: 4
  • Instruction Updates.txt
    4.3 KB · Views: 5
  • Launch Report Part 1.txt
    4.1 KB · Views: 5
  • Tips and Tricks.txt
    5.2 KB · Views: 4
Last edited:
For what it's worth, as I tried figuring out the instructions I assembled a virtual 2x Mars Lander in open rocket. I think I got many of the parts in the correct locations. I use this just to help visualize how stuff should go. It looks a bit like a rats nest when you first open it, but after staring for a while, hopefully it'll make sense. FYI: I used the name of the parts as called out in the instructions to help keep things straight.

EDIT: I notice though that this really only focuses on the centering rings and not the leg suspension system... so don't use this for CG estimation or flight simulation purposes unless you override the CG location and weight with an accurate value.
 

Attachments

  • Tango Papa 2x Mars Lander Stock.ork
    447.2 KB · Views: 6
All- Thanks so much for the rapid responses. This is exactly what I was hoping for, especially the instruction set and associated updates @wonderboy

Thank you!
-e
 
I'm hoping there's somebody out there who wants to come back out with 2x version and have lots of 3D printed parts, Instead of cheap cardstock and balsa.
 
I built one of these back probably around 2001 or 2002, and didn't find it that difficult. It just takes time.
 
No progress on anyone coming out with an upscale version of this?
I've been working on it. The nosecone is the difficult part. I want some easy to make in large bulk, easy to finish, and strong enough, yet lightweight ish. And a good body tube supplier. Doesn't help that I've been really busy with other matters. I've got a really nice laser cutter and mini cnc, so I would really love to make some small runs of kits every once in a while. I did some testing with a new method for nosecones a couple weeks ago and I think I might have found a winner.
 
I've been working on it. The nosecone is the difficult part. I want some easy to make in large bulk, easy to finish, and strong enough, yet lightweight ish. And a good body tube supplier. Doesn't help that I've been really busy with other matters. I've got a really nice laser cutter and mini cnc, so I would really love to make some small runs of kits every once in a while. I did some testing with a new method for nosecones a couple weeks ago and I think I might have found a winner.
Awesome to hear you're working on it. Are you going to do 1.6 upscale or 2X ?
 
Awesome to hear you're working on it. Are you going to do 1.6 upscale or 2X ?
I'm designing a 3" to start, but I may go bigger once I get some experience with making and selling kits. 3" is easiest to find body tubes for and easier to make parts for than a 1.6x or 2x
 
I've been working on it. The nosecone is the difficult part. I want some easy to make in large bulk, easy to finish, and strong enough, yet lightweight ish. And a good body tube supplier. Doesn't help that I've been really busy with other matters. I've got a really nice laser cutter and mini cnc, so I would really love to make some small runs of kits every once in a while. I did some testing with a new method for nosecones a couple weeks ago and I think I might have found a winner.
I would think you could get someone to 3D print them. Or you could contract with BMS to make a batch.
I'm trying to finish constructing my 1.6X this year.
 
I would think you could get someone to 3D print them. Or you could contract with BMS to make a batch.
I'm trying to finish constructing my 1.6X this year.
I've got a nice 3d printer. Personally, I wouldn't want to buy a kit with a 3d printed nosecone. (In my opinion) They're a PITA to get a nice finish on and they break along the seam lines. I get that a nice finish is very doable, but I would like the least amount of effort possible. I'm pretty picky with getting a nice finish and keeping weight down. Additionally, I would have to account for failed prints and print time. However, I tried a thickened sandable epoxy painted over a rough 3d print and it came out beautiful. So that's what I'm currently experimenting with. I've tried fiberglassing with 3d printed moulds, and the quality and lightweight is there, but ease of making a bunch isn't.

The BMS idea isn't bad. I'll look into that.

I've also got a domain name parked. I'm hoping to use it as a blog for my projects and collections and a list of kits I could make. I'm trying WordPress for the website creator, but not really liking it so much. I don't really want to be a complete copycat of what dragon rocketry is doing, so I'm thinking I'll do something a little different.
 
I've got a nice 3d printer. Personally, I wouldn't want to buy a kit with a 3d printed nosecone. (In my opinion) They're a PITA to get a nice finish on and they break along the seam lines. I get that a nice finish is very doable, but I would like the least amount of effort possible.
3D printed nose cones definitely have their drawbacks, but they have nonetheless become very common among smaller vendors and people live with them.

I’ve built 2 rockets so far with them and have gotten good finish without too much effort. Simple convex shapes aren’t that difficult to sand and/or fill.

The BMS idea isn't bad. I'll look into that.
Can’t hurt to ask, but in the past he has said unequivocally that he is not doing custom work anymore. So don’t get your hopes up.
 
I've got a nice 3d printer. Personally, I wouldn't want to buy a kit with a 3d printed nosecone. (In my opinion) They're a PITA to get a nice finish on and they break along the seam lines. I get that a nice finish is very doable, but I would like the least amount of effort possible. I'm pretty picky with getting a nice finish and keeping weight down. Additionally, I would have to account for failed prints and print time. However, I tried a thickened sandable epoxy painted over a rough 3d print and it came out beautiful. So that's what I'm currently experimenting with. I've tried fiberglassing with 3d printed moulds, and the quality and lightweight is there, but ease of making a bunch isn't.
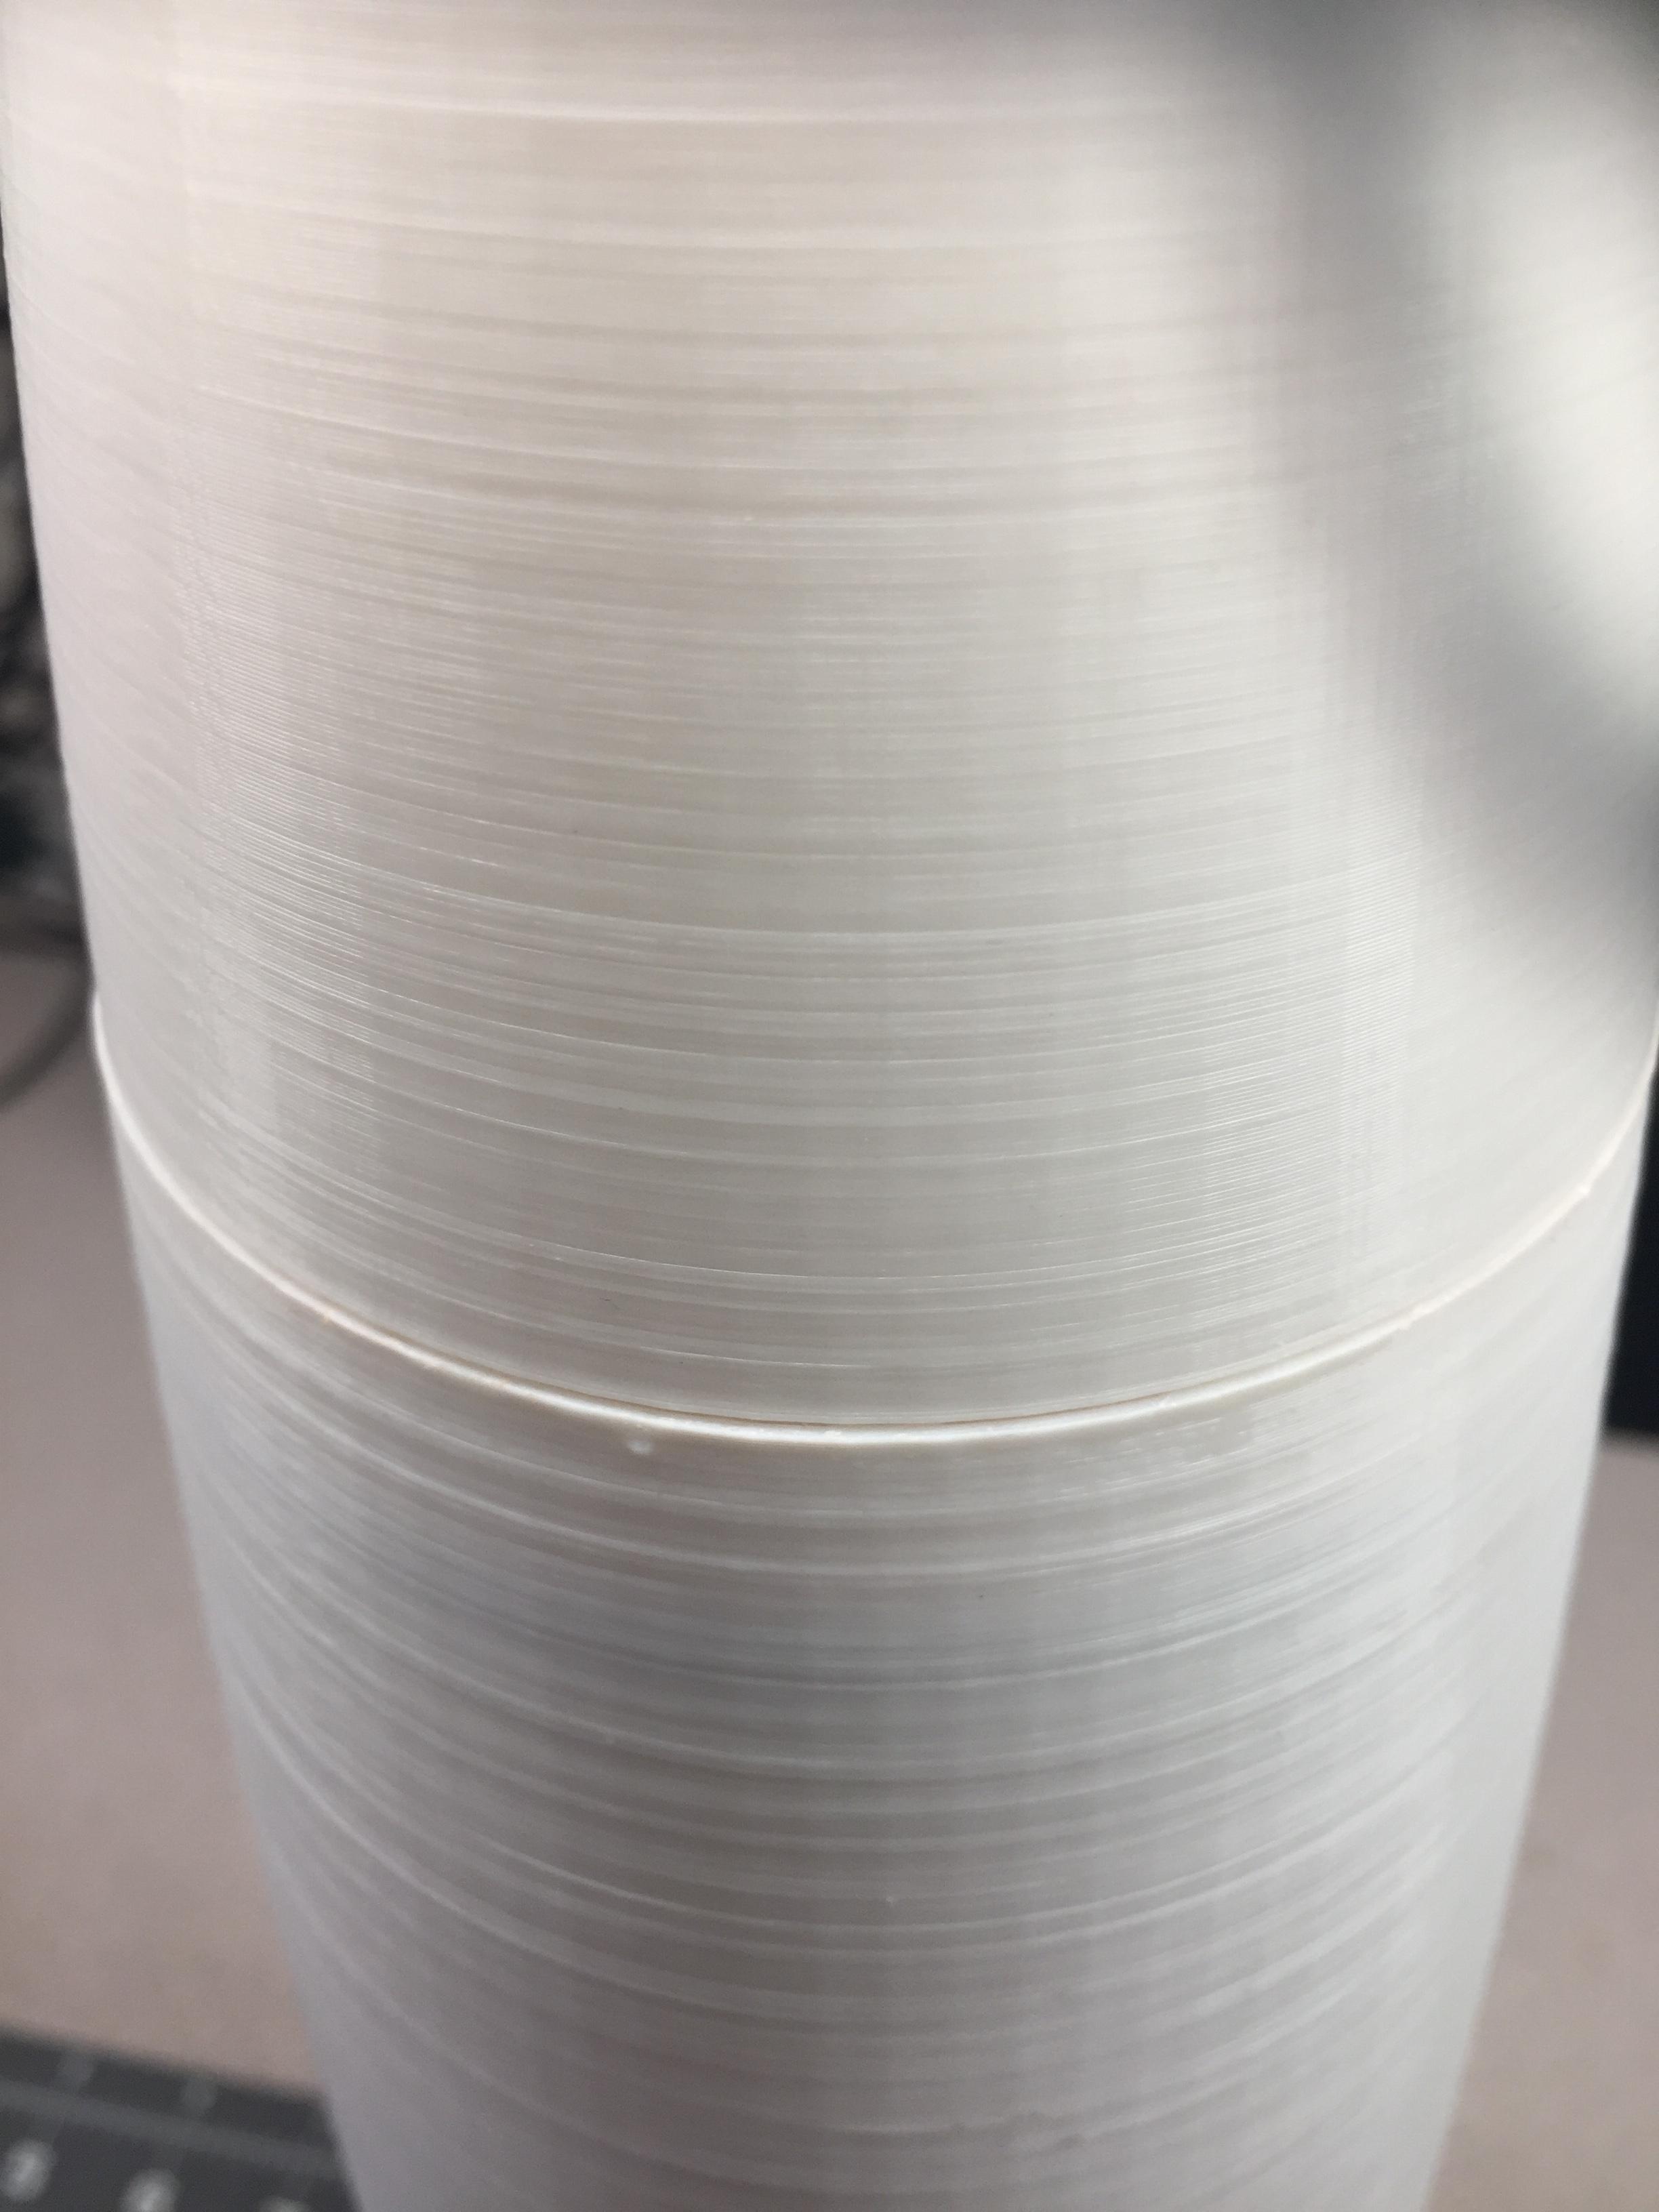
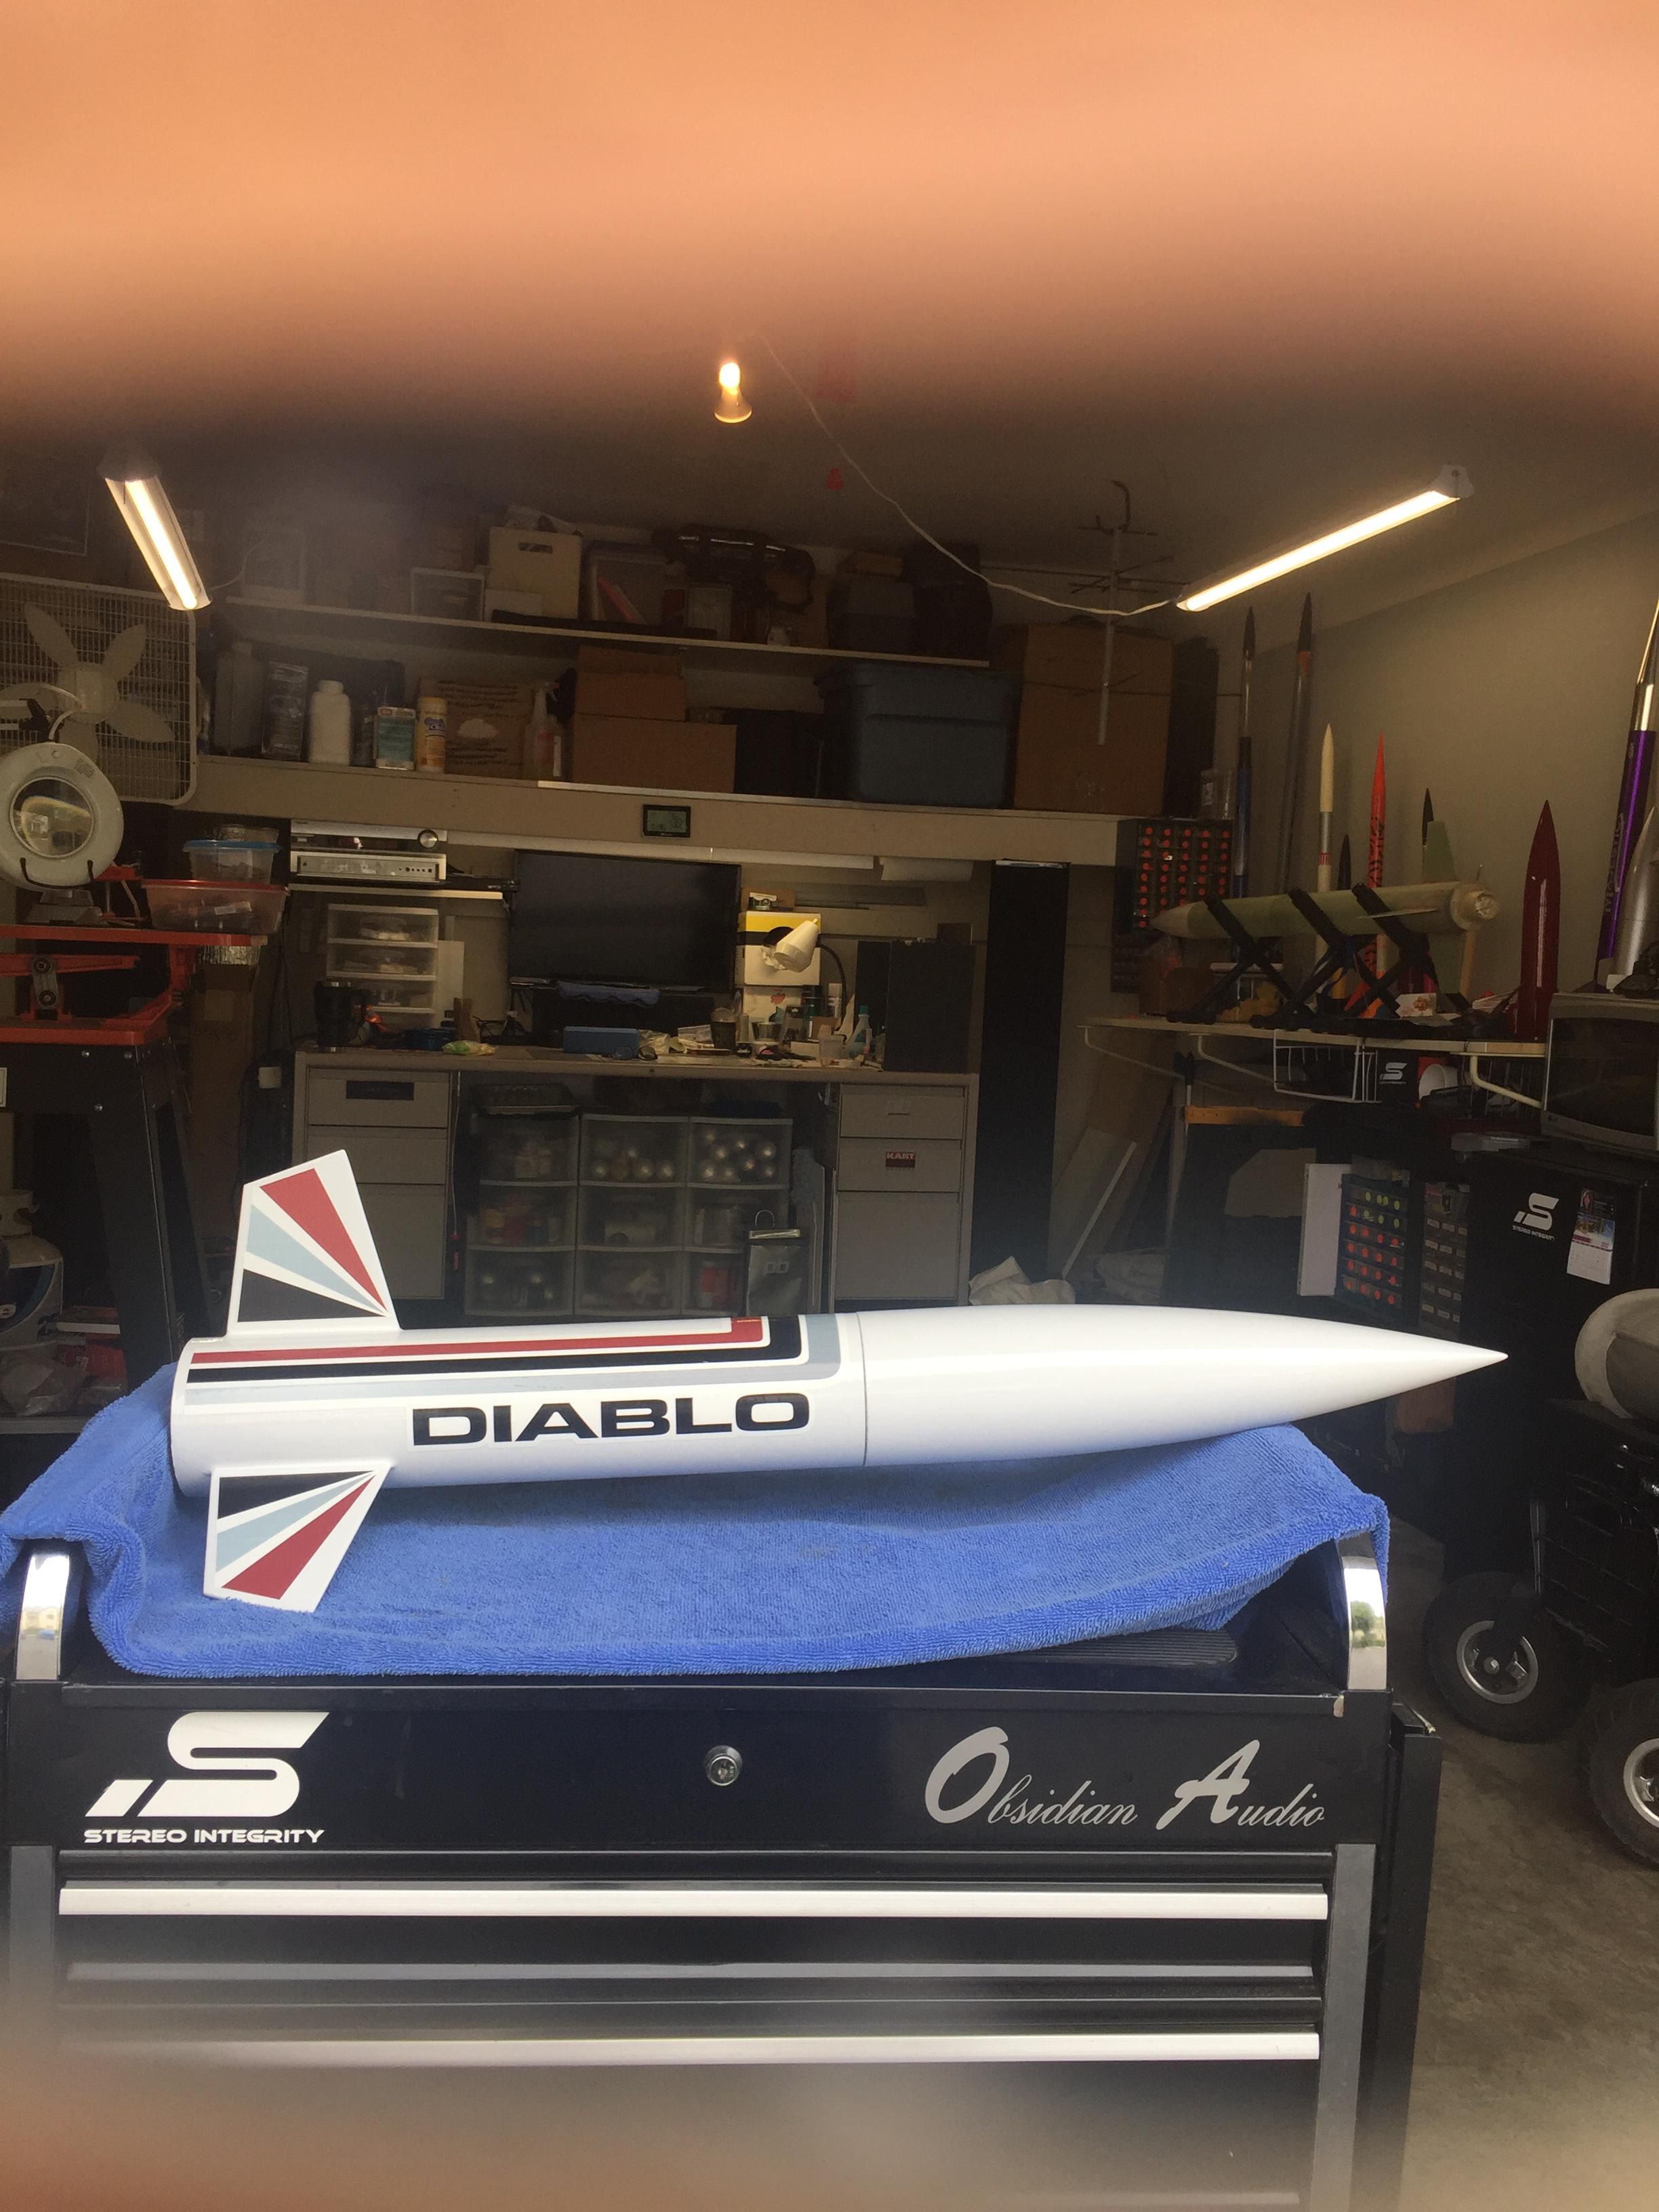
When I bought my SBR Diablo rocket, it came with a 4" NC that was 3D printed. it had terrible ridges on it.
9h895HY.jpg

The instructions said to use a thinned epoxy layer on the inside and outside as it was inherently brittle. I used
Z Epoxy Finishing Resin which is a thinned epoxy made by Zap
https://www.amazon.com/Pacer-Technology-Zap-Finishing-Adhesives/dp/B0006O8ESKApplied with a cheap brush, it was sanded with 220 and it filled in all the ridges, turned out spectacular, but it would have been much more convenient if it was a fiberglass NC.
GmXE30z.jpg
 
Back
Top