


Karl
Well-Known Member
- Joined
- Jun 30, 2010
- Messages
- 2,461
- Reaction score
- 28
First off thanks to Dragon64 for the .stl files and modifying the nosecone to fit my build platform. You can find Dragon's original build thread here here and the Thingiverse files here.
This is a BT60 / 24mm based downscale of the QU8K rocket, further details here.
I'm calling this a 'mini-build' as it contains a lot of 3D printed components that I chose to leave in 'as printed' state and not finish.
Here are the 3D printed components, they were all printed in Sunlu PLA+. We aren't fortunate enough over here to get super hot weather so i'm not worried about parts going soft in the sun.
After cutting the MMT to size, the middle centering ring was tacked into place with some medium CA before a bead of epoxy was used to secure it.
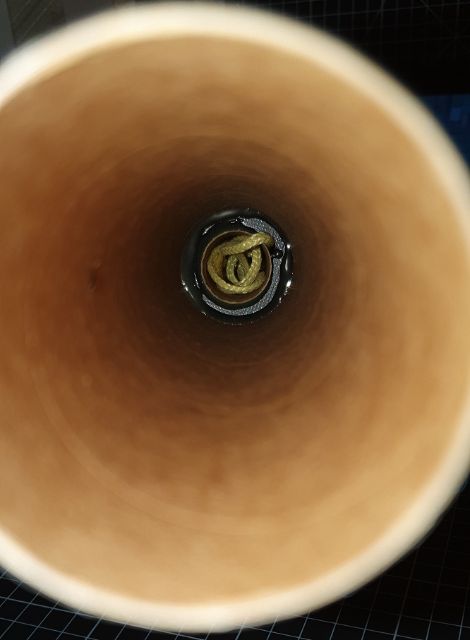
When it comes to shock cords, I followed suite with Dragon and went with some 3mm Kevlar. I took a dremel to the forward centering-ring to create a groove that lets the cord pass through then everything got a liberal coating of epoxy.
Once everything had time to cure, the fin-can was glued into the airframe
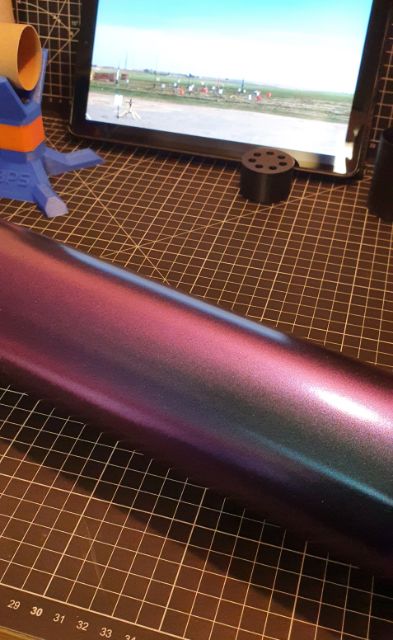
Ever since considering this project I knew exactly what colour I wanted it to be. A little search on eBay later and I found exactly what I was looking for, a pearlescent blue to purple vinyl wrap. The photos really don't do this stuff justice. As a sidenote, big thanks to Flyfalcons on YouTube, I love watching his launch vids while building stuff!
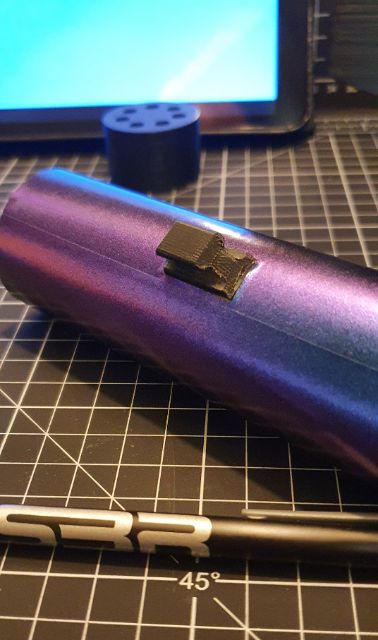
Here's the payload section wrapped. I opted to place the forward rail guide on the payload section, I think Dragon had his on the booster.
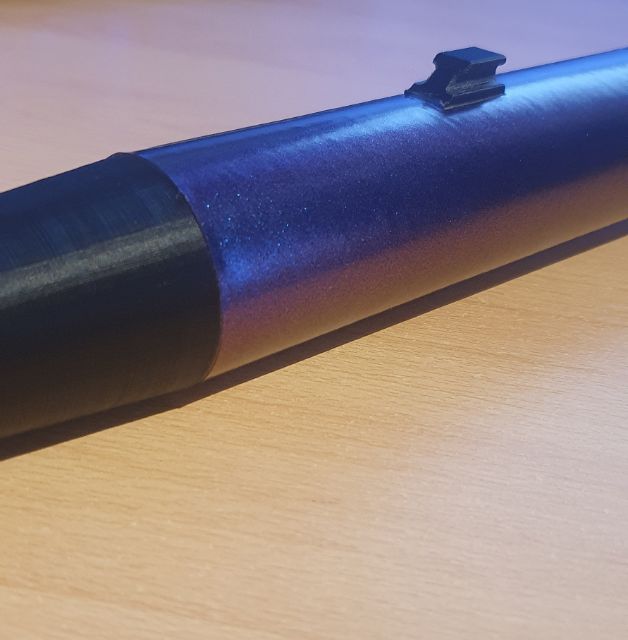
And here is the current progress, 80% complete. I need to glue the coupler in place once the screw eyes turn up and then look at having a QU8K logo cut from vinyl to finish it off.
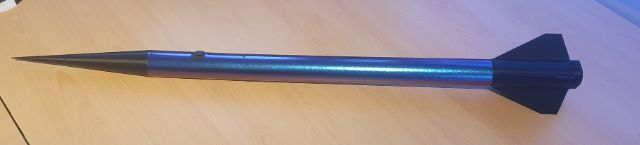
For anyone wondering what it's like weight wise with so many 3D printed parts, the dry weight of this is 6¼oz, 177g.
This is a BT60 / 24mm based downscale of the QU8K rocket, further details here.
I'm calling this a 'mini-build' as it contains a lot of 3D printed components that I chose to leave in 'as printed' state and not finish.
Here are the 3D printed components, they were all printed in Sunlu PLA+. We aren't fortunate enough over here to get super hot weather so i'm not worried about parts going soft in the sun.
After cutting the MMT to size, the middle centering ring was tacked into place with some medium CA before a bead of epoxy was used to secure it.
When it comes to shock cords, I followed suite with Dragon and went with some 3mm Kevlar. I took a dremel to the forward centering-ring to create a groove that lets the cord pass through then everything got a liberal coating of epoxy.
Once everything had time to cure, the fin-can was glued into the airframe
Ever since considering this project I knew exactly what colour I wanted it to be. A little search on eBay later and I found exactly what I was looking for, a pearlescent blue to purple vinyl wrap. The photos really don't do this stuff justice. As a sidenote, big thanks to Flyfalcons on YouTube, I love watching his launch vids while building stuff!
Here's the payload section wrapped. I opted to place the forward rail guide on the payload section, I think Dragon had his on the booster.
And here is the current progress, 80% complete. I need to glue the coupler in place once the screw eyes turn up and then look at having a QU8K logo cut from vinyl to finish it off.
For anyone wondering what it's like weight wise with so many 3D printed parts, the dry weight of this is 6¼oz, 177g.