QModeling XP-Raptor Build

The Rocketry Forum

Help Support The Rocketry Forum:

This site may earn a commission from merchant affiliate links, including eBay, Amazon, and others.

Pantherjon

Well-Known Member
Joined
Jan 19, 2009
Messages
7,434
Reaction score
9
Yeah, I have posted this build over on RP as well...But, this won't be a word for word verbatim cross post..Just another build thread post..

I purchased this kit when Tom had his 'Introduction Special' over the holidays which got you a free display stand with the kit, plus it was at a discounted price to boot! So anyways, lets build a rocket!

Kit has a BUNCH of high quality parts..And here they are all laid out:
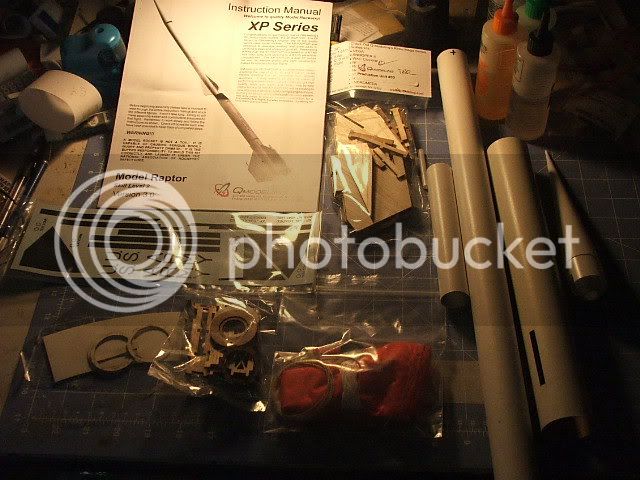
XP-Raptor003.jpg


First up is the motor mount/fin support assemblage..First step is to cut a 1/8"x1/2" slot so the engine hook can move back and forth..Why this is is beyond me..Maybe Tom may step in and clear that up? After cutting the slot the 2 wood engine block rings are glued in at the edge of the slot.
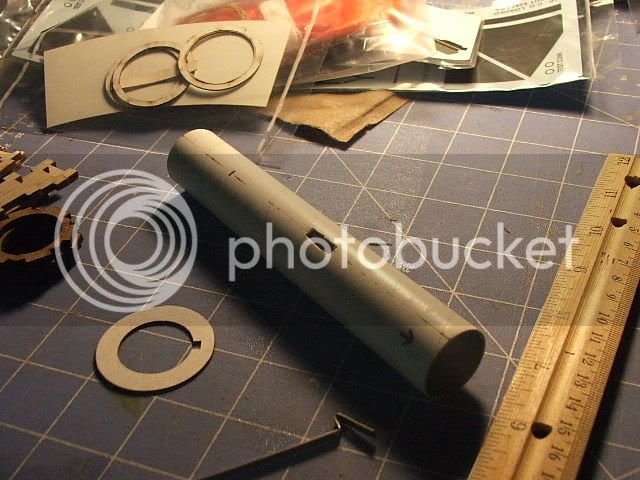
XP-Raptor004.jpg


Next, the engine hook is put on with one end in the slot..Making sure it can freely move..Then the first of four support rings is slid on over the engine hook and tacked into place with CA using care not to glue the engine hook in the process..
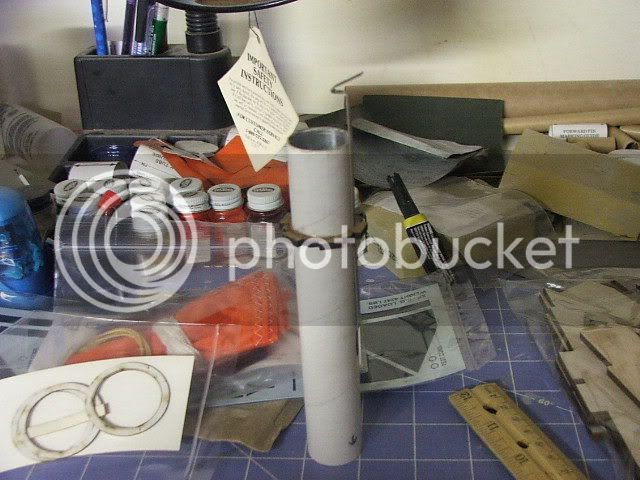
XP-Raptor007.jpg


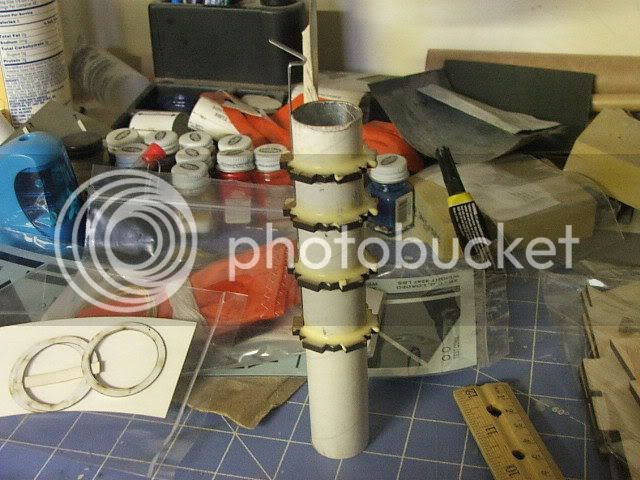
Then the other three support rings are slid onto the tube..
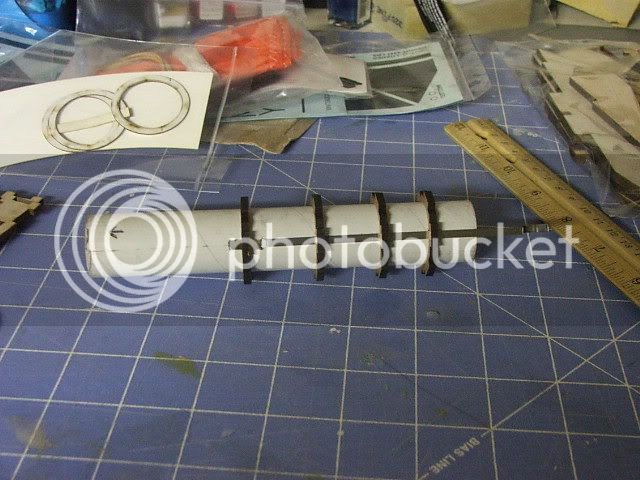
XP-Raptor008.jpg
 
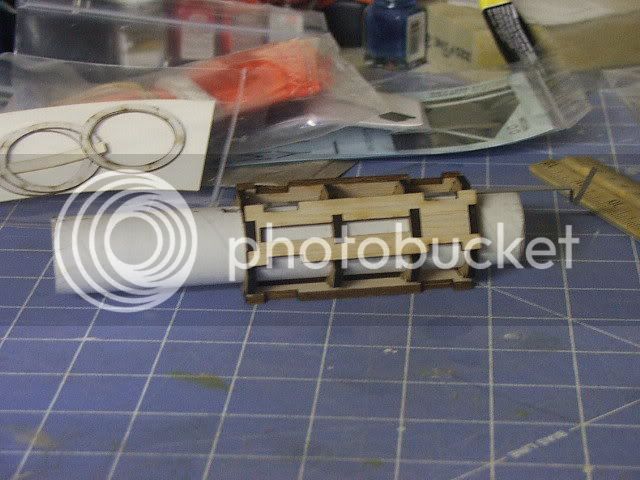
The fin support braces are then used to check alignment/spacing of the support rings-not glued in at this time..The rings had been installed pretty good 'by eye' with just little minor adjustments necessary in spacing..Braces were removed and rings were tacked with CA and checked a second time before going to the next step
XP-Raptor009.jpg


The four support rings then get a good glue fillet using yellow glue..Again, special care is needed so the engine hook isn't glued into place..Once one side was dry it was turned over and the other side of the rings was done..
XP-Raptor010.jpg


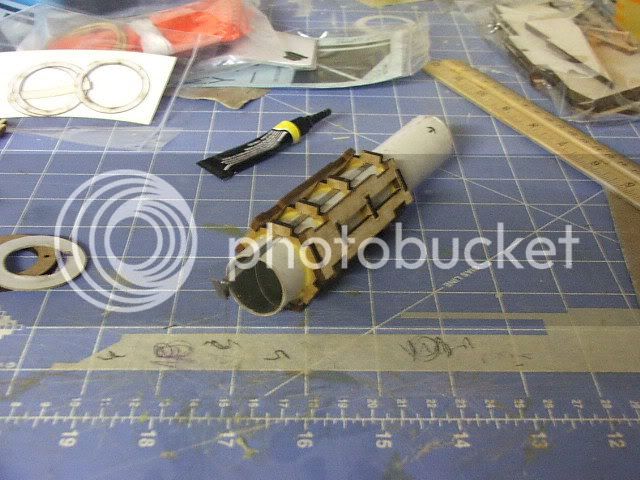
Now the fin support braces get glued to the rings using CA..
XP-Raptor005.jpg


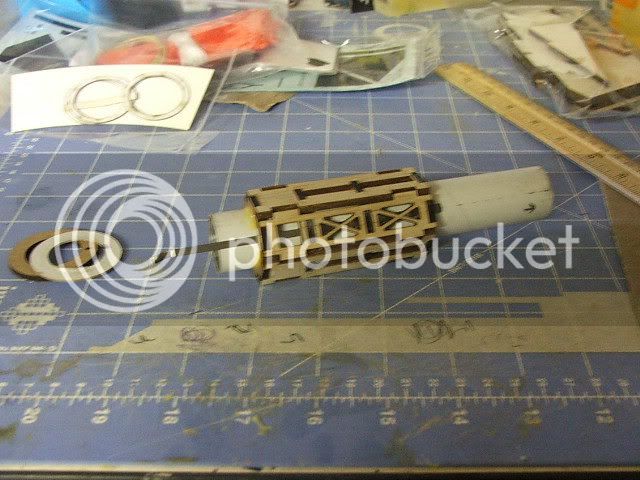
Next the support braces were glued on, using CA as well..Makes for a very sturdy assemblage..
XP-Raptor006.jpg
 
Next up the centering rings get installed..The forward wood one and the aft card stock one with the notch..The aft one butts up to the back of the fin brace assemblage and the forward one is 1/8" from the front of the tube..Top ring gets good glue fillets for strength using care not to fill the kevlar cord hole..
XP-Raptor011.jpg


Motor tube/fin brace assemblage is test fitted into the lower body tube to ensure it will fit and then the fins temporarily inserted in the slots to check alignment..This step checked out good..The kevlar cord then gets tied around behind the forward centering ring and threaded thru the hole..The engine mount then gets glued into the lower body tube..Again the fins were inserted temporarily to ensure good alignment..Accomplished! After the initial glue had had time to set the aft CR gets a good glue fillet-again caution used to not glue the engine hook..
XP-Raptor012.jpg


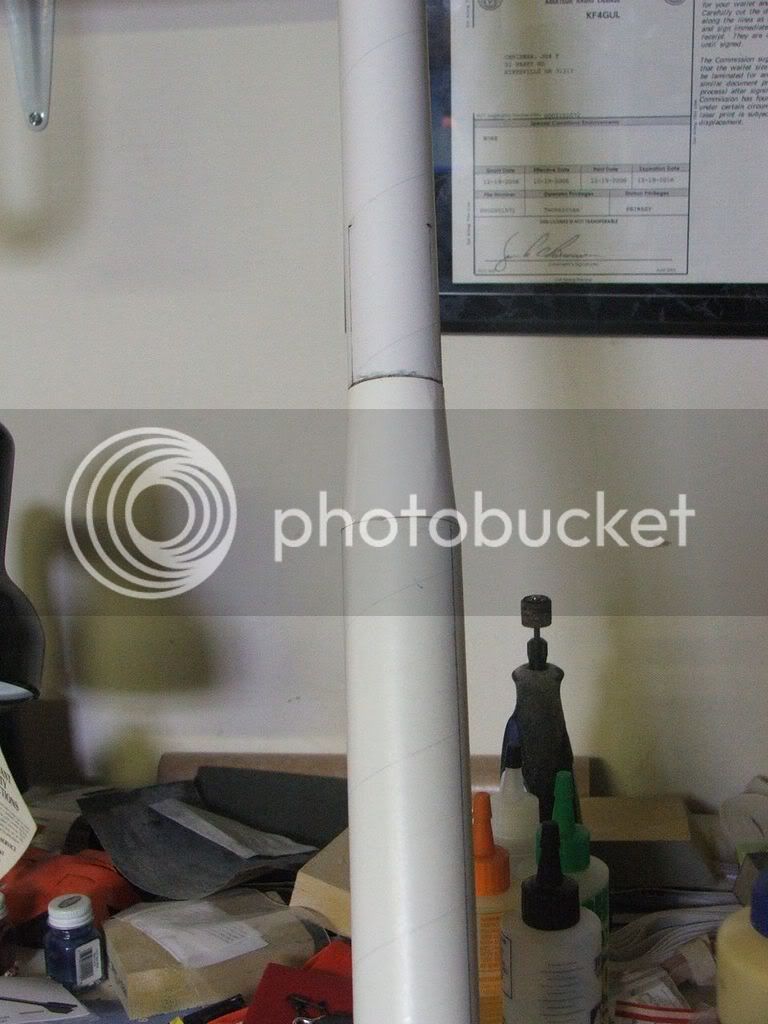
The upper body tube is marked for where the secondary fins are to go and where one of the three smaller centering rings are to go..Here the front and rear centering rings gets tacked on with CA..Afterwords they get glue fillets on the inside..
XP-Raptor013.jpg


Next comes a test fit of the upper tube to the lower tube..Then a ring of glue is placed in the lower tube and the upper tube is inserted until the front centering ring is flush with the front of the lower tube..
XP-Raptor014.jpg


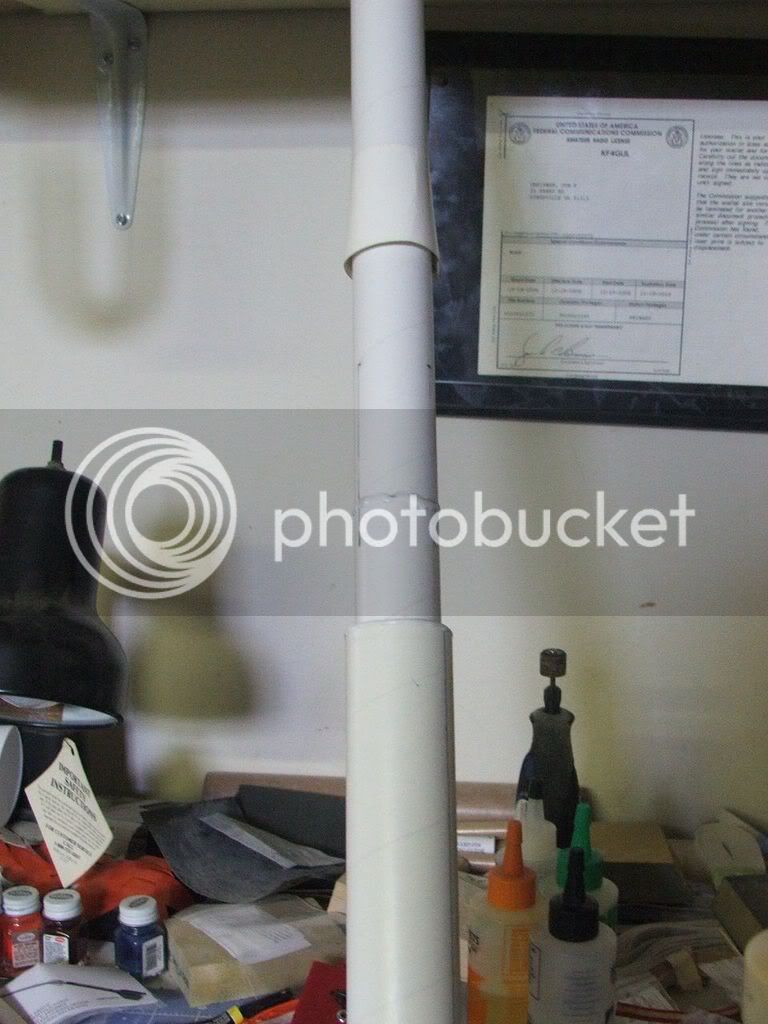
While glue was drying at this stage the cardstock paper transition is rolled..Not a difficult task but a little tedious to get 'right'..Mine isn't perfect, but 'good enough' as we shall soon see...
 
The 3rd small centering ring has been placed on the upper tube on top of the other centering ring to form a 'shoulder' for the paper transition to glue onto..The transition is slid on and the tube is marked for the upper ring of glue..Glue is then applied..Here the transition is about to be sild in place to be glued on..
XP-Raptor015.jpg


And here the transition is after being glued into place
XP-Raptor016.jpg


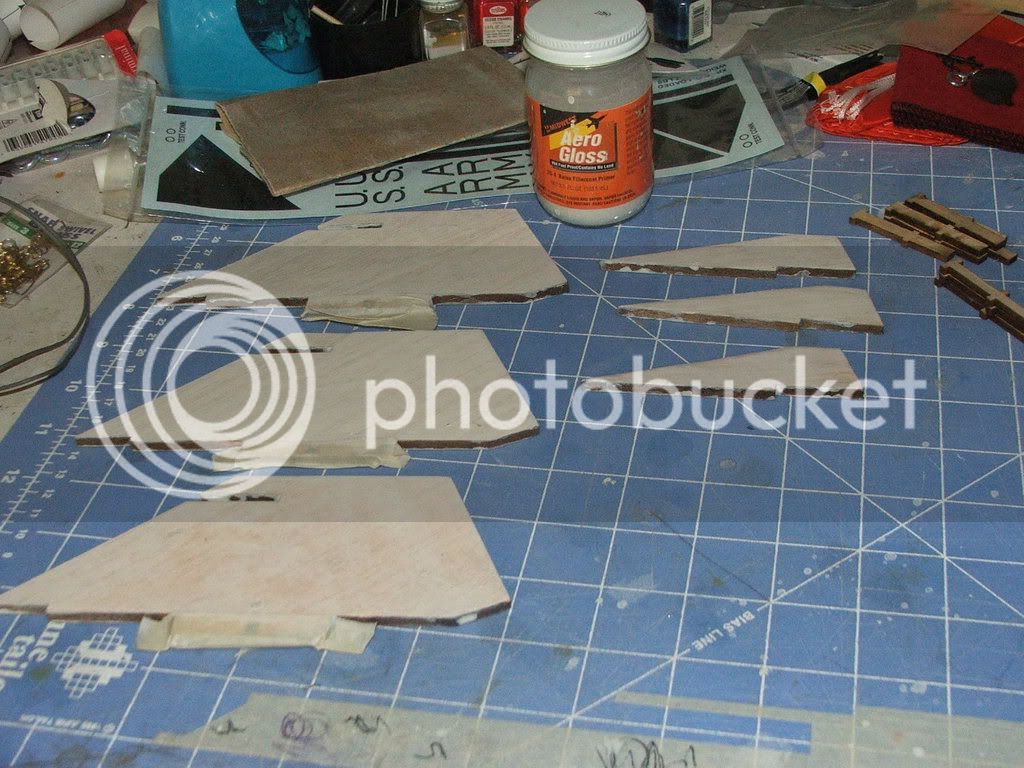
Next up is fins prep..I contemplated making an airfoil to them or rounding the leading/trailing edges as I applied the 3 coats of Aerogloss sealer..But decided that with the antennae being 'blocky' to just leave them 'as is'..Here the fins are after the sealer and ready for some sanding..Grains got filled in nicely..
XP-Raptor018.jpg


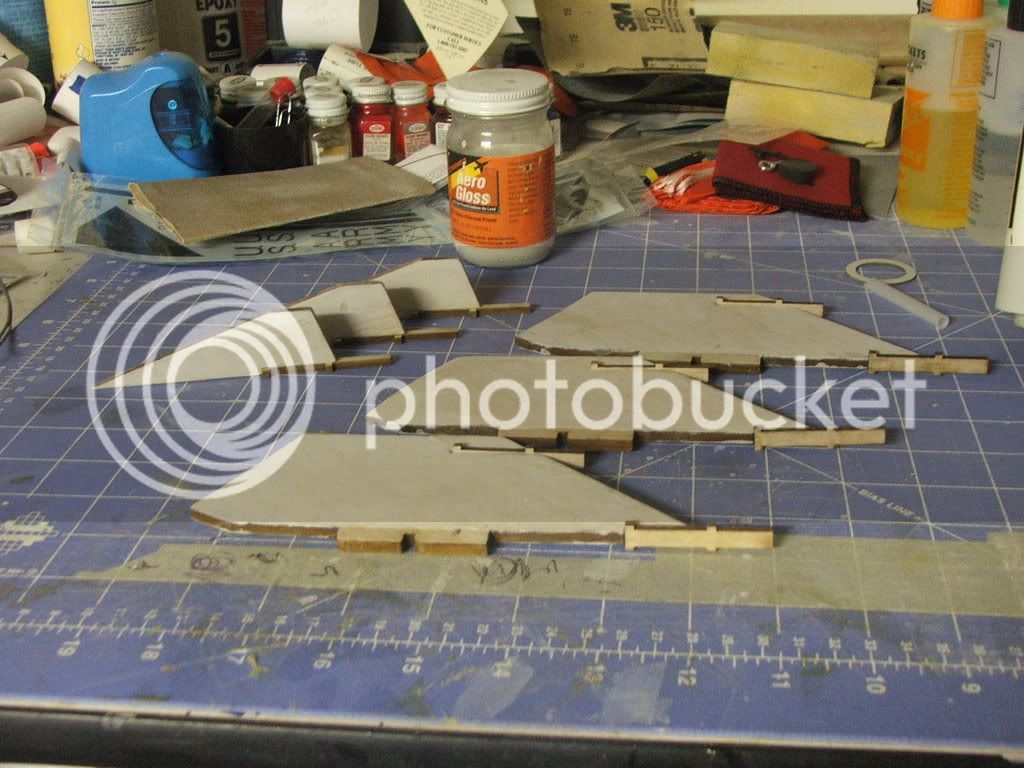
Here the fins are with the antennae glued on using CA..I got one a tad 'crooked'...lol
XP-Raptor020.jpg
 
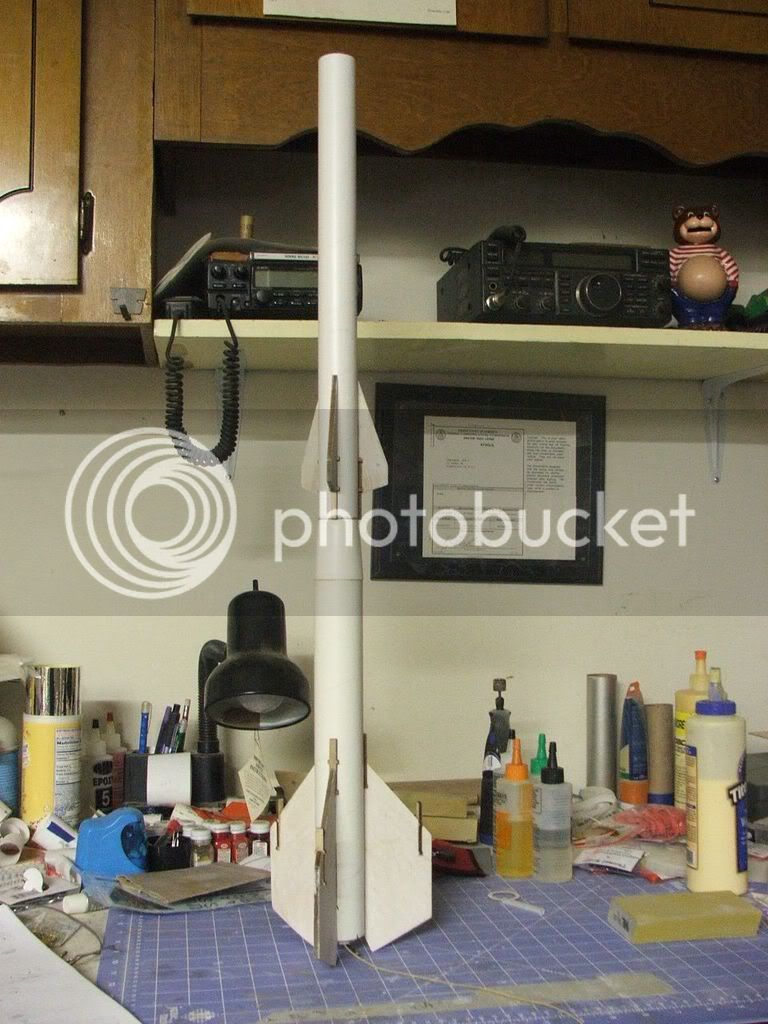
Next up is the BIG task of fin placement..This one went way smooth! Almost as if the fins KNEW where and how they were to go..Again using CA..I managed not to glue my fingers together or to any fins!

Here the fins are on
XP-Raptor021.jpg


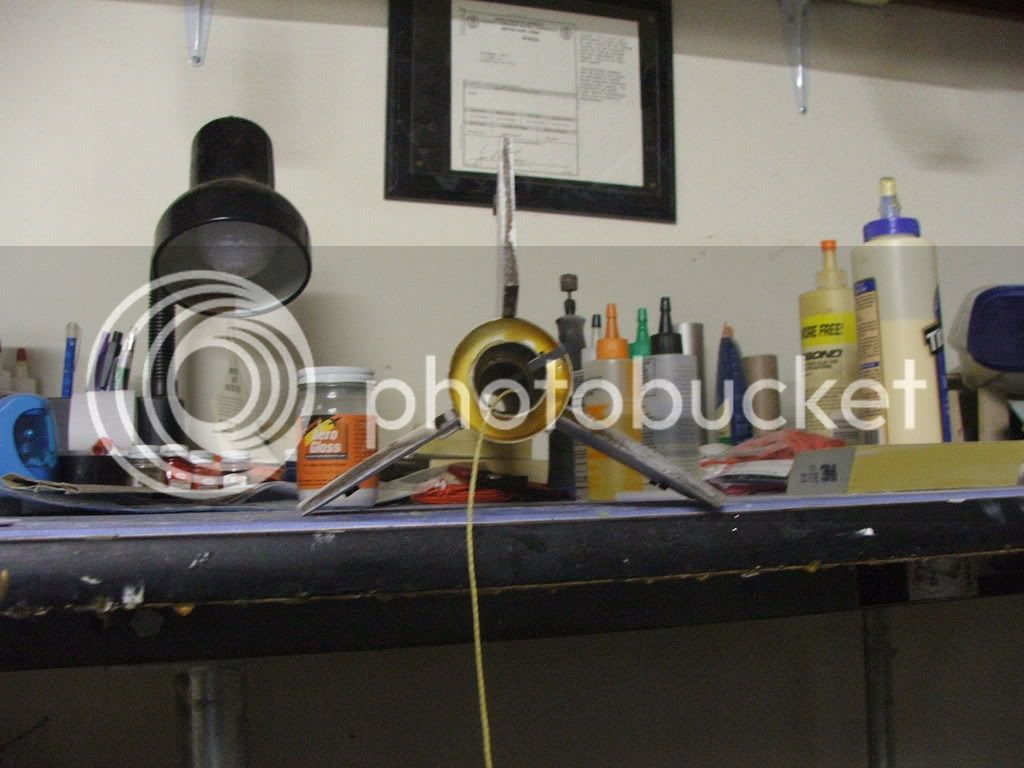
From the 'bidness' end..'Tail' to be lost shortly as cord get fished up thru the body tubes to it's proper location..lol..
XP-Raptor022.jpg


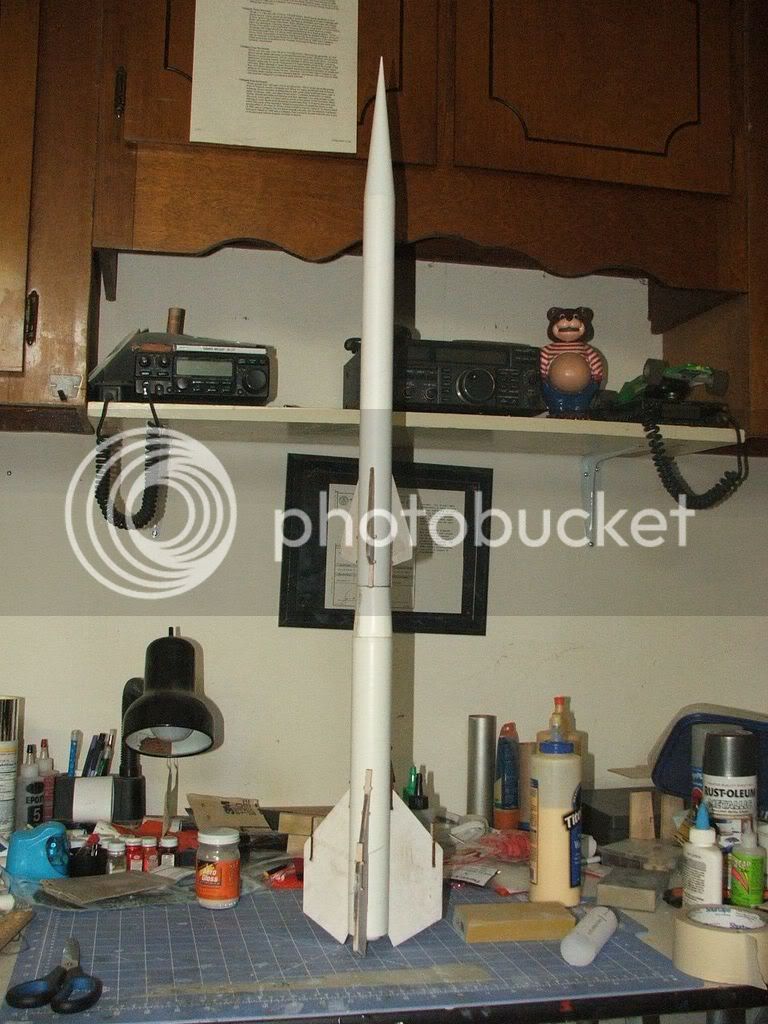
And the 'money' shot! Work still to be done is installing the shock cord 'bumper', the parachute and chute protector and launch lugs..
XP-Raptor024.jpg


Had planned on trying to get some primer on this afternoon, but, mother nature had other plans! It is a wonderful 42 degrees outside with a 17mph wind! Making a 'feels like' temperature of 34!! Brrrrr! No painting today!
 
Back
Top