Pantherjon
Well-Known Member
- Joined
- Jan 19, 2009
- Messages
- 7,434
- Reaction score
- 9
Yeah, I have posted this build over on RP as well...But, this won't be a word for word verbatim cross post..Just another build thread post..
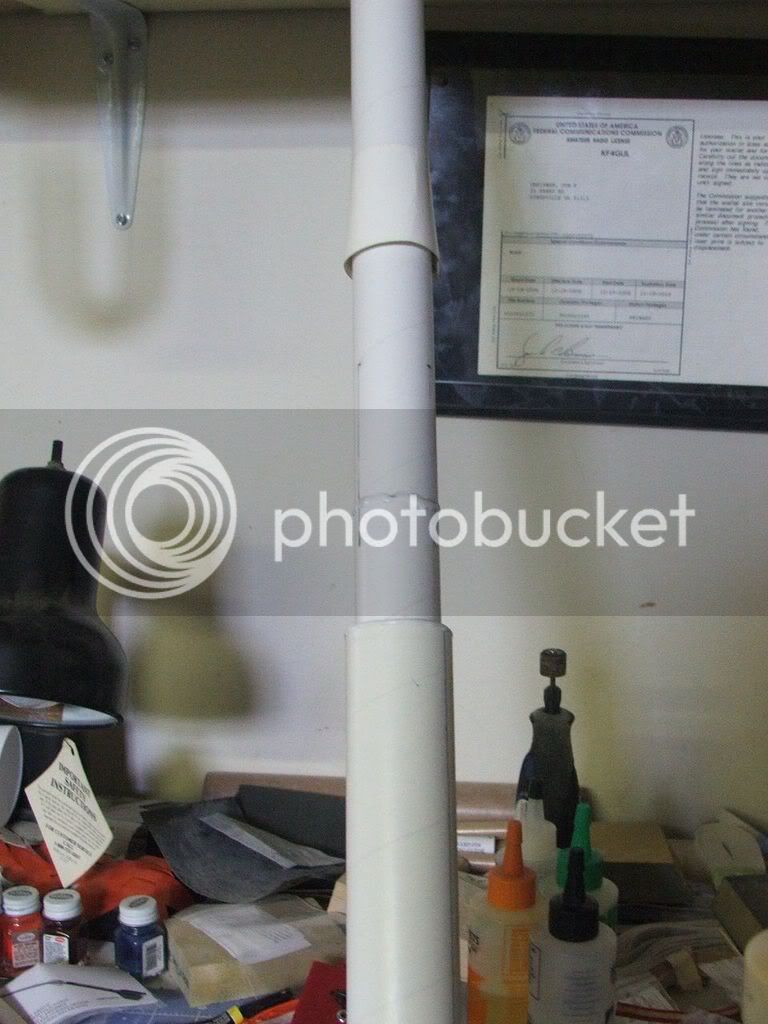
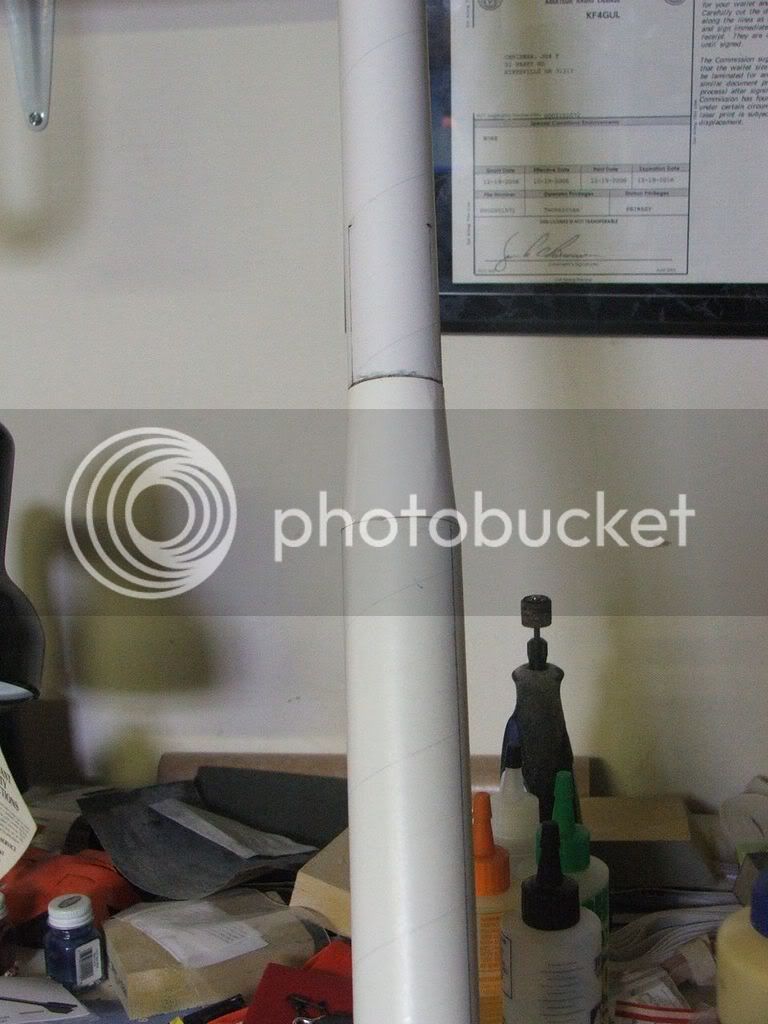
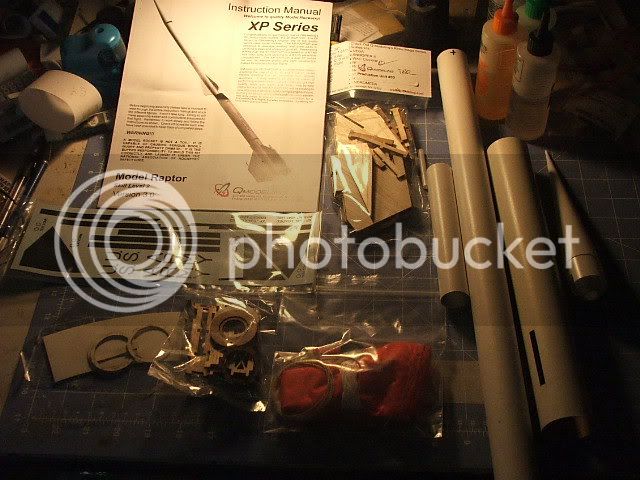
I purchased this kit when Tom had his 'Introduction Special' over the holidays which got you a free display stand with the kit, plus it was at a discounted price to boot! So anyways, lets build a rocket!
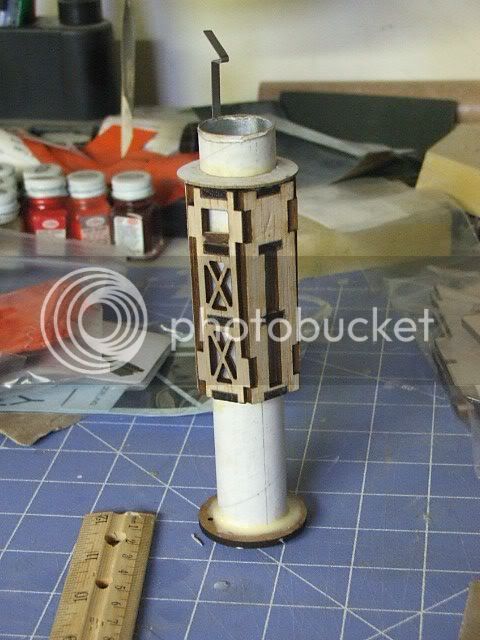
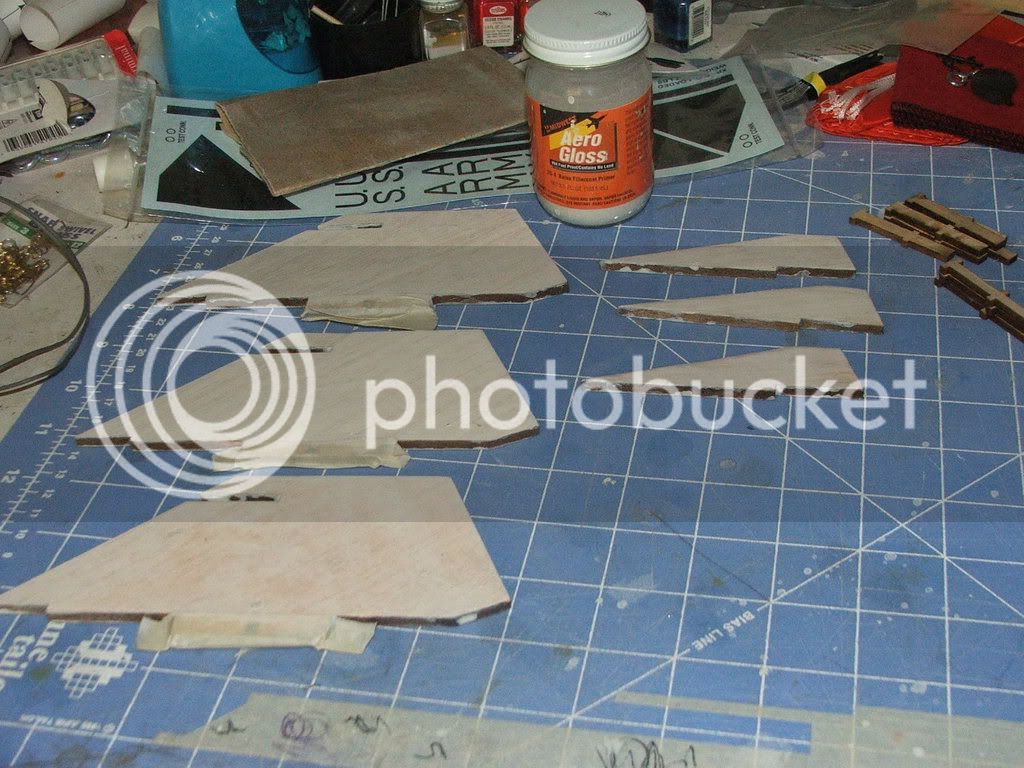
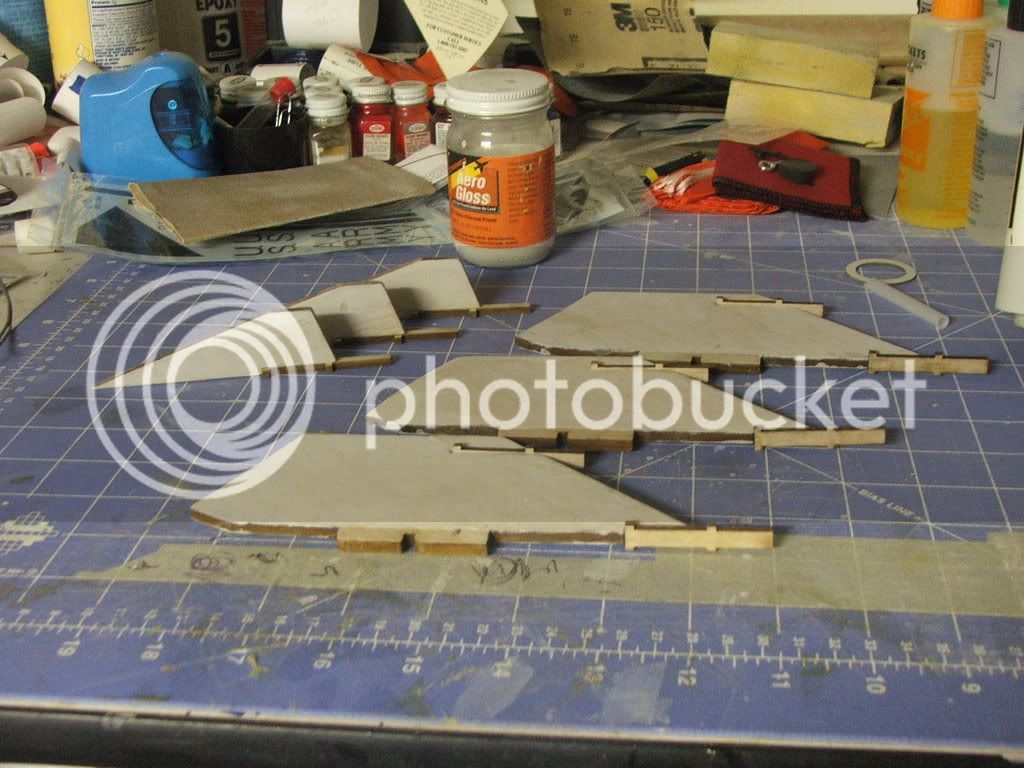
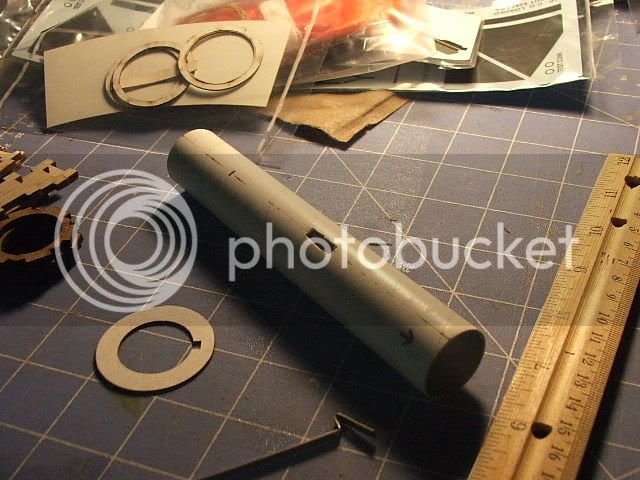
Kit has a BUNCH of high quality parts..And here they are all laid out:
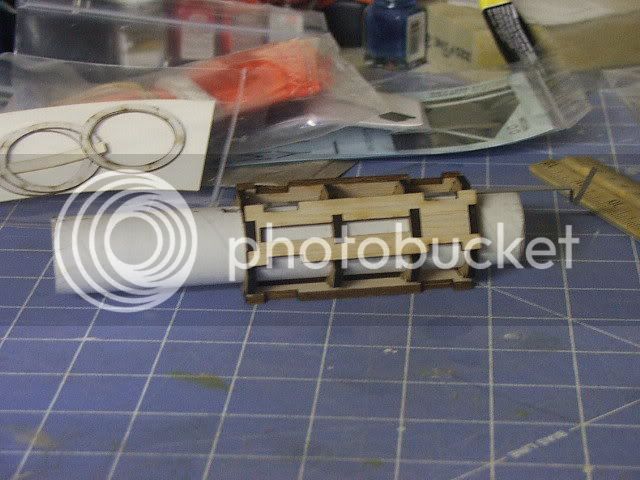
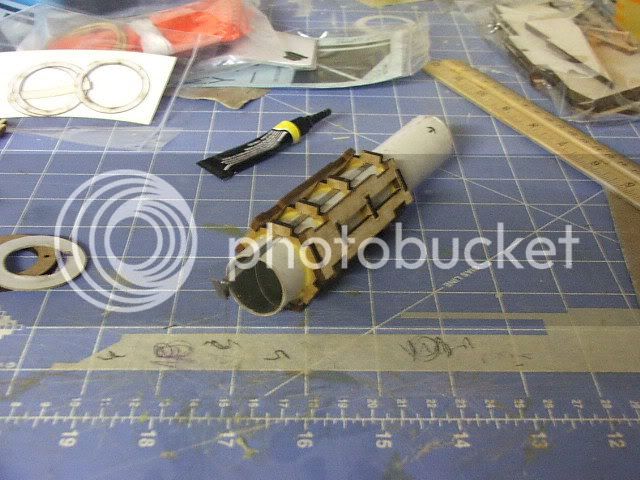
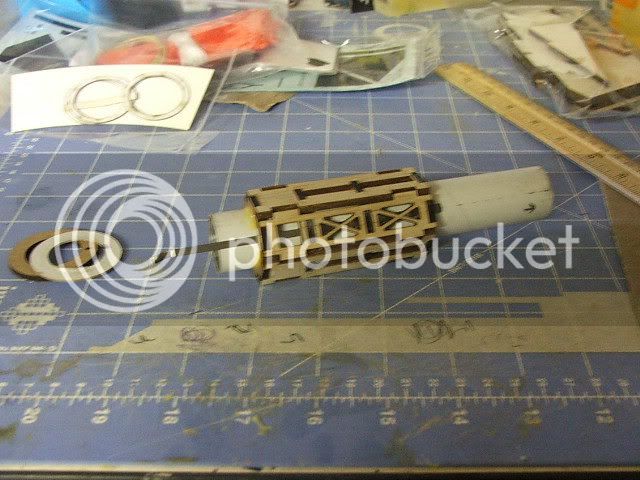
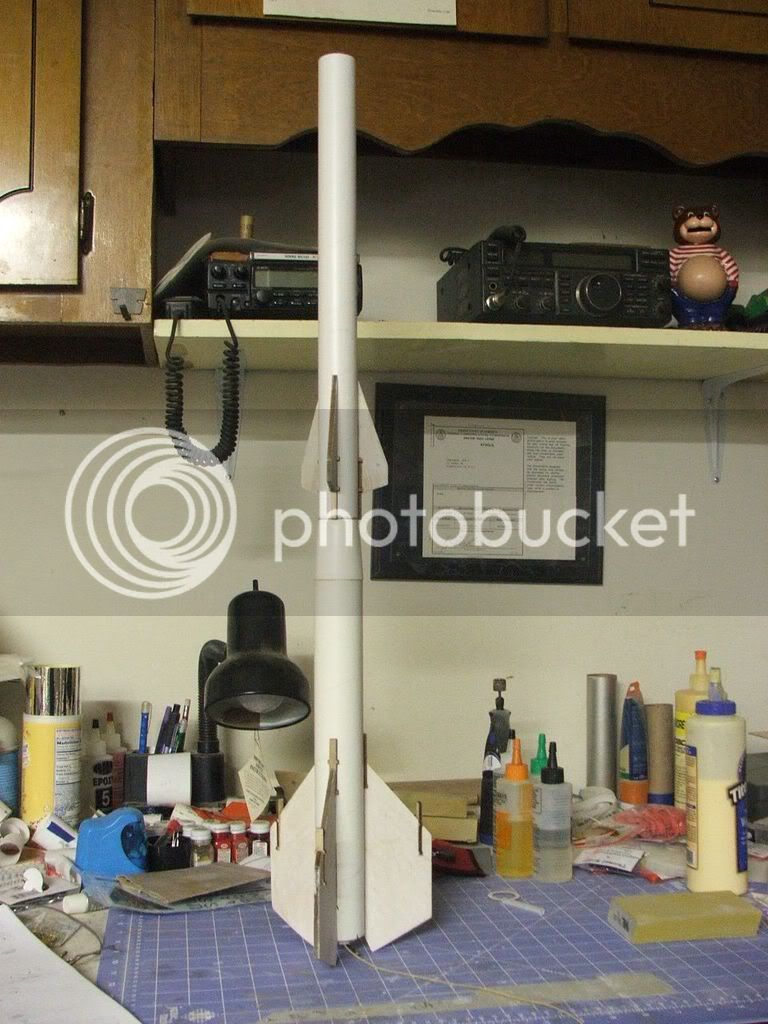
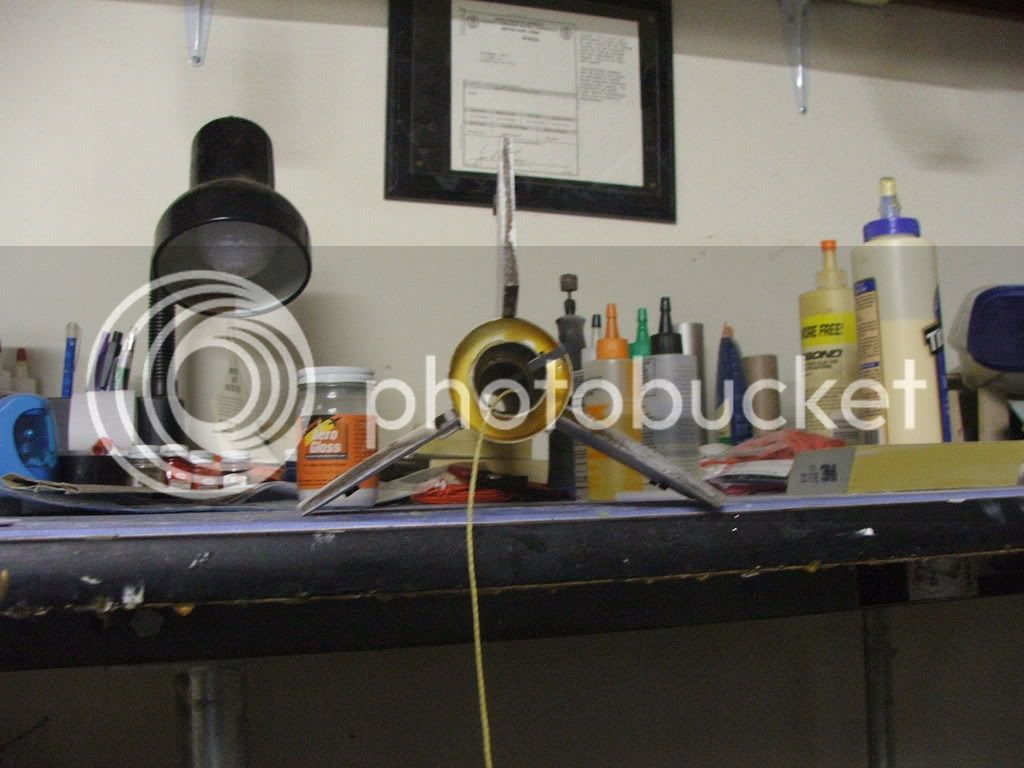
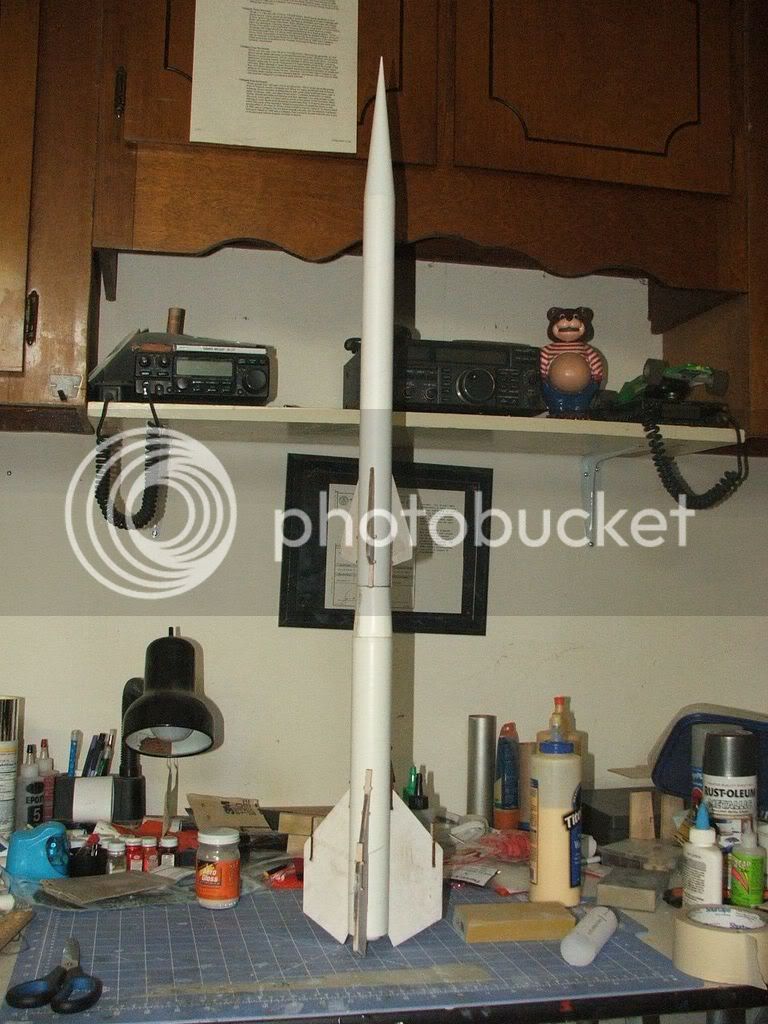
First up is the motor mount/fin support assemblage..First step is to cut a 1/8"x1/2" slot so the engine hook can move back and forth..Why this is is beyond me..Maybe Tom may step in and clear that up? After cutting the slot the 2 wood engine block rings are glued in at the edge of the slot.
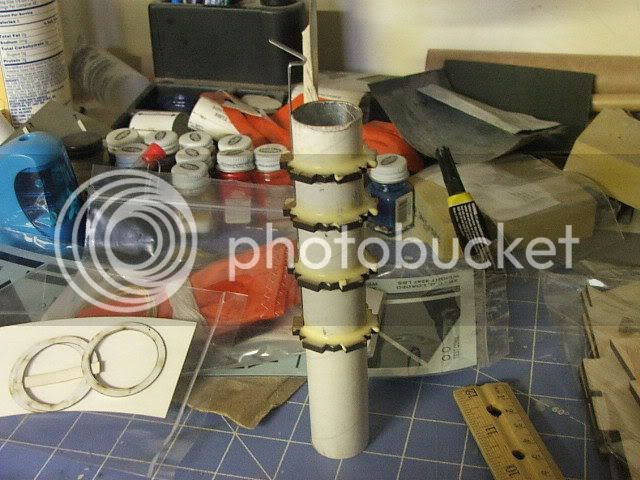
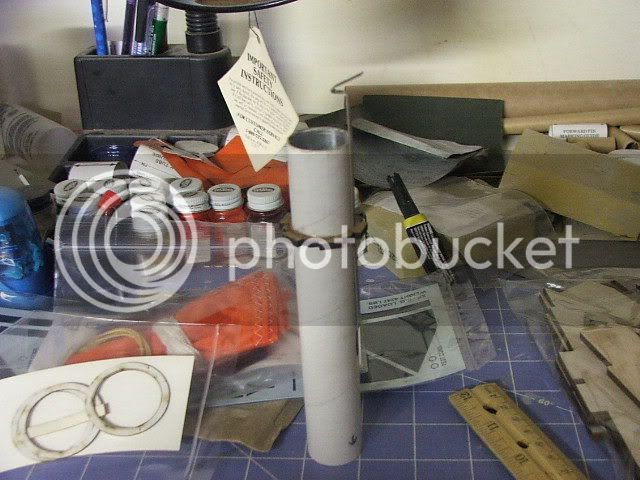
Next, the engine hook is put on with one end in the slot..Making sure it can freely move..Then the first of four support rings is slid on over the engine hook and tacked into place with CA using care not to glue the engine hook in the process..
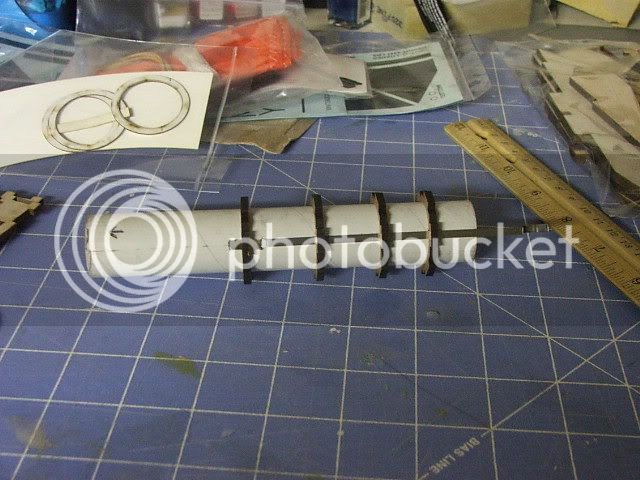
Then the other three support rings are slid onto the tube..
I purchased this kit when Tom had his 'Introduction Special' over the holidays which got you a free display stand with the kit, plus it was at a discounted price to boot! So anyways, lets build a rocket!
Kit has a BUNCH of high quality parts..And here they are all laid out:
First up is the motor mount/fin support assemblage..First step is to cut a 1/8"x1/2" slot so the engine hook can move back and forth..Why this is is beyond me..Maybe Tom may step in and clear that up? After cutting the slot the 2 wood engine block rings are glued in at the edge of the slot.
Next, the engine hook is put on with one end in the slot..Making sure it can freely move..Then the first of four support rings is slid on over the engine hook and tacked into place with CA using care not to glue the engine hook in the process..
Then the other three support rings are slid onto the tube..