SteveNeill
SNG Studio Ventura
Progress on the V-2 5-14-2021
This kit will be 22.5 inches in length and use a BT-80 body tube. The difference between this kit and others in it’s size is it’s scale looks. With a highly detailed nose cone, tail cone, and fins this can be built for static display or flying on a D-G motors. That's right it's big enough for a G if you're brave.")
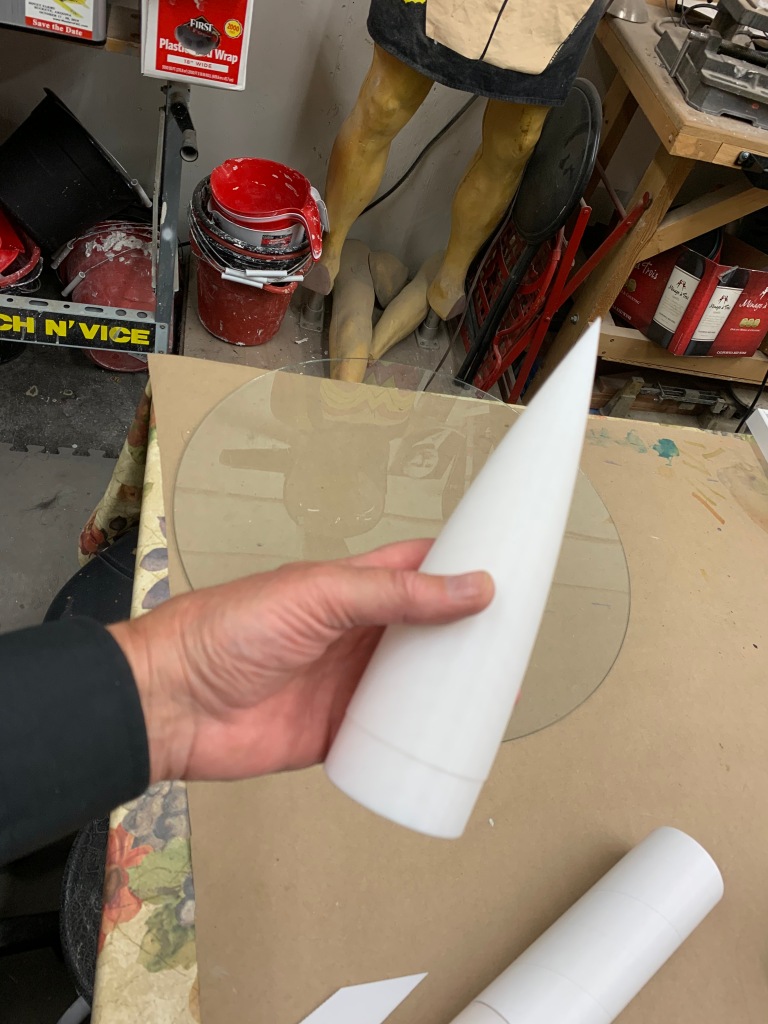
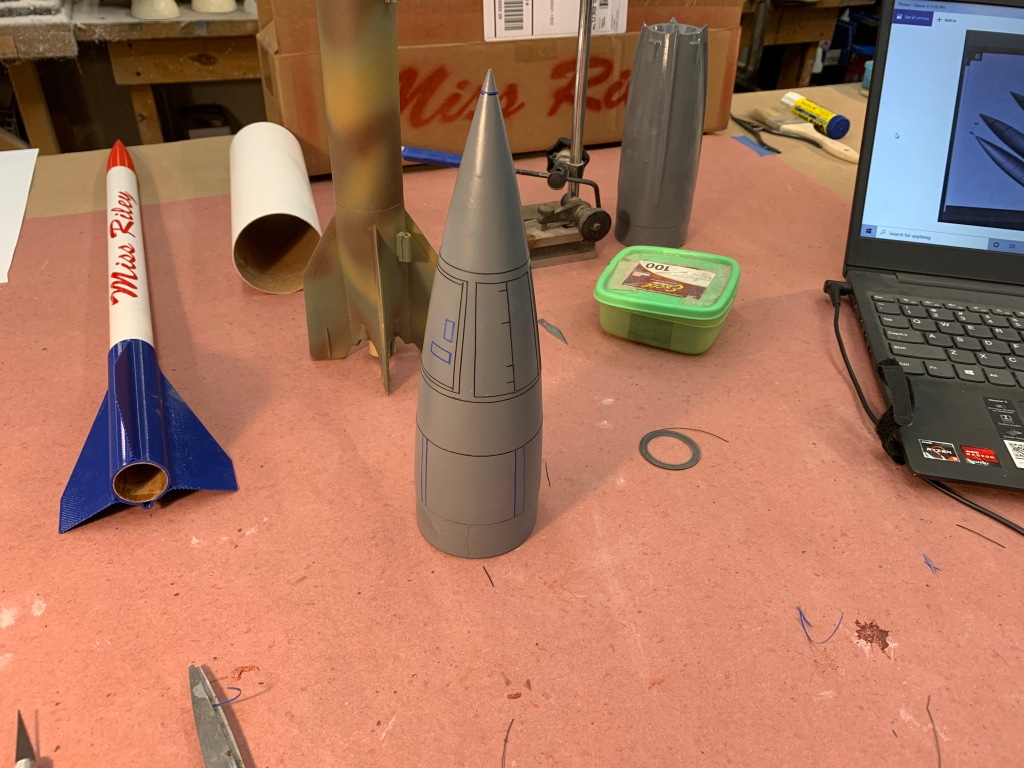
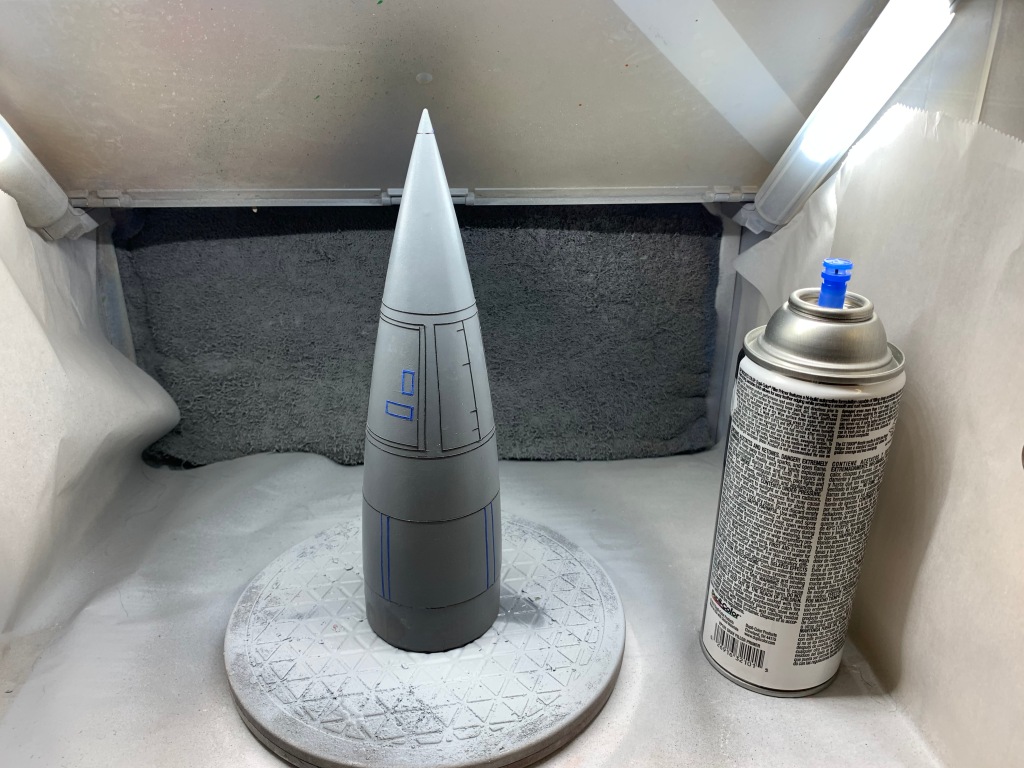
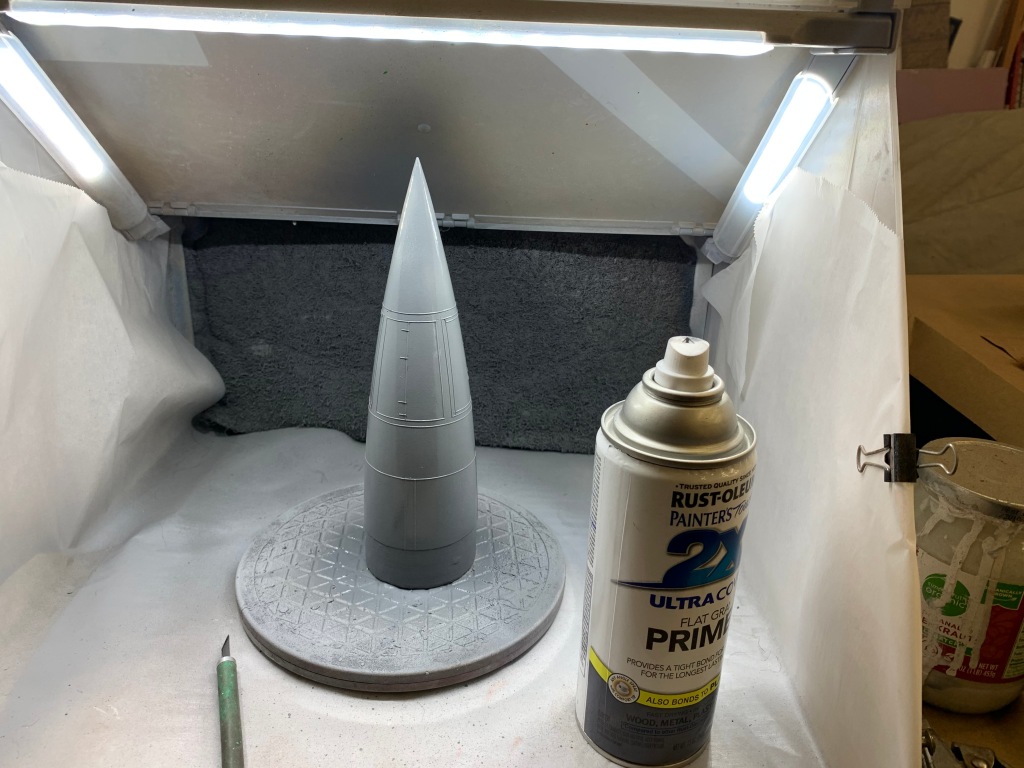
The parts were 3D modeled and printed by my friend Mark Helmick. The parts fit perfectly a BT80. What I’m doing is to fill and sand the parts smooth. After that I’ll hand scribe and detail panel lines, hatches, and rivets. The masters will then be molded in silicone for production parts for kit made in 2 part polyurethane resin. Resin parts I have made for kits in the past have been proven in flight to be durable.
All the builder will have to do is primer and paint. You won’t have to struggle with those raw 3D printed parts trying to sand away the ridges while at the same time losing the detail.
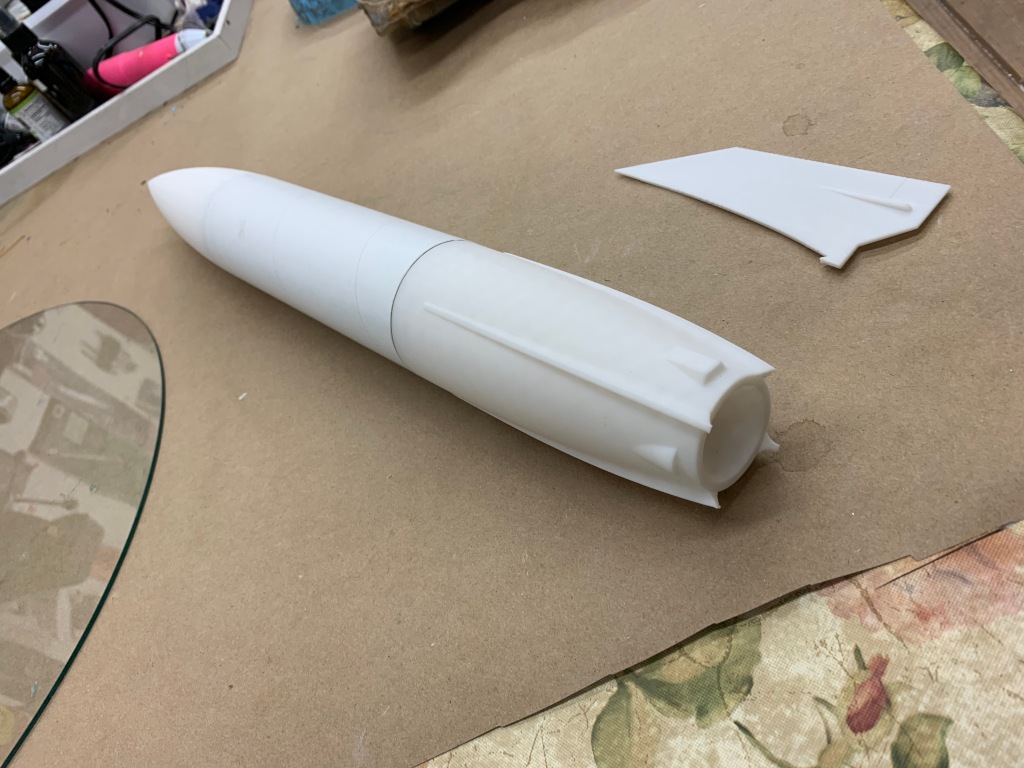
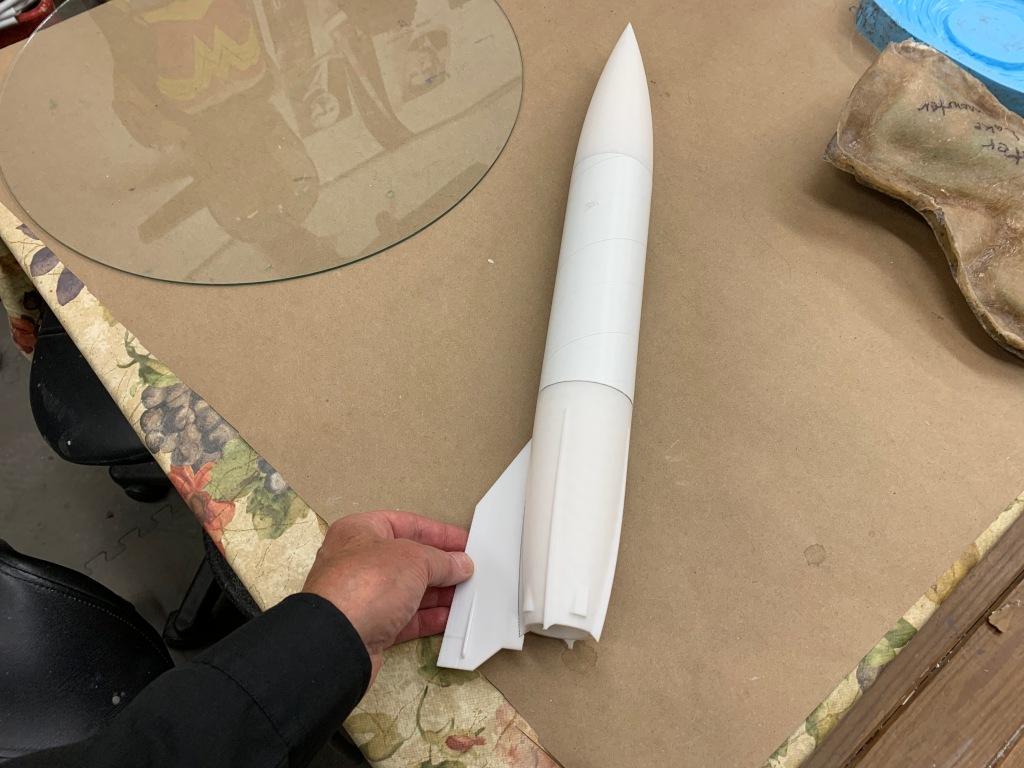
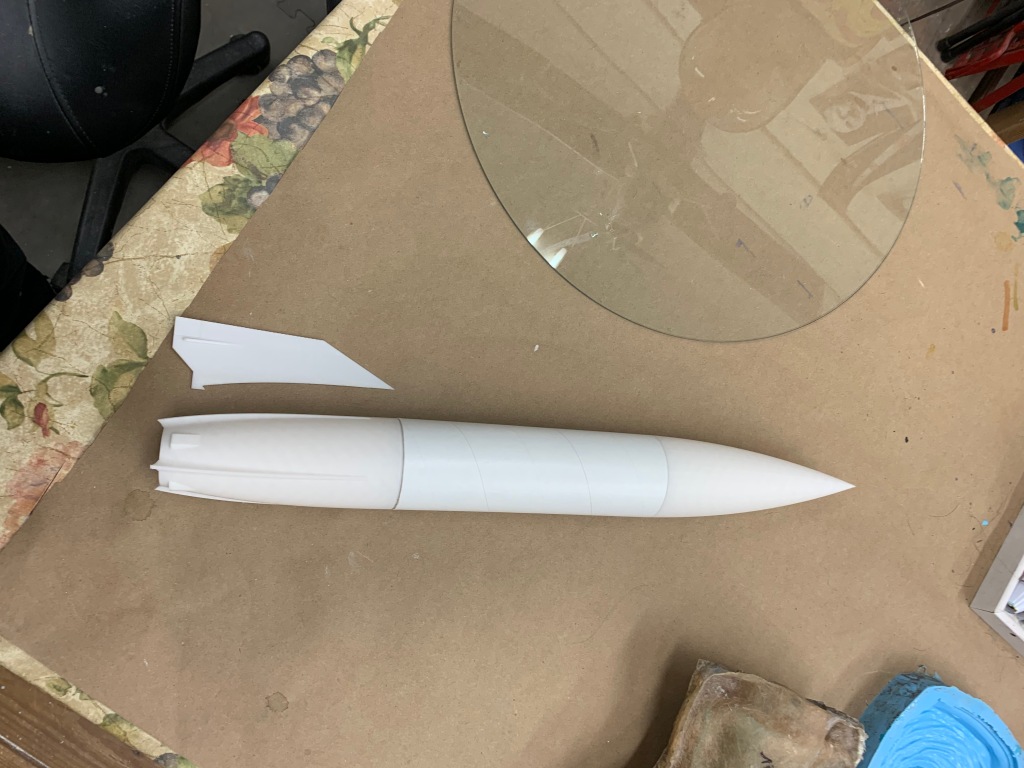
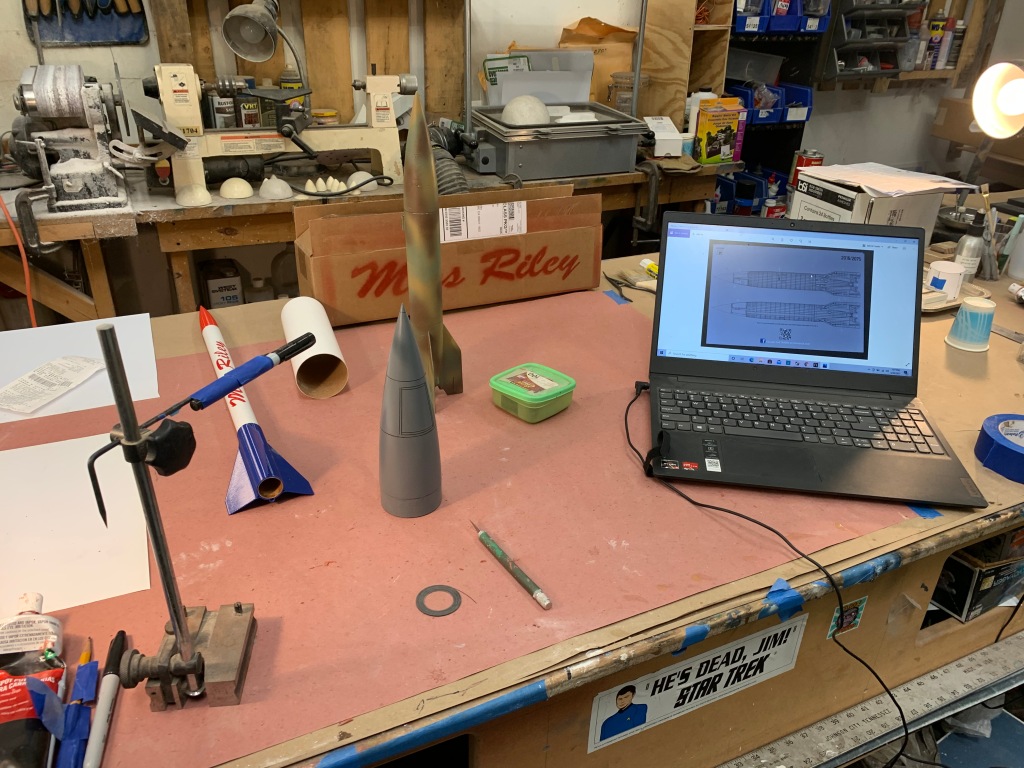
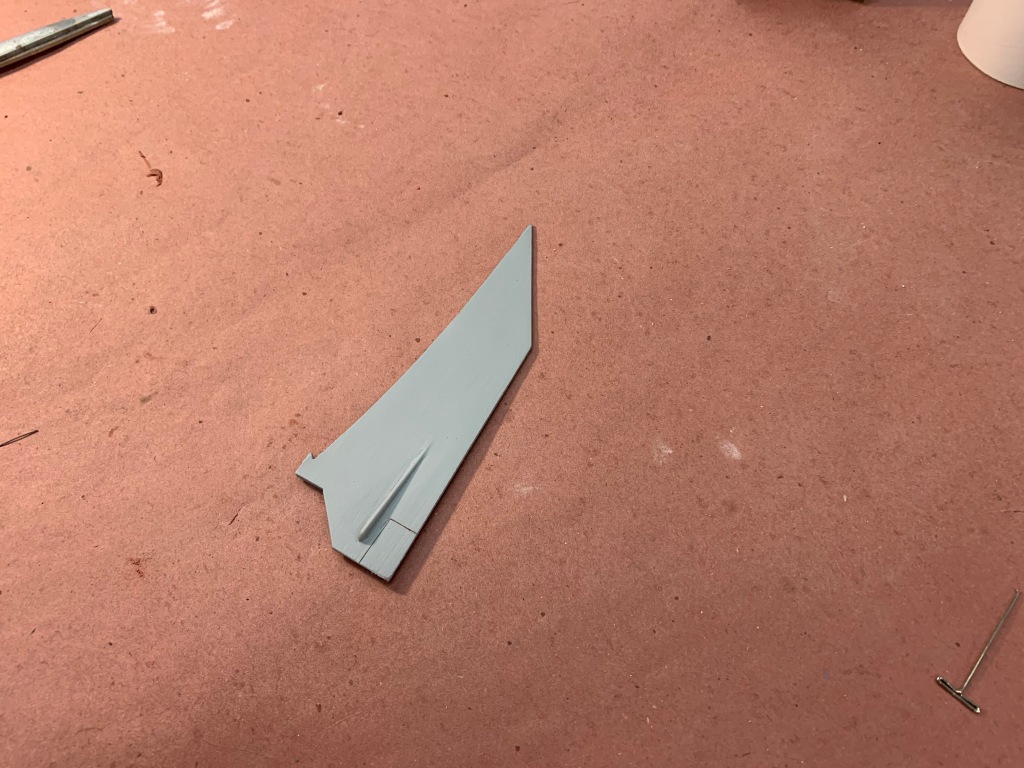
Here’s the parts in the raw form. The fins are scale size and I have proven the model is stable with scale fins on our smaller kit seen in the background.
This kit will be 22.5 inches in length and use a BT-80 body tube. The difference between this kit and others in it’s size is it’s scale looks. With a highly detailed nose cone, tail cone, and fins this can be built for static display or flying on a D-G motors. That's right it's big enough for a G if you're brave.
The parts were 3D modeled and printed by my friend Mark Helmick. The parts fit perfectly a BT80. What I’m doing is to fill and sand the parts smooth. After that I’ll hand scribe and detail panel lines, hatches, and rivets. The masters will then be molded in silicone for production parts for kit made in 2 part polyurethane resin. Resin parts I have made for kits in the past have been proven in flight to be durable.
All the builder will have to do is primer and paint. You won’t have to struggle with those raw 3D printed parts trying to sand away the ridges while at the same time losing the detail.
Here’s the parts in the raw form. The fins are scale size and I have proven the model is stable with scale fins on our smaller kit seen in the background.