- Joined
- Oct 8, 2016
- Messages
- 2,834
- Reaction score
- 1,211
I feel your pain.....Sand/Bondo/primer, Sand/Bondo/primer, Sand/Bondo/primer.


I feel your pain.....Sand/Bondo/primer, Sand/Bondo/primer, Sand/Bondo/primer.
I believe what you are asking about are (these) contour sanders. You can find them at many online eTailers.Would you mind sharing where you got what appears to be a fillet sanding tool that is present in the last picture in your post above?
I believe what you are asking about are (these) contour sanders. You can find them at many online eTailers.


I'm also a fan of having my fins "trapped" between rings, just adds additional lever arm for strength. Another way of achieving similar is using lightweight material for fin pockets extending to centering rings at both ends of the motor mount tube, eliminating the additional rings. Doubt it really saves much as far as rear end mass, but it makes for easier/tighter/more easily aligned assembly especially when installing inline fins..Just add "dams" @ fore and aft positions before filling pockets with epoxy.So, I've decided on a Madcow Terminator for L3. While not being very familiar with fiberglass , i did read the thread on epoxy, and with some West Systems, Rocketpoxy and some 120 grit paper, I feel as though it should be too difficult to get good/strong bonding.
The kit came in last week, and my first chore was unboxing and washing everything with hot water and soap. I was very impressed with the quality of the cuts, everything looked square with smooth edges. Madcow did forget to ship the tailcone CR, but was quick to ship a replacement when I let them know.
View attachment 389112
Then it was on to the MMT work. I ordered a few extra CRs for this kit, so that i could double-up where needed. The FWD CR will have (2) 1/4" stainless ubolts and will be doubled. Next 2 CRs will frame the forward fins. 4th and tailcone CR will frame the aft fins.
View attachment 389119
While I had the rocketpoxy mixed for the fwd CRs, I was able to bond the AV bay bulkheads too.
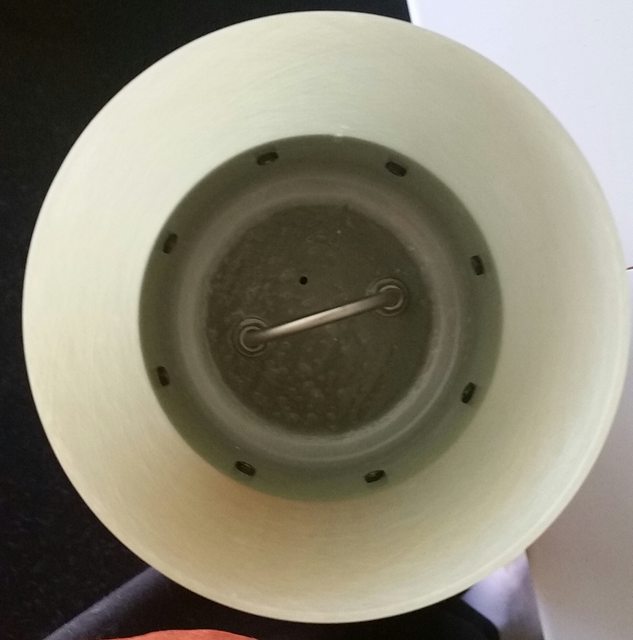
View attachment 389125
That's it for today, will let these cure overnight.


Pretty close. I am at just under 29lbs. with motor case. I added quite a bit of reinforcement and beefier hardware, which easily added at least a pound or 2.WOWZERS! THAT IS PHENOMENAL! very well done!
what is the final weight? more or less what you were expecting?
Pretty close. I am at just under 29lbs. with motor case. I added quite a bit of reinforcement and beefier hardware, which easily added at least a pound or 2.
Due in part to y'all reponses, the nosecone coupler will be removable, using PEM nuts. The bulkhead was epoxied in tonight, and that concludes all of the major "glue work" for this build. I wound-up insetting the bulkhead about 4 inches into the coupler.
View attachment 394121 View attachment 394122
Will probably be ordering shock-cords and chutes this week; along with sanding.
Prepping the electronics for flight. What's the consensus for drogue delay between the primary altimeter and the backup? I am seeing conflicting times, but usually either 1s or 2s.
The 1s crowd saying that it is virtually impossible for the 2 charges to go off simultaneously.
While the 2s crowd saying that the extra second guarantees that the 2 charges don't go off simultaneously.
Using identical RRC3 altimeters. Wish there was a 1.5s setting!
1 second is plenty. Here is a 4" L3 rocket with (2) RRC2's on board, one set for apogee +1.Prepping the electronics for flight. What's the consensus for drogue delay between the primary altimeter and the backup? I am seeing conflicting times, but usually either 1s or 2s.
The 1s crowd saying that it is virtually impossible for the 2 charges to go off simultaneously.
While the 2s crowd saying that the extra second guarantees that the 2 charges don't go off simultaneously.
Using identical RRC3 altimeters. Wish there was a 1.5s setting!


Enter your email address to join: