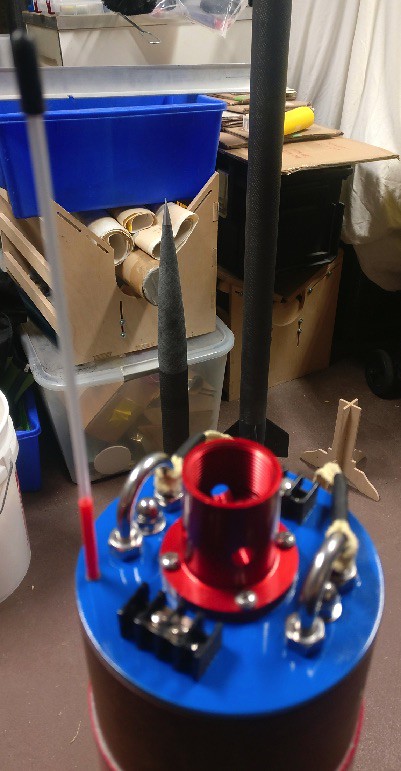
I'm just putting the finishing touches on a custom boat tail kit that Mike at MAC Performance made for me. All the usual MAC awesomeness applies. Perfect parts fit, great materials and outstanding attention to detail. And Mike is great to work with, I have a rocket buddy I've yet to meet. Nat at Upscale CNC also laid out and cut some complex bulkplates for me. None of this would have worked without his help.
The goal for this rocket was to have a fun rocket to fly every launch. The idea came as I was using all my weight to cram a parachute into a minimum diameter rocket at Balls. I want a rocket I can fit my arm into. I want a rocket that has plenty of room for all the stuff. A sign that I'm getting old maybe?
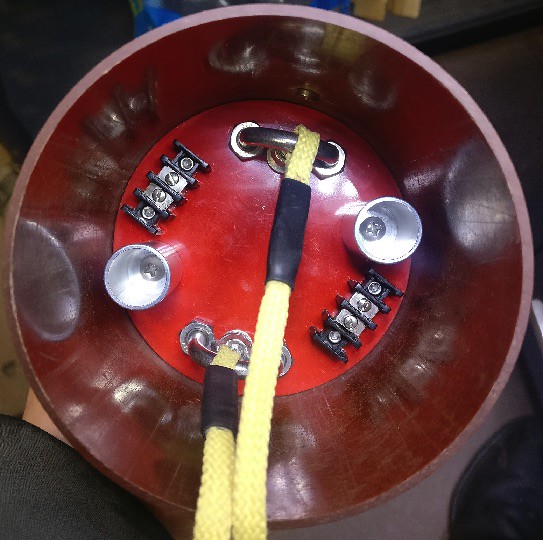
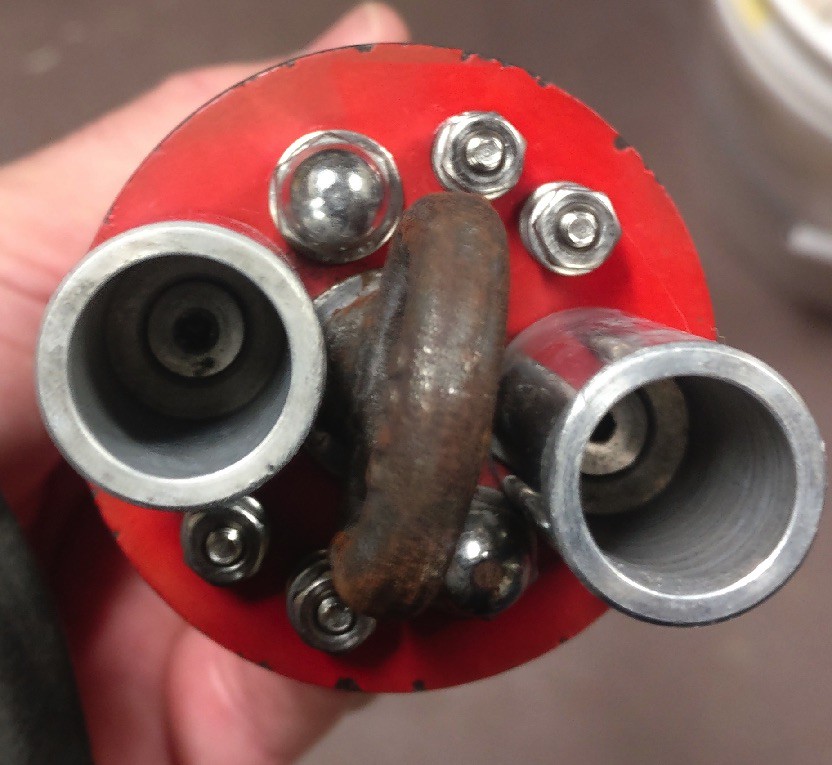
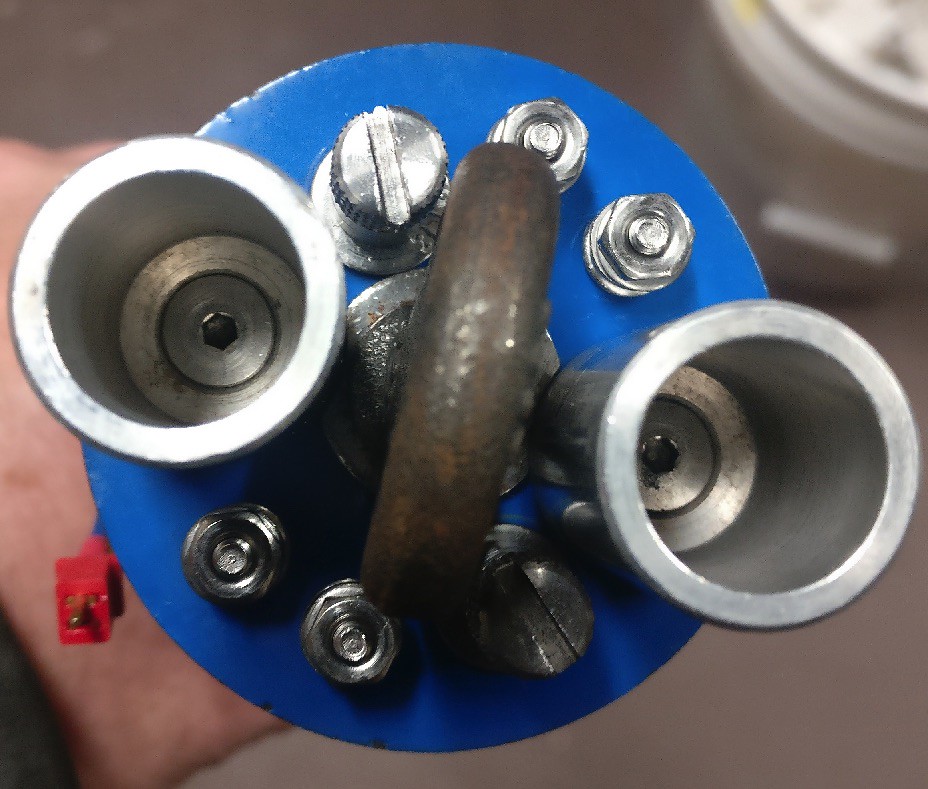
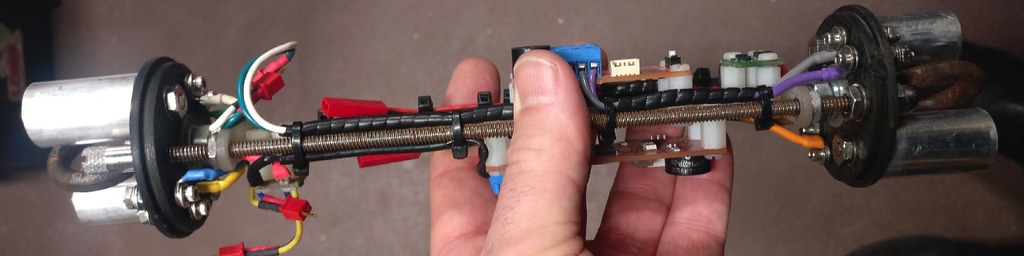
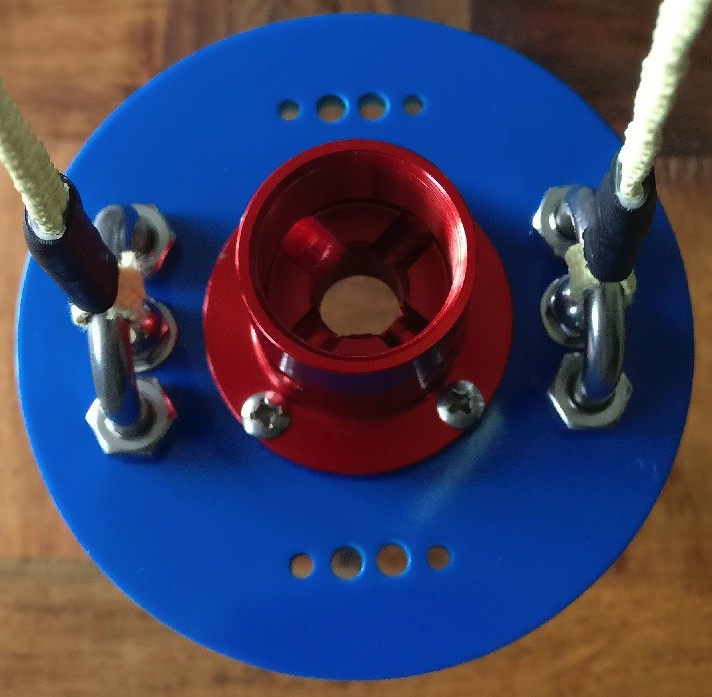
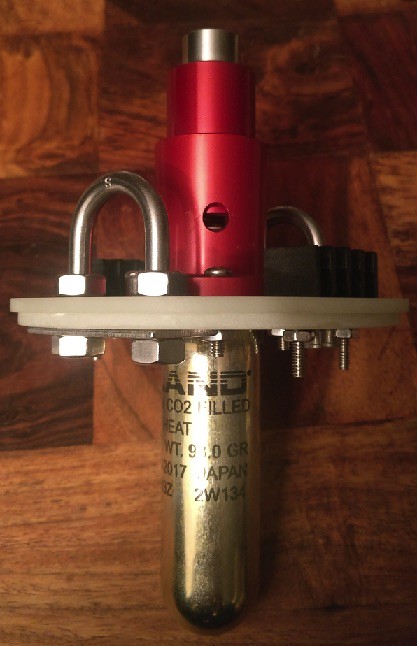
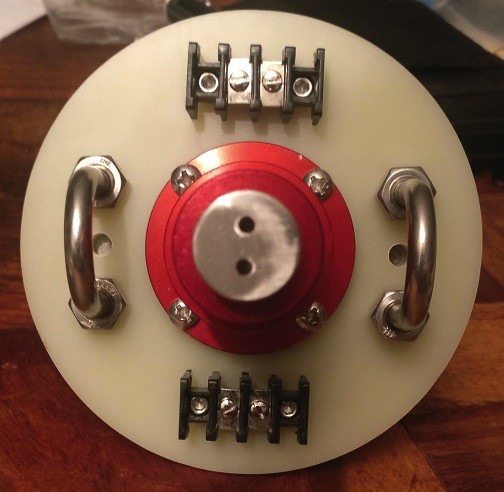
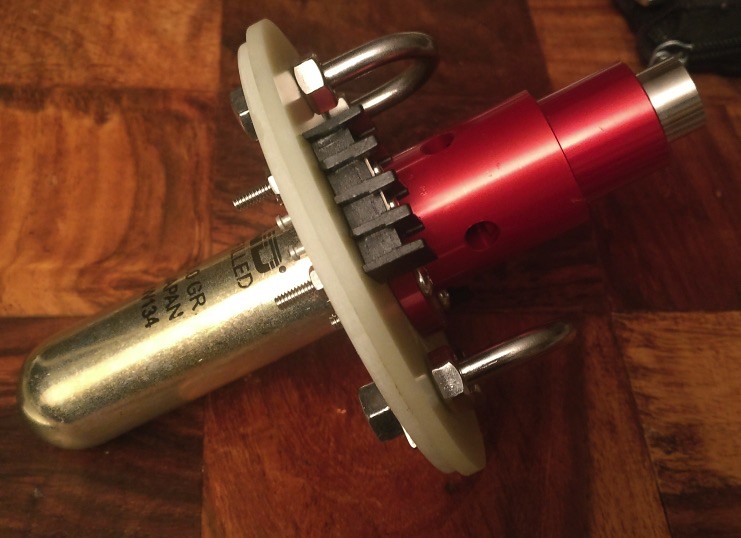
I also wanted to try something different with the deployment. I wanted to use a deployment bag for the reliable main deployment they can provide. I also wanted it to deploy out of a single airframe break. And I wanted it to all stay together, rather than drogue and main separating as two separate entities. Easier said than done. Much racking of brain and many sketches later I came up with a system than I think works pretty well. I just can't tell whether trying to keep it simple made things really complicated. A little of both.
I also wanted some nice bells and whistles for this. I chose the upper echelon of accessories for this, keeping with the MAC quality it started with. This meant Fruity Chutes, MARSA altimeters, Featherweight GPS, CO2 deployment and good quality paint. And I was able to pay for it all with Jet-A fuel rebates I get at work!
It'll fly this weekend at the TRAPHX launch in Eagle Eye, AZ on a CTI L-805. Should hit just about 10k'.


The goal for this rocket was to have a fun rocket to fly every launch. The idea came as I was using all my weight to cram a parachute into a minimum diameter rocket at Balls. I want a rocket I can fit my arm into. I want a rocket that has plenty of room for all the stuff. A sign that I'm getting old maybe?
I also wanted to try something different with the deployment. I wanted to use a deployment bag for the reliable main deployment they can provide. I also wanted it to deploy out of a single airframe break. And I wanted it to all stay together, rather than drogue and main separating as two separate entities. Easier said than done. Much racking of brain and many sketches later I came up with a system than I think works pretty well. I just can't tell whether trying to keep it simple made things really complicated. A little of both.
I also wanted some nice bells and whistles for this. I chose the upper echelon of accessories for this, keeping with the MAC quality it started with. This meant Fruity Chutes, MARSA altimeters, Featherweight GPS, CO2 deployment and good quality paint. And I was able to pay for it all with Jet-A fuel rebates I get at work!
It'll fly this weekend at the TRAPHX launch in Eagle Eye, AZ on a CTI L-805. Should hit just about 10k'.
")