Loc Goblin Thread

The Rocketry Forum

Help Support The Rocketry Forum:

This site may earn a commission from merchant affiliate links, including eBay, Amazon, and others.
Naaah...If we're going for 80's look it would be painted entirely black with flourescent paint randomly splattered all over it. Then the word "GOBLIN" put on it in some weird cursive font.
Hmmmmmm,
I've been pondering a paint scheme for my LOC Goblin.... o_O
 
Hello all. I got a Loc Goblin (and one from Estes) a few days ago. The Estes one was one of my first 5 rockets built way back in the pre high school dark ages.
I've started building my big one, but have a question for you guys. If you are building your fin can outside the rocket, how are you making sure your fins are aligned straight? Yes, I know how the interlocking rings work, but on mine, I can move the top ring quite a lot independently of the bottom ring, resulting in fins that are not in line with the motor mount/body tube. Here's a photo of how I made some alignment markings using the slots in the bottom ring and a length of aluminum angle:

DSC_0078.JPG DSC_0077.JPG
 
Yep, that's the way to do it.

I did it that way on my 4" Goblin, and doing the same on my LOC-Finned Mega der Red Max (MDRM.)
 

Attachments

  • DSCF1912.JPG
    DSCF1912.JPG
    167.6 KB · Views: 115
  • DSCF1913.JPG
    DSCF1913.JPG
    226.4 KB · Views: 146
  • DSCF1914.JPG
    DSCF1914.JPG
    224.8 KB · Views: 114
  • DSCF1915.JPG
    DSCF1915.JPG
    233.3 KB · Views: 124
  • DSCF1916.JPG
    DSCF1916.JPG
    203.9 KB · Views: 129
  • DSCF1917.JPG
    DSCF1917.JPG
    155.8 KB · Views: 121
  • DSCF1918.JPG
    DSCF1918.JPG
    131.6 KB · Views: 139
  • DSCF1919.JPG
    DSCF1919.JPG
    164 KB · Views: 121
  • DSCF1920.JPG
    DSCF1920.JPG
    197.4 KB · Views: 127
Now, that said. When I built my fin can, I glued the aft ring on and left the middle ring free.

Then, I used clamps to get everything aligned and also marked each fins position on the tube prior to applying glue.

Then pulled each fin out, applied glue, then stuck it back in place and tightened down the clamp.

Let 'em cure for a couple days then put the fillets in...still have not glued the middle CR in place yet...

Once it all looked good, then I glued the middle CR in place and filleted it all in.
 

Attachments

  • DSCF1886.JPG
    DSCF1886.JPG
    202.8 KB · Views: 239
  • DSCF1887.JPG
    DSCF1887.JPG
    143.7 KB · Views: 204
  • DSCF1888.JPG
    DSCF1888.JPG
    133.6 KB · Views: 204
  • DSCF1889.JPG
    DSCF1889.JPG
    177.2 KB · Views: 206
  • DSCF1890.JPG
    DSCF1890.JPG
    134.4 KB · Views: 200
  • DSCF1891.JPG
    DSCF1891.JPG
    101.7 KB · Views: 202
  • DSCF1892.JPG
    DSCF1892.JPG
    174.8 KB · Views: 213
  • DSCF1893.JPG
    DSCF1893.JPG
    182.8 KB · Views: 244
  • DSCF1894.JPG
    DSCF1894.JPG
    134.6 KB · Views: 223
  • DSCF1895.JPG
    DSCF1895.JPG
    124.6 KB · Views: 203
Pictures continued.

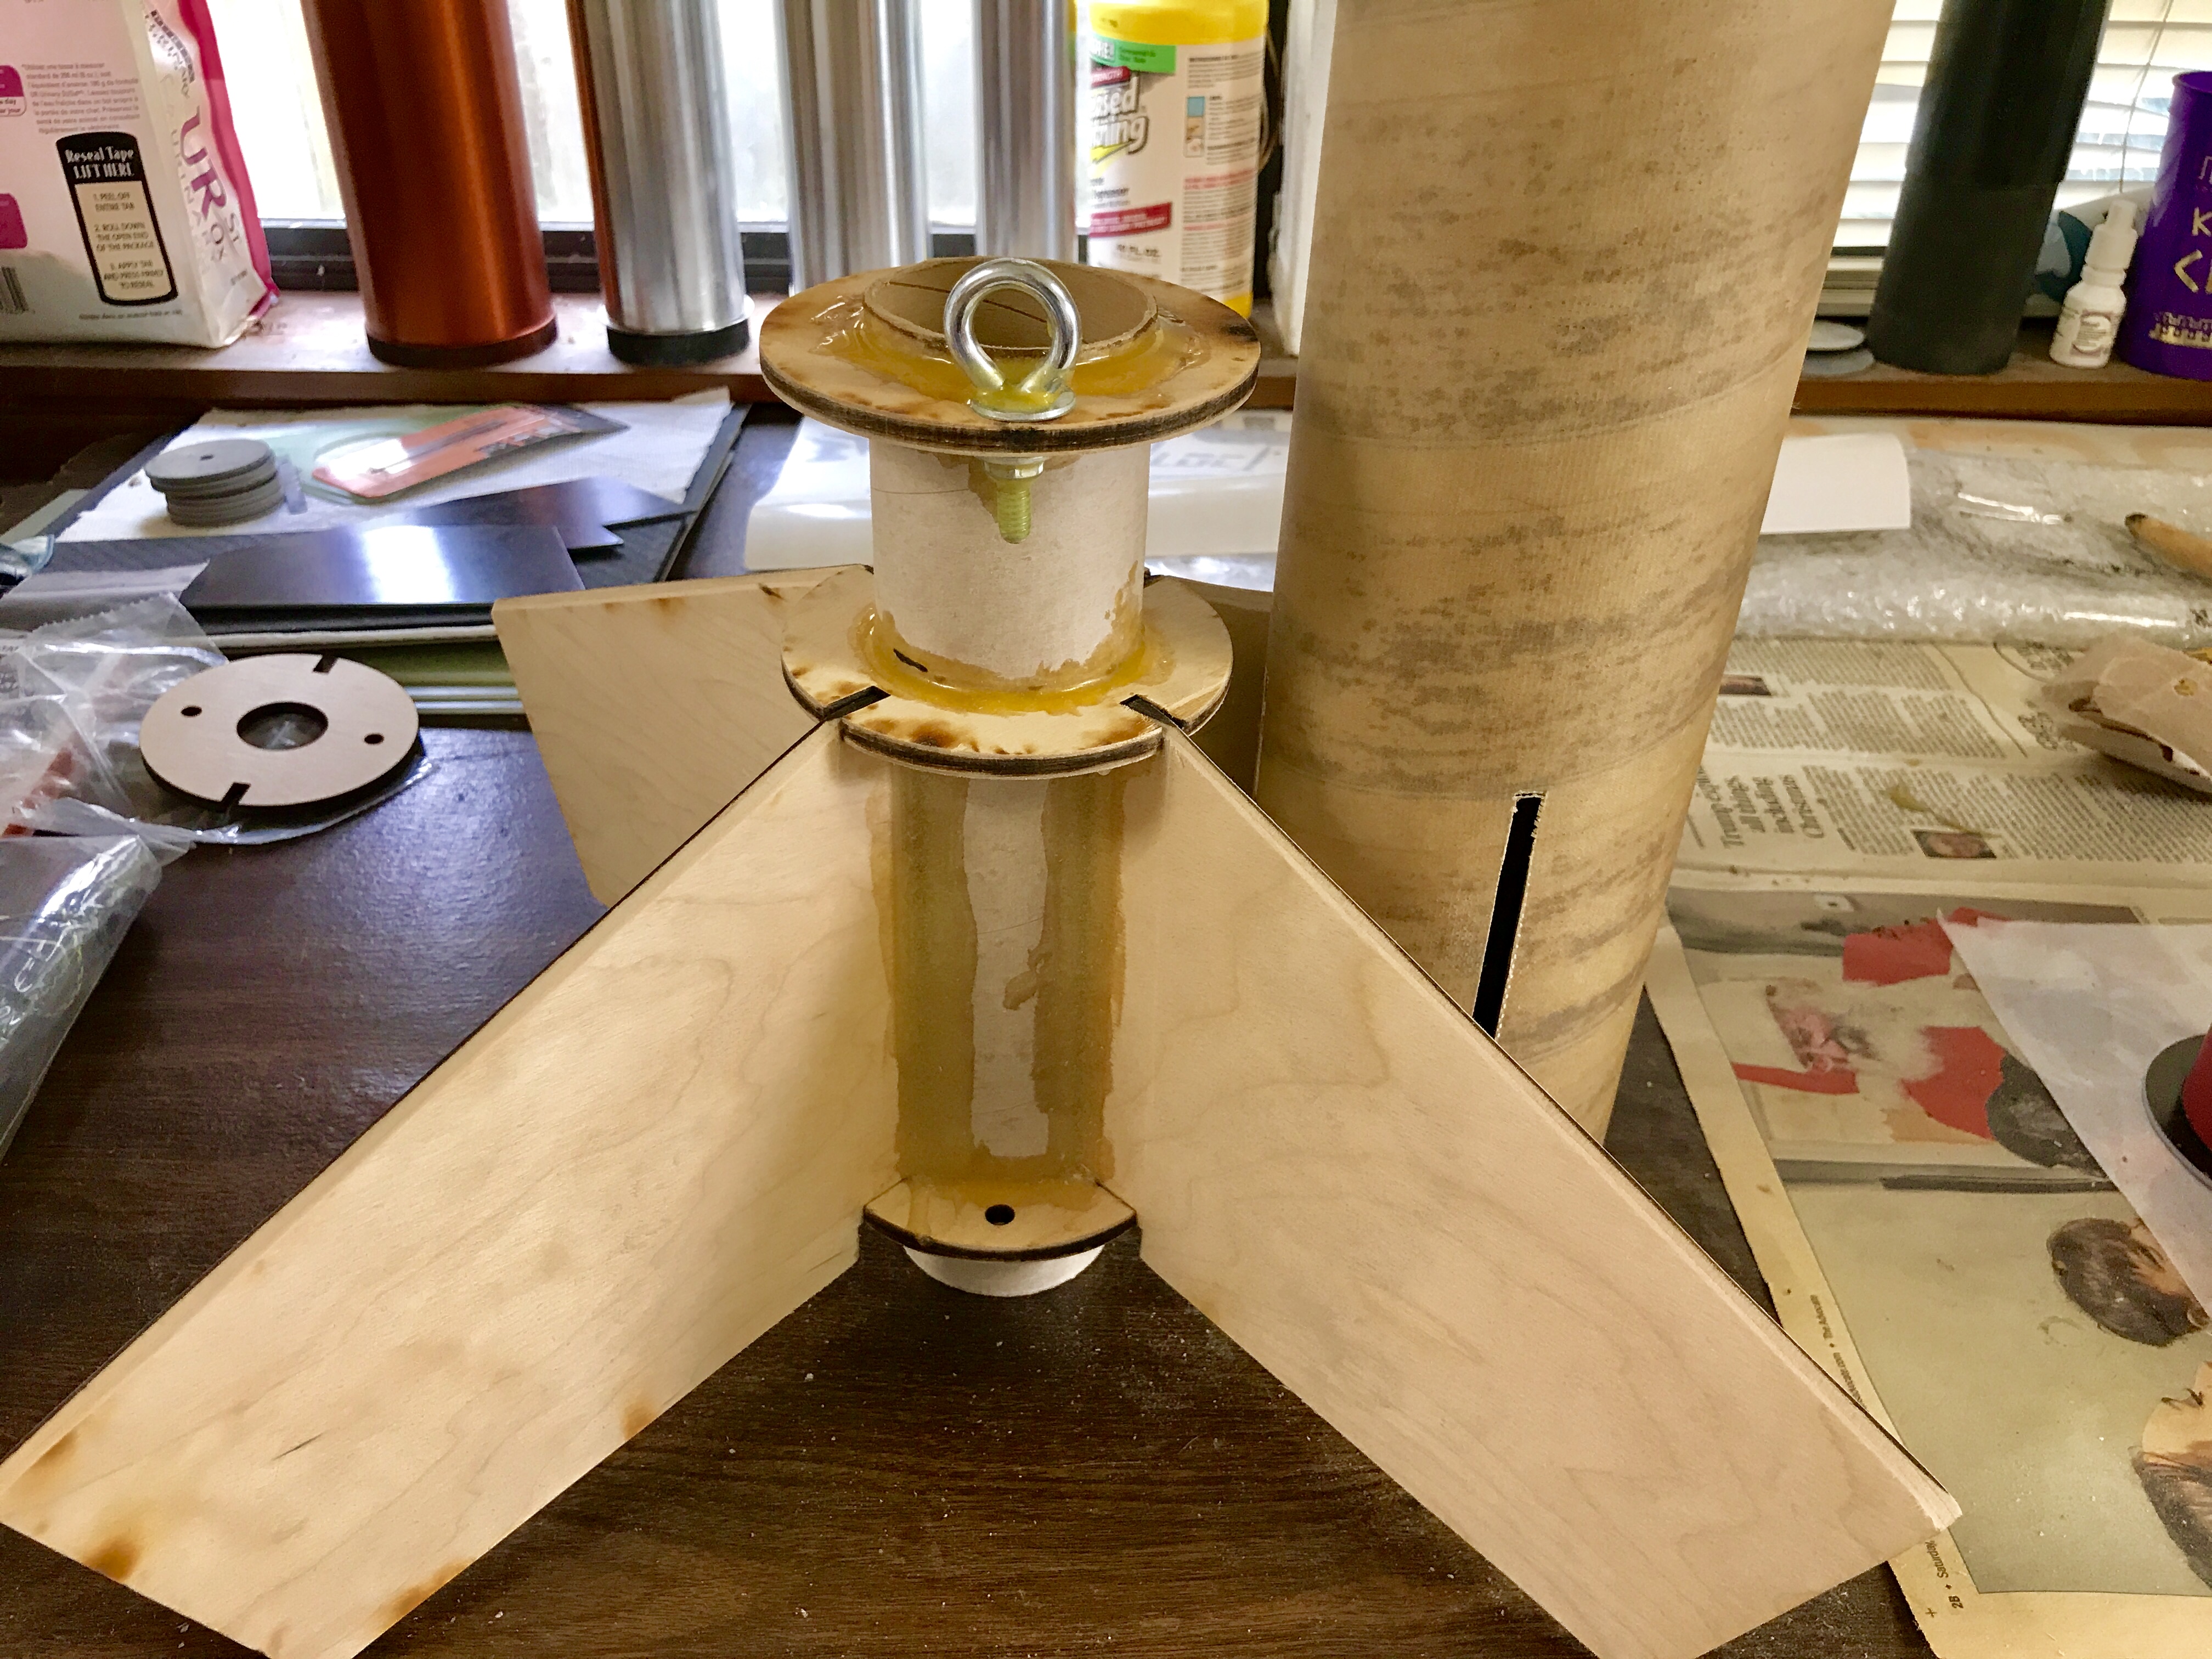
Also, don't put your eye-bolt in until AFTER you have the fins on the MMT and every fillet done.

Why?

Because, you will (invariably) have to flip it bottom up and stand it on the bench to let the fillet's on the underneath sides cure.

Once it's all locked in, then put your eye bolt on, use locktite on both bolts, then epoxy that sucker in permanently. I twisted mine to about a 45° angle (to the body tube) so I could put my quick link on (planning on sharing the recovery system from the Goblin with the MDRM until I get a custom 'chute made for 'em both.
 

Attachments

  • DSCF1897.JPG
    DSCF1897.JPG
    111.4 KB · Views: 134
  • DSCF1899.JPG
    DSCF1899.JPG
    117.9 KB · Views: 163
  • DSCF1900.JPG
    DSCF1900.JPG
    120.6 KB · Views: 142
  • DSCF1901.JPG
    DSCF1901.JPG
    124.4 KB · Views: 158
  • DSCF1902.JPG
    DSCF1902.JPG
    125.2 KB · Views: 137
  • DSCF1903.JPG
    DSCF1903.JPG
    132.4 KB · Views: 137
  • DSCF1904.JPG
    DSCF1904.JPG
    118.7 KB · Views: 134
  • DSCF1905.JPG
    DSCF1905.JPG
    137.7 KB · Views: 148
  • DSCF1906.JPG
    DSCF1906.JPG
    121.8 KB · Views: 145
  • DSCF1896.JPG
    DSCF1896.JPG
    162 KB · Views: 182
Hello all. I got a Loc Goblin (and one from Estes) a few days ago. The Estes one was one of my first 5 rockets built way back in the pre high school dark ages.
I've started building my big one, but have a question for you guys. If you are building your fin can outside the rocket, how are you making sure your fins are aligned straight? Yes, I know how the interlocking rings work, but on mine, I can move the top ring quite a lot independently of the bottom ring, resulting in fins that are not in line with the motor mount/body tube. Here's a photo of how I made some alignment markings using the slots in the bottom ring and a length of aluminum angle:
I had the same concern. I did mine the traditional way: leave off the rear CR until the very end. allows you to do internal fillets too.. Just make sure the upper CR s aligned with the fin slot!
 
Now, that said. When I built my fin can, I glued the aft ring on and left the middle ring free.

Then, I used clamps to get everything aligned and also marked each fins position on the tube prior to applying glue.

Then pulled each fin out, applied glue, then stuck it back in place and tightened down the clamp.

Let 'em cure for a couple days then put the fillets in...still have not glued the middle CR in place yet...

Once it all looked good, then I glued the middle CR in place and filleted it all in.


That's a good idea using those clamps. I may have to pick up a set, since the ones I have are not long enough.

Also, am I the only one who thinks these fins are insanely heavy? Rocksim says only .71 caliber stability with a single grain 54mm motor (cti I150).
Is there a recommended or viable way to lighten the fin? Nose weight could always be added, but seems like defeating the purpose of using a big motor.

I've launched mine on a decent variety of motors from the I245G in the 38/360 to the I115W in the 54/426 case to a K456DM in the 54/1706 case. I've seen Eric's launched on mid sized G's. No nose weight in mine at all, or Eric's. Don't fill the fin can with epoxy and you should be OK.
 
Now, that said. When I built my fin can, I glued the aft ring on and left the middle ring free.

Then, I used clamps to get everything aligned and also marked each fins position on the tube prior to applying glue.

Then pulled each fin out, applied glue, then stuck it back in place and tightened down the clamp.

Let 'em cure for a couple days then put the fillets in...still have not glued the middle CR in place yet...

Once it all looked good, then I glued the middle CR in place and filleted it all in.

What did you use to cover the fins? They look great.
 
Are you guys using the Z-clips that came with the kit for motor retention? I ordered 38mm and 29mm Aeropak retainers, but want to use the Z clips for the 54mm one. (I may never fly this on a 54mm motor, so didn't want to spend the money on a 54mm aeropak)
My question is, my Z clips are not bent at 90 degrees, so they don't fit very well. I think I might be able to bend them to the right shape, but will take some doing, since they have a little reinforcement bend in them?
 
I'm using an Estes 29mm screw on, and a 3D printed 38mm screw on (upscale of the Estes 29mm). Not sure what I'll use if I ever fly a 54mm in mine, as I glued the 54mm tube flush with the aft CR.
 
As far as fin alignment goes I noticed the same thing the fins were actually crooked in relation to the bodytube when setting in the centering rings. Looks like yall got it figured out, I did the same thing....made lines on the MMT and glued up the fins one at a time.
I took some picture of the misalignment but didn't post them on my build thread.
I used an engineers scale to set a parallel line on the motor tube and then glued my first fin with that along with the aft CR.
I then used the forward CR to align the next fins (glued one at a time), and then finally glued on the mid CR.
Man, Yalls rockets are looking GREAT!!
I'm still priming and have a whole lot of sanding to do before I can even get color on mine!!!
AWESOME!!!
 
I am using the Z clips because I wanted to keep it simple. Glad I did, I like the old school look.

Crazy awesome rocket, I hope to have mine painted by the end of next week. It's in primer now, gonna sand and sand and sand this week. Glad to see so many of these things being built. Looks like the Goblin will be this years Mini Magg.
 
As far as fin alignment goes I noticed the same thing the fins were actually crooked in relation to the bodytube when setting in the centering rings. Looks like yall got it figured out, I did the same thing....made lines on the MMT and glued up the fins one at a time.
I took some picture of the misalignment but didn't post them on my build thread.
I used an engineers scale to set a parallel line on the motor tube and then glued my first fin with that along with the aft CR.
I then used the forward CR to align the next fins (glued one at a time), and then finally glued on the mid CR.
Man, Yalls rockets are looking GREAT!!
I'm still priming and have a whole lot of sanding to do before I can even get color on mine!!!
AWESOME!!!

https://www.rocketryforum.com/threads/4-loc-goblin.148895/
post 28.. my reason / justification..
 
I used my mark one eyeball to line my fins up. Looks straight to me. I'm finished with the fin can and I'll be gluing it into the body tube today.[b/]
04B2F40C571D4ECE97CB.jpeg
 
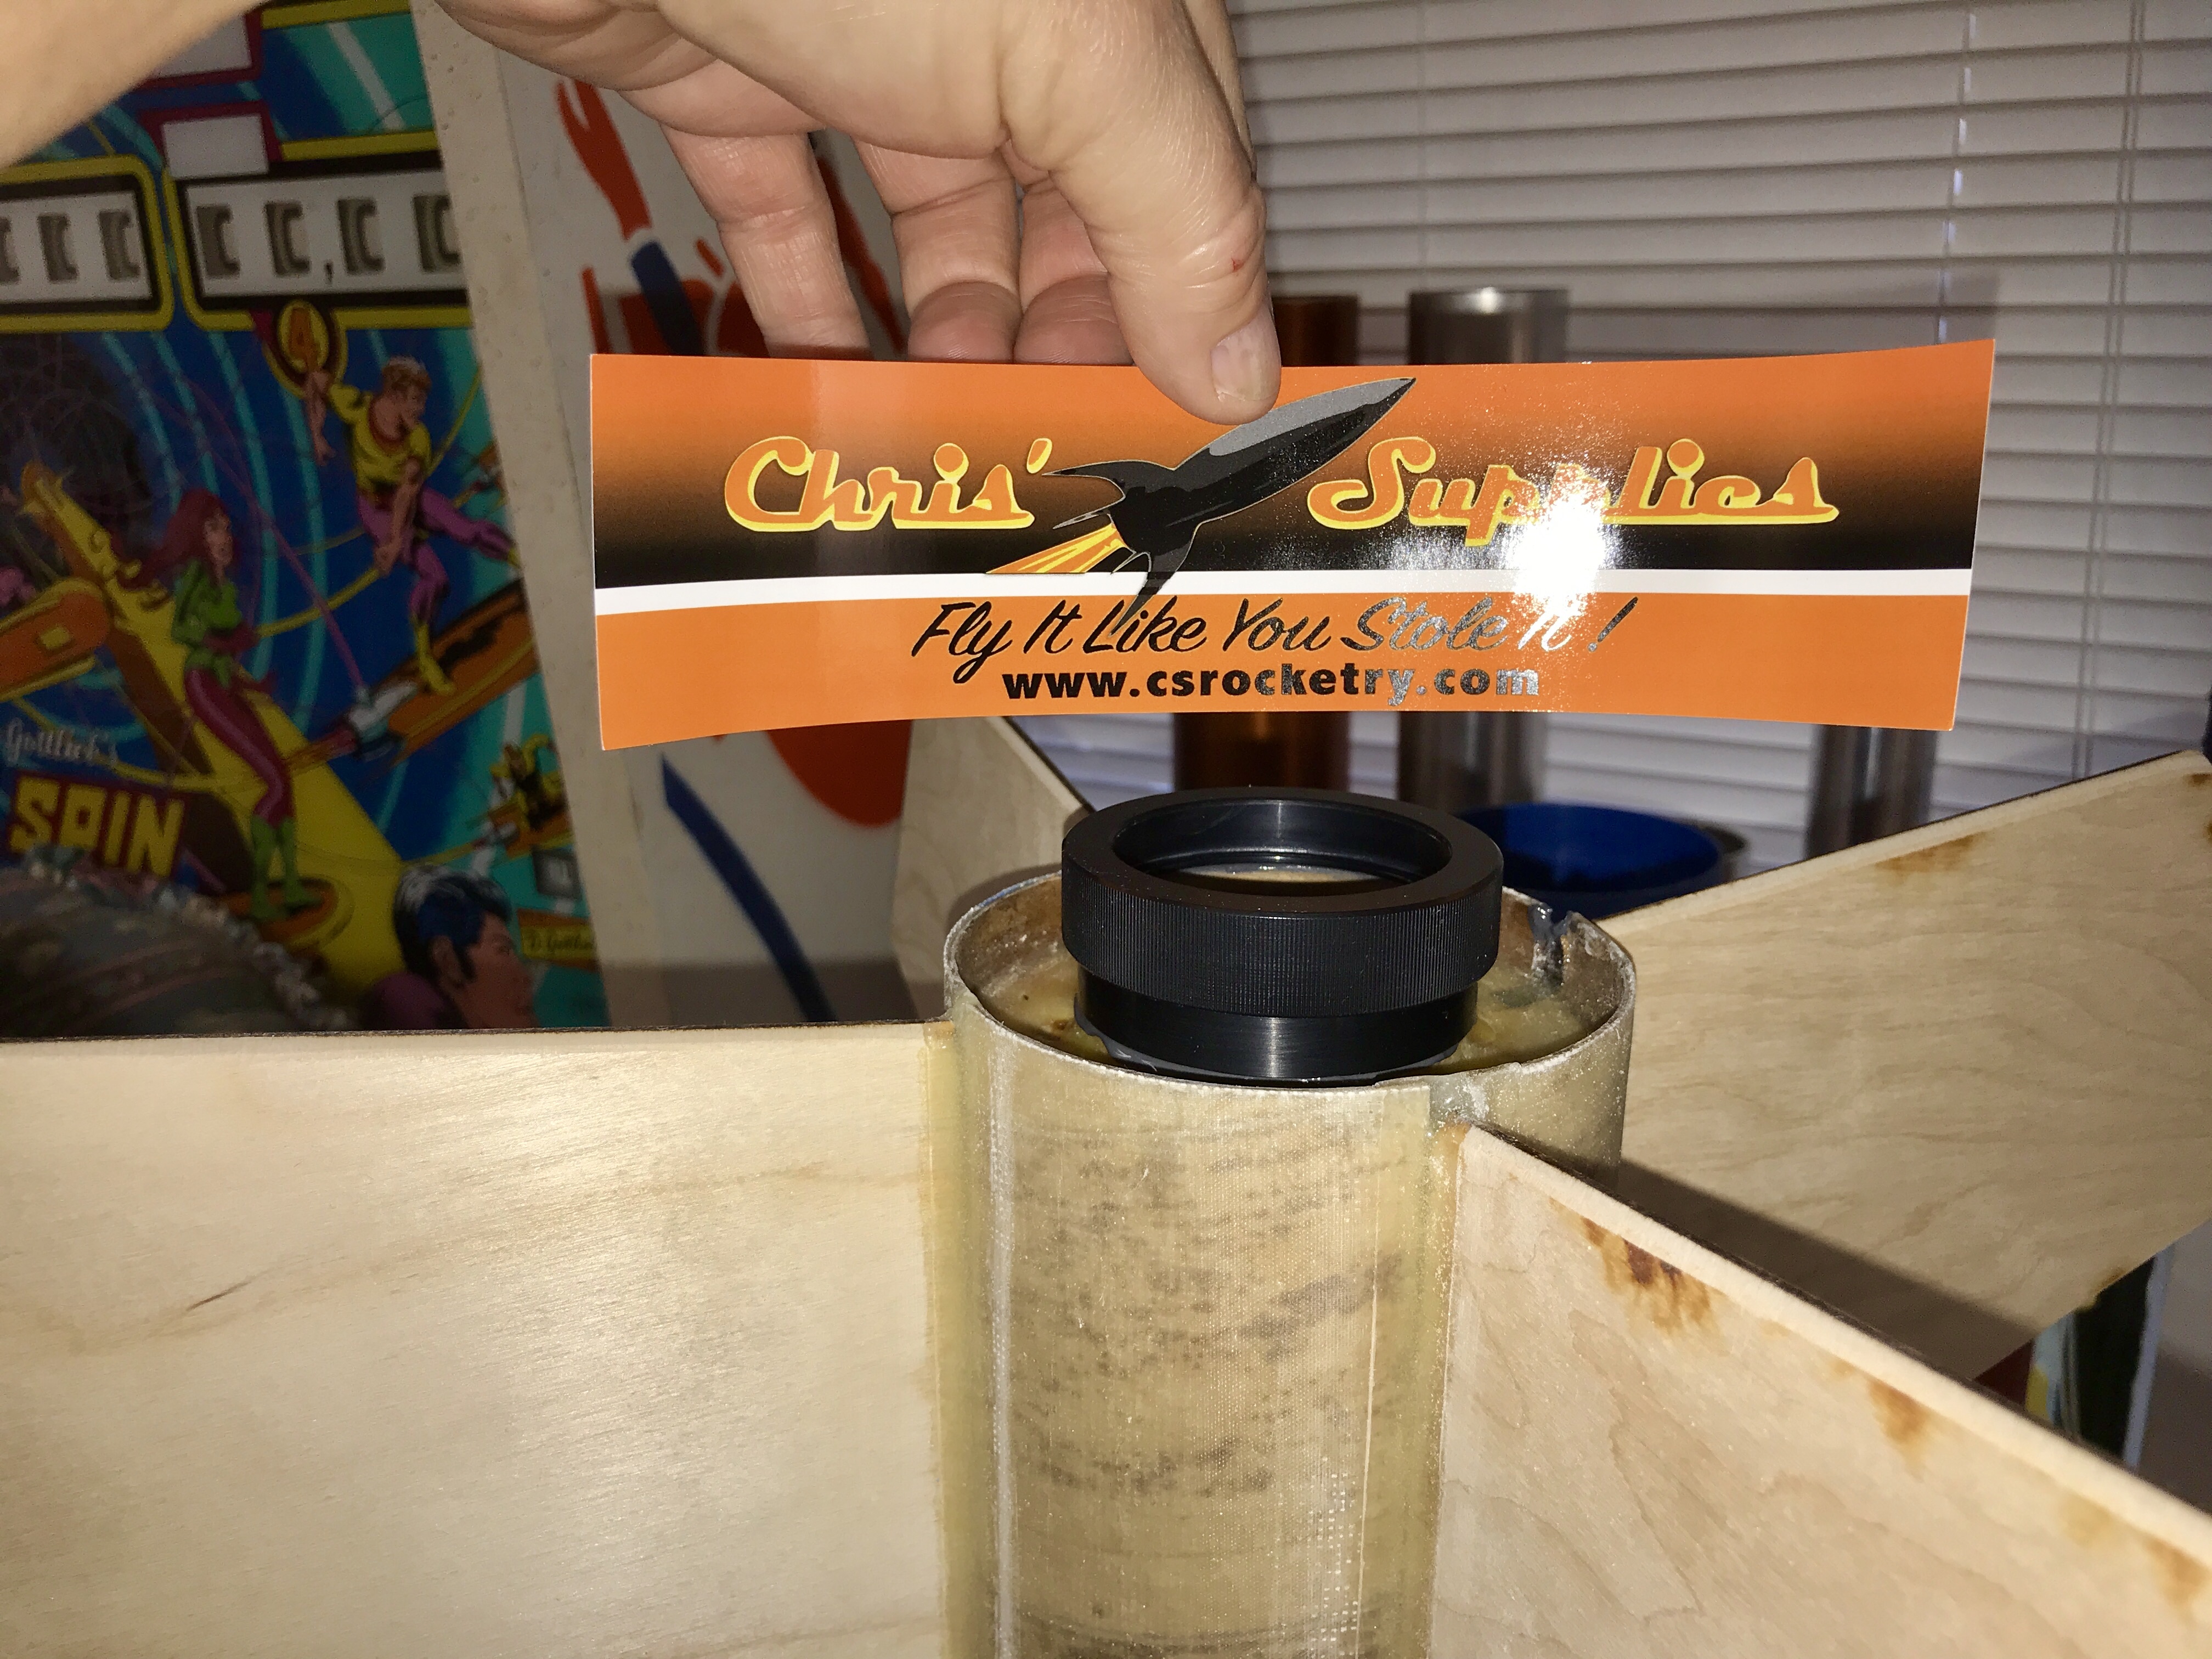
Every Mach capable Goblin deserves an Aeropac retainer to retain an Aerotech K850 DM motor. :eek:
Ordered it Monday. It arrived Wednesday and is now installed. Thank You Chris' Rocket Supply!

8B658958509C47FEA7CD.jpeg
 
I came across the instructions for the Goblin (cleaning up my messy bench! :D) and I noticed something, I thought odd:

The CP is at 35.5" ±05". Why the tolerance on the CP? And why so big?!
 
I came across the instructions for the Goblin (cleaning up my messy bench! :D) and I noticed something, I thought odd:

The CP is at 35.5" ±05". Why the tolerance on the CP? And why so big?!

I just looked at the PDF on LOC's site, and itss +/- .5" (1/2"), not 5". The decimal might be hard to see on the printed sheet they sent with the kits.
 
My build has sufficiently stalled until I figure out the paint situation. I have an idea but need to get the base white down first and it's been too windy to do that. The more time I put into this rocket, the more excited I am getting to see it in the air.
 
My build has sufficiently stalled until I figure out the paint situation. I have an idea but need to get the base white down first and it's been too windy to do that. The more time I put into this rocket, the more excited I am getting to see it in the air.

Slap some paint on that b@#%$* and get flying!!! :cool:
It loves 54/426 motors.
 
I just looked at the PDF on LOC's site, and itss +/- .5" (1/2"), not 5". The decimal might be hard to see on the printed sheet they sent with the kits.
Jonathan, thanks for catching my typo.

But again, why the tolerance? This is the only kit I've ever seen with a CP that comes with a range. I can understand maybe ±.0625 or even ±.125, but ±.5"!
 
Back
Top