


All of my free time has been consumed by more pressing matters. I will be able to get to this maybe during the weekend.
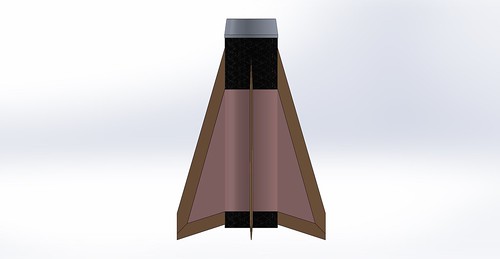
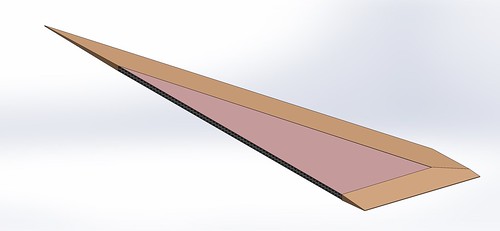
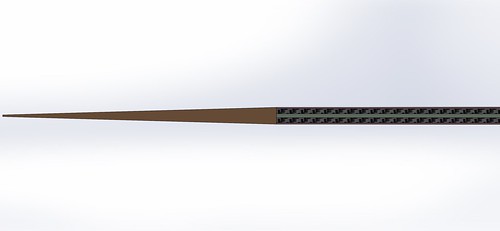
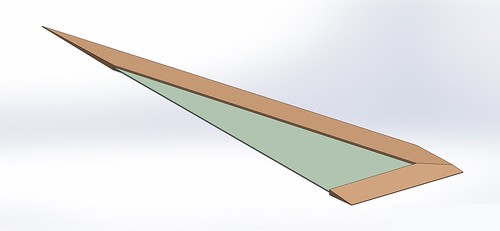
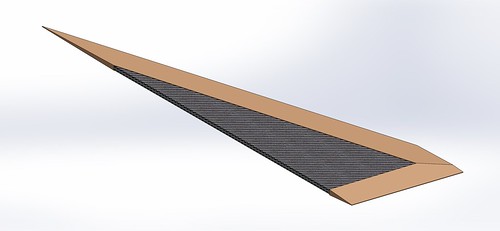
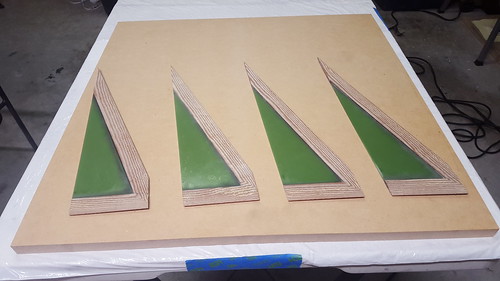
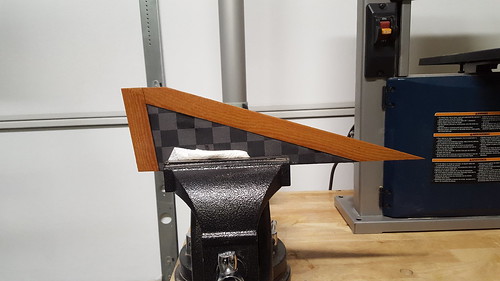
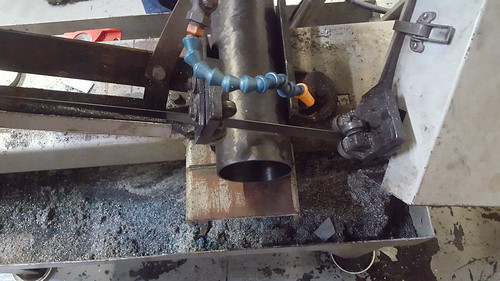
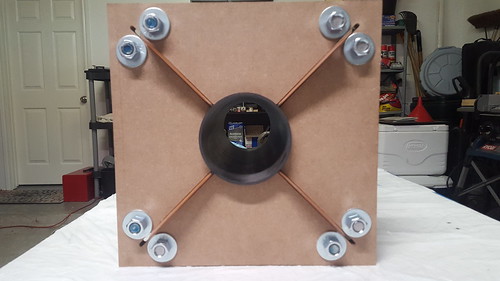
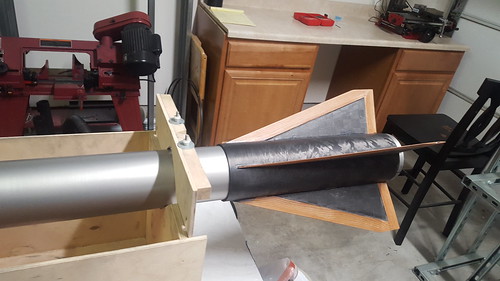
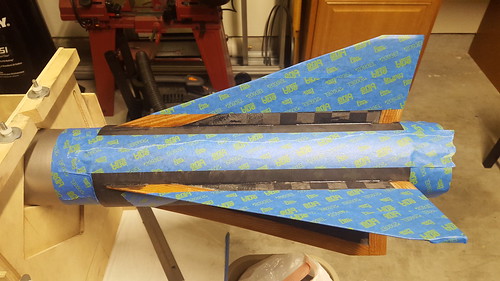
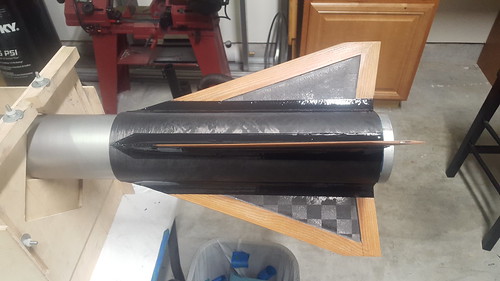
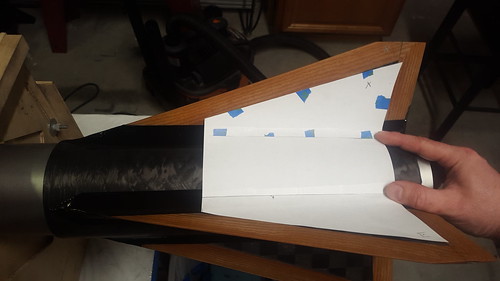
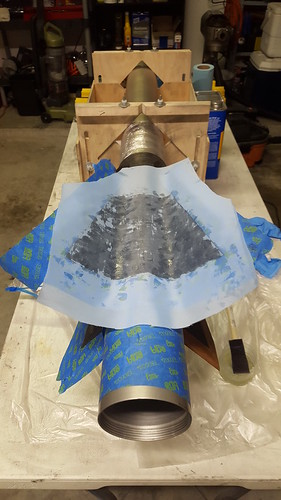
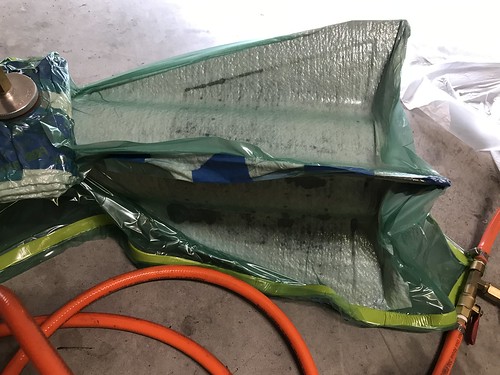
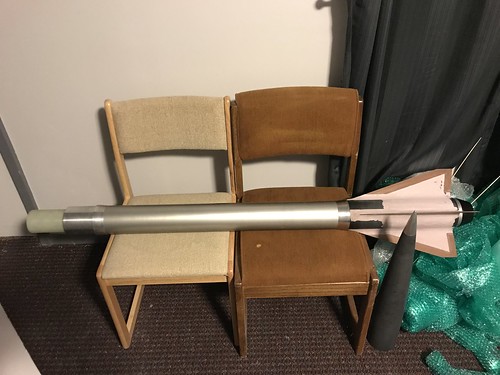
Up next.... the fin can!
I understand, looking forward to the fin can.
Composite Addict
All of my free time has been consumed by more pressing matters. I will be able to get to this maybe during the weekend.
Up next.... the fin can!
I have been burned before with GPS units and really wanted to make sure I recover this rocket; especially since it is for a record attempt and my L3!
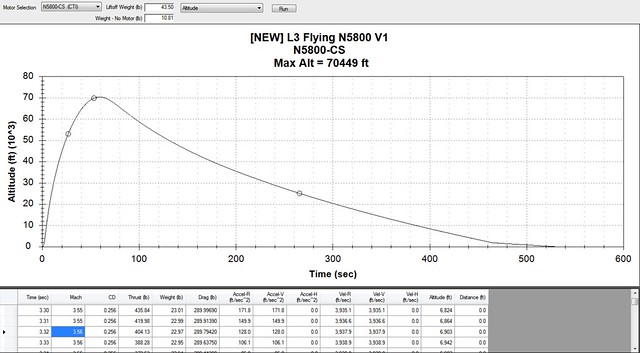
Hey, was just looking over the Tripoli forums today and I saw that some guy, Mat Orsak I think, set a new N record at Balls. N5800 to 63,818 I believe....sweet....and I think it was for his L3 no less. How's that for a coincidence? All I can say, A5tr0 An0n, is that when you get around to your flight, I hope it goes exactly as high as Mat's flight and that it is exactly as excellent as Mat's flight. That would really be something.
Jim
I don't believe he did. He said a few posts back that the aluminum coupler cost him a couple thousand feet, but was necessary for stability.Wonder if Mat fine tuned the throw weight for maximum alt. Kurt


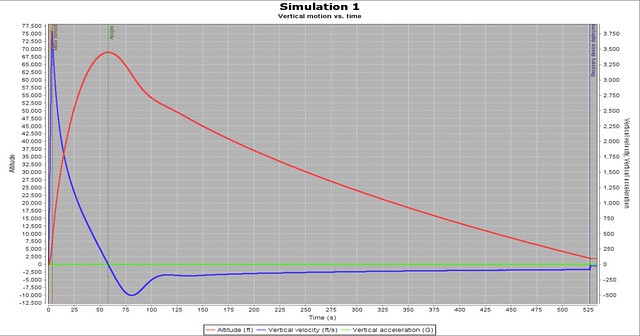
Nice to hear Steve. It'll all be up soon. I will have to pull the data files for the exact rate - but it was somewhere north of 100ft/s.Im glad Ill get to see how you did the fin can.
Out of curiosity, what was the descent rate. We probably will establish a limit.
Thank you very much Chris!Great project and nice write up.
Hey, was just looking over the Tripoli forums today and I saw that some guy, Mat Orsak I think, set a new N record at Balls. N5800 to 63,818 I believe....sweet....and I think it was for his L3 no less. How's that for a coincidence? All I can say, A5tr0 An0n, is that when you get around to your flight, I hope it goes exactly as high as Mat's flight and that it is exactly as excellent as Mat's flight. That would really be something.
Jim
There you go buddy. The finishing touches coming soon.I understand, looking forward to the fin can.
Composite Addict
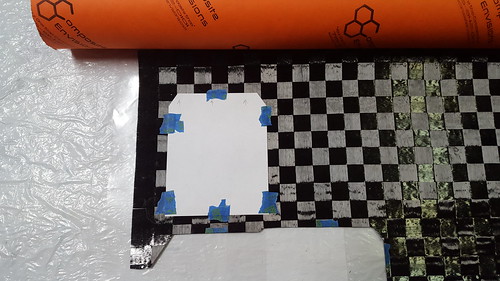
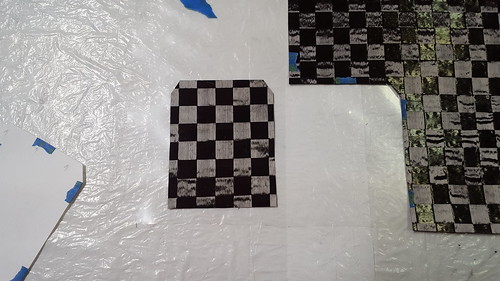
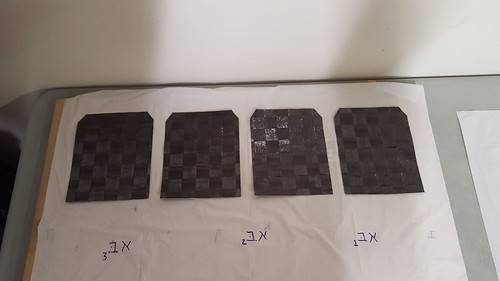
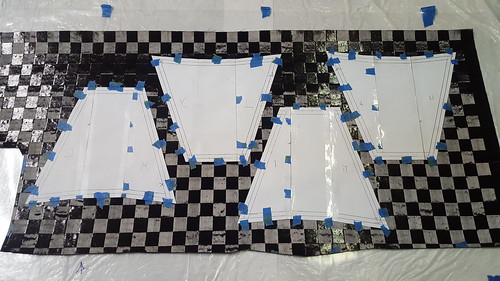
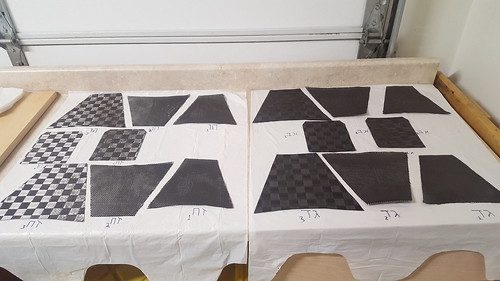
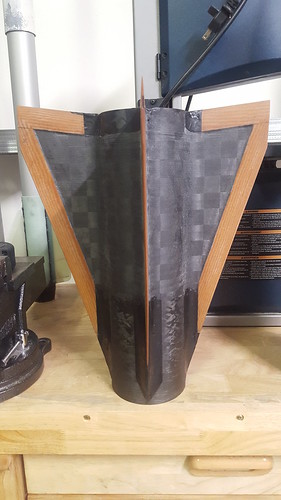

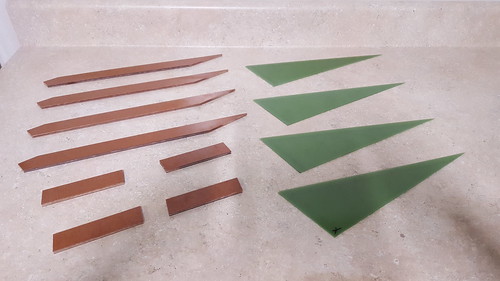
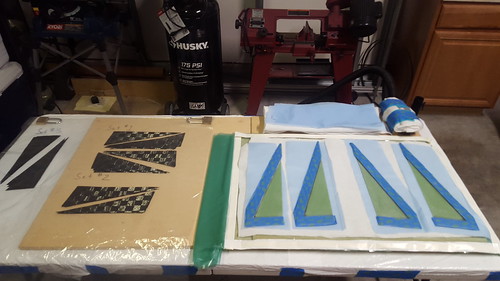
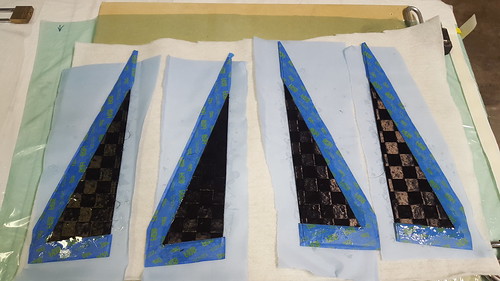
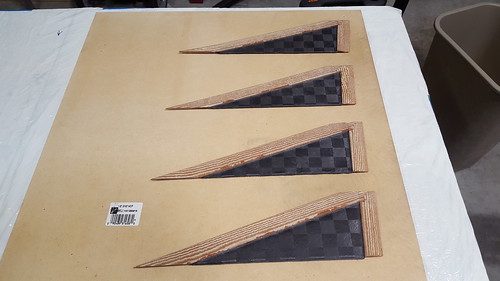
When I seen this fabric on this thread, I just have to get some! Do my T2T with it. Haven't picked out which textreme fabric to use, maybe around 4 to 6 oz. Very Very impressive work! My fins are jealous!!
Great work!!!! Could you elaborate on the special scissors you used to cut the CF? Theres no way I could cut that accurately for a tip-to-tip layup with no overhang.
Sent from my iPhone using Rocketry Forum
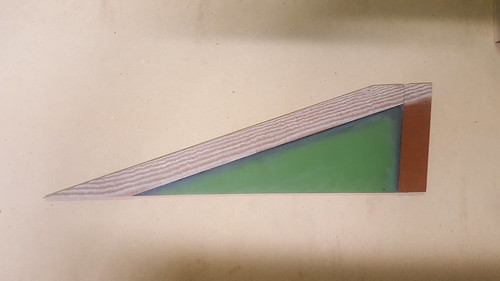
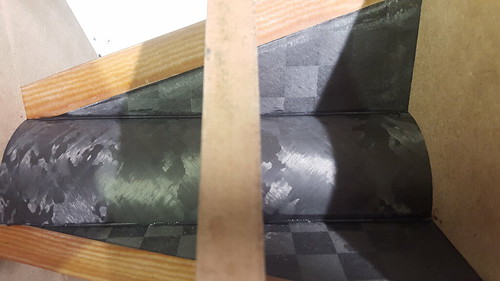
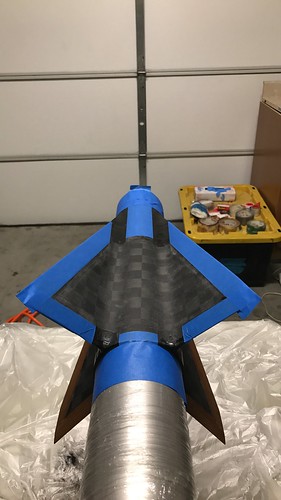
Why dont I get notified no more what gives? Man that must have hurt painting over that wicked spread tow material man. Seeing the roll from composite envisions and the no fraying when cutting. I can only assume it was a textreme flat tow carbon.
Thanks for the update, your work is amazing.
Composite Addict
When I seen this fabric on this thread, I just have to get some! Do my T2T with it. Haven't picked out which textreme fabric to use, maybe around 4 to 6 oz. Very Very impressive work! My fins are jealous!!
Great work!!!! Could you elaborate on the “special” scissors you used to cut the CF? There’s no way I could cut that accurately for a tip-to-tip layup with no overhang.
Sent from my iPhone using Rocketry Forum

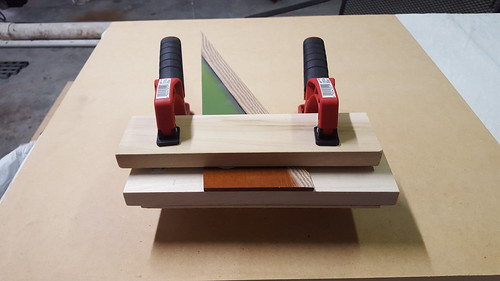
Lol sure. I was being partially sarcastic about the "special," scissors. The scissors that I use are just $30 fabric scissors. I treat them as such. Only use them for composite work and keep them in their included sheath. Everybody develops their own way of cutting - I have found that I can cut with very minial fraying & good acuracy with my current setup.
I use a Fiskars Rotary cutter for cutting FG and CF it works great with less pulling of tows/fibers than scissor cutting. I agree that it probably wouldnt work well for kevlar.Rotary cutters (think pizza cutter) work well for carbon and glass fibers. Kevlar would be problematic with them, I believe.
Reinhard
Rotary cutters (think pizza cutter) work well for carbon and glass fibers. Kevlar would be problematic with them, I believe.
Reinhard
Enter your email address to join: