Interceptor E Build

The Rocketry Forum

Help Support The Rocketry Forum:

This site may earn a commission from merchant affiliate links, including eBay, Amazon, and others.
Hey John,
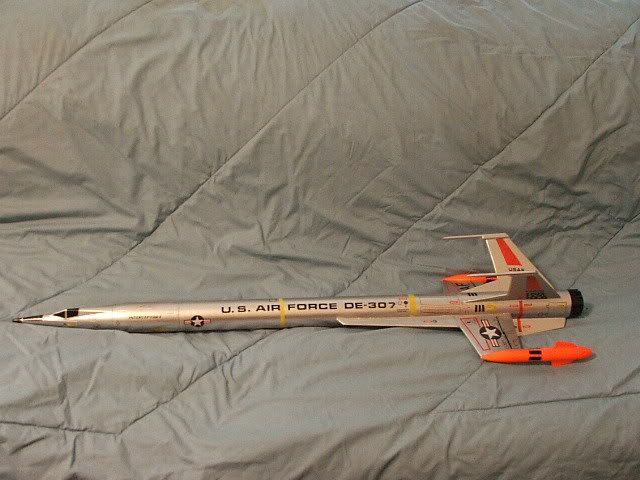
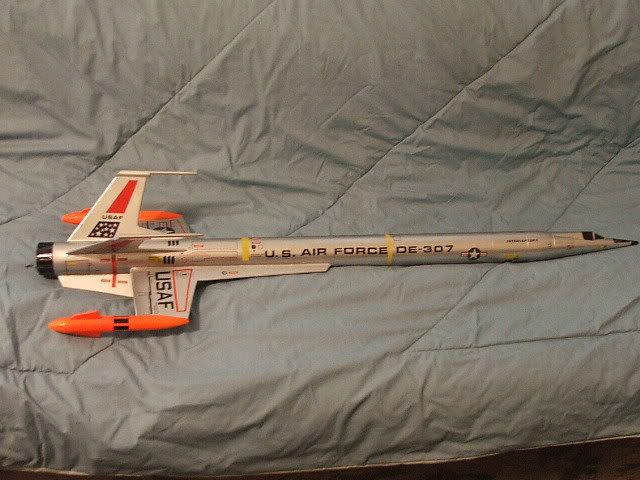
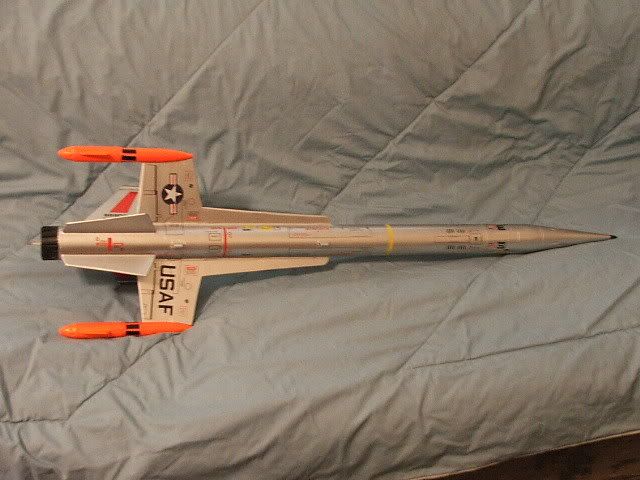
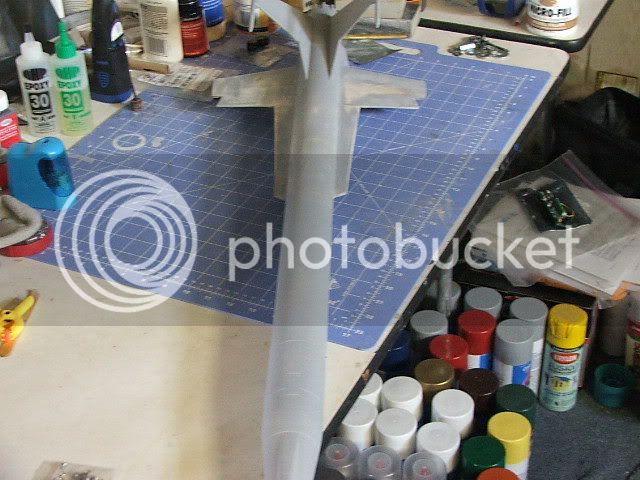
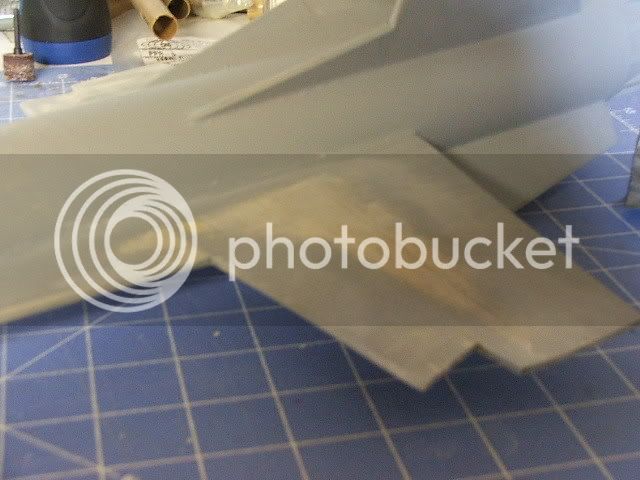
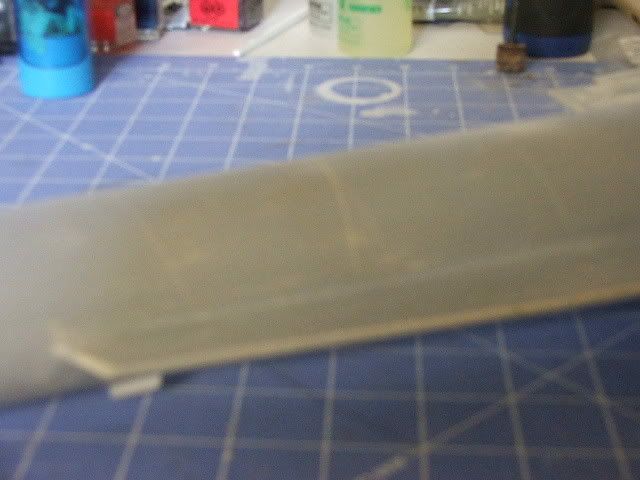
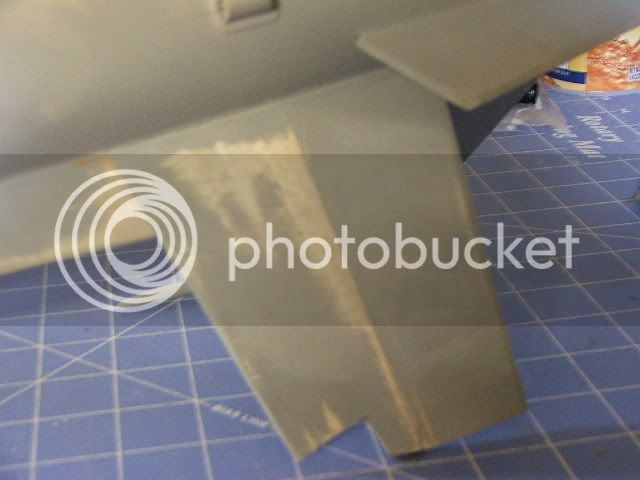
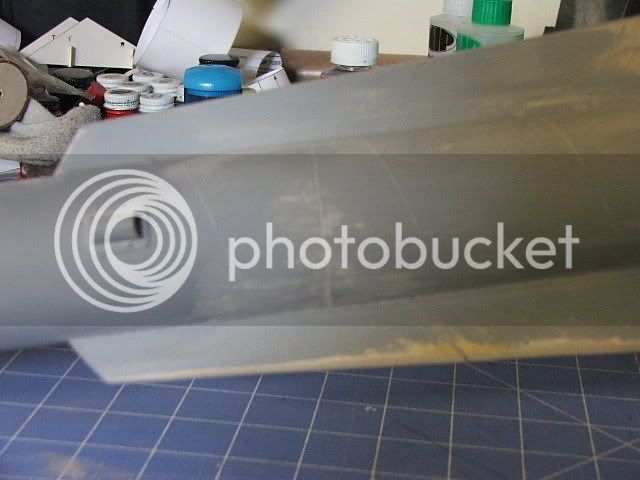
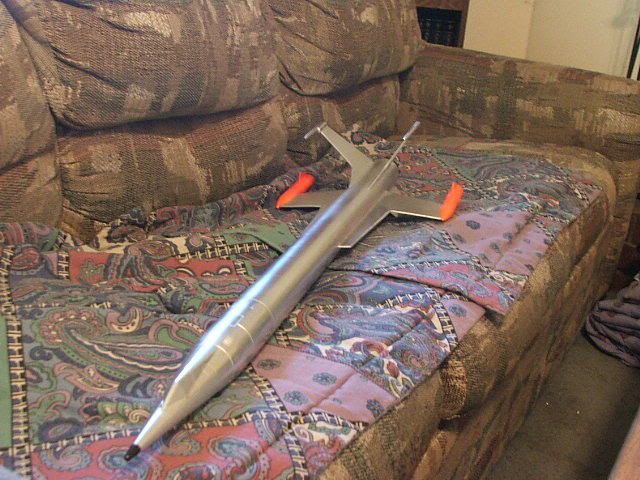
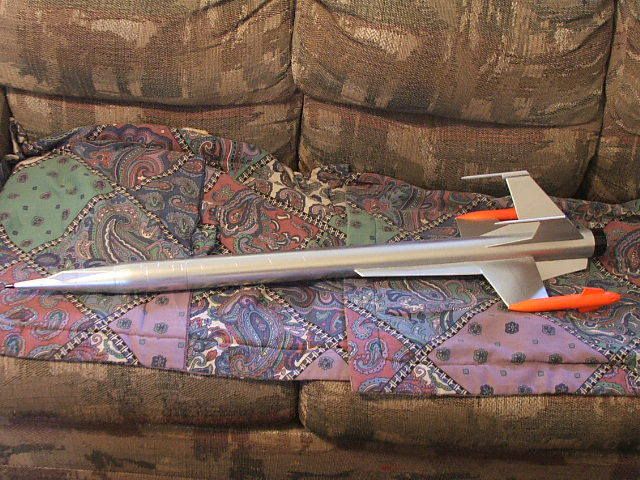
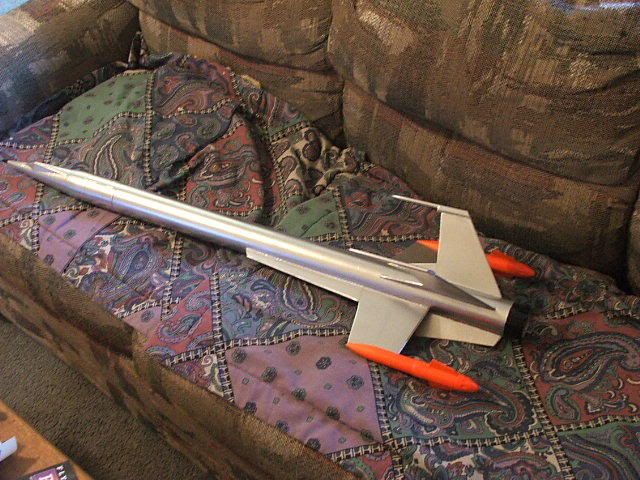
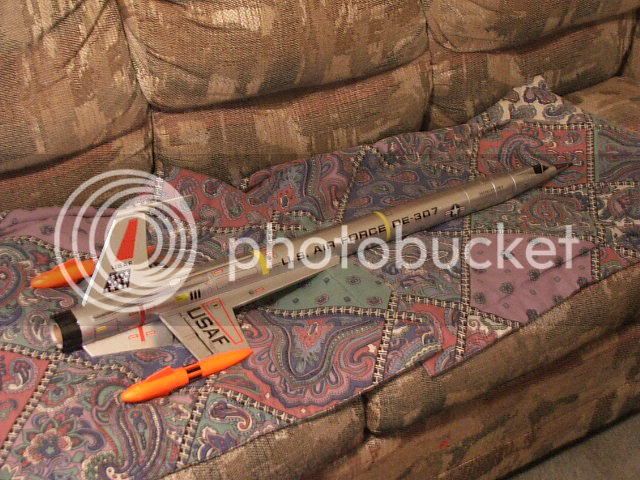
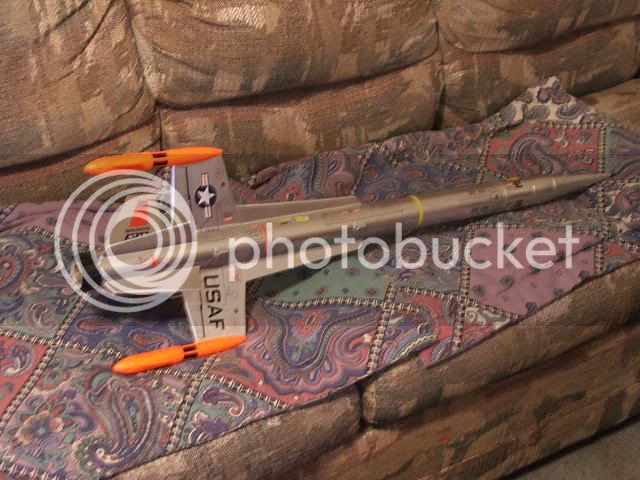
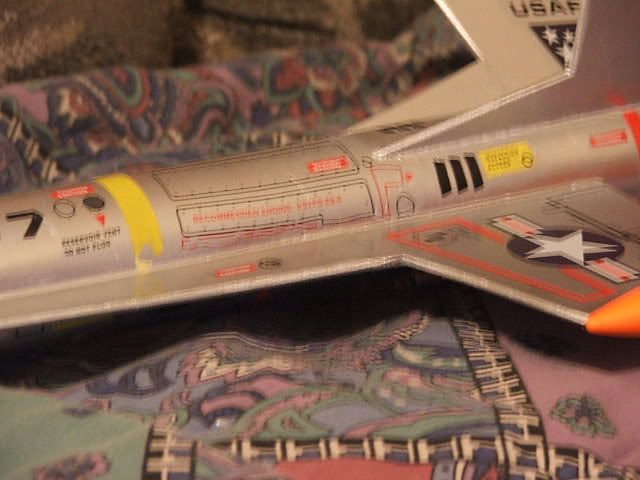
If you dont mind i thought I would add some photos of my build to your thread. This is the first lick of paint. The pods will need a little more. I also showed the decals i intend to use in conjunction with some of the supplied stuff
Cheers
fred

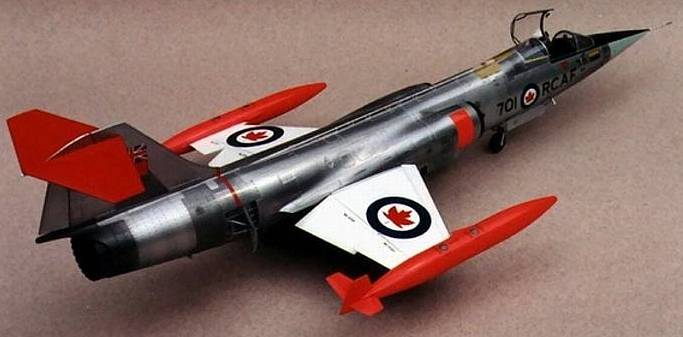
Reminds me of the CF-104 Starfighter, which was an interceptor. ;)

S48_CF104_DA_a.jpg
 
Fred:
We must be on somewhat of the same wave length...
I was looking at mine in Grey Primer, thinking it's be kinda cool in aluminum, Titanium and Stainless steel colors with some sort of Color Tail art.
Good look'in start! Can't wait to see both yours and Johns decaled.

Thanks but I expect yours will be a little spiffier :)
Cheers
fred
 
Fred,
Nice looking alternate colors. Oddly enough, I planned to paint my "E" different than stock -- the bag is open but haven't started yet. I do plan to build my standard model Interceptor true to the original with original colors and use supplied decals. What is it about the larger model that says "modify me"?

By the way, is that a workbench under your model?

:)
I am planning an archeological dig for the rumoured table :)
Cheers
Fred
 
Well, between work(job), prepping this house I am selling and the weather not much has happened since the last update on the Interceptor..I do have it primed and the primer revealed some areas that needed some work...Mainly on the seams of the wings and the body tubes..Did some sanding to work out most of the ugly, and spent some time doing some filling..Am going to see if I can get a 2nd coat of primer on this afternoon and maybe the first coat of color..

Overall shot:
Interceptor-E012.jpg


Detail shot top port wing:
Interceptor-E013.jpg


Top tube joint:
Interceptor-E014.jpg


Bottom port wing:
Interceptor-E015.jpg


Bottom tube joint:
Interceptor-E016.jpg
John those pictures are great as a this is how you do this sanding thing picture. I suspect your bird will look great with all this work :)
Cheers
fred
 
Well, I got the seams filled as best I could using microfil and shot a 2nd light coat of primer on it..Turned out nice, couldn't see the seams unless you had your nose 3" from the rocket!:cool: I then later yesterday played heck with the wind gusts sprayed the silver on..With all the paint and filling he gained only 1oz of weight(guess all that sanding helped that!:lol:) It now tips the scale at exactly 12oz..Will tackle the decal marathon this afternoon as I watch the race-will give me something to do and hopefully I won't fall asleep in my 'sleep' recliner!:rotflol:

Here are the pictures!
Interceptor-E017.jpg


Interceptor-E018.jpg


Interceptor-E019.jpg
 
GORGEOUS JON!

One tip... Hit it with a coat of clear (if you plan on using any to protect the decals afterwards) BEFORE you apply the decals. That way the silver paint will look the same under and around the decals once finished.
 
Very nice looking paint job Jon! I see you didn't go with the wing/rudder reinforcements, looks good!:)
 
Very nice looking paint job Jon! I see you didn't go with the wing/rudder reinforcements, looks good!:)

Thanks! Yeah, I thought they were not necessary and would push the weight up there too high..It weighs 12oz right now!:eek:
 
GORGEOUS JON!

One tip... Hit it with a coat of clear (if you plan on using any to protect the decals afterwards) BEFORE you apply the decals. That way the silver paint will look the same under and around the decals once finished.

Too late!:eek:
 
Well, spent a lot of time doing the decals on this big monster!lol Got the opportunity to get frustrated at thin decals and the edges folding UNDER themselves when trying to slide it off the backing paper:banghead: AND WHY DID ESTES MAKE THE 'U. S. AIR FORCE DE-307' ALL ONE DECAL, AND WHY DID I KEEP IT AS ONE DECAL WHEN I KNEW I WOULD HAVE STRETCHING AND CURLING PROBLEMS WITH THEM???...sigh..ok, I feel better now!:lol:

Actually the decals really WEREN'T that bad..They did cause me some moments and made me say some things unfit to even a drunken sailor, but I got them on! All 300 of 'em! Well, I don't know how many there were but there were a bunch!

So here we have the beauty shots..The port side:
Interceptor&


Starboard:
Interceptor-E021.jpg


Underside:
Interceptor-E022.jpg


And a slightly blurry close up of one of the decals I really mucked up! The hardest decals to apply were the ones that had other decals around them that when I cut them out left notches and such that the decal had to negotiate when I was sliding it on the rocket..That, and some of the confined quarters, no way to keep the decal on the rocket after about halfway while you slide the backing paper from under it-allowing it to be able to curl under itself...BTW, the print on this side of the decal: 'Recommended motor Estes E9-4'.:rotflol:Anyone got a 21' long launch rod???
Interceptor-E024.jpg


So, anyways, the Interceptor E is basically done..Will put a coat of Future on it later in the morning..Can't wait to fire this thing up on an RMS load!
 
Pantherjon,

Nice work. I like the silver color. I keep thinking Starfighter when I look at it.

Only one gripe -- can we get you to throw a white sheet over that sofa for future pictures? I'm feeling dizzy ...

:)
 
Pantherjon,

Nice work. I like the silver color. I keep thinking Starfighter when I look at it.

Only one gripe -- can we get you to throw a white sheet over that sofa for future pictures? I'm feeling dizzy ...

:)
Thanks Spaceman and Kelltym88!


Yeah those pillow slip covers are a bit 'busy' and not really an appropriate photo backdrop! Will have to look in the linen closet and see what solid color sheets I have that I can cover the couch with to make a better backdrop...
 
Great looking job John!
sanding a bit on mine over the weekend, found a couple places on the tails I missed filling, so it's back to primer again:( Excellent looking in silver.
 
Well it is fully ready for flight! I put on a coat of Future which kind of under whelmed me as I thought it would do more, did improve the shine a bit, just not as radically as I naively thought..Did a final weighing in and it tips the scale at 12.1oz, and somehow my CG moved aft by almost an inch:confused: Could be the first time I measured it the chute and shock cord were very near the NC base:dontknow:..But, anyway it is 25.5" from the tip of the NC..Plugged the numbers into my RS file and ran the gamut of motors(skipping a couple obvious no good ones:Estes C11,Apogee E6..)And I was incorrect in an earlier post, the E9-4 motor only needs an 18' launch rod, not 21' to reach minimum stable flight speed!:lol: A majority of the delays had to be modified for a decent deployment speed..Looks like an E28-8 drilled down to a -6 is the best choice..
Took some more pictures with a new backdrop so you won't get dizzy viewing them!
Port side:
Interceptor-E025.jpg

Starboard:
Interceptor-E026.jpg

Under:
Interceptor-E027.jpg


View attachment Interceptor-E.rkt
 
John your work is awesome. I also wish I had thought to omit the wing supports as Mine will be going up on D's for the most part. I also agreee the decals did not seem to have the quality I have been spoiled with from excelsior but they were workeable. I still have to put another coat on my wing tanks but the decals looked kind of cool to me. I am going to post some of mine Jon which will simply make yours look better pal :)
Cheers
Fred

IMG_7748.jpg

IMG_7749.jpg

IMG_7751.jpg

IMG_7752.jpg
 
Pantherjon:
Now I feel guilty for raggin' on you re: backdrop for your pictures. But I gotta tell you, the neutral background really makes your "E" stand out. I guess I better live by my words -- will have to go shopping for some nice sheets for the pictures I take in my shop. :)

I've got a scratch-build futuristic model getting silver, and so my "E" will get something else, but I sure like the creative choices you and Fred have made.
 
John your work is awesome. I also wish I had thought to omit the wing supports as Mine will be going up on D's for the most part. I also agreee the decals did not seem to have the quality I have been spoiled with from excelsior but they were workeable. I still have to put another coat on my wing tanks but the decals looked kind of cool to me. I am going to post some of mine Jon which will simply make yours look better pal :)
Cheers
Fred

Looks nice Fred! From the looks of the 2nd picture, it appears as tho you opted to use standard launch lugs instead of the plastic ones in the kit?

Glad to see it can actually fly on a D12 as well(in your launch thread)! Wow! RockSim shows it taking 118" to achieve 'minimum stable velocity of 44ft/sec'...How high do you think it went? RockSim puts it topping out at 200'..Maybe RockSim is putting too much drag on it from all the fins?:dontknow:

I thought the supplied ones would not be as good as stock so i went that way. Stock might be fine. Jon I would be guessing at the height but 200 sounds right. It went up like it was on rails but there was zero wind as well :)
Cheers fred
 
I thought the supplied ones would not be as good as stock so i went that way. Stock might be fine. Jon I would be guessing at the height but 200 sounds right. It went up like it was on rails but there was zero wind as well :)
Cheers fred

The big key there! May try mine on a D12 if there is no wind-maybe..:lol: But, anything higher then a slight breeze, I think I will be better off going the RMS route..;)
 
Back
Top