Has anyone tried the Cricut stencil vinyl?
You are using an out of date browser. It may not display this or other websites correctly.
You should upgrade or use an alternative browser.
You should upgrade or use an alternative browser.
how do you paint a checkerboard?
- Thread starter bjphoenix
- Start date


Help Support The Rocketry Forum:
This site may earn a commission from merchant affiliate
links, including eBay, Amazon, and others.

I know about this method but I haven't tried it. It will give you larger ridges at the edges. I'll have to try it and decide if it will be of benefit on this project.I spray the base color just like I do with tape.
I just untaped my Estes ESAM this afternoon, the last bits of trim were painted Sunday. I used red base color, taped off most ofthe rocket and painted the fin tips black. (I copied someone a photo posted by another forum member.) I used Rustoleum paint and 3M pink delicate surface tape. I got very good crisp lines on almost all of the edges, just one tiny spot of bleed that I scraped off with a sharp hobby knife. The edges were much better than the edges on that Honest John nose cone I posted earlier. The Honest John was done the way I would do a checkerboard- I would lay the tape on a slick surface, cut the pattern, then peel off the pieces and put on the rocket. After this amount of manipulation it is harder to get the tape to stick down well.
That is the reason why Micromeister always recommended clear for this purpose rather than paint... because it has no pigment particles, the clear lays down flatter and creates less of a paint dam.I know about this method but I haven't tried it. It will give you larger ridges at the edges.
The one time I tried this I didn't have great results, probably because I had a particular poor tape edge that time, and no amount of coating on top was going to seal it cleanly. One day I'll try it again.
What is mod podge?Crafters use mod podge to seal the edges when using stencils, then "dry brush" to build up the color to avoid bleeding.
Bruiser
Well-Known Member
- Joined
- Jun 7, 2018
- Messages
- 1,597
- Reaction score
- 867
I don't particularly like stencils so I use my Cricut to make paint masks for most of my rockets such as this scratch built PSII Goblin.

I have used the Cricut stencil vinyl but found that something wierd happens at the edges when I used Rustoleum paint. The paint would stretch out like bubble gum where it touched the vinyl when I peeled off the mask. Oh, and it was very sticky, definitely not low-tack. I switched over to Oramask https://www.amazon.com/gp/product/B078T5K27L/ref=ppx_yo_dt_b_search_asin_title?ie=UTF8&psc=1 and it worked much better. Now I have gotten away from Rustoleum and use Krylon Industrail Acrli-Quik and find it to be much better. Not as many colors and harder to get but I haven't had any cottage cheese come out of these cans...
Two things about painting. Always spray a test spray of paint before aiming the can at your rocket. Try out new stuff on scraps first.
Just my two pennies,
-Bob
- Joined
- Jul 15, 2015
- Messages
- 3,954
- Reaction score
- 2,709
What is mod podge?
Used in just about every kind of papercraft.
https://www.amazon.com/s?k=mod+podge&crid=5K2VU66OPL2N&sprefix=mod+podge,aps,254&ref=nb_sb_noss_1
https://www.youtube.com/results?search_query=use+modge+podge
Use with caution, the more you use, the wetter the project is, the more a modge podge layer shrinks!
I switched over to Oramask
Thanks for the tip!
If you mean doing a cut vinyl mask, then yes, you could... but peeling off all the individual square pieces afterwards would not be fun, especially if it's a fine checkerboard.
If you don't mind a slightly imperfect checkerboard, you can cheat the corners and make the mask removable in one piece. Connect the mask squares at their corners by a line that's just thick enough that the vinyl won't tear, and you can remove the mask in one go. The checkerboard stencils in my R4 MMX kit are designed like that. The result's not a perfect checkerboard, for sure, but you can't tell from any distance and it's a lot less tedious than having to peck all of them out of the paint, especially if they're tiny---the fin checks here are 2.5mm^2.

The stencil cut pattern looks like this:

My first checkerboard was cutting out tiny squares of mask by scissors and exacto and just touching the ends at each corner,,row after row. Base color was Vegas gold and the squares were white. Turned out ok, but it was a manic process.
Here is a photo if my Estes ESAM with a little more progress made on the paint. Last weekend during a break in the weather I masked the body and painted the gloss black accents. I used the pink 3M delicate surface tape along the paint edges then everything else with newspaper and blue painters tape. I went over the edges of the tape with fingertips to get it pressed down and still had a few tiny seeps. A couple of them I removed by scraping the black off with a sharp knife but I seem to have missed one. The last photos shows the remaining seep and the crisp edge I typically got everywhere else.


caveduck
semi old rocketeer
- Joined
- Jun 6, 2011
- Messages
- 1,827
- Reaction score
- 585
For me a vinyl decal is the only way to go for complex paint masking; my days of wrangling fiddly bits of masking tape that don't stick well are definitely over. The transfer tape lets you put down as sparse or disconnected a pattern as you like in perfect alignment, and the Oracal vinyl keeps the paint out from under the mask way better than any kind of masking tape. Once you do it a couple of times it's not a big issue to weed out all the little vinyl mask bits after painting - sharp pointy tweezers are the ticket. Just lightly jab one corner and peel it up.
For a rocket of any noticeable size you can just do the checkerboard as a vinyl decal and bypass the 2nd paint color.
For a rocket of any noticeable size you can just do the checkerboard as a vinyl decal and bypass the 2nd paint color.
Ooooh that's sneaky........The higher grades of masking tape, especially the vinyl, provide a better edge. But a super sneaky trick works great - put your masking tape down, then give the edges a quick shot of your base color (white). The bleed under will be the same color as the base, so you wont see it. Let it dry, then spray the black. Score around the tape with a knife point before lifting the tape.

Has anyone tried the Cricut stencil vinyl?
I've used it quite a bit with good luck. I started with Frisket (hand cut and on a Cricut), but had issues with it staying put when using large stencils relative to BT curve. I switched to the Cricut stencil vinyl because it is stickier and when warmed up it did better on the curves. I still occasionally get some bleed under, but it is usually when I am trying to put down too heavy a coat too early. Build slowly and lightly and you won't have too much of an issue with paint bleeding under.
I painted another rocket last week. I've watched some videos of plastic car modelers, trying my best not to get sucked back into another hobby, and some of these guys recommend Tamiya masking tape so I bought a small roll on ebay. In my Aerobee Hi thread I showed one finished photo, I masked the fin color edges with the Tamiya tape then everything beyond the transitions with my cheaper tapes. All of the masked edges came out perfect. I couldn't get the right width of Tamiya tape to do the planned checkerboard so I will do that with my delicate surface painters tape.
Most folks around here would recommend the Tamiya tape as well. I have three different widths on hand at all times.
I'm still trying to figure out how they did this paint job:

Every time I watch Airplane, any of the police squad, or hot shots, loaded weapon... there are some great movies; ignore the foreground action, and there's a TON of stuff in the background. In Hot shots, we made a drinking game out of Lloyd Bridges' missing body parts,Fail Safe: Right up to the time that the president's phone made that high screech, I was thinking "No, they'll stop it somehow, they HAVE to!" One of the scariest scenes I've ever seen.
Likewise for Special Bulletin and World War III, for much the same reason.
Has no one mentioned "Airplane!"? I'd like to be able to see it for the first time again and be able to catch every one of the jokes. It was only about a year ago, while re-watching it, that I noticed that they were playing the sounds of a prop plane while the movie takes place on a jet!
Best -- Terry
") You drink every time he mentions something being replaced, lol.
You drink every time he mentions something being replaced, lol.The original predecessor of all of them is Kentucky Fried Movie.
"Once more, with Feewing!"<iframe width="560" height="315" src="" title="YouTube video player" frameborder="0" allow="accelerometer; autoplay; clipboard-write; encrypted-media; gyroscope; picture-in-picture" allowfullscreen></iframe>
About tape, Blue tape has latex glue, and will cure in 24 hours, making it hard to remove. Green tape does not cure. for masking something like this, I'd use super 33 electrical tape, it cuts perfectly with a sharp blade, and you won't dig into the paint. If you do get lines in the paint, a coat of clear coat should fix it.
Last edited:
So that's why the blue painters tape that I put on the air frame( before I did the fillets), it pulled up part of the paper on the air frame, which really pi$$ed me off .About tape, Blue tape has latex glue, and will cure in 24 hours, making it hard to remove. Green tape does not cure.
Looks like I won't be using blue tape for that anymore.
One of my buddies is a Pro painter, and he gave me those tips, even the electrical tape. Worst case the paint melts the electrical tape. It will still come off. I removed some of the paper off sheetrock by letting it cure, so I asked him.
It will still come off. I removed some of the paper off sheetrock by letting it cure, so I asked him.I don't know about the "cure in 24 hour" part but the idea behind blue tape is that it can be on the surface longer and still be easily removed. Normal tan masking tape can be on the surface for limited amount of time before it is really hard to remove, blue tape can be on longer. Also to me the tan masking tape seems to have stronger "sticky" on it. I'm not sure about my pink "delicate surface" tape. It doesn't seem to be as sticky as other tapes. The Tamiya tape doesn't seem to be very sticky either.So that's why the blue painters tape that I put on the air frame( before I did the fillets), it pulled up part of the paper on the air frame, which really pi$$ed me off .
Looks like I won't be using blue tape for that anymore.

I couldn't get the right width of Tamiya tape to do the planned checkerboard so I will do that with my delicate surface painters tape.
Tamiya does make sheet versions of their masking tape. One form of it even has a grid printed on it. I haven't done this, but you could cut out the checkerboard quickly via the grid and then use another piece as transfer tape to move it all in one piece over to the model.
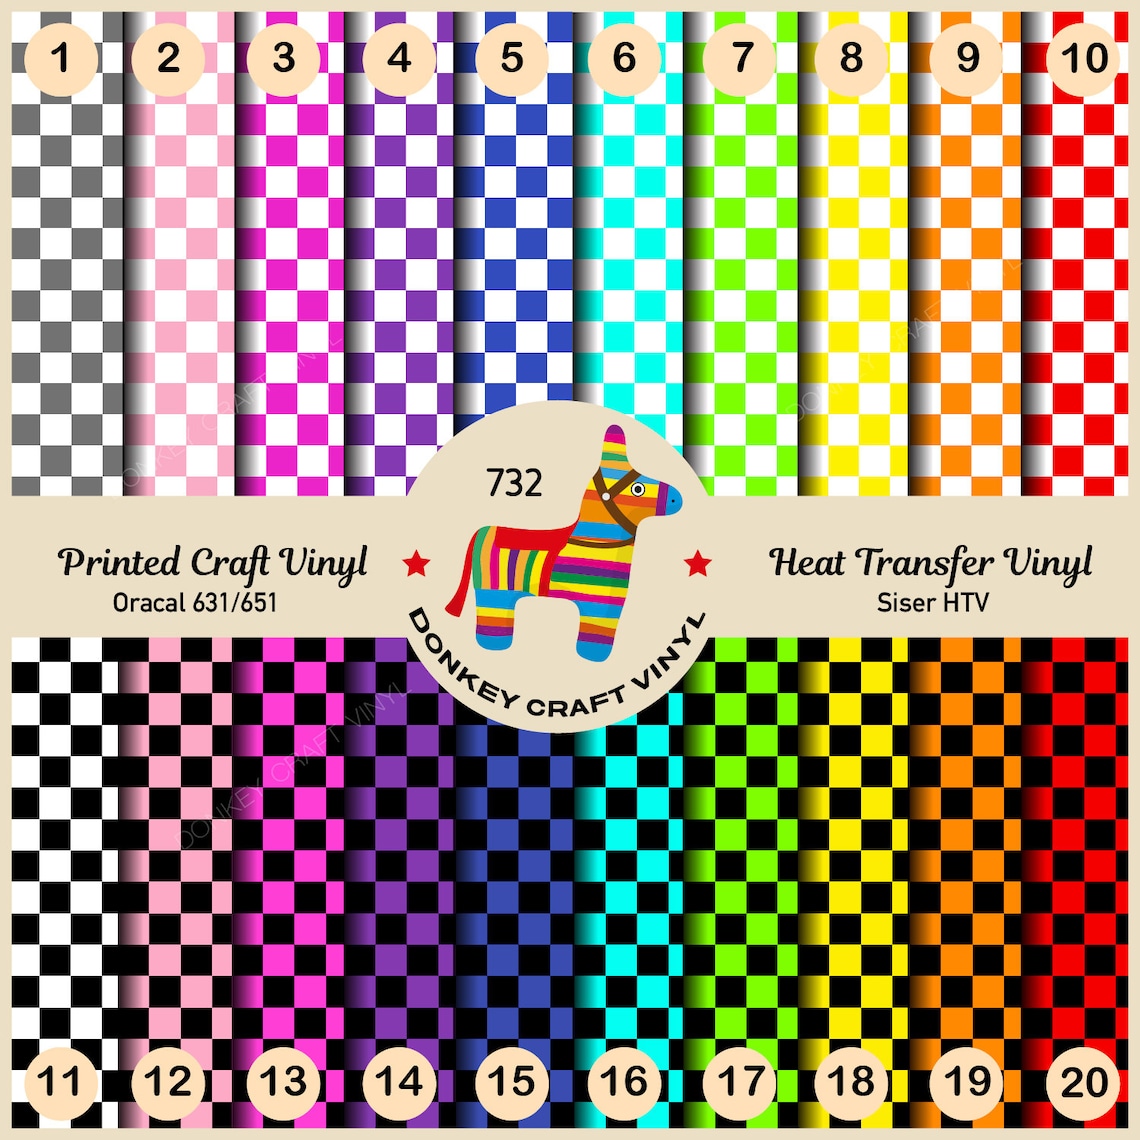
here is a place that sells checkerboard vinyl graphic tapes, lots of colors and sizes to eliminate the entire painting process;
https://www.tapeplanet.com/checkerboard-vinyl-tapes
https://www.tapeplanet.com/checkerboard-vinyl-tapes
tons of sizes and colors of checkered vinyl on Etsy too:
https://www.etsy.com/market/checker...ps://www.etsy.com/market/checkered_flag_vinyl
https://www.etsy.com/market/checker...ps://www.etsy.com/market/checkered_flag_vinyl
modeltrains
Well-Known Member
- Joined
- Jun 29, 2011
- Messages
- 1,872
- Reaction score
- 757
Now that we've had lots of seriousness I'll say,
Q: how do you paint a checkerboard?
A: easy, just paint a diamond pattern where they all have square corners.
Q: how do you paint a checkerboard?
A: easy, just paint a diamond pattern where they all have square corners.
cutting individual blocks is Rather crazy to me when you can just get a vinyl wrap or decal tape in lots of colors.
cutting individual blocks is Rather crazy to me when you can just get a vinyl wrap or decal tape in lots of colors.
Color matching is one issue. But the bigger issue is sizing, particularly if you're aiming to have it tile seamlessly around a tube.
But the bigger issue is sizing, particularly if you're aiming to have it tile seamlessly around a tube
I gave the Cricut Maker a try for that reason.
Quick and dirty test on scrap tube looks alright, the feel of the vinyl reminds me of trim monokote. It could be pretty accurate with more careful measurements & layout. Much easier than paint, though I still may try the stencil vinyl for comparison. This took about 20 minutes from measuring the tube to pulling off the transfer tape, and felt like cheating after it was done.

Similar threads
- Replies
- 8
- Views
- 1K