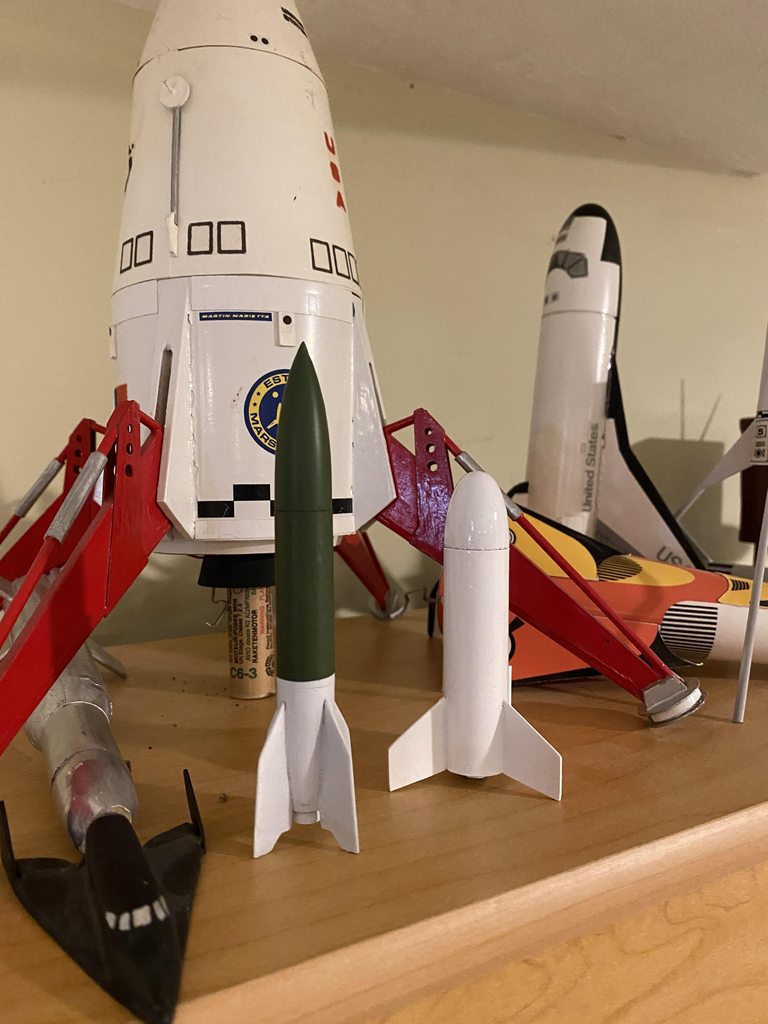
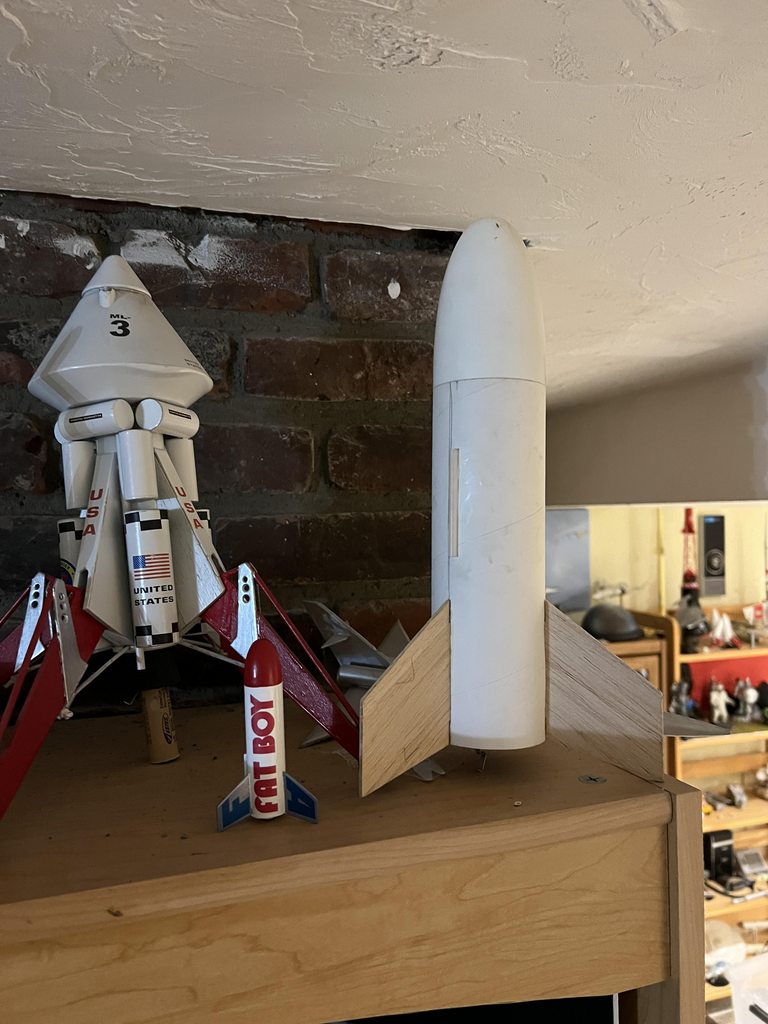
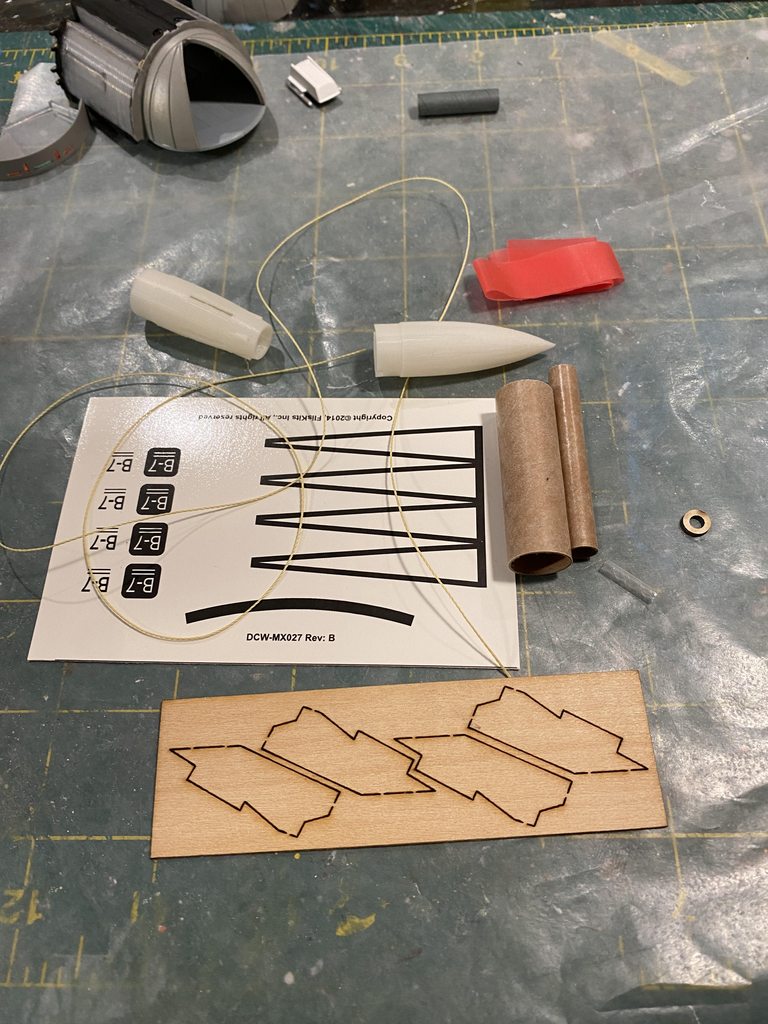
Pulled it out of the stash today.
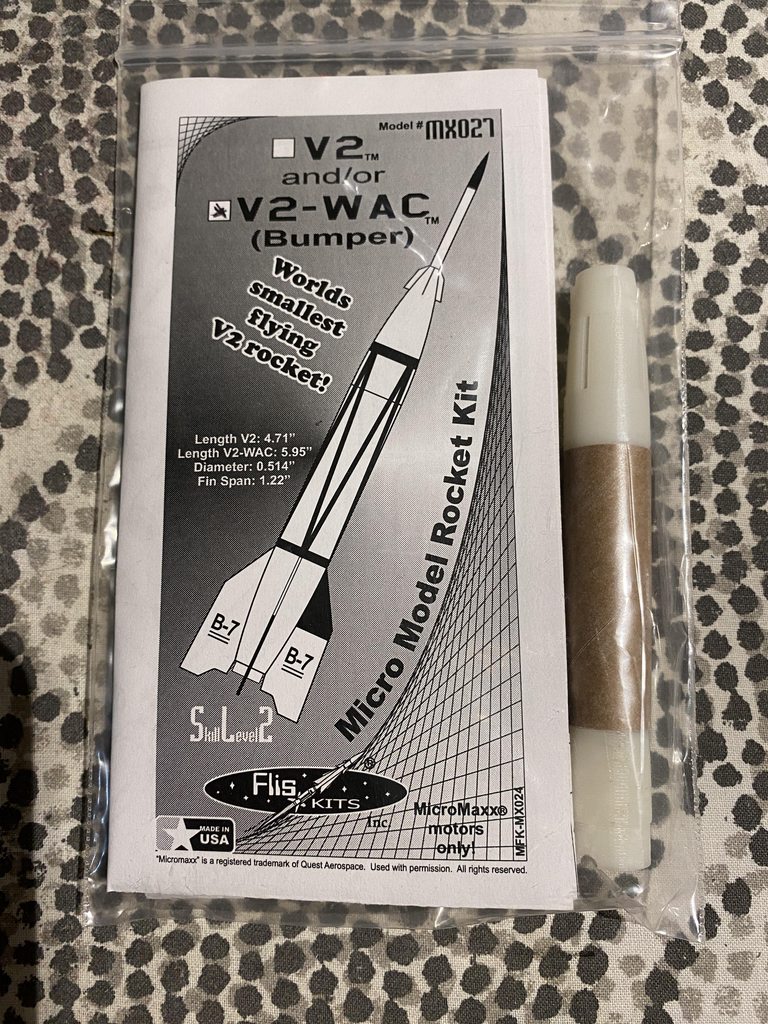
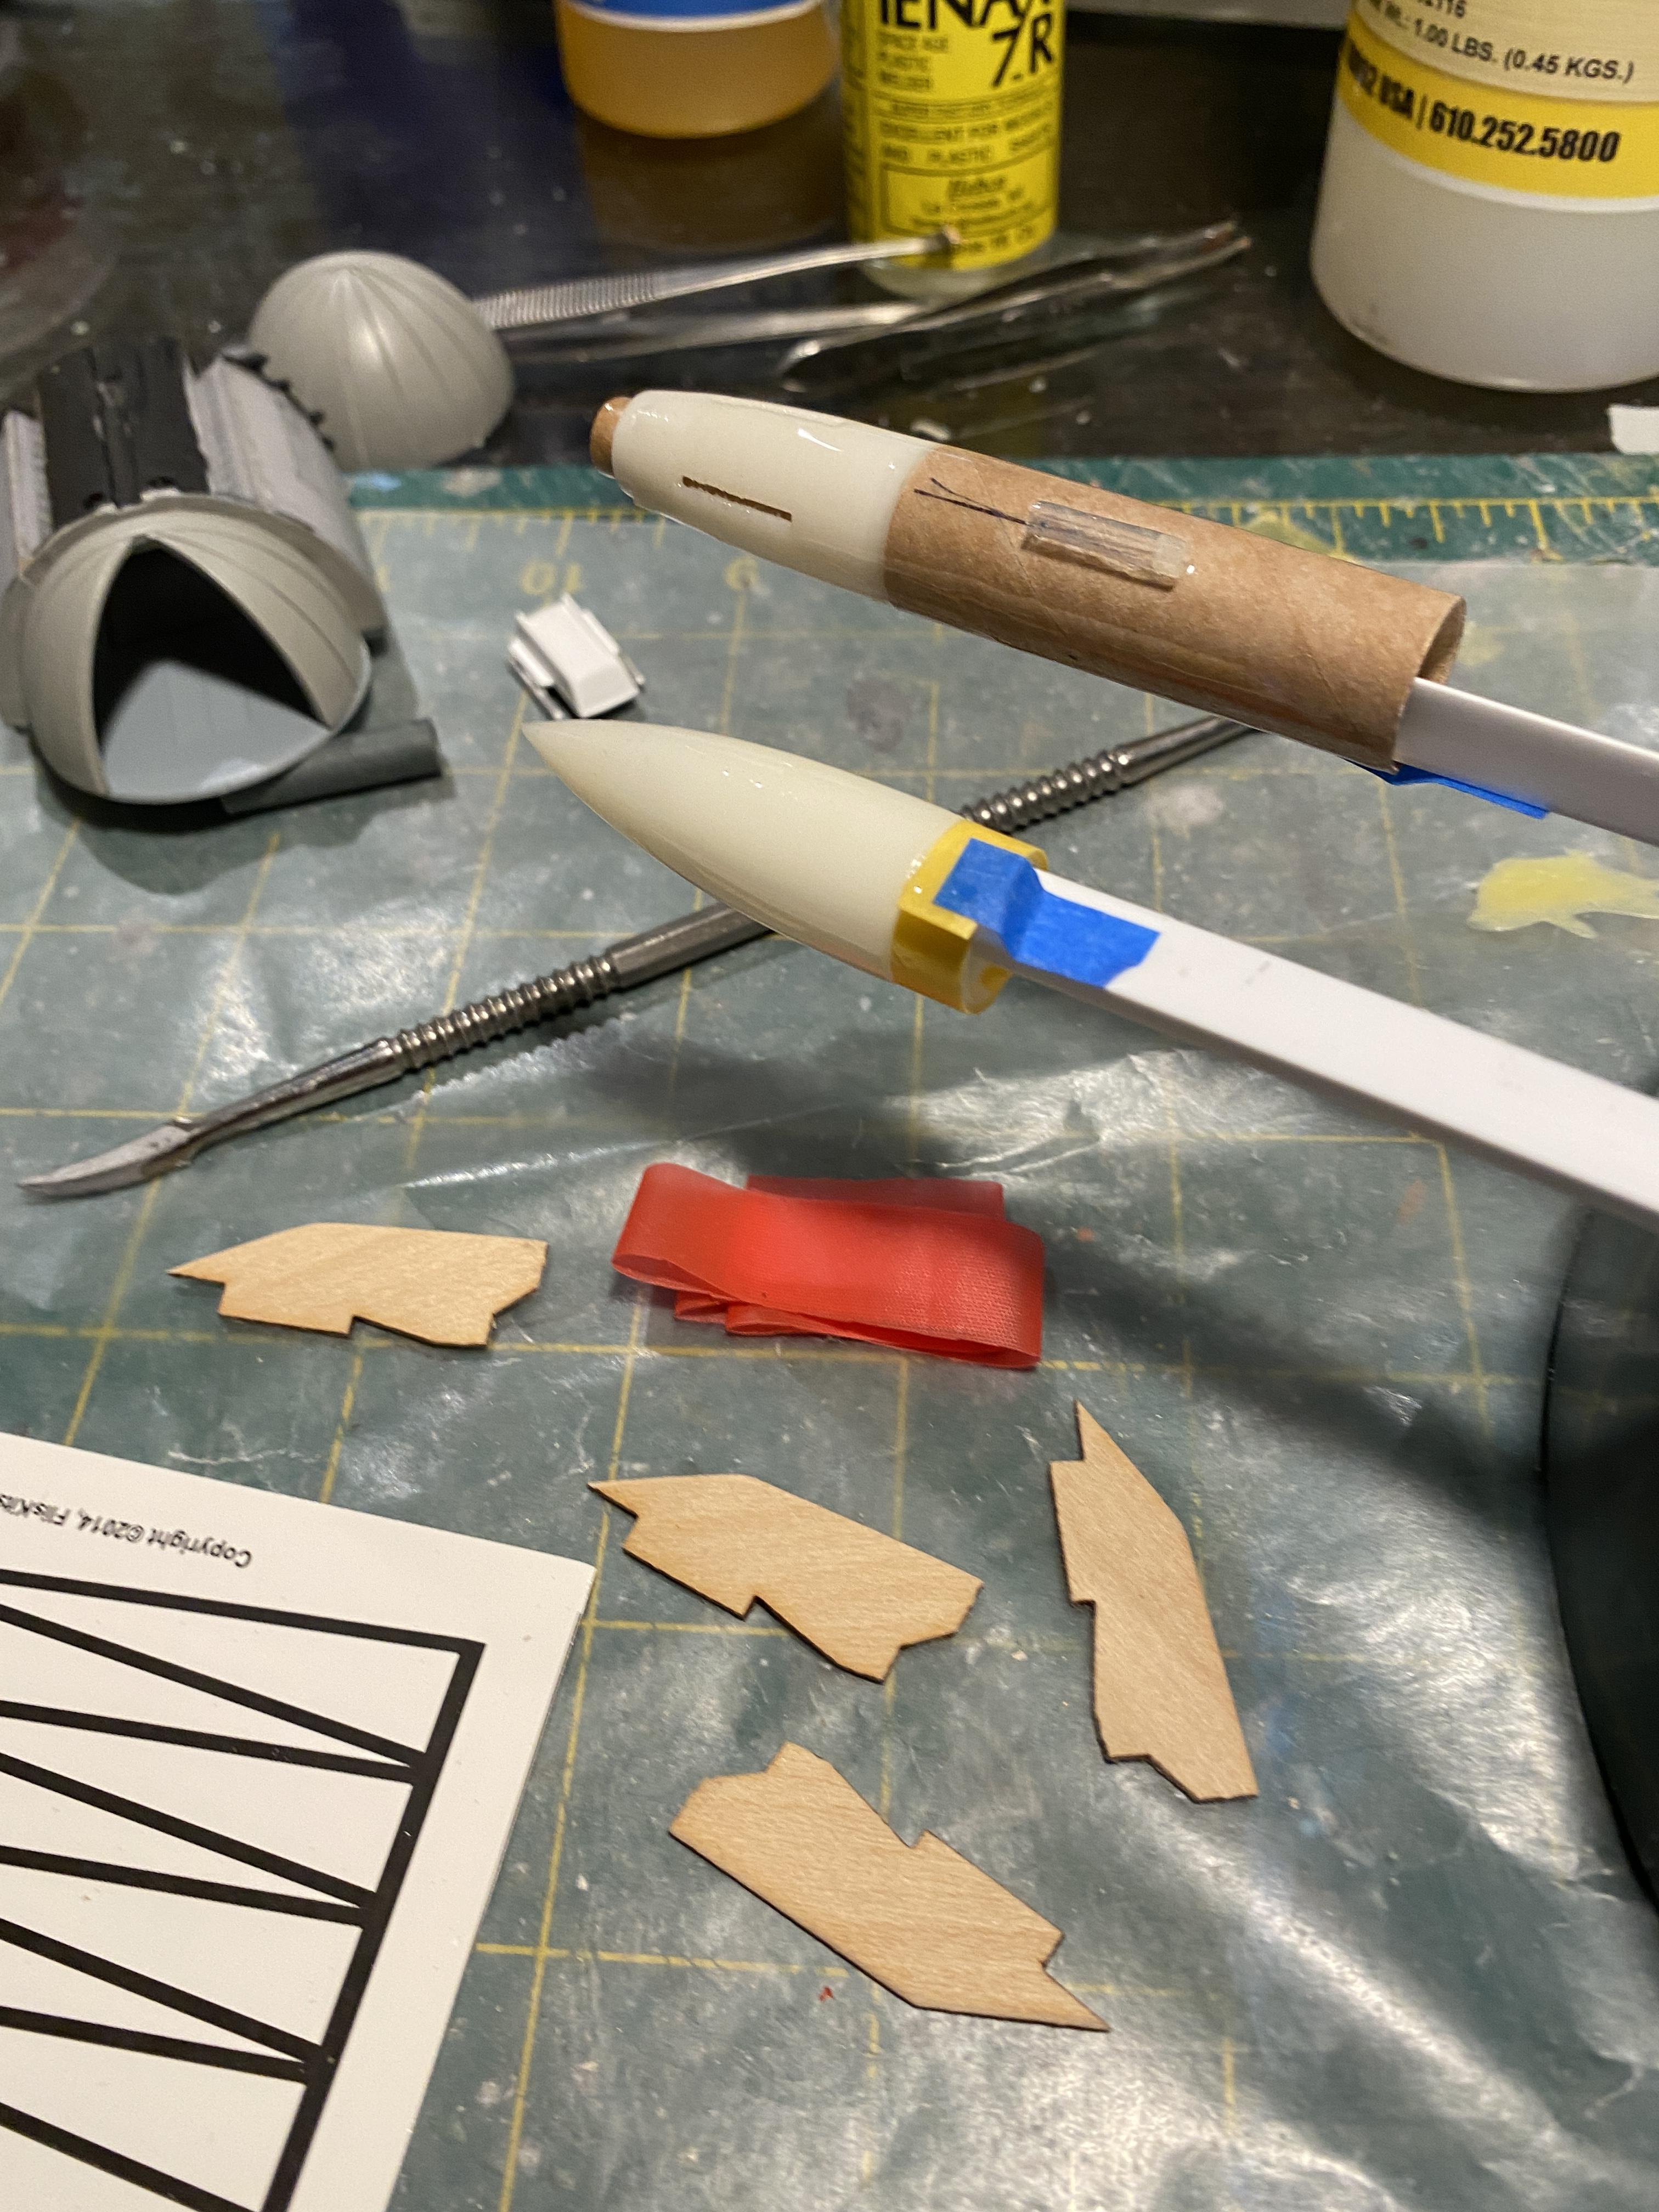
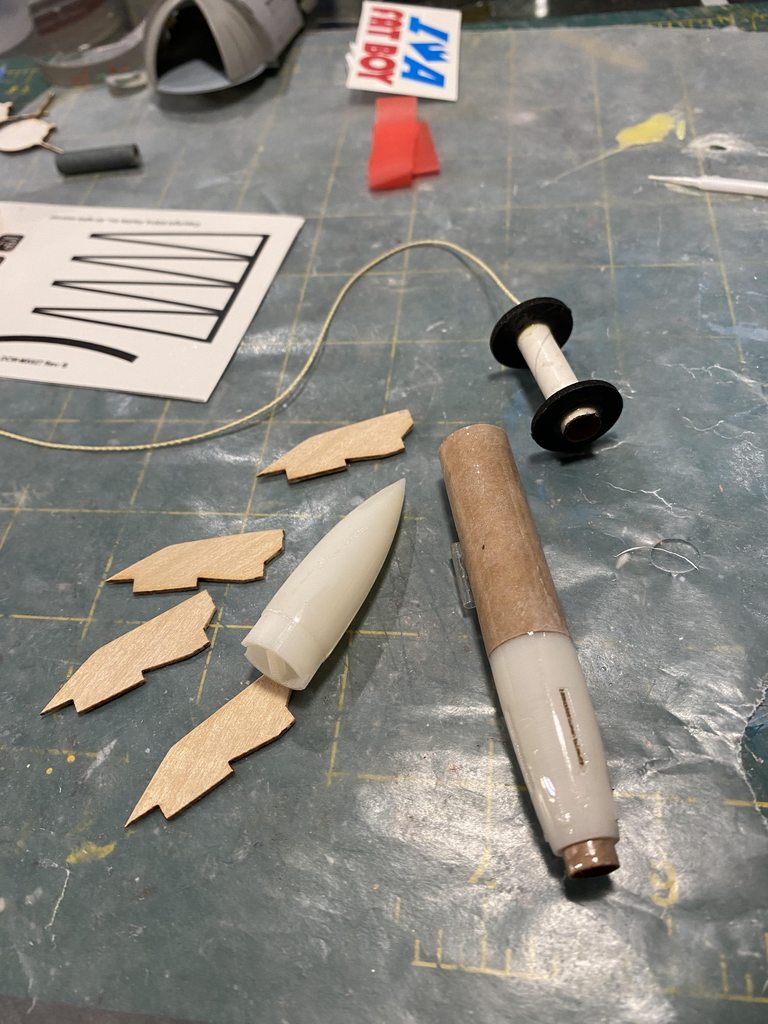
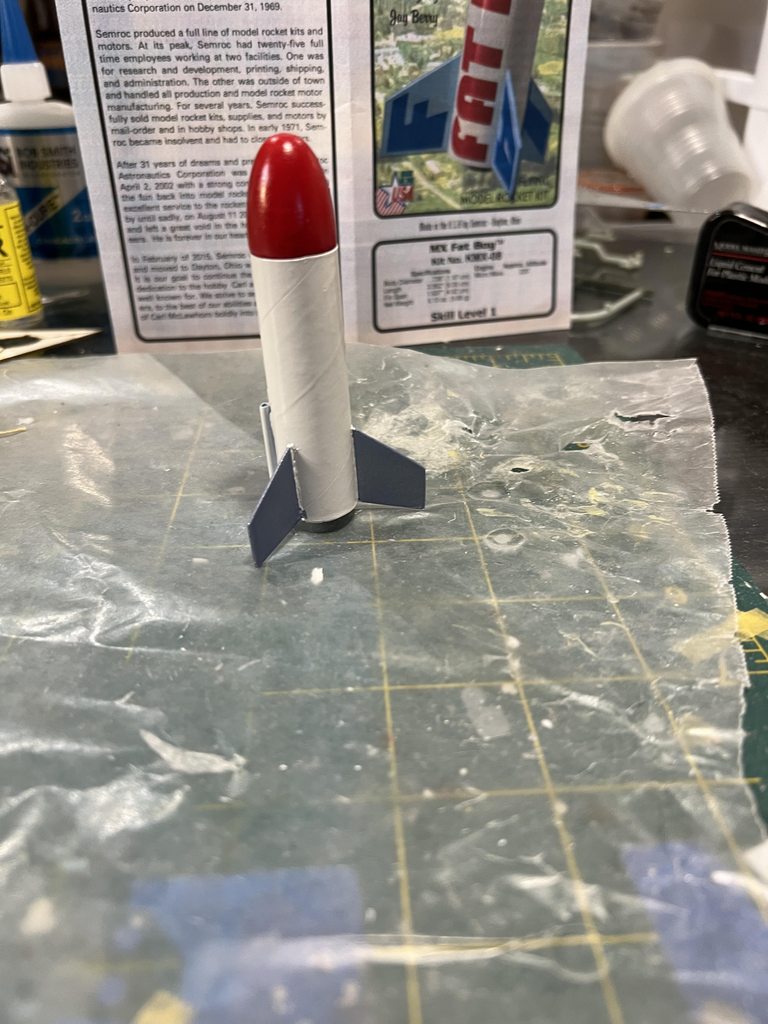
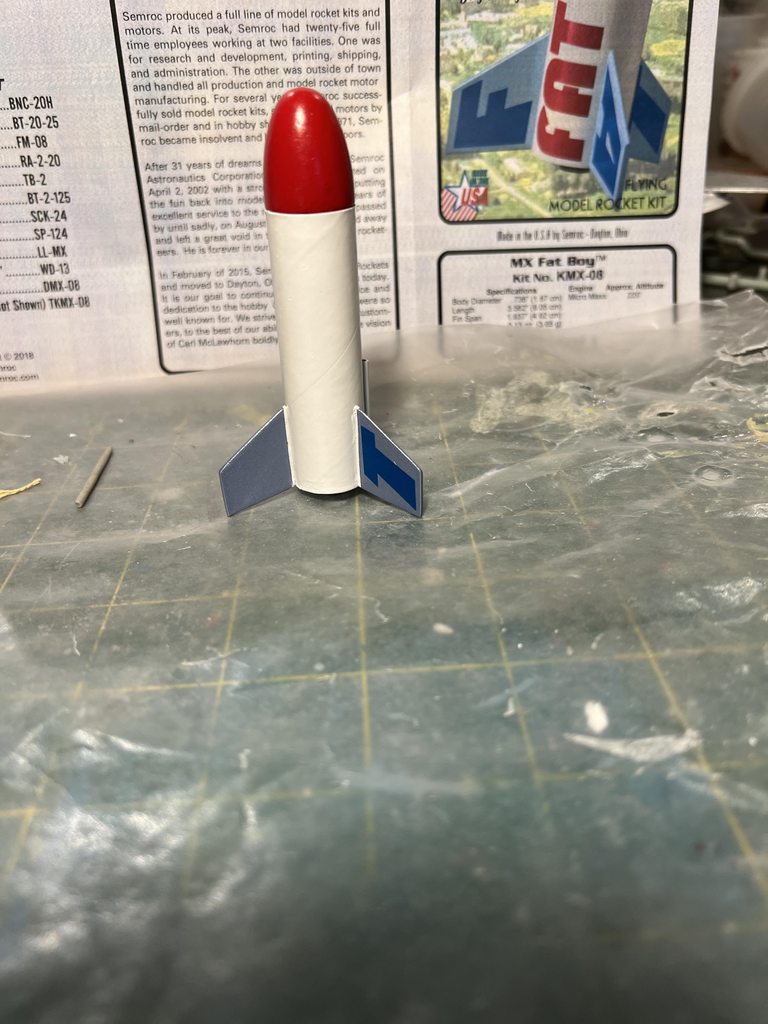
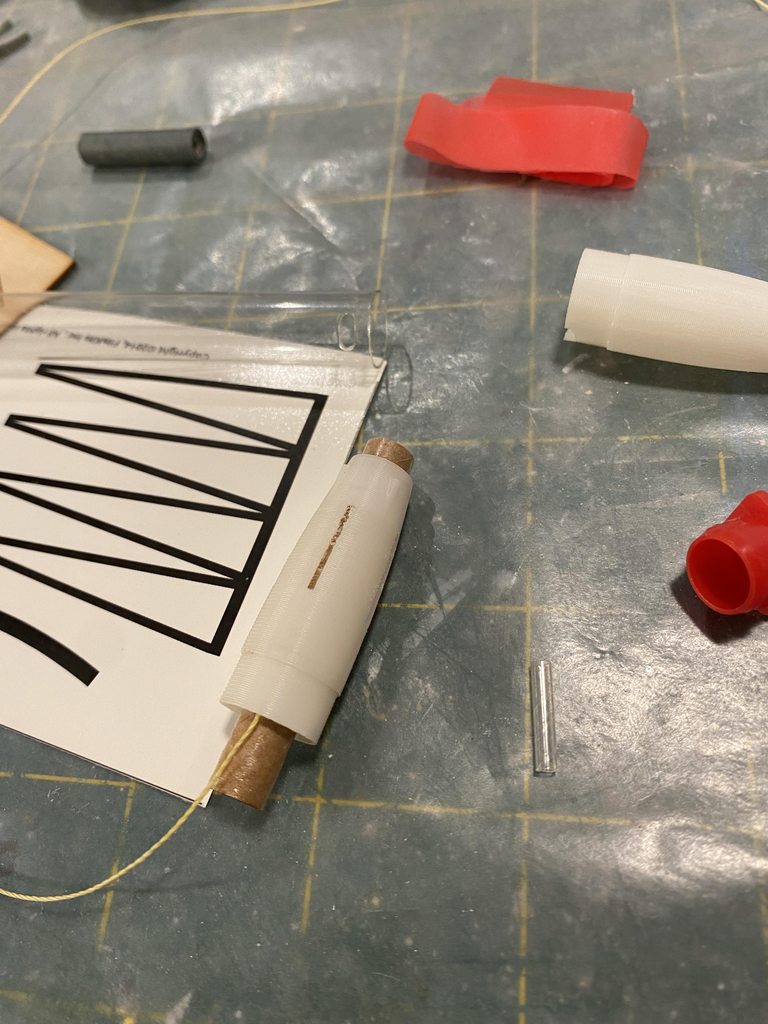
Looks like a nice kit. 3D printed boattail and nose cone. They have some print lines on them, but not too bad.
Looks like thin basswood for the fins and paper body tubes.
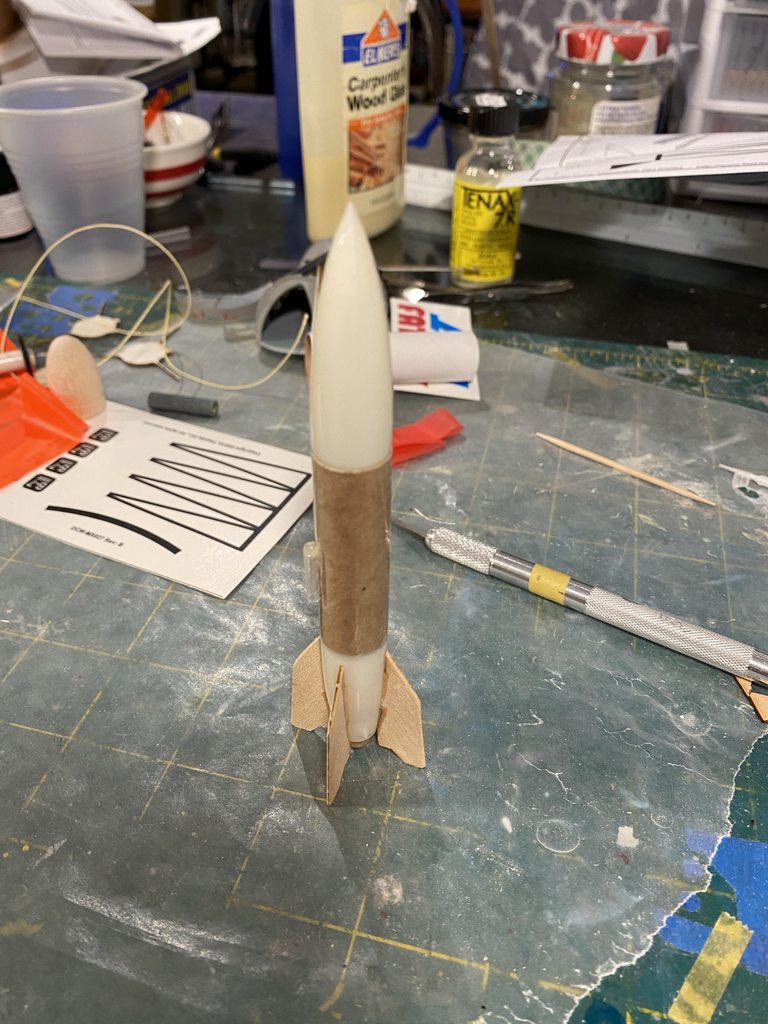
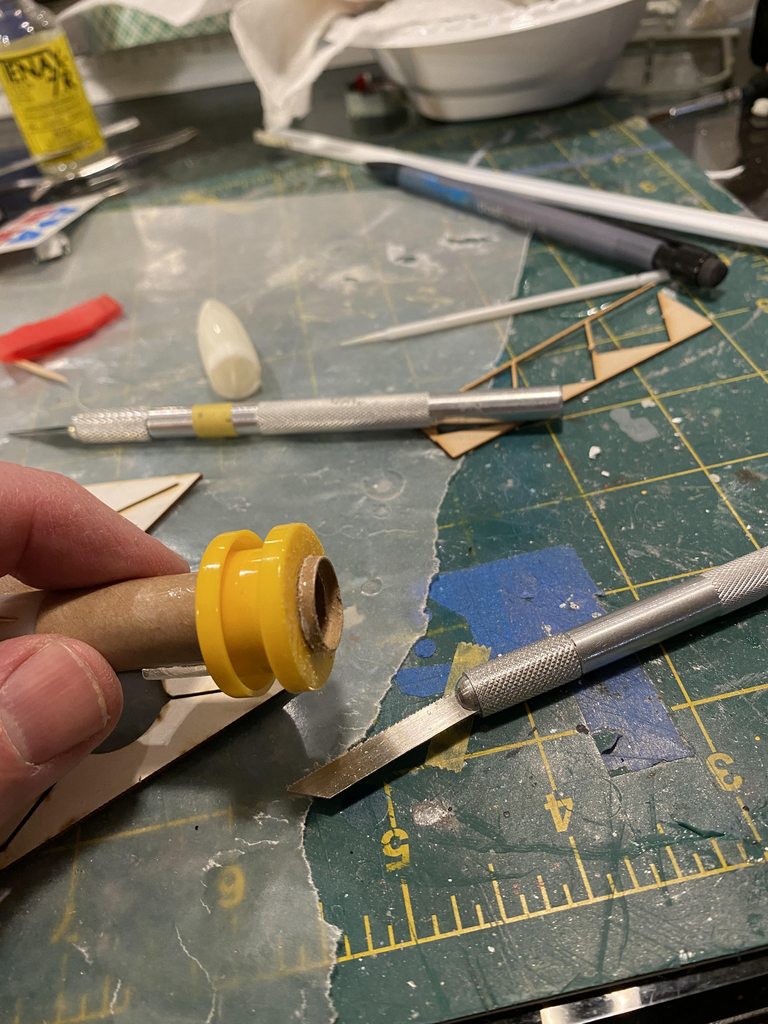
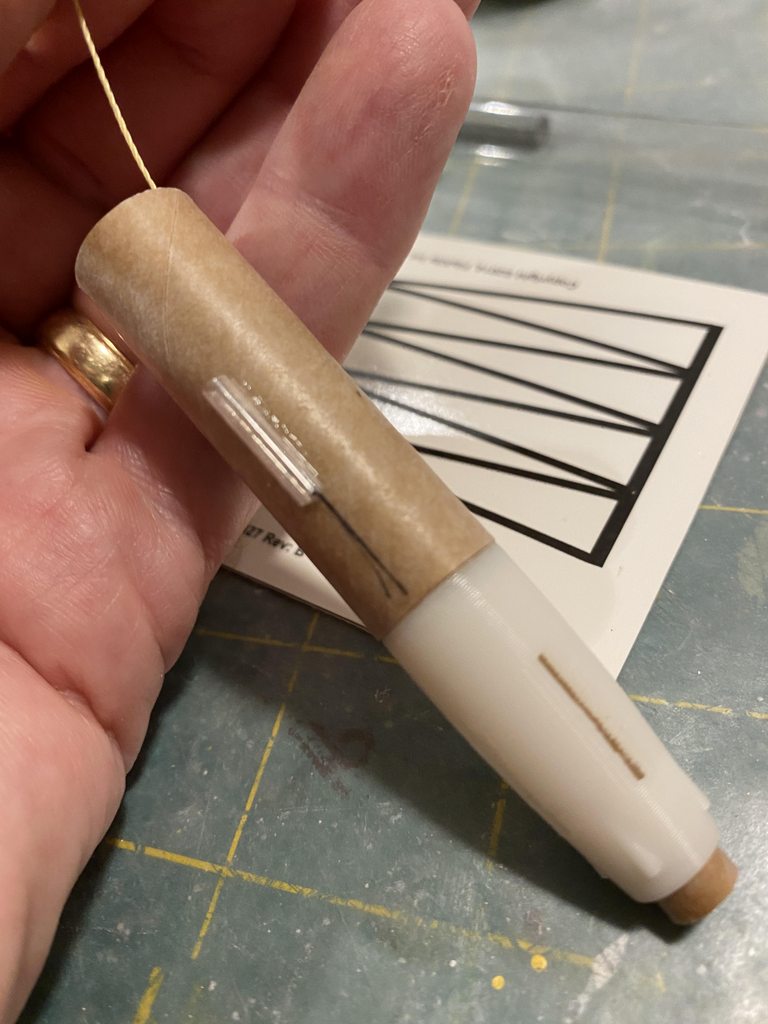
The motor mount is conventional, You will need a motor to glue the motor stop in.
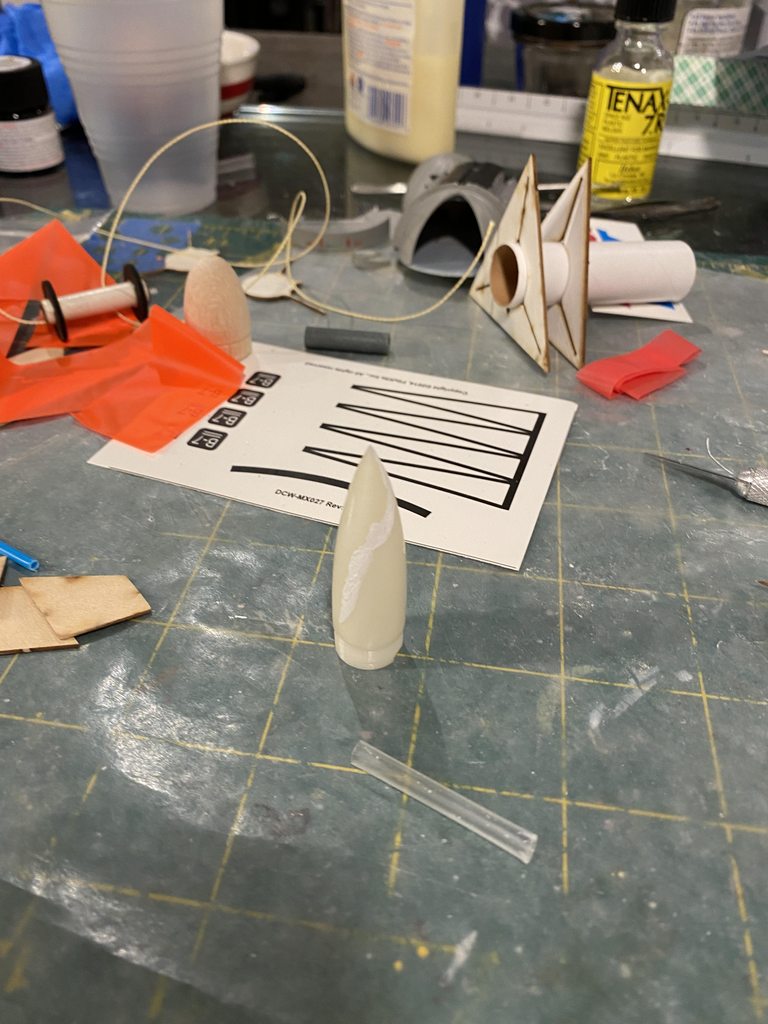
Tie a knot in the kevlar shock cord and I used CA glue to hold it in.
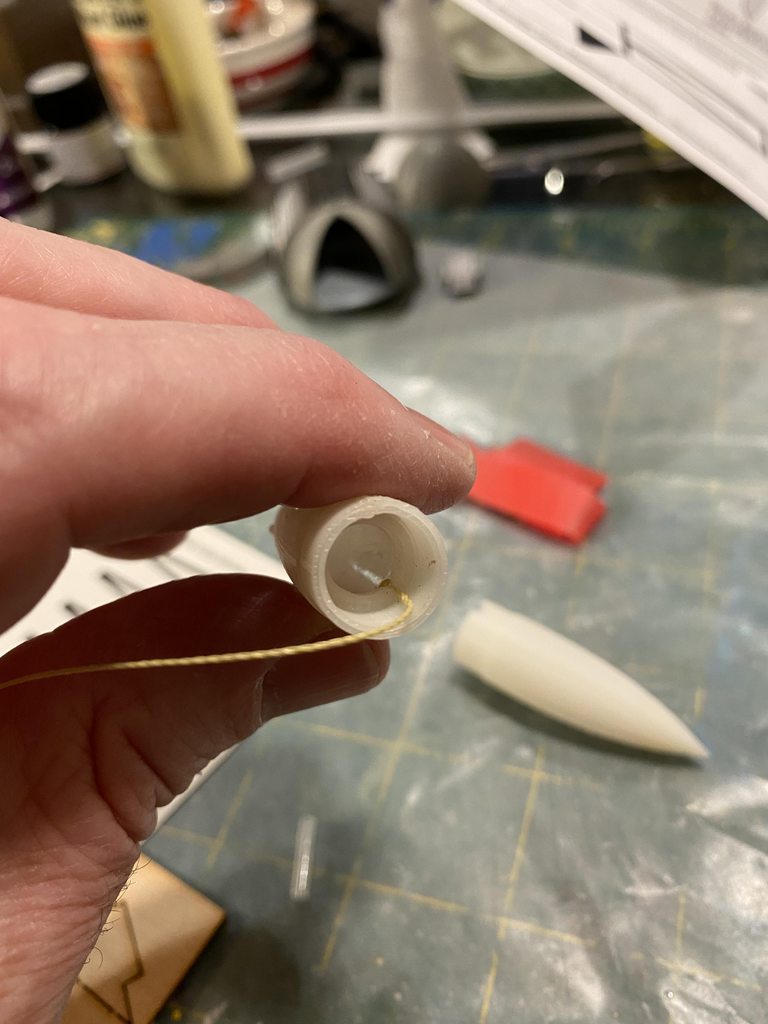
Then slide the completed motor mount in, I used CA again.
I used CA on the lug also.
Thats where I have to stop today.
Looks like a nice kit. 3D printed boattail and nose cone. They have some print lines on them, but not too bad.
Looks like thin basswood for the fins and paper body tubes.
The motor mount is conventional, You will need a motor to glue the motor stop in.
Tie a knot in the kevlar shock cord and I used CA glue to hold it in.
Then slide the completed motor mount in, I used CA again.
I used CA on the lug also.
Thats where I have to stop today.