chuckpo
Active Member
- Joined
- Sep 10, 2009
- Messages
- 31
- Reaction score
- 0
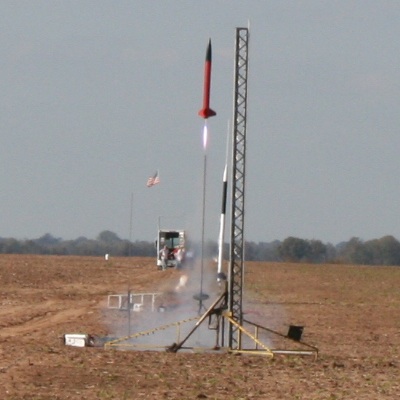
This is a PML Tethys that I am hoping to certify with this month. I had initially planned to launch on Oct 10, but there was a scheduling conflict with the land owner. So, I am hoping there is another launch coming up where I can get this thing airborn.
Today, all that I had left to do was to throw some paint on it. I went with Killz primer (2 light dusts), a coat of Duplicolor filler auto primer, and sanded each primer coat. These prep steps were done last week, and all I needed was some nice weather to spray the airframe. At the same time, I primed and rattle-canned the nose with some store brand primer and black paint.
Luckily this weekend is filled with nice weather, so this morning I fired up the compressor and pulled out the gun. I used red Duplicolor paint (no mix, no thin) as the color coat. This went on in 2 coats, with about 10 minutes between. Then I added the Duplicolor "metallic clear", which has some metal flake in it. This took 2 coats as well, with the 10 minutes between. I followed those up with the Duplicolor (can you tell thats the only brand the auto parts store had? ) final clear. This received 4 coats, since I decided I would buff/polish a little bit.
Here is the outcome, with apologies for the cell phone pic:

I cant wait to get this one in the air!
cp
Today, all that I had left to do was to throw some paint on it. I went with Killz primer (2 light dusts), a coat of Duplicolor filler auto primer, and sanded each primer coat. These prep steps were done last week, and all I needed was some nice weather to spray the airframe. At the same time, I primed and rattle-canned the nose with some store brand primer and black paint.
Luckily this weekend is filled with nice weather, so this morning I fired up the compressor and pulled out the gun. I used red Duplicolor paint (no mix, no thin) as the color coat. This went on in 2 coats, with about 10 minutes between. Then I added the Duplicolor "metallic clear", which has some metal flake in it. This took 2 coats as well, with the 10 minutes between. I followed those up with the Duplicolor (can you tell thats the only brand the auto parts store had?
) final clear. This received 4 coats, since I decided I would buff/polish a little bit.Here is the outcome, with apologies for the cell phone pic:
I cant wait to get this one in the air!
cp