


Cabernut
Well-Known Member
- Joined
- Oct 15, 2015
- Messages
- 1,384
- Reaction score
- 9
Years ago(1991?), I had built one of the old #2011 Super Nova kits which I loaded up with plenty of bugs(think fat green caterpillars) in the payload section. First flight lawn darted into a parking lot and was a gooey mess of plastic and bug remains...
Since becoming a BAR, I've been wanting to clone the old #2011 kit for some time, but now that the Super Nova has been re-released as #7248 I just had to build one!
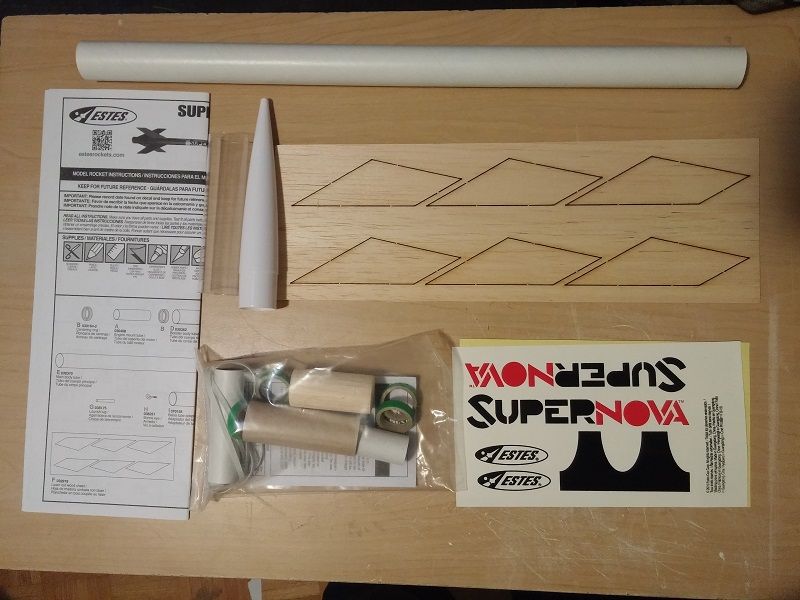
Here are the parts nicely laid out. Nice quality parts here, no warped balsa. The nose cone seems to be made differently, there's no seam running along the side. It's a nice feeling having a bunch of parts ready to go and a spare couple of hours...
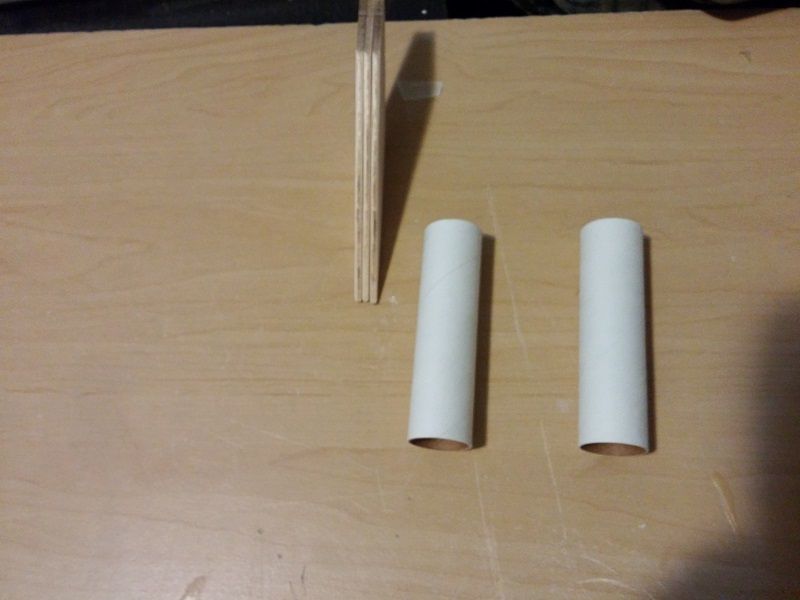
First thing was to rough up the motor mount tubes with 180 grit and prep the fins with 400 grit.
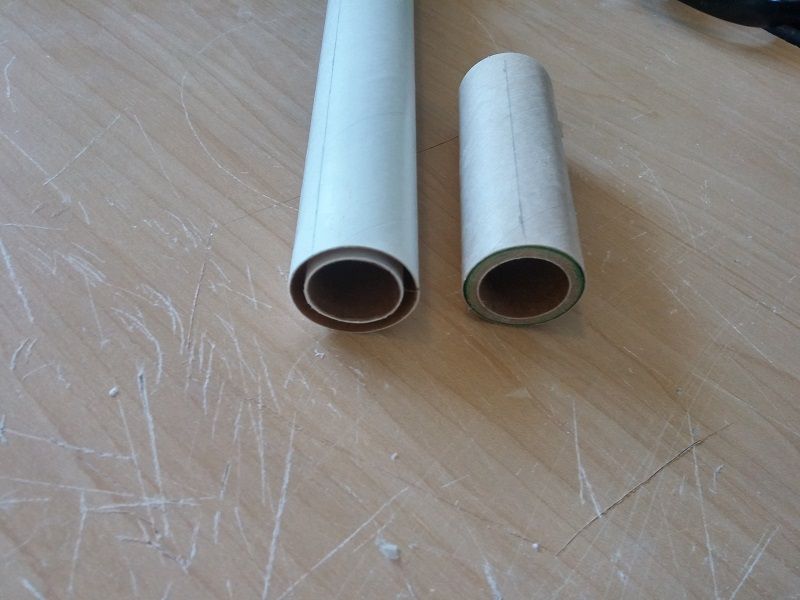
The motor mount assembly is very simple. No motor hooks or anything, just two CR2050s. Booster has them on the ends and the sustainer has one in a bit. Only one measurement needed.
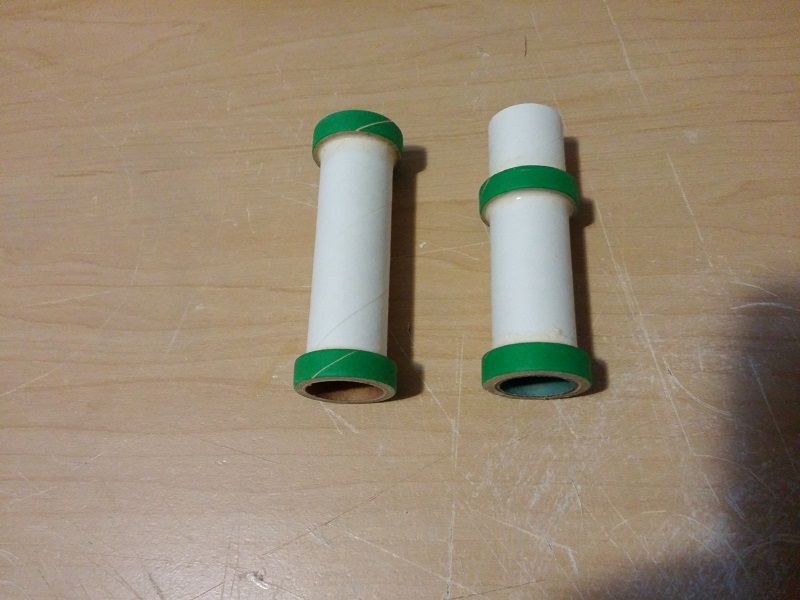
Motor mount installation was easy as well as they are mounted flush with the ends of the tubes.
Here is the booster - 6 parts total.
I used a fin alignment guide made with the help of payloadbay.com

Here is the balsa nose block with screw eye in place. I used plenty of CA to glue it in as I've had one rip out already that was glued in with Elmer's. Screw in, screw out, fill hole with CA, screw back in then more CA on top to harden it all up.
I painted half of the nose block silver and the shoulder of the nose cone, leaving the clear payload bay tube clear so that if it needs to be replaced, it will look the same.
Painted, ready for decals.
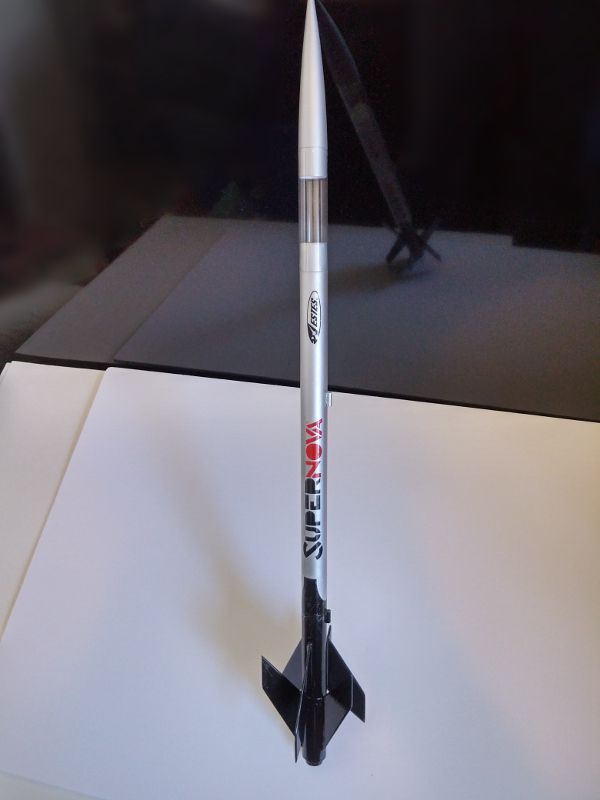
And all set! - Though I'm really not good at waterslide decals. They seem to start ripping as soon as I start getting them into proper position and all the wrinkles out. I just need more practice. Looks good though even if not 100% perfectly aligned.
I didn't get any photos of the recovery system, however it's standard stuff. I cut a spill hole using the conveniently provided dotted circle that you find on nearly every Estes chute.
At the next club launch, I'll send it up on a C6/B6 combo, taking extra care to point them the right way when installing this time.
Since becoming a BAR, I've been wanting to clone the old #2011 kit for some time, but now that the Super Nova has been re-released as #7248 I just had to build one!
Here are the parts nicely laid out. Nice quality parts here, no warped balsa. The nose cone seems to be made differently, there's no seam running along the side. It's a nice feeling having a bunch of parts ready to go and a spare couple of hours...

First thing was to rough up the motor mount tubes with 180 grit and prep the fins with 400 grit.

The motor mount assembly is very simple. No motor hooks or anything, just two CR2050s. Booster has them on the ends and the sustainer has one in a bit. Only one measurement needed.

Motor mount installation was easy as well as they are mounted flush with the ends of the tubes.

Here is the booster - 6 parts total.

I used a fin alignment guide made with the help of payloadbay.com

Here is the balsa nose block with screw eye in place. I used plenty of CA to glue it in as I've had one rip out already that was glued in with Elmer's. Screw in, screw out, fill hole with CA, screw back in then more CA on top to harden it all up.

I painted half of the nose block silver and the shoulder of the nose cone, leaving the clear payload bay tube clear so that if it needs to be replaced, it will look the same.

Painted, ready for decals.

And all set! - Though I'm really not good at waterslide decals. They seem to start ripping as soon as I start getting them into proper position and all the wrinkles out. I just need more practice. Looks good though even if not 100% perfectly aligned.

I didn't get any photos of the recovery system, however it's standard stuff. I cut a spill hole using the conveniently provided dotted circle that you find on nearly every Estes chute.
At the next club launch, I'll send it up on a C6/B6 combo, taking extra care to point them the right way when installing this time.