Cabernut
Well-Known Member
- Joined
- Oct 15, 2015
- Messages
- 1,384
- Reaction score
- 9
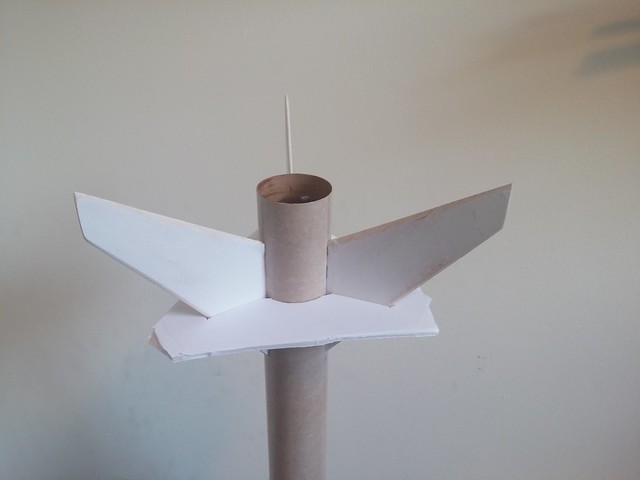
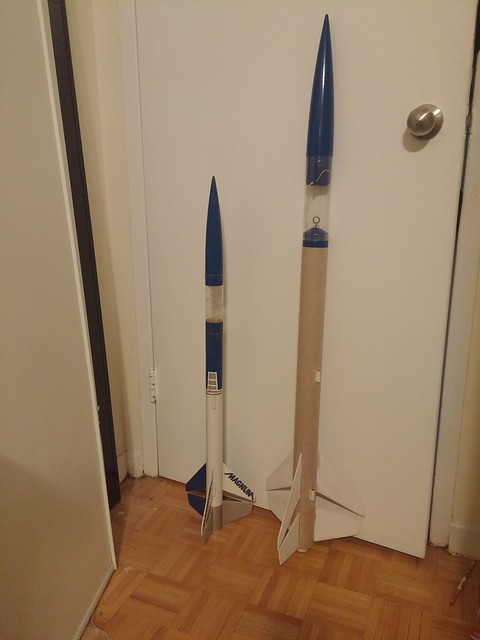
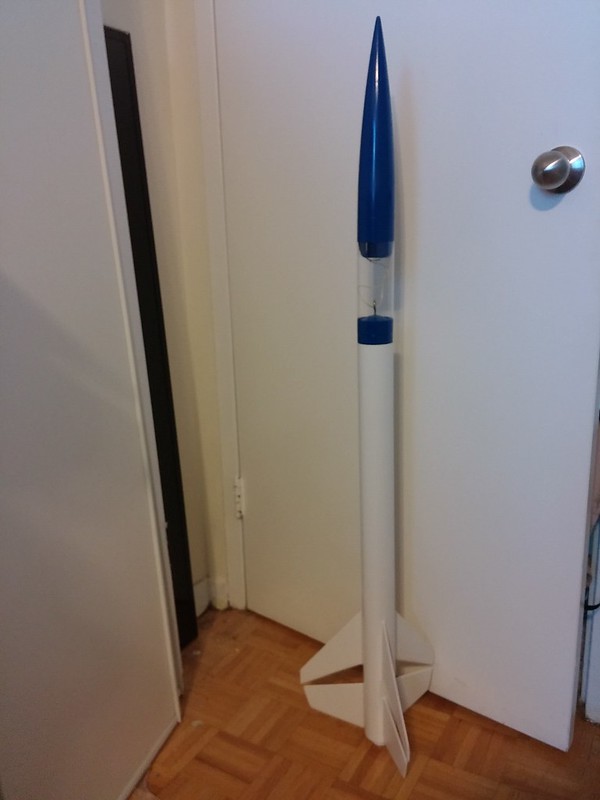
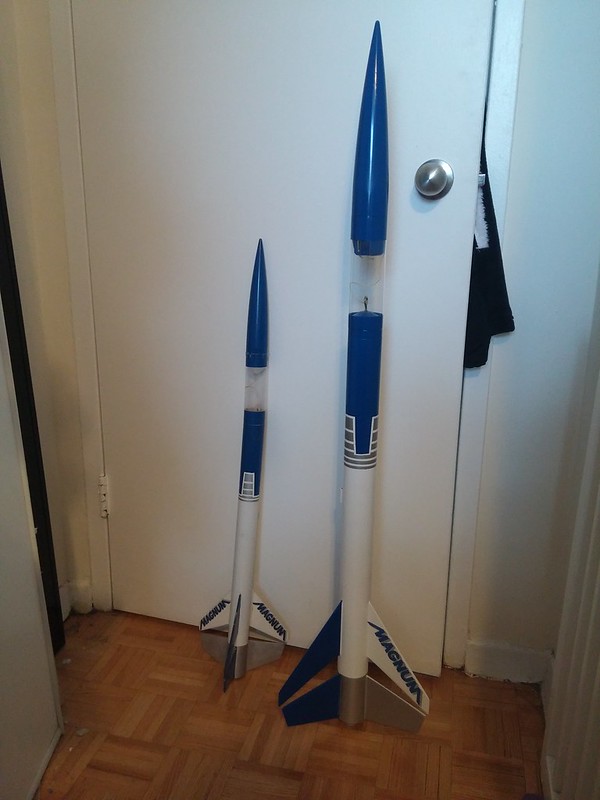
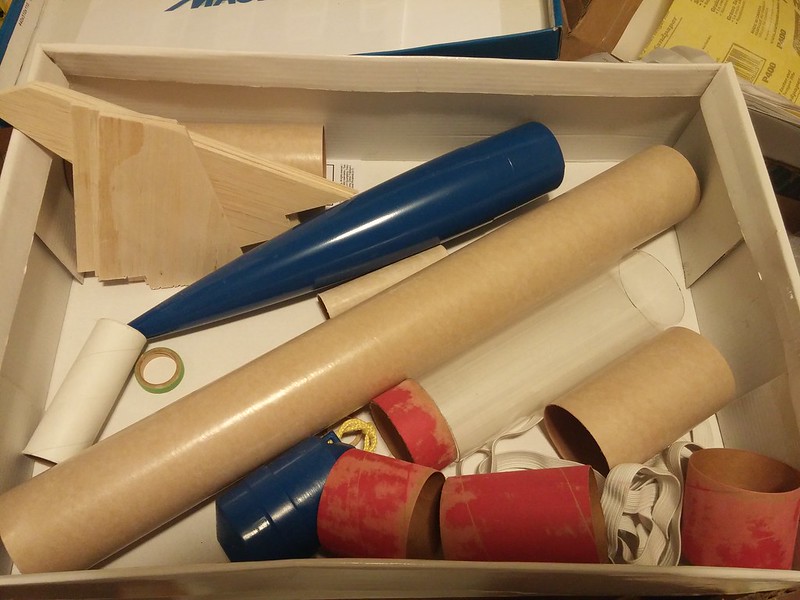
Magnum time again! I wanted to build another Magnum but this time a upscale. The hard part of upscaling this model is finding a 5:1 ogive nose cone. I found a BT-80 and a BT-70 one. If I went with a 2.6" airframe then it would have been heavy enough to need composites and staging composites is something I don't want to get into yet. For this one, I thought if I went with a 2.2" BT-70, then it would still be light enough to use a 29mm E16 or F15 in the booster with a 24mm E12 or D12 in the sustainer. That would also keep with the original concept of staging to a smaller dia motor.
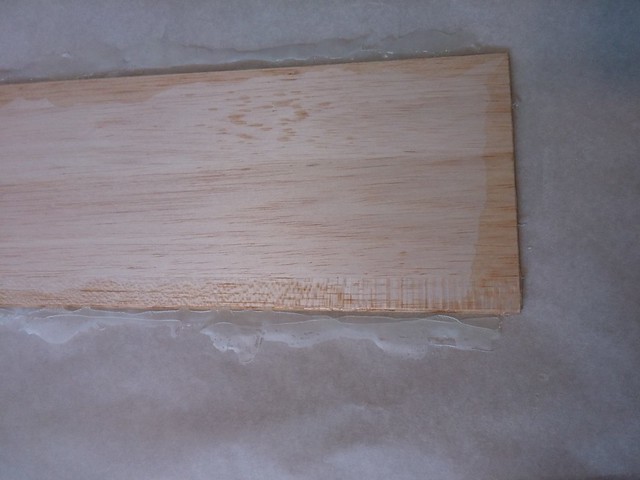
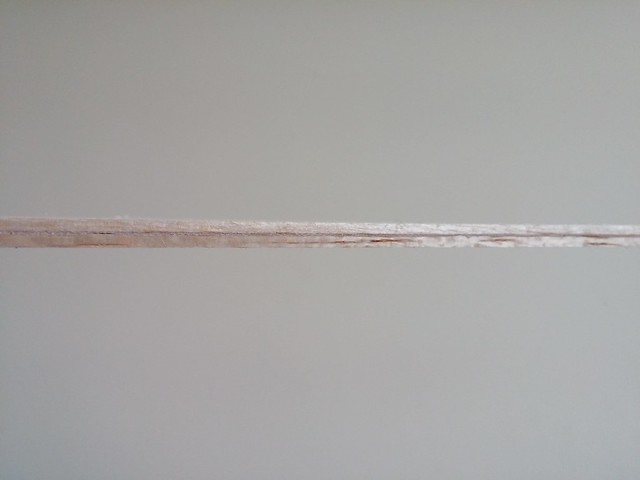
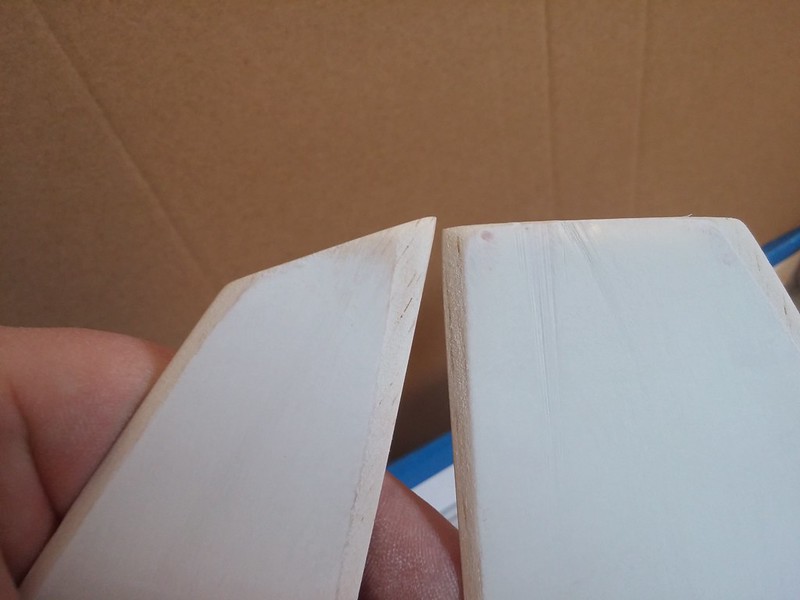
For the fins, I decided to use balsa, but maybe just a bit more firm. I took two sheets of 1/16 balsa and sandwiched some 2oz. fiberglass between. I also papered the outside using thinned white glue. I think if I did this again, I would have used maybe 6oz glass between. The 2oz didn't add as much strength as I had hoped, combined with the papering, they were firmed up enough though. I tested a bit of extra material and one thing to note with the 2oz fiberglass layer in between is that if a fin snaps, it will stay attached and maybe flop around rather than fly off somewhere. Much like windshield glass, it will stay intact if broken.
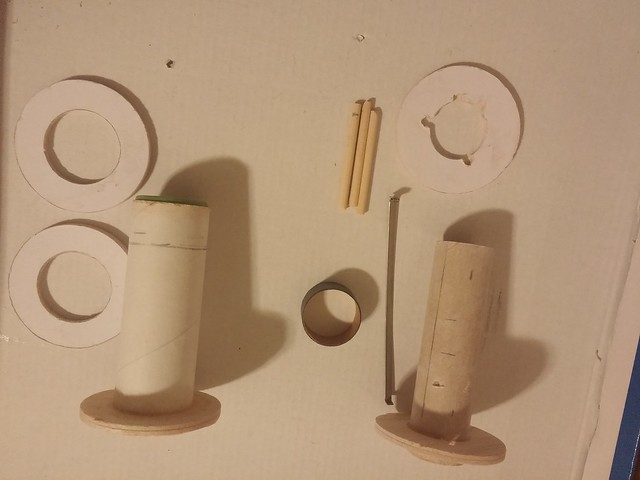
Then I decided to go ahead and assemble all of the parts that I would need so that I could progress as if it were a kit.
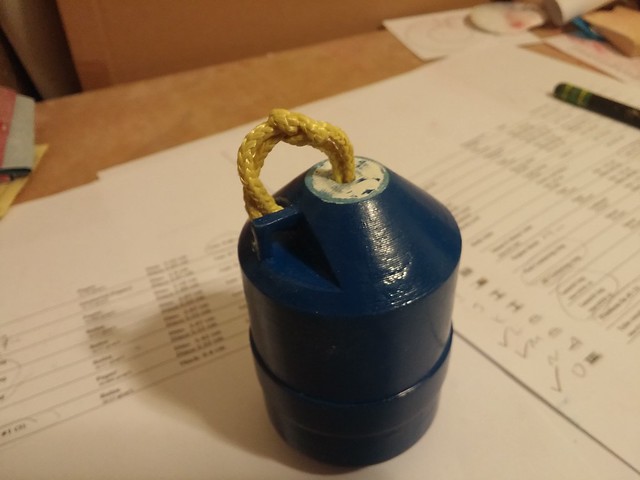
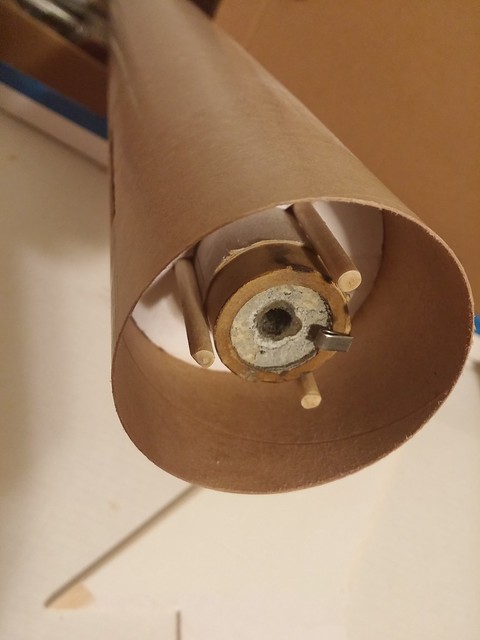
So for the nose block, I 3D printed a BT-70 upscaled version of the original part in blue. This is how it looked just after printing.

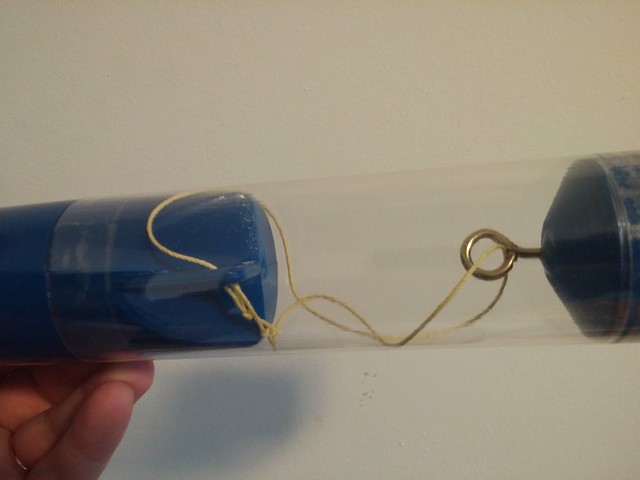
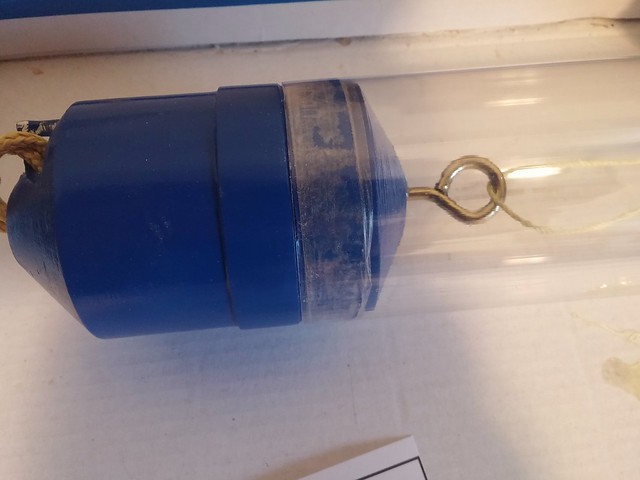
The blue color wasn't a match for my paint and the surface was a bit rough as it was a low-res 0.3mm print. After sand/prime/sand.../paint I got a smooth enough finish and then ran a loop of kevlar cord around as the attachment point since the original 3D printed loop was super sketchy.
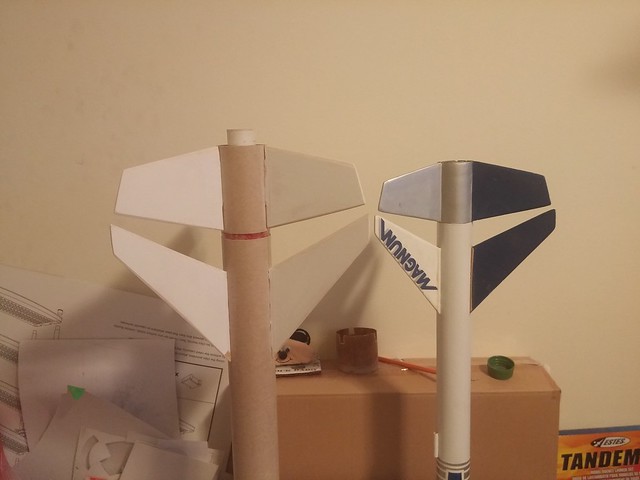
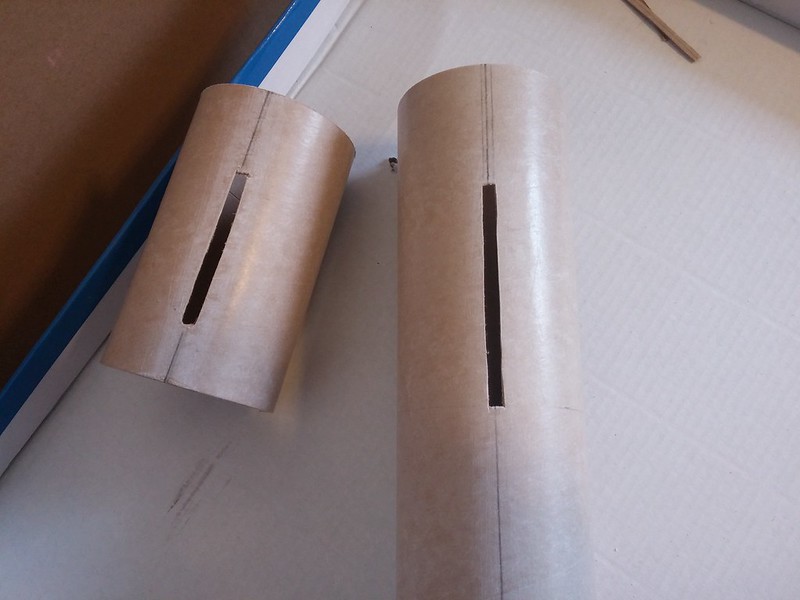
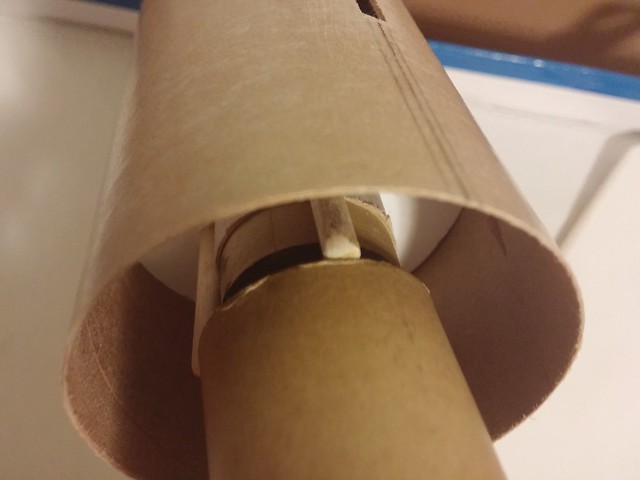
Then I measured and drew lines for the fins and cut out fin tab slots. Double-checked the alignment after cutting since when cutting by hand, being a bit off a bit can cant the fin.
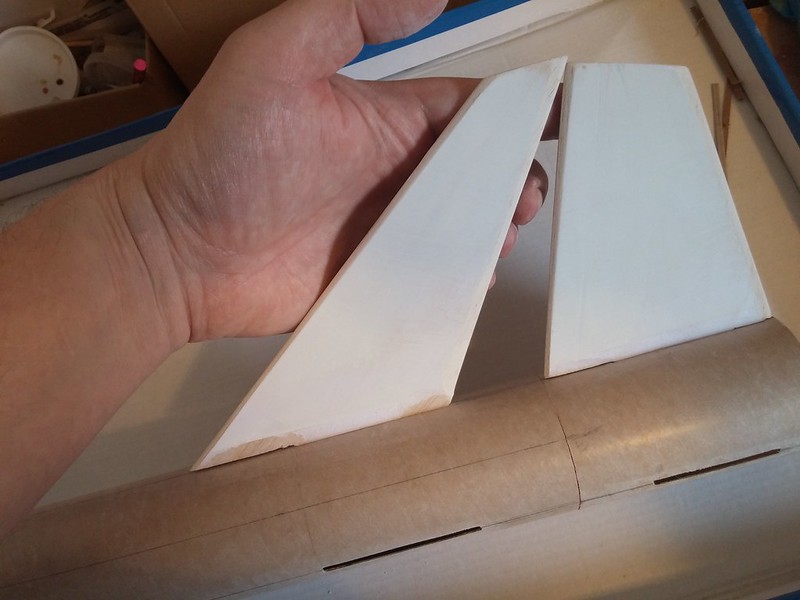
Here's a quick dry fit of the fins to check spacing. Doesn't get much closer than that...
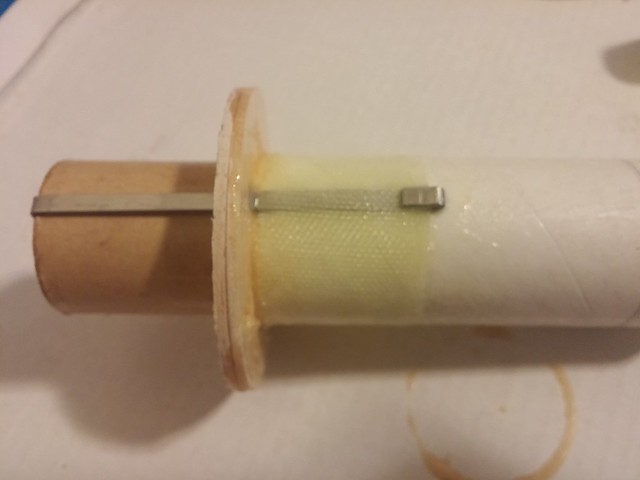
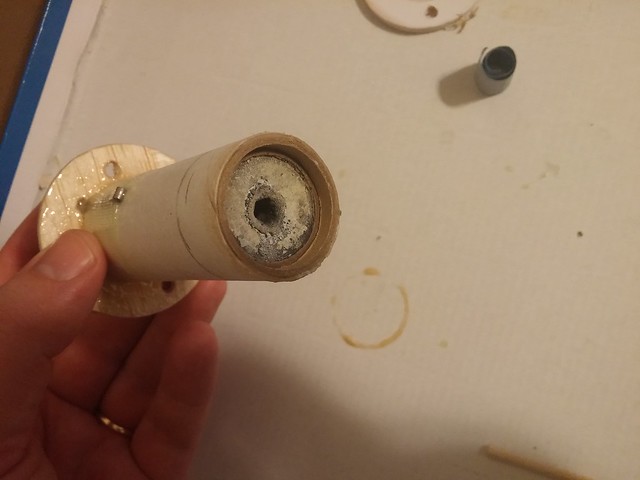
Next I'll be epoxying in the front motor mount with 3" of spare BT-70 coupler ahead of it to help strengthen the airframe. IIRC, the point just forward of the fins is the most stressed due to torque from the fins as well as ejection charges.
For the fins, I decided to use balsa, but maybe just a bit more firm. I took two sheets of 1/16 balsa and sandwiched some 2oz. fiberglass between. I also papered the outside using thinned white glue. I think if I did this again, I would have used maybe 6oz glass between. The 2oz didn't add as much strength as I had hoped, combined with the papering, they were firmed up enough though. I tested a bit of extra material and one thing to note with the 2oz fiberglass layer in between is that if a fin snaps, it will stay attached and maybe flop around rather than fly off somewhere. Much like windshield glass, it will stay intact if broken.
Then I decided to go ahead and assemble all of the parts that I would need so that I could progress as if it were a kit.
So for the nose block, I 3D printed a BT-70 upscaled version of the original part in blue. This is how it looked just after printing.
The blue color wasn't a match for my paint and the surface was a bit rough as it was a low-res 0.3mm print. After sand/prime/sand.../paint I got a smooth enough finish and then ran a loop of kevlar cord around as the attachment point since the original 3D printed loop was super sketchy.
Then I measured and drew lines for the fins and cut out fin tab slots. Double-checked the alignment after cutting since when cutting by hand, being a bit off a bit can cant the fin.
Here's a quick dry fit of the fins to check spacing. Doesn't get much closer than that...
Next I'll be epoxying in the front motor mount with 3" of spare BT-70 coupler ahead of it to help strengthen the airframe. IIRC, the point just forward of the fins is the most stressed due to torque from the fins as well as ejection charges.
 op:
op: