Estes Magician Build

The Rocketry Forum

Help Support The Rocketry Forum:

This site may earn a commission from merchant affiliate links, including eBay, Amazon, and others.

SCIGS30

Well-Known Member
Joined
Jan 18, 2009
Messages
1,862
Reaction score
299
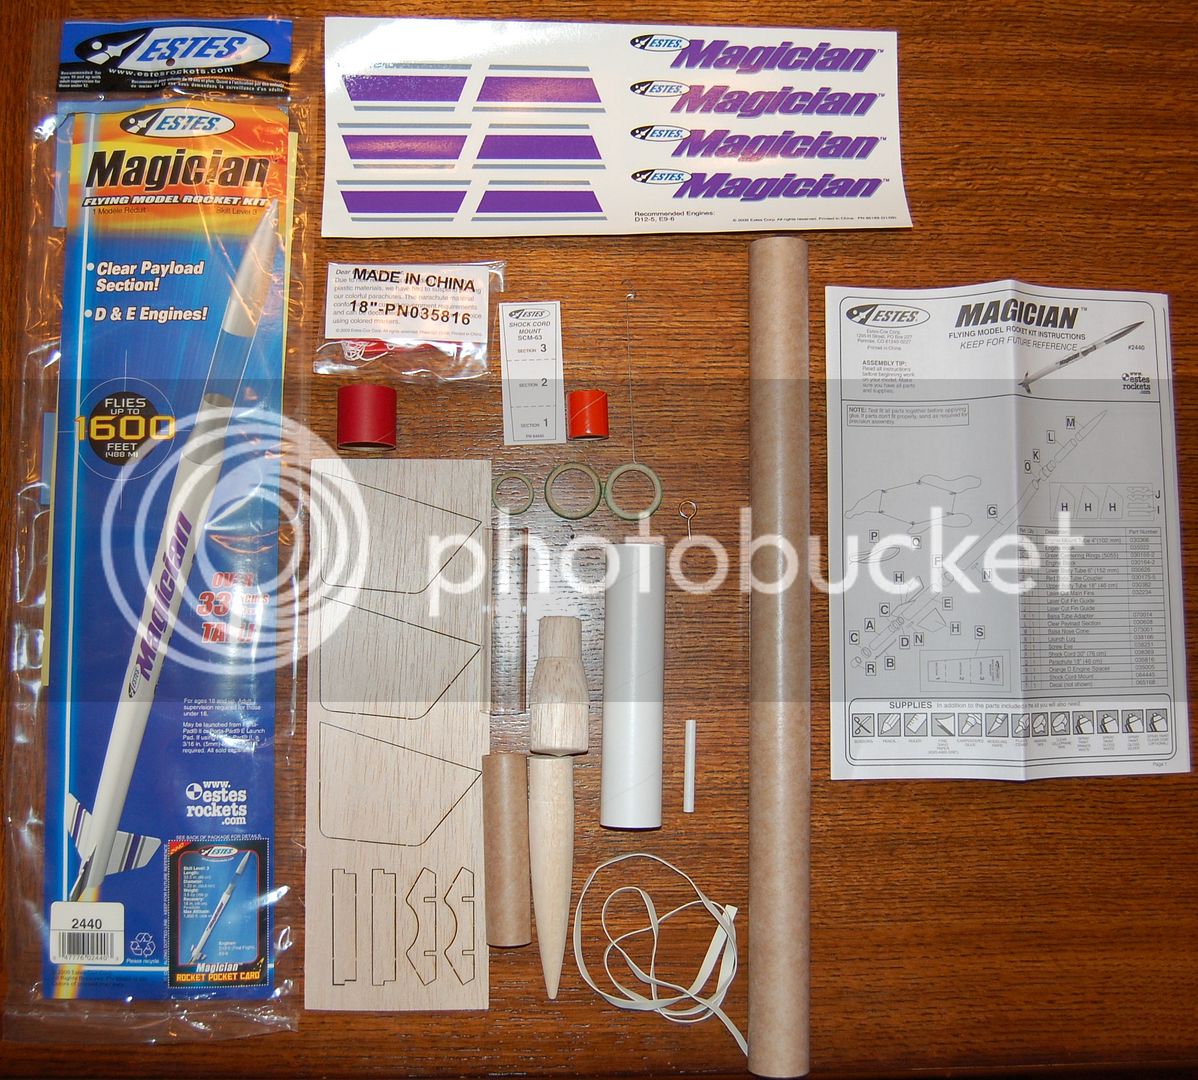
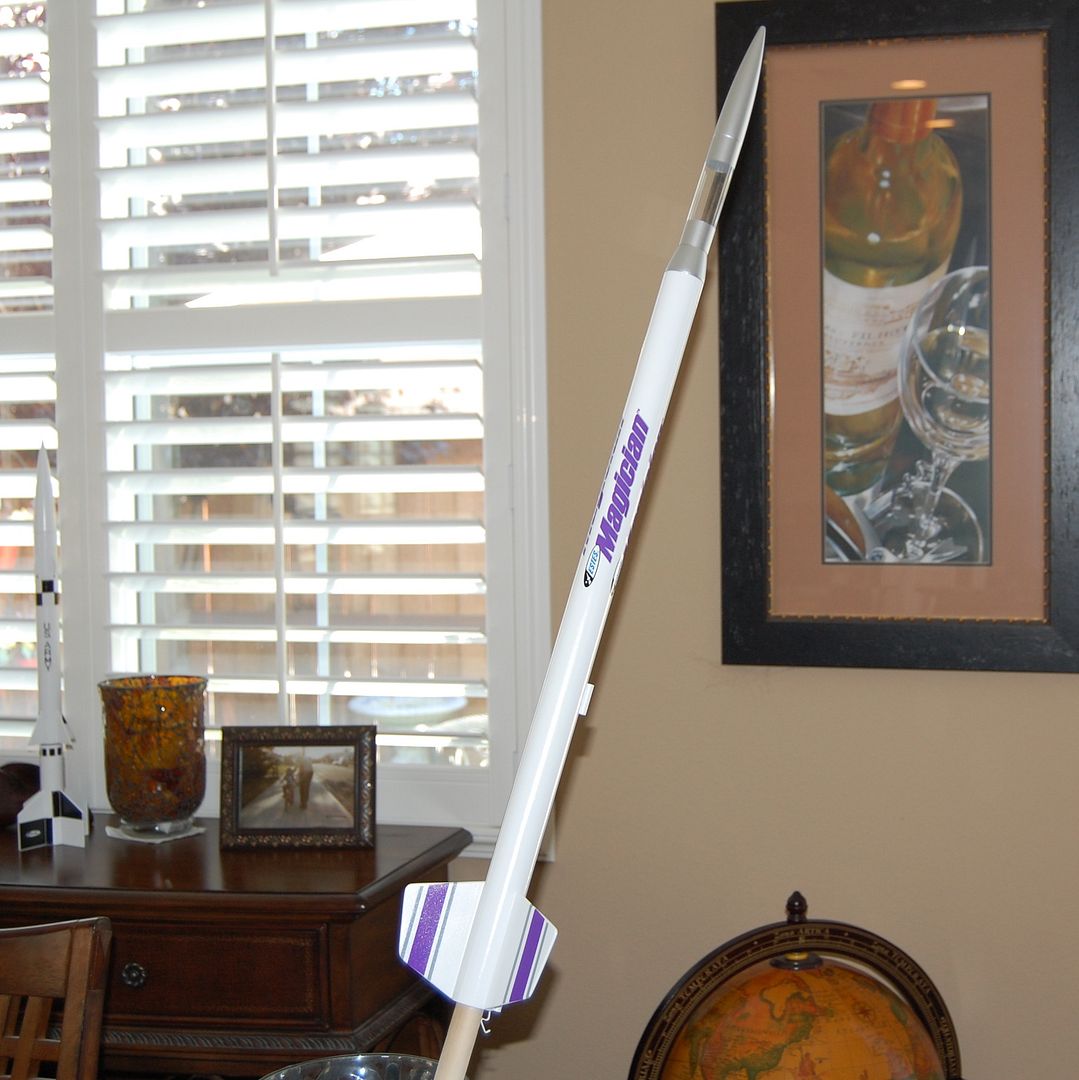
So I am sitting here building my vintage Estes Nike X and the door bell rings. I answer the door and the UPS man delivers me this big box. I open it up and there rest my 17 new kits from Estes. Yes, I have decided to personally keep Estes in business so I am buying all there new kits. I know a lot of people were skeptical about the classics ever making it to the market, well I am living proof they are here. So now my dilemma is how do I build the entire 1979 catalog with all these new kits coming in? After some cold drinks and looking at the new packages, I came up with a solution. I will build a vintage kit while building a new kit at the same time. I see a lot of people on these forums with 5-10 rockets in different phases of construction so I should be able to handle two. I don't have my camera so the first build has to be the Magician. I wanted to start on the Alien Invader but that will be my next build after the Magician. I bought the Magician sometime ago with the Hornet, Photon Probe, and Satellite Interceptor, and that is where this picture is from.
DSC_00422.jpg
 
Interesting kit. I've seen this kit hanging in the LHS, and certainly seen the catalog pictures, but until you posted the picture of the parts, I did not realize it sports "Cherokee-D" style fins.
 
Sweet! I'll be watching this one. I posted this alittle while back...

Are you planning any mods, or do you just build them by the book?
 
This is a big rocket and pretty simple build. Since I have so many of these new kits I decided to change my building style a little on these new kits. Most of my time building is spent filling and sanding all the balsa pieces. I am speeding this up by filling the balsa ahead of time with a technique that I used on this build. I left all the pieces in the balsa sheet and sanded it smooth. Then I brushed on 3 coats of balsa sealer, sanding after each coat. I then sprayed primer on the balsa and sanded smooth. After that there was no grain showing. I have seen John on this forum do it with his Satellite Interceptor except he only uses primer and that works great for him. I then cut the fins out and sanded the edges round, and carefully brushed on sanding sealer on the bare edges. This simplified the priming and filling process and helped speed up construction. I put everything together, sprayed more primer and now she is ready for the Glossy White in a day or so.
DSC_00072.jpg

DSC_00092.jpg

DSC_0017.jpg
 
I have seen John on this forum do it with his Satellite Interceptor except he only uses primer and that works great for him. I then cut the fins out and sanded the edges round, and carefully brushed on sanding sealer on the bare edges.

Must be one of the other Johns cause it sure ain't me! None of my rockets have fins as clean as these!
 
This was a straightforward build and should fly pretty high and the E engine. The parts were high quality, but the decals still need major quality control. The decals take about 1 min submersion time and need to sit for 30 sec. afterwards so they release without tearing. They on real thin and go on easy but the print rubs off easy when I tried to press them down. I did not coat the decals with anything, but next time I will. The decals are printed in China, maybe that has something to do with it, I don't know. Other than the decals, this was a fun build and now I will start on the Alien Invader.
ERSS.jpg

DSC_0122.jpg

DSC_0113.jpg

DSC_0112.jpg

You can see were the purple came off when I applied the decal. It happened in other areas as well. They didn't fit the fin too well, but I guess that's my fault for not trimming them first.
DSC_0111.jpg

DSC_0107.jpg
 
Last edited:
Gotta ask....In your first pic of all of the parts you show the fin set, what are the other "cut outs" at the bottom of thye balsa sheet used for?

Looks great by the way!

Thanks
 
Gotta ask....In your first pic of all of the parts you show the fin set, what are the other "cut outs" at the bottom of thye balsa sheet used for?

I was curious about that, too, so I went on Estes's site, and pulled up the PDF of the instruction sheet. Those four bits are used to construct a fin alignment guide -- it's used to ensure that you get the proper angle between the fins. The curved part of those two bits snugs up against the body tube, and the angled parts snug up against each of two fins.
 
I was curious about that, too, so I went on Estes's site, and pulled up the PDF of the instruction sheet. Those four bits are used to construct a fin alignment guide -- it's used to ensure that you get the proper angle between the fins. The curved part of those two bits snugs up against the body tube, and the angled parts snug up against each of two fins.


Thanks....makes sense.
 
How does putting the sanding sealer and primer on first affect the glue up process of the fins? Do you change any of your technique with the white glue that you usually use? I'm anxious to try this.
 
Ah-HA! I found something! If you look at Post #9, third pic down...:y:

Do you have to stand on your head to read that? :p

Just messin with ya, if mine turns out half as good as that, I'll be amazed. Out of curiosity, how long did it take you to build? You obviously didn't rush, it looks great. :cheers:
 
do a good job on my rockets.I told her-Those aint nut-n-honey. You should see some of the rockets on TRF. I got to say-heres the proof-SWEET,CLEAN BUILD.:clap: Scotty Dog
 
How does putting the sanding sealer and primer on first affect the glue up process of the fins? Do you change any of your technique with the white glue that you usually use? I'm anxious to try this.

I did not make any changes to how I put the rocket together. I make sure to sand the root edge so it is bare balsa.
 
Back
Top