Okay, let's get this post-party analysis started, shall we. The Long Story, Part I:
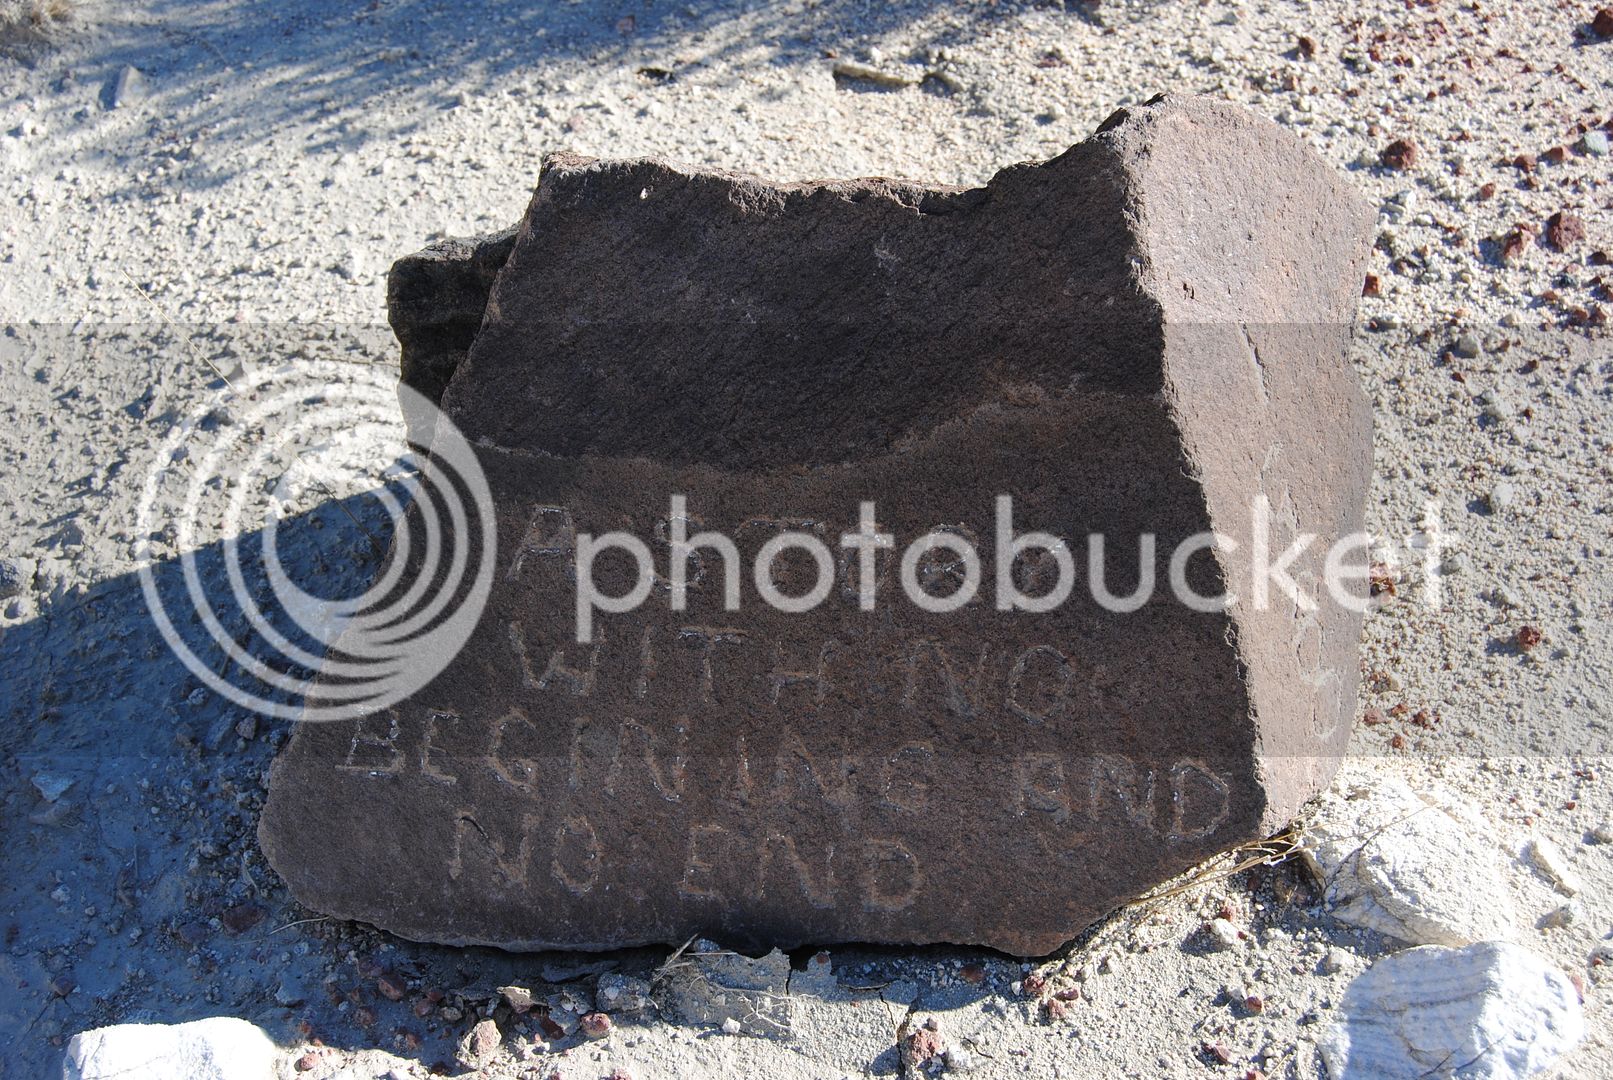
Alas, this story has no clear beginning and no clear end:
I'll start by re-stating that the trip was great; an adventure we longed to go on. Though my lack of flying was admittedly a huge bummer, the experience was great; and made the trip well worthwhile! The remainder of this thread is just as much about the experience getting there and back, as it is about flight activities while there.
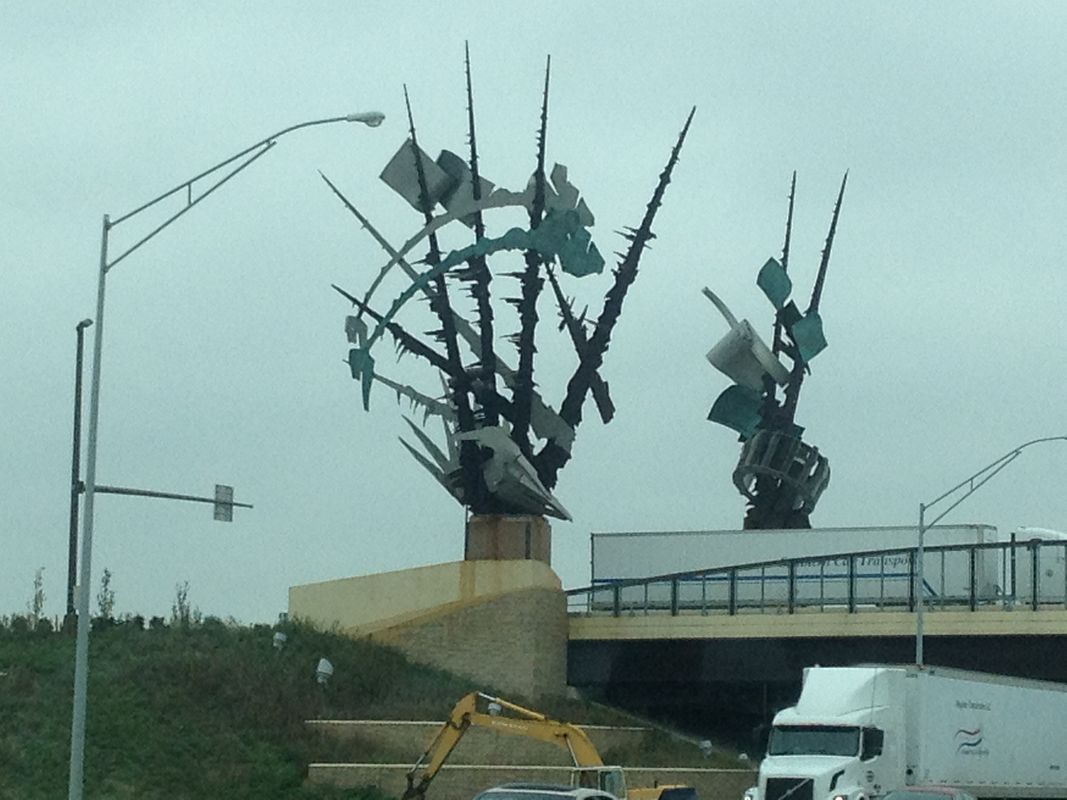
Our adventures began on Tuesday morning at about 4:45am with the beginning of a long 18 hour day of driving. We started in Manitowoc, Wisconsin and ended up as planned in Cheyenne, Wyoming. As we passed from Iowa to Nebraska, we noticed someone's idea of modern art. Not sure if we understand the artsiness there; if anything we were amused if not a bit intimidated by the twisted steel!:eyepop:
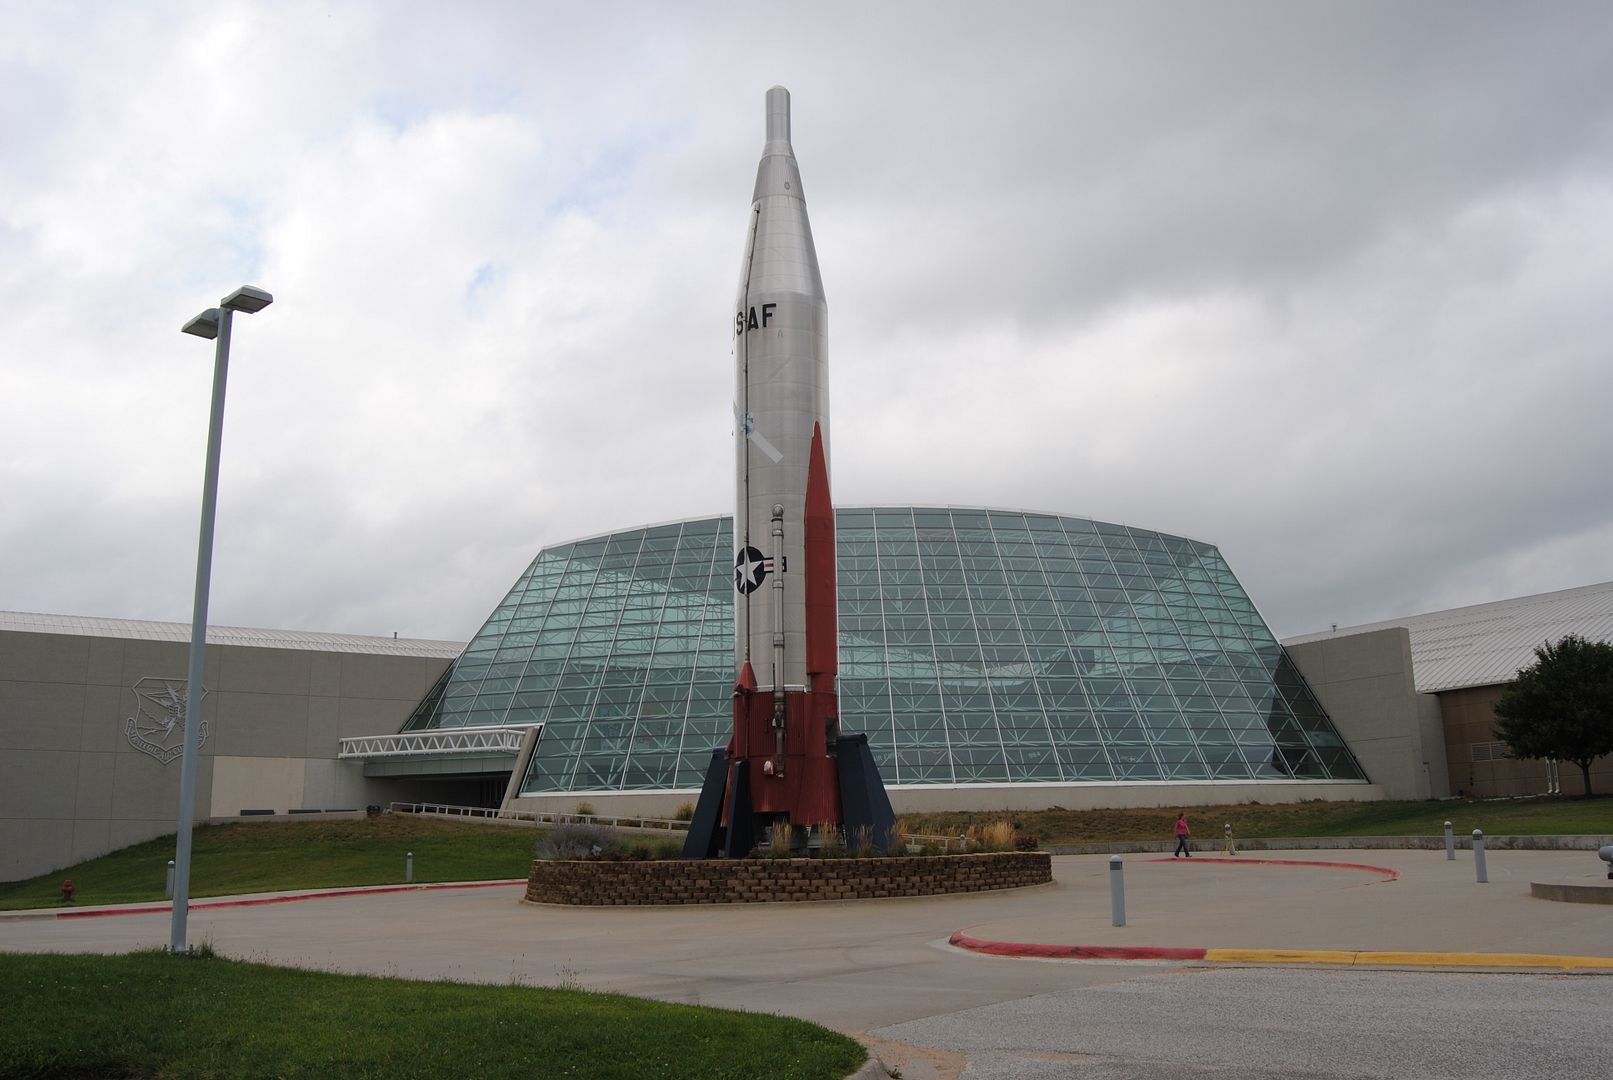
Nebraska is a long state; so we broke up the drive with a quick visit to the Strategic Air Command Museum in Ashland, NE. Way cool and highly recommended!
The entrance:
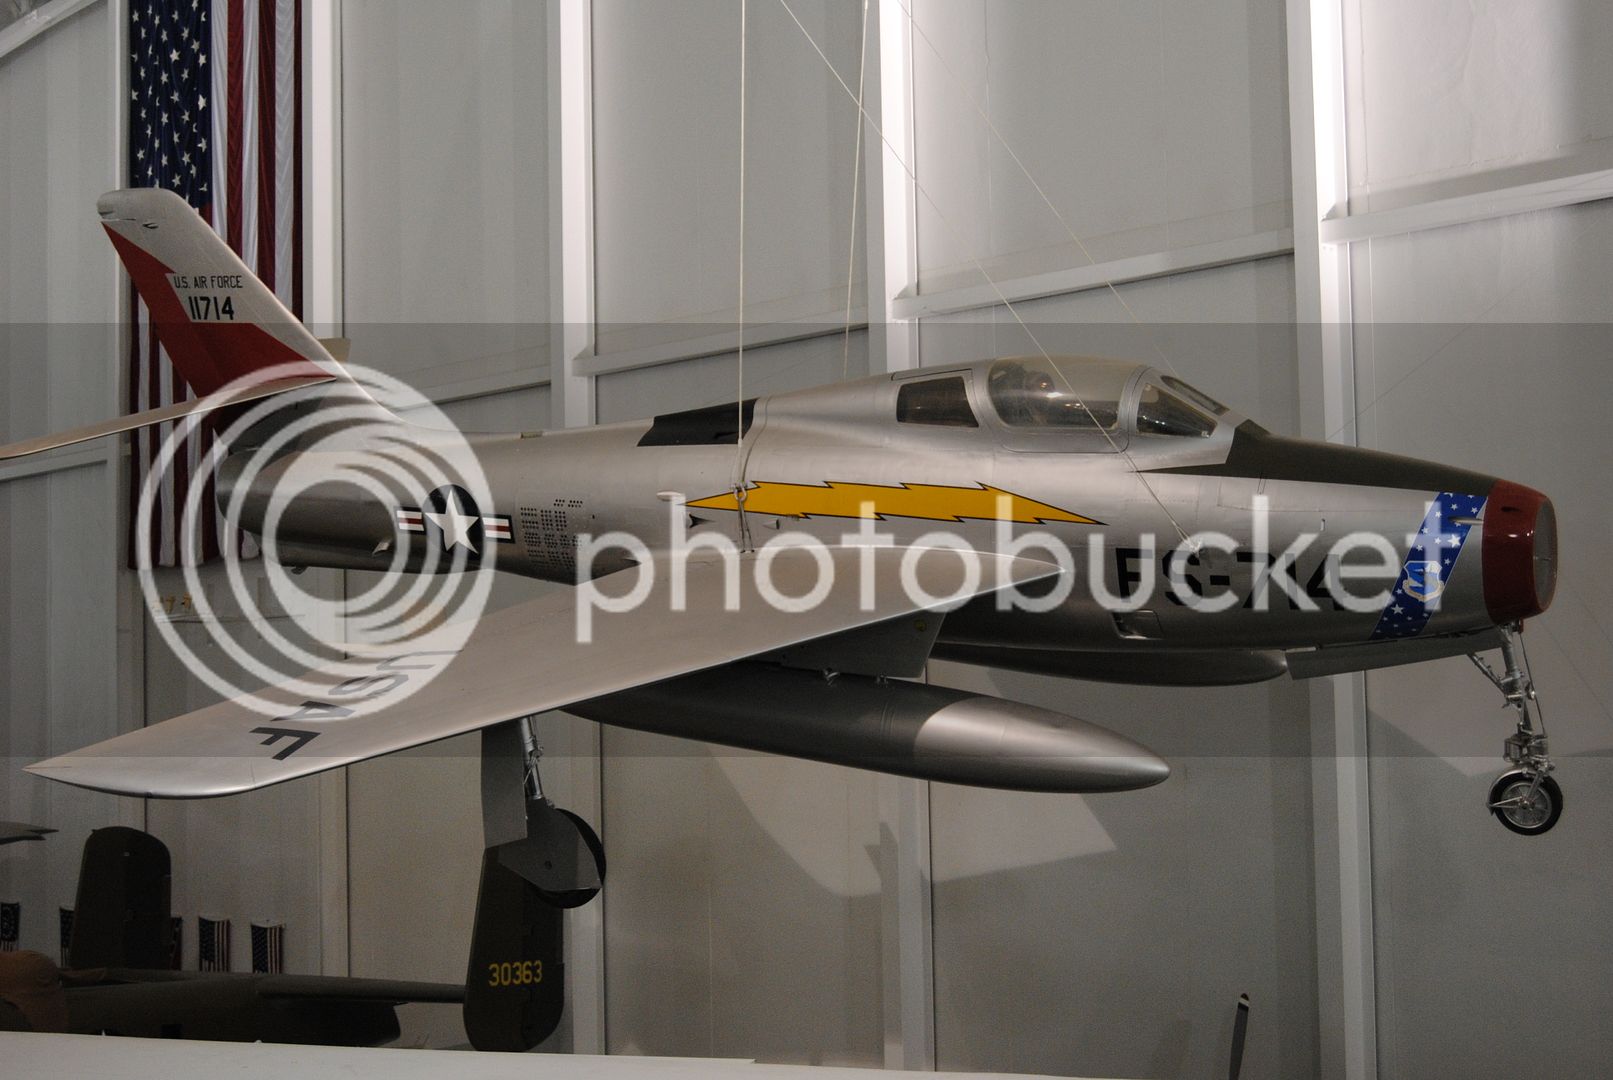
A nice F-84:
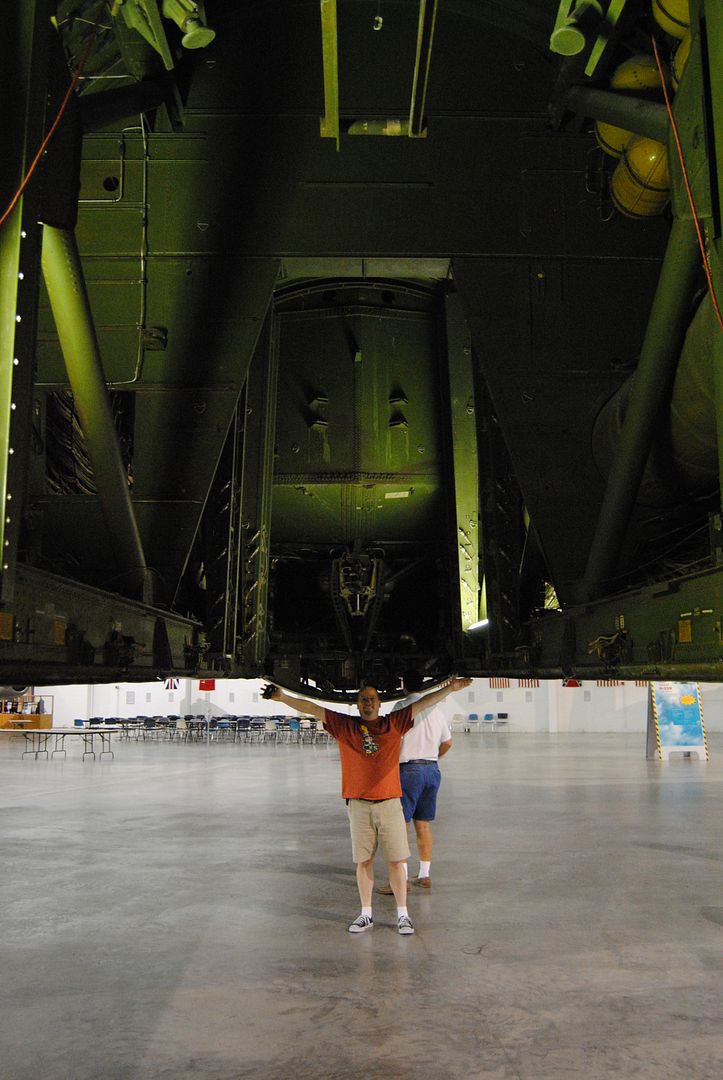
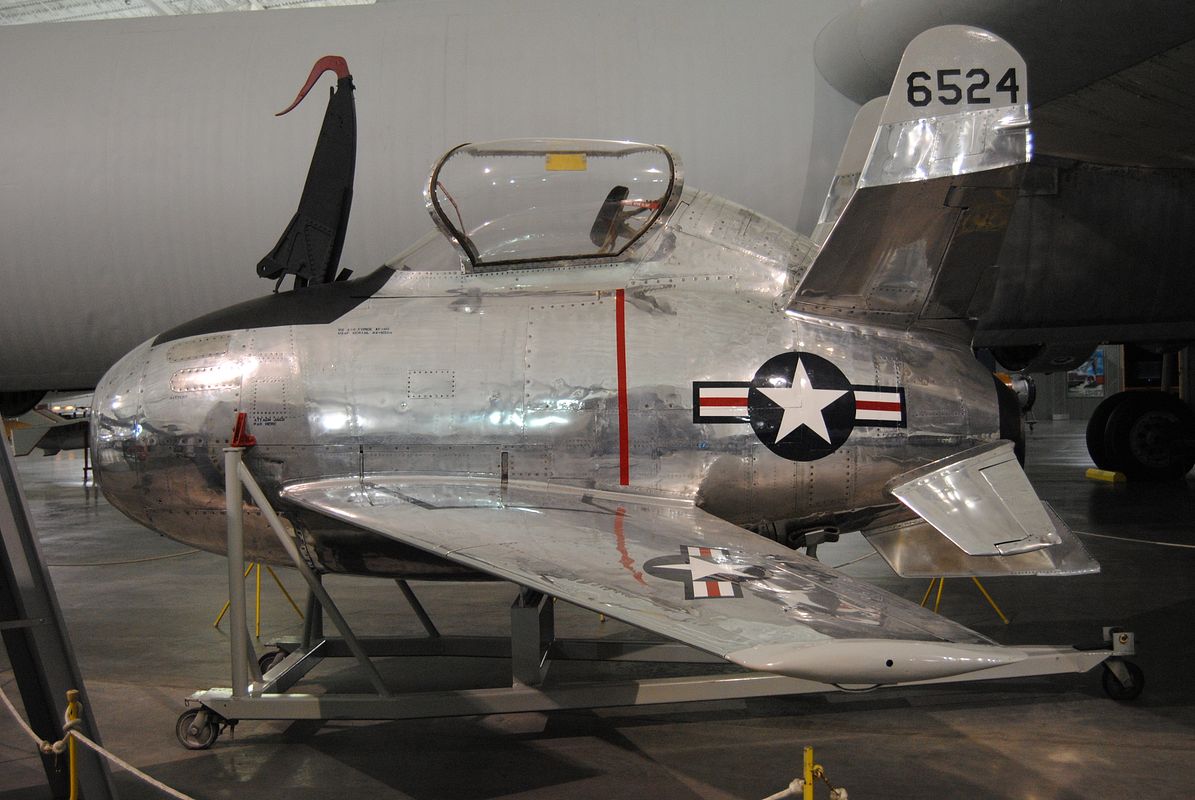
They also had a B-36 Peacemaker; a rarity which has a 230' wingspan! The enormous bomb-bay accomodated the equally unique parasite Goblin:
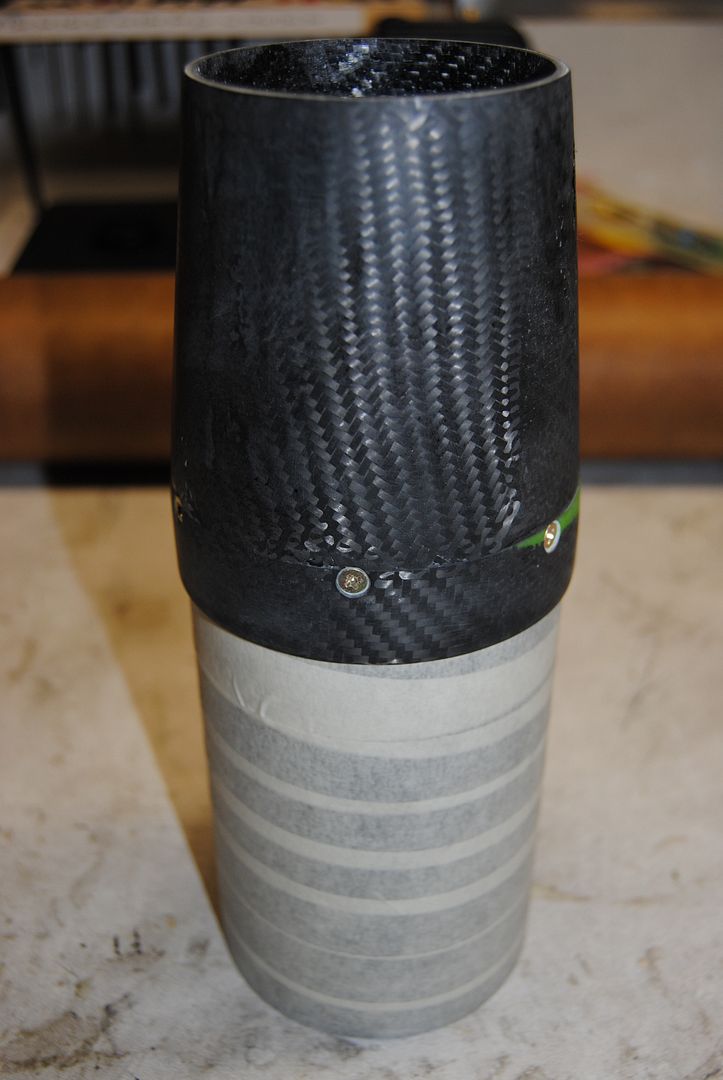
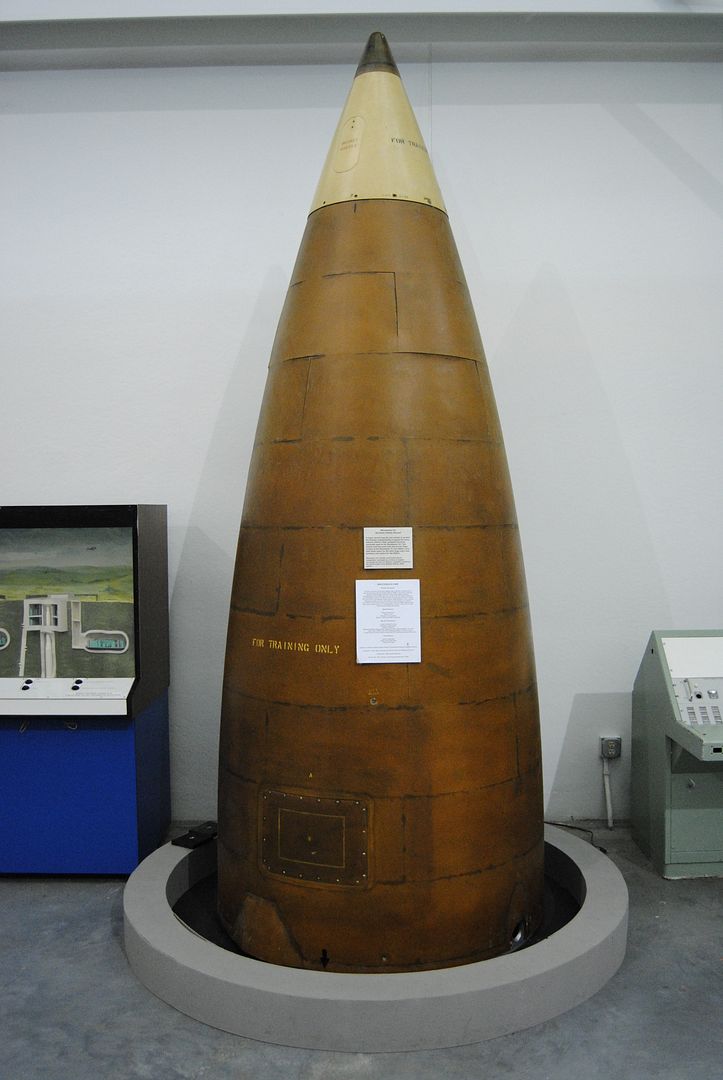
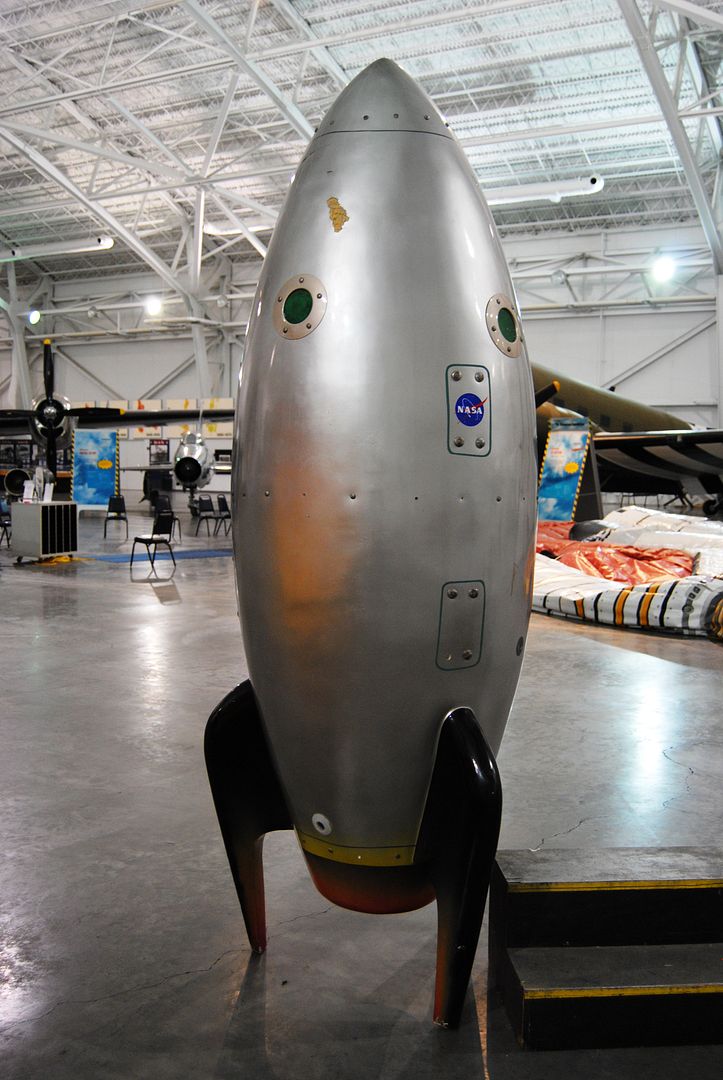
I also found a big ol' phenolic looking nosecone 3 or 4 feet in diameter. I tried to smuggle it out of there, but the retired security guard tackled me before I made it out the front doors.
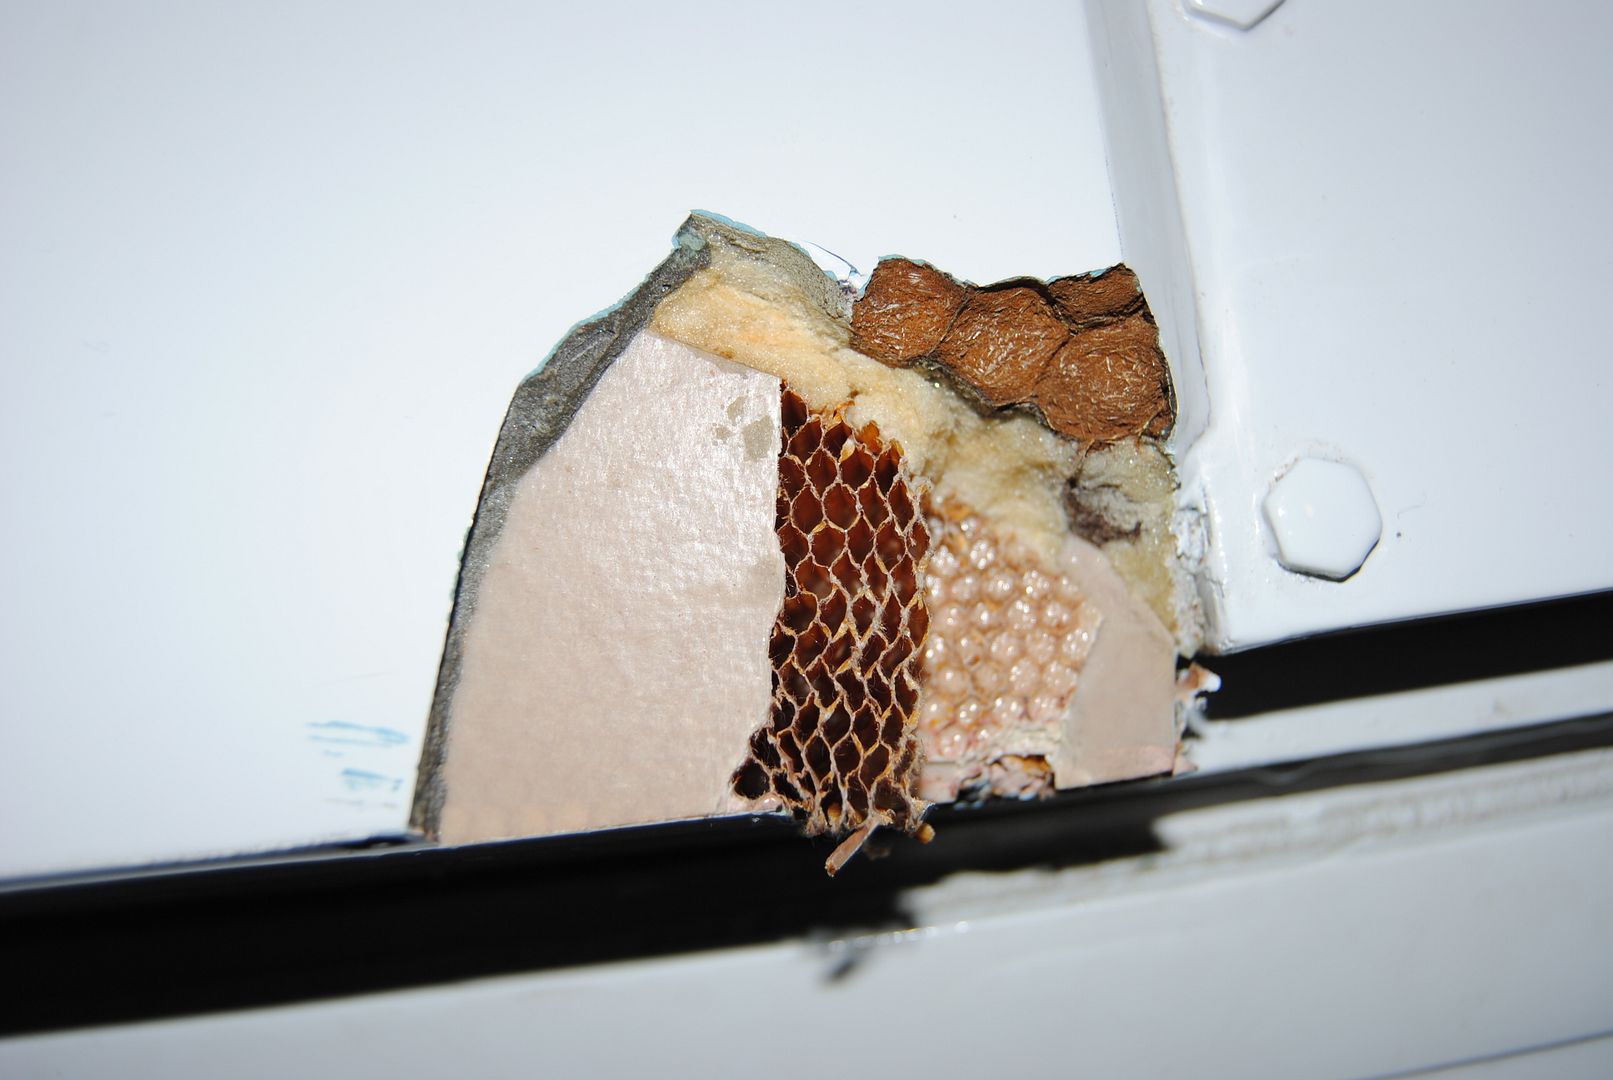
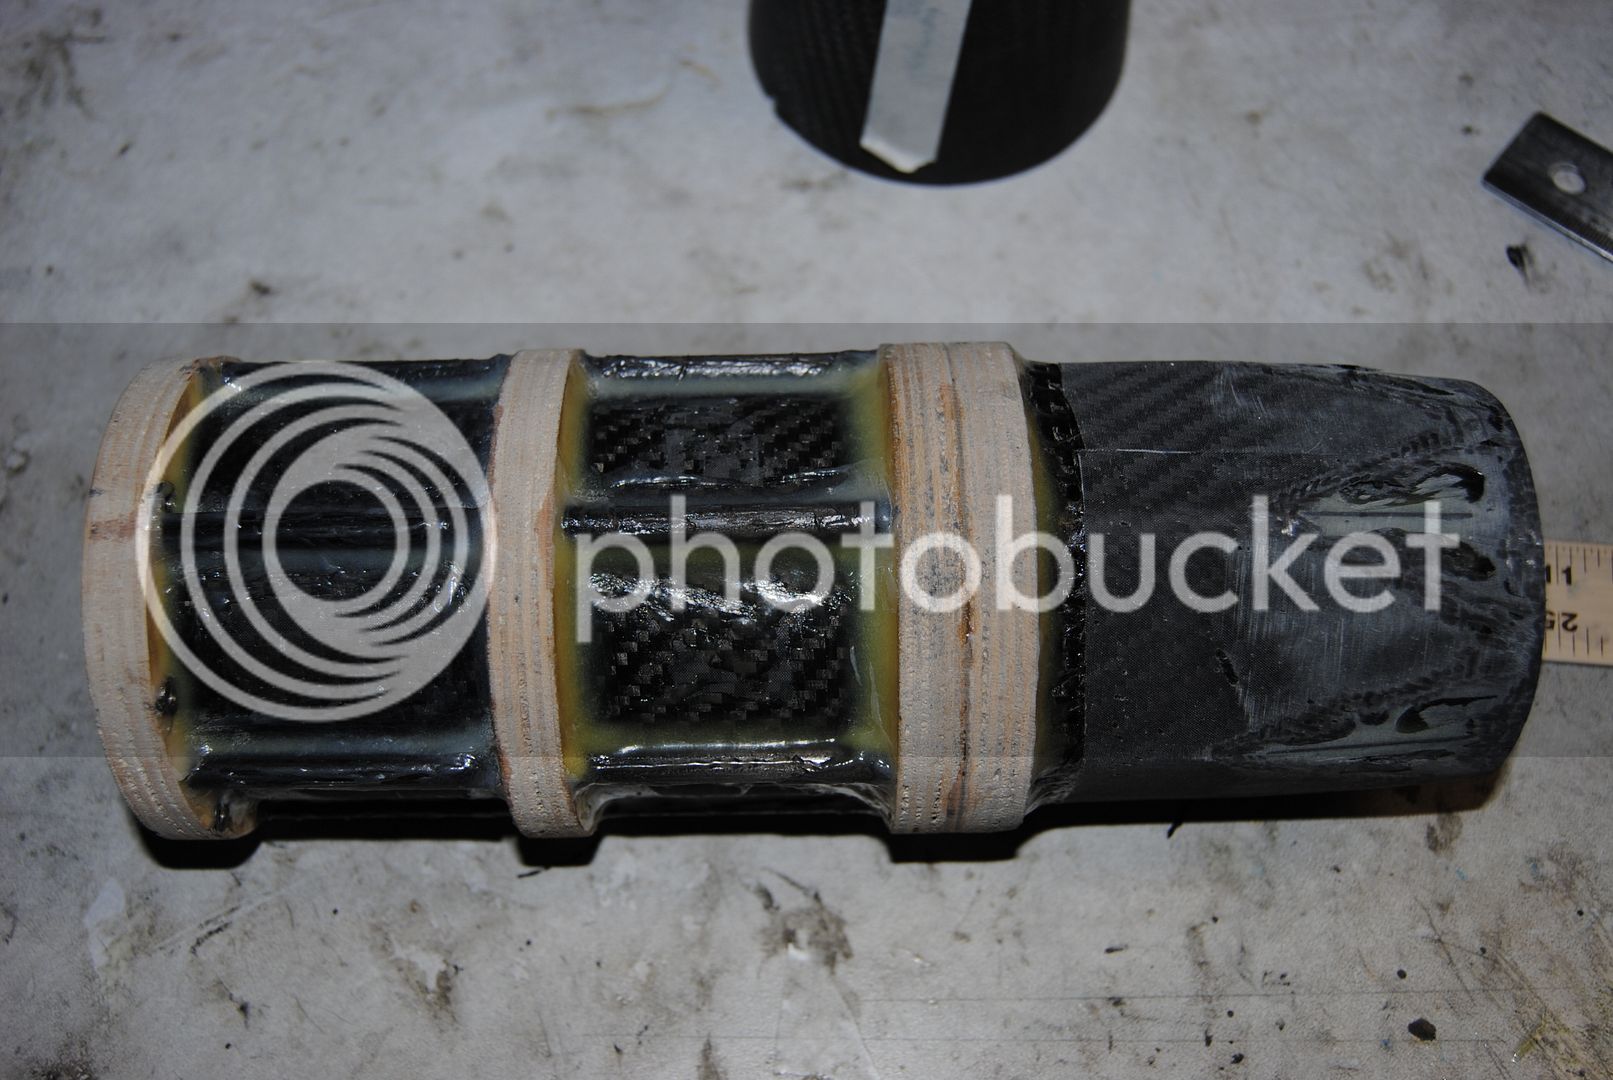
The museum had a few space capsules that were used for testing of landings on hard surfaces (ie: not water). The damage to the capsules from landing exposed some familiar building materials: fiberglass, honeycomb, foam, etc.
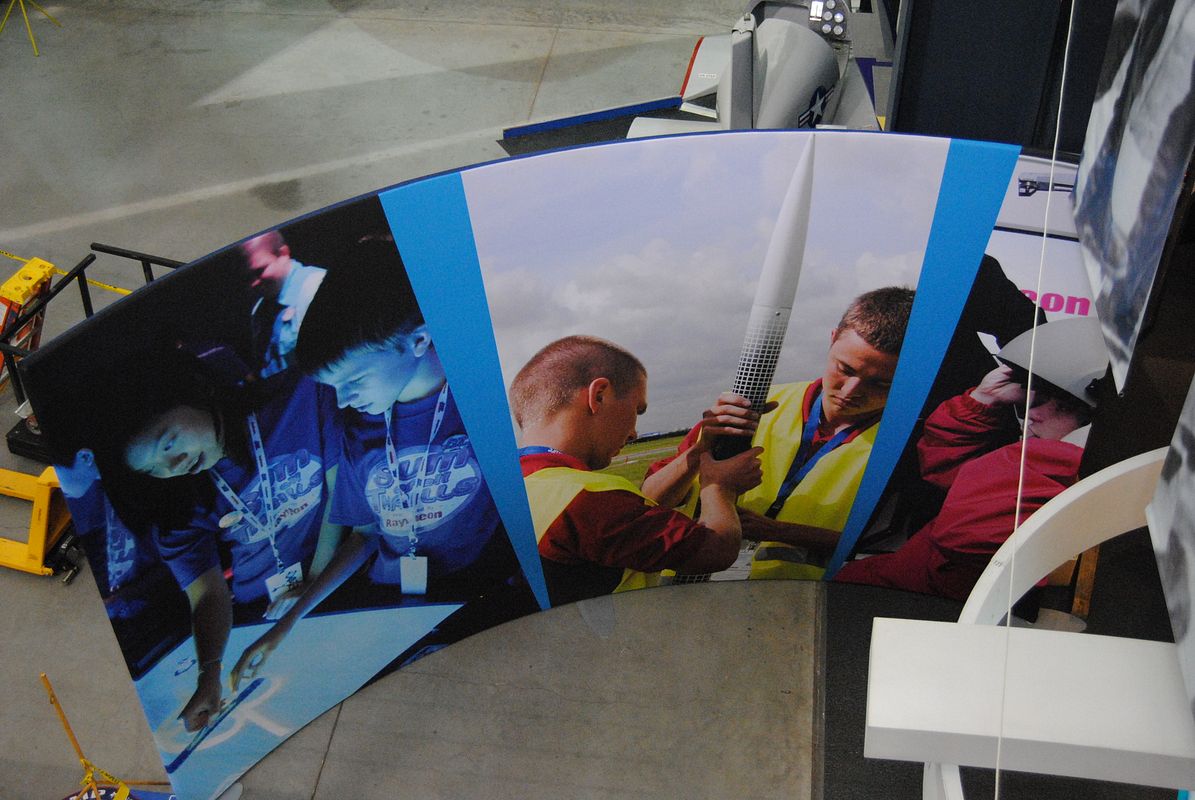
The first floor of the museum between the two main hangars was closed as they completed work on an interactive area designed to captivate the younger generation. Looking down on construction, we spotted a friendly rocketry-related site:
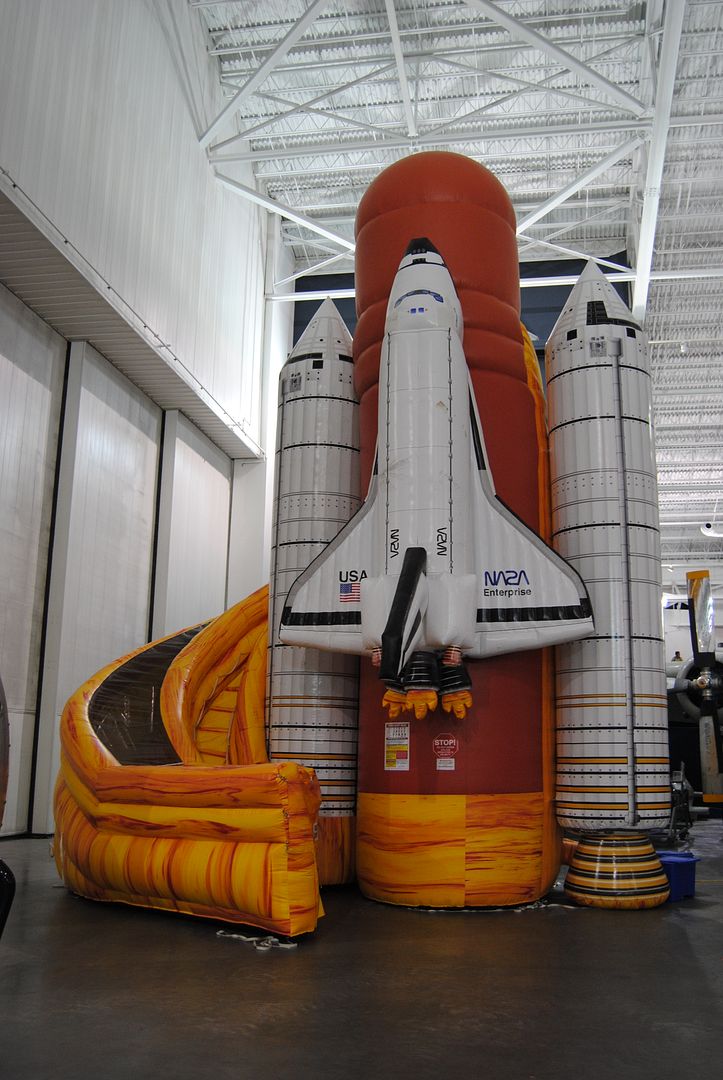
The coolest inflatable jumpy house ever. I so wish my kids were there (though we probably never would've left)!
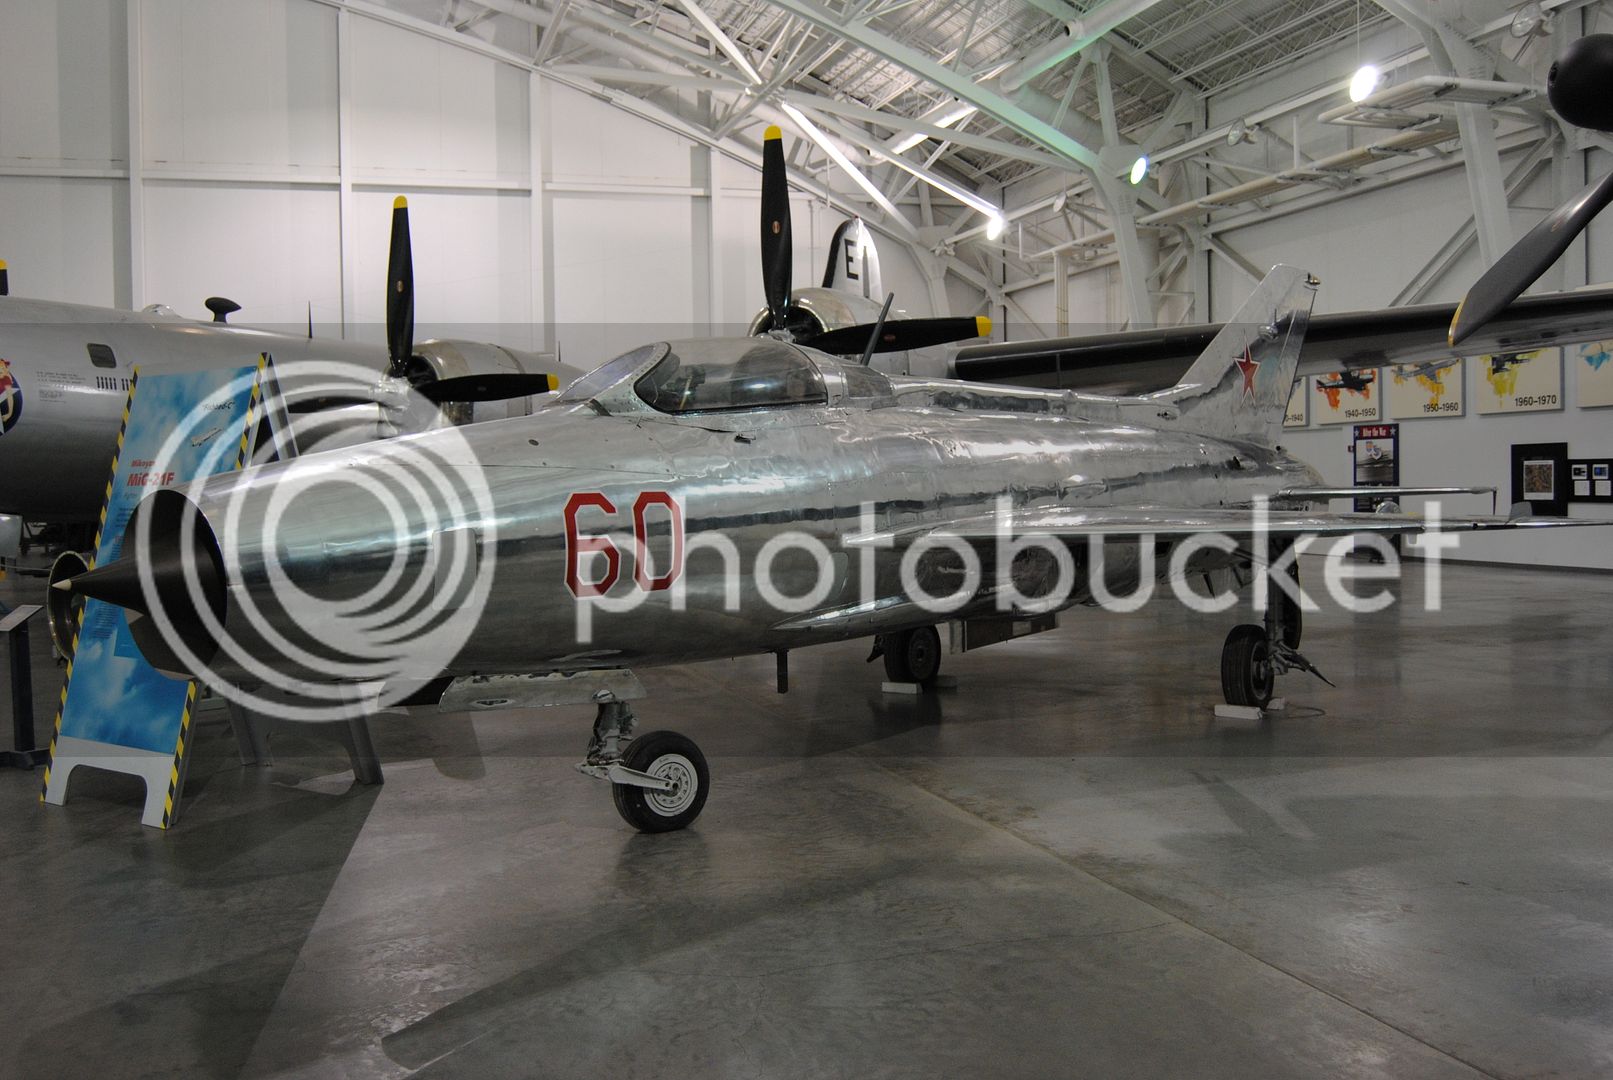
A recently refinished Mig-21: super shiny!
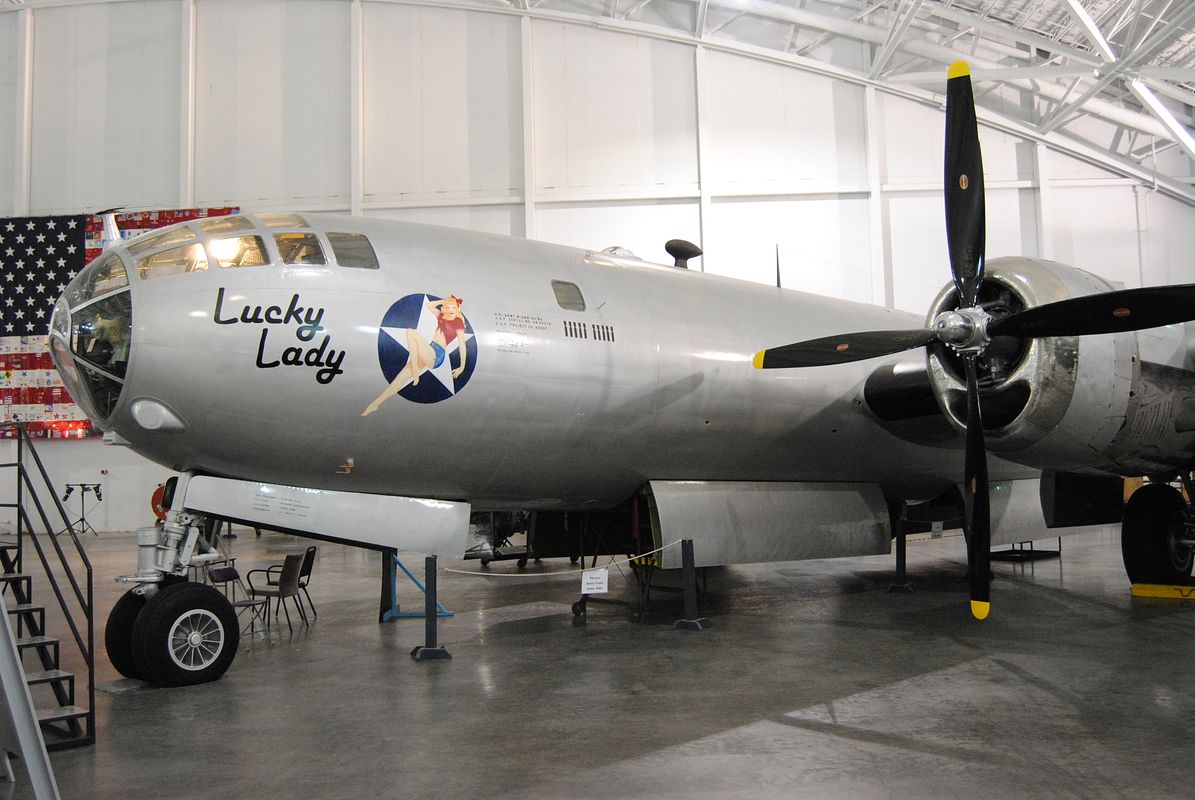
They also recently finished renovating a B-29; well done!
The inspiration for the TRF logo? Hmm, just a few miles down the road from Troj; coincedence????
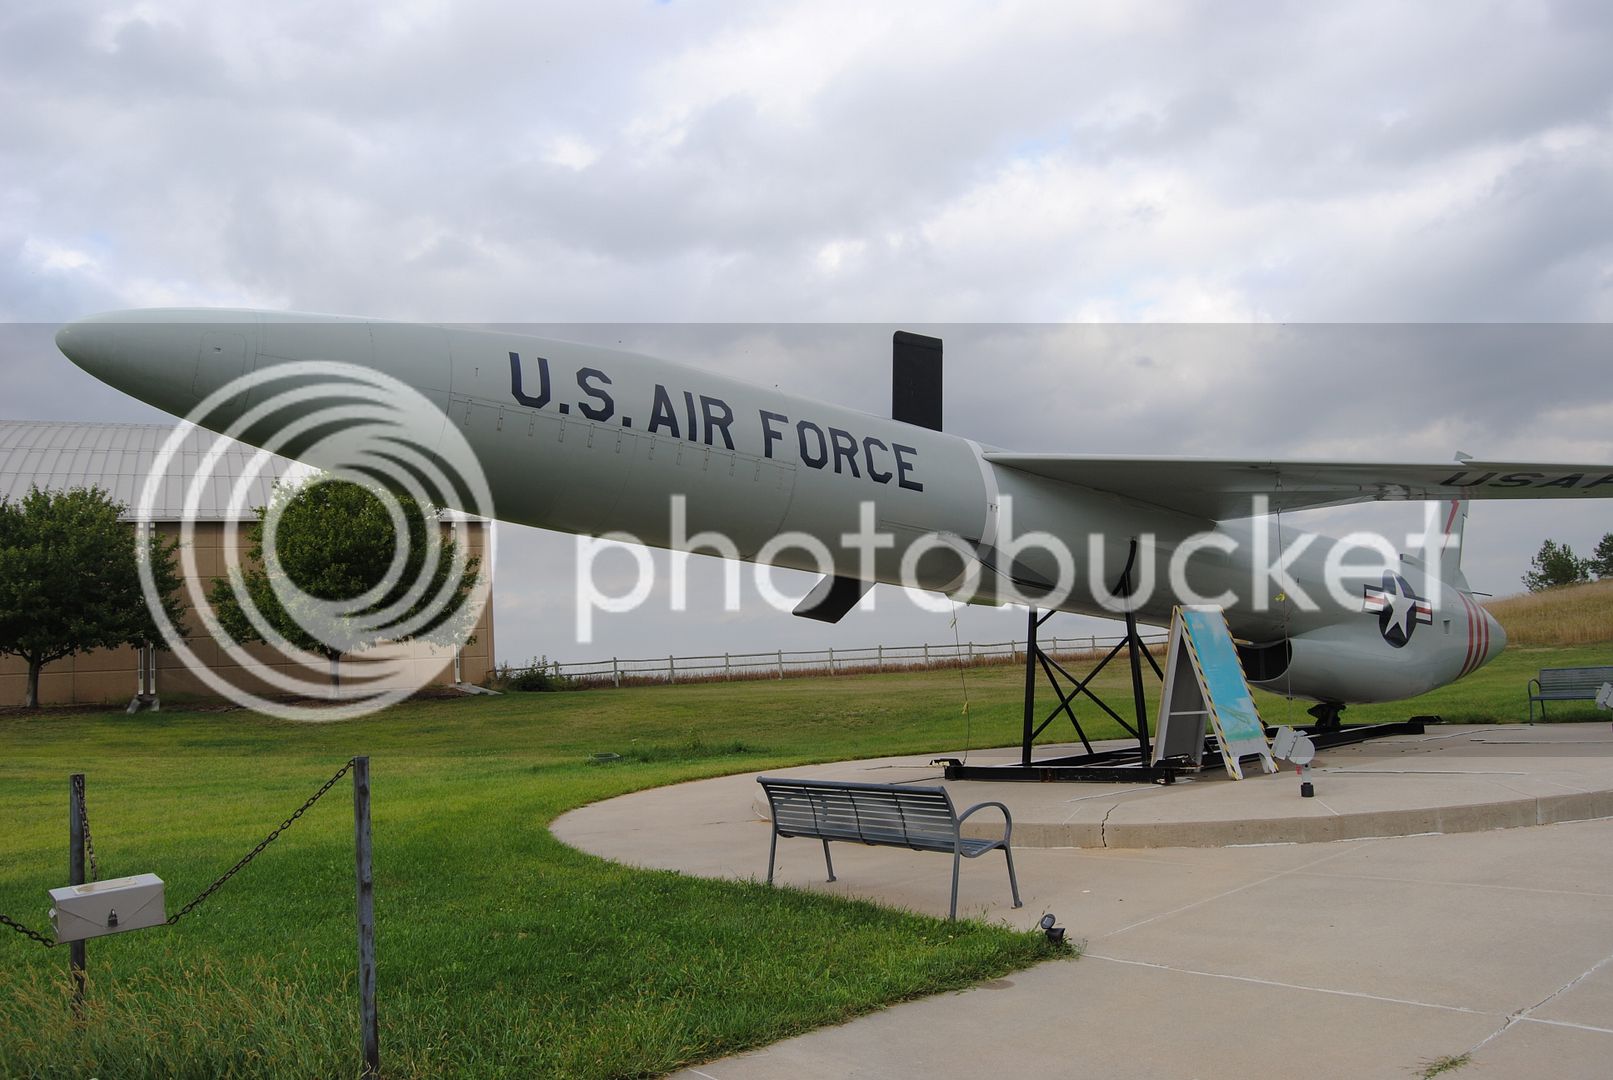
Back outside, Snarky! Man, that thing was way bigger than I would've thought!
Just shy of museum closing time at 5pm local, we departed and once again set West via I-80 until the late evening when we finally arrived at the Historic Plains hotel in downtown Cheyenne; an old hotel with lots of character. Hotel management refers to it as wrinkles. Unique, much like the remainder of our trip! It was also haunted, though we were not visited by any ghosts to the best of our remembrance.
...to be continued...


 . 17,500ns N3700 is the biggest this year. Also a pair of M2200 one in a min Dia.