

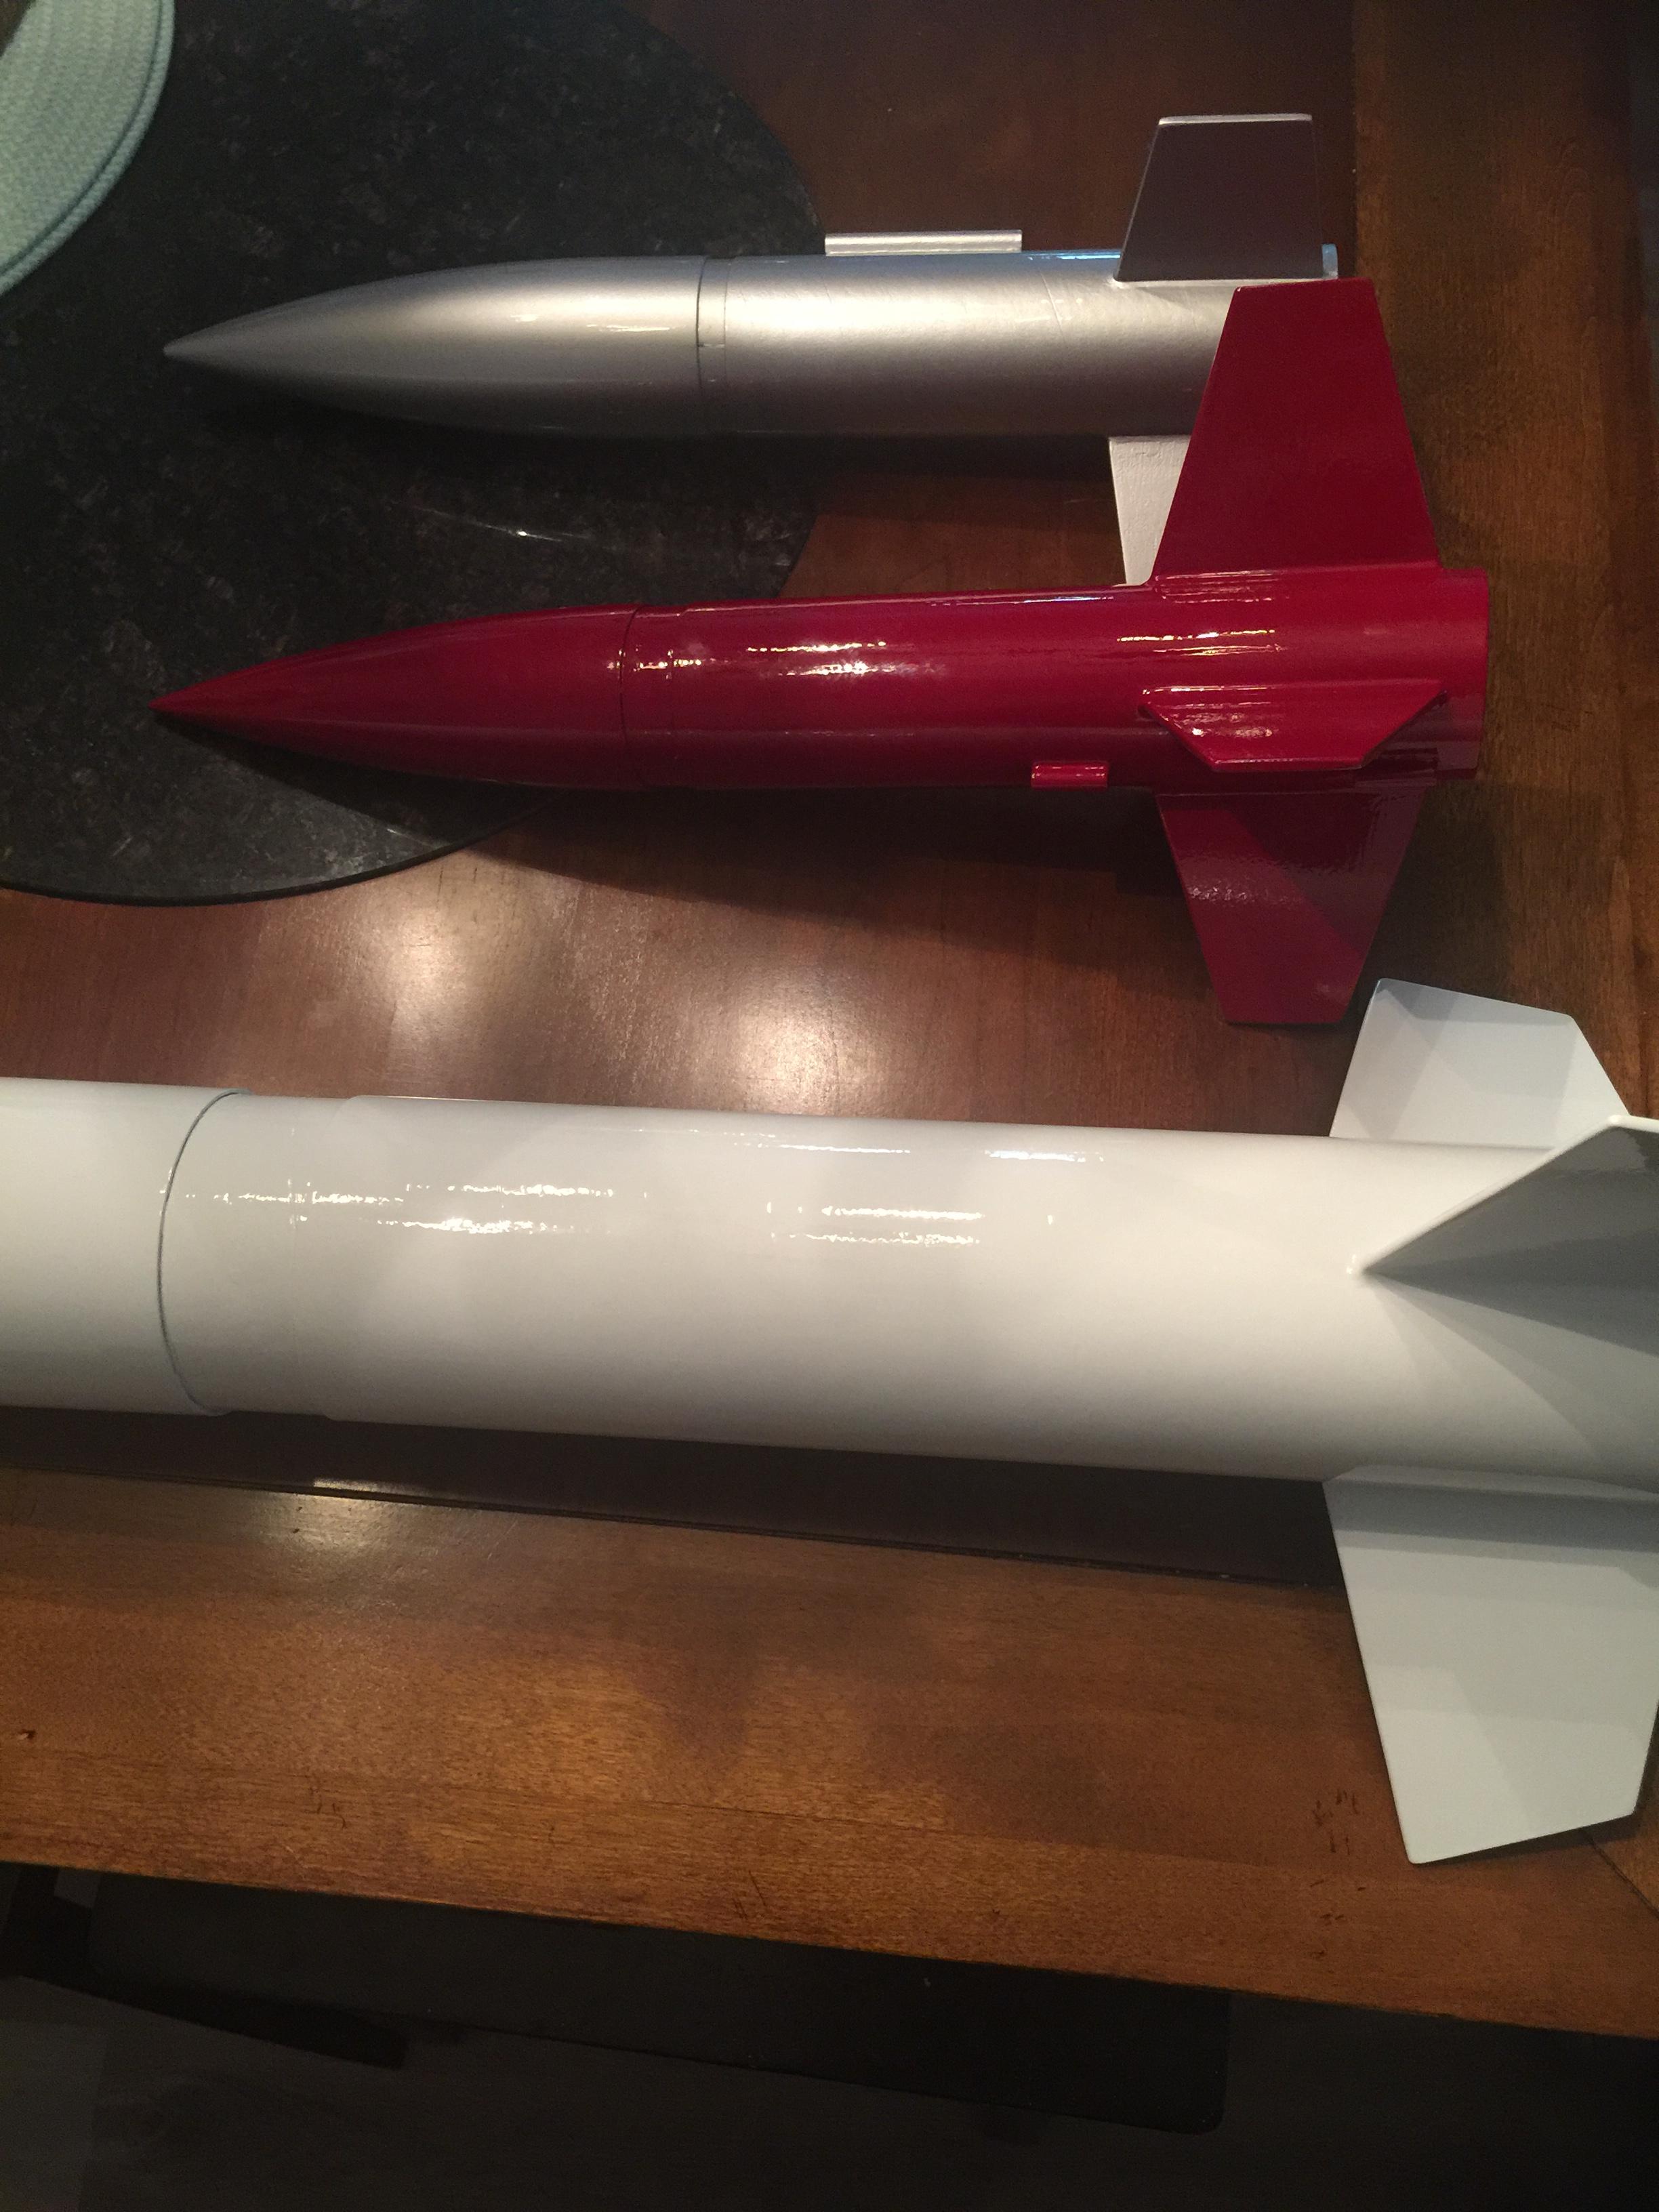
Finally after 9 years I dry fitted the rocket together today. Everything takes so long now being as disabled as I am but it looks like I may get there now. So trying to get it ready for a May launch seems possible.
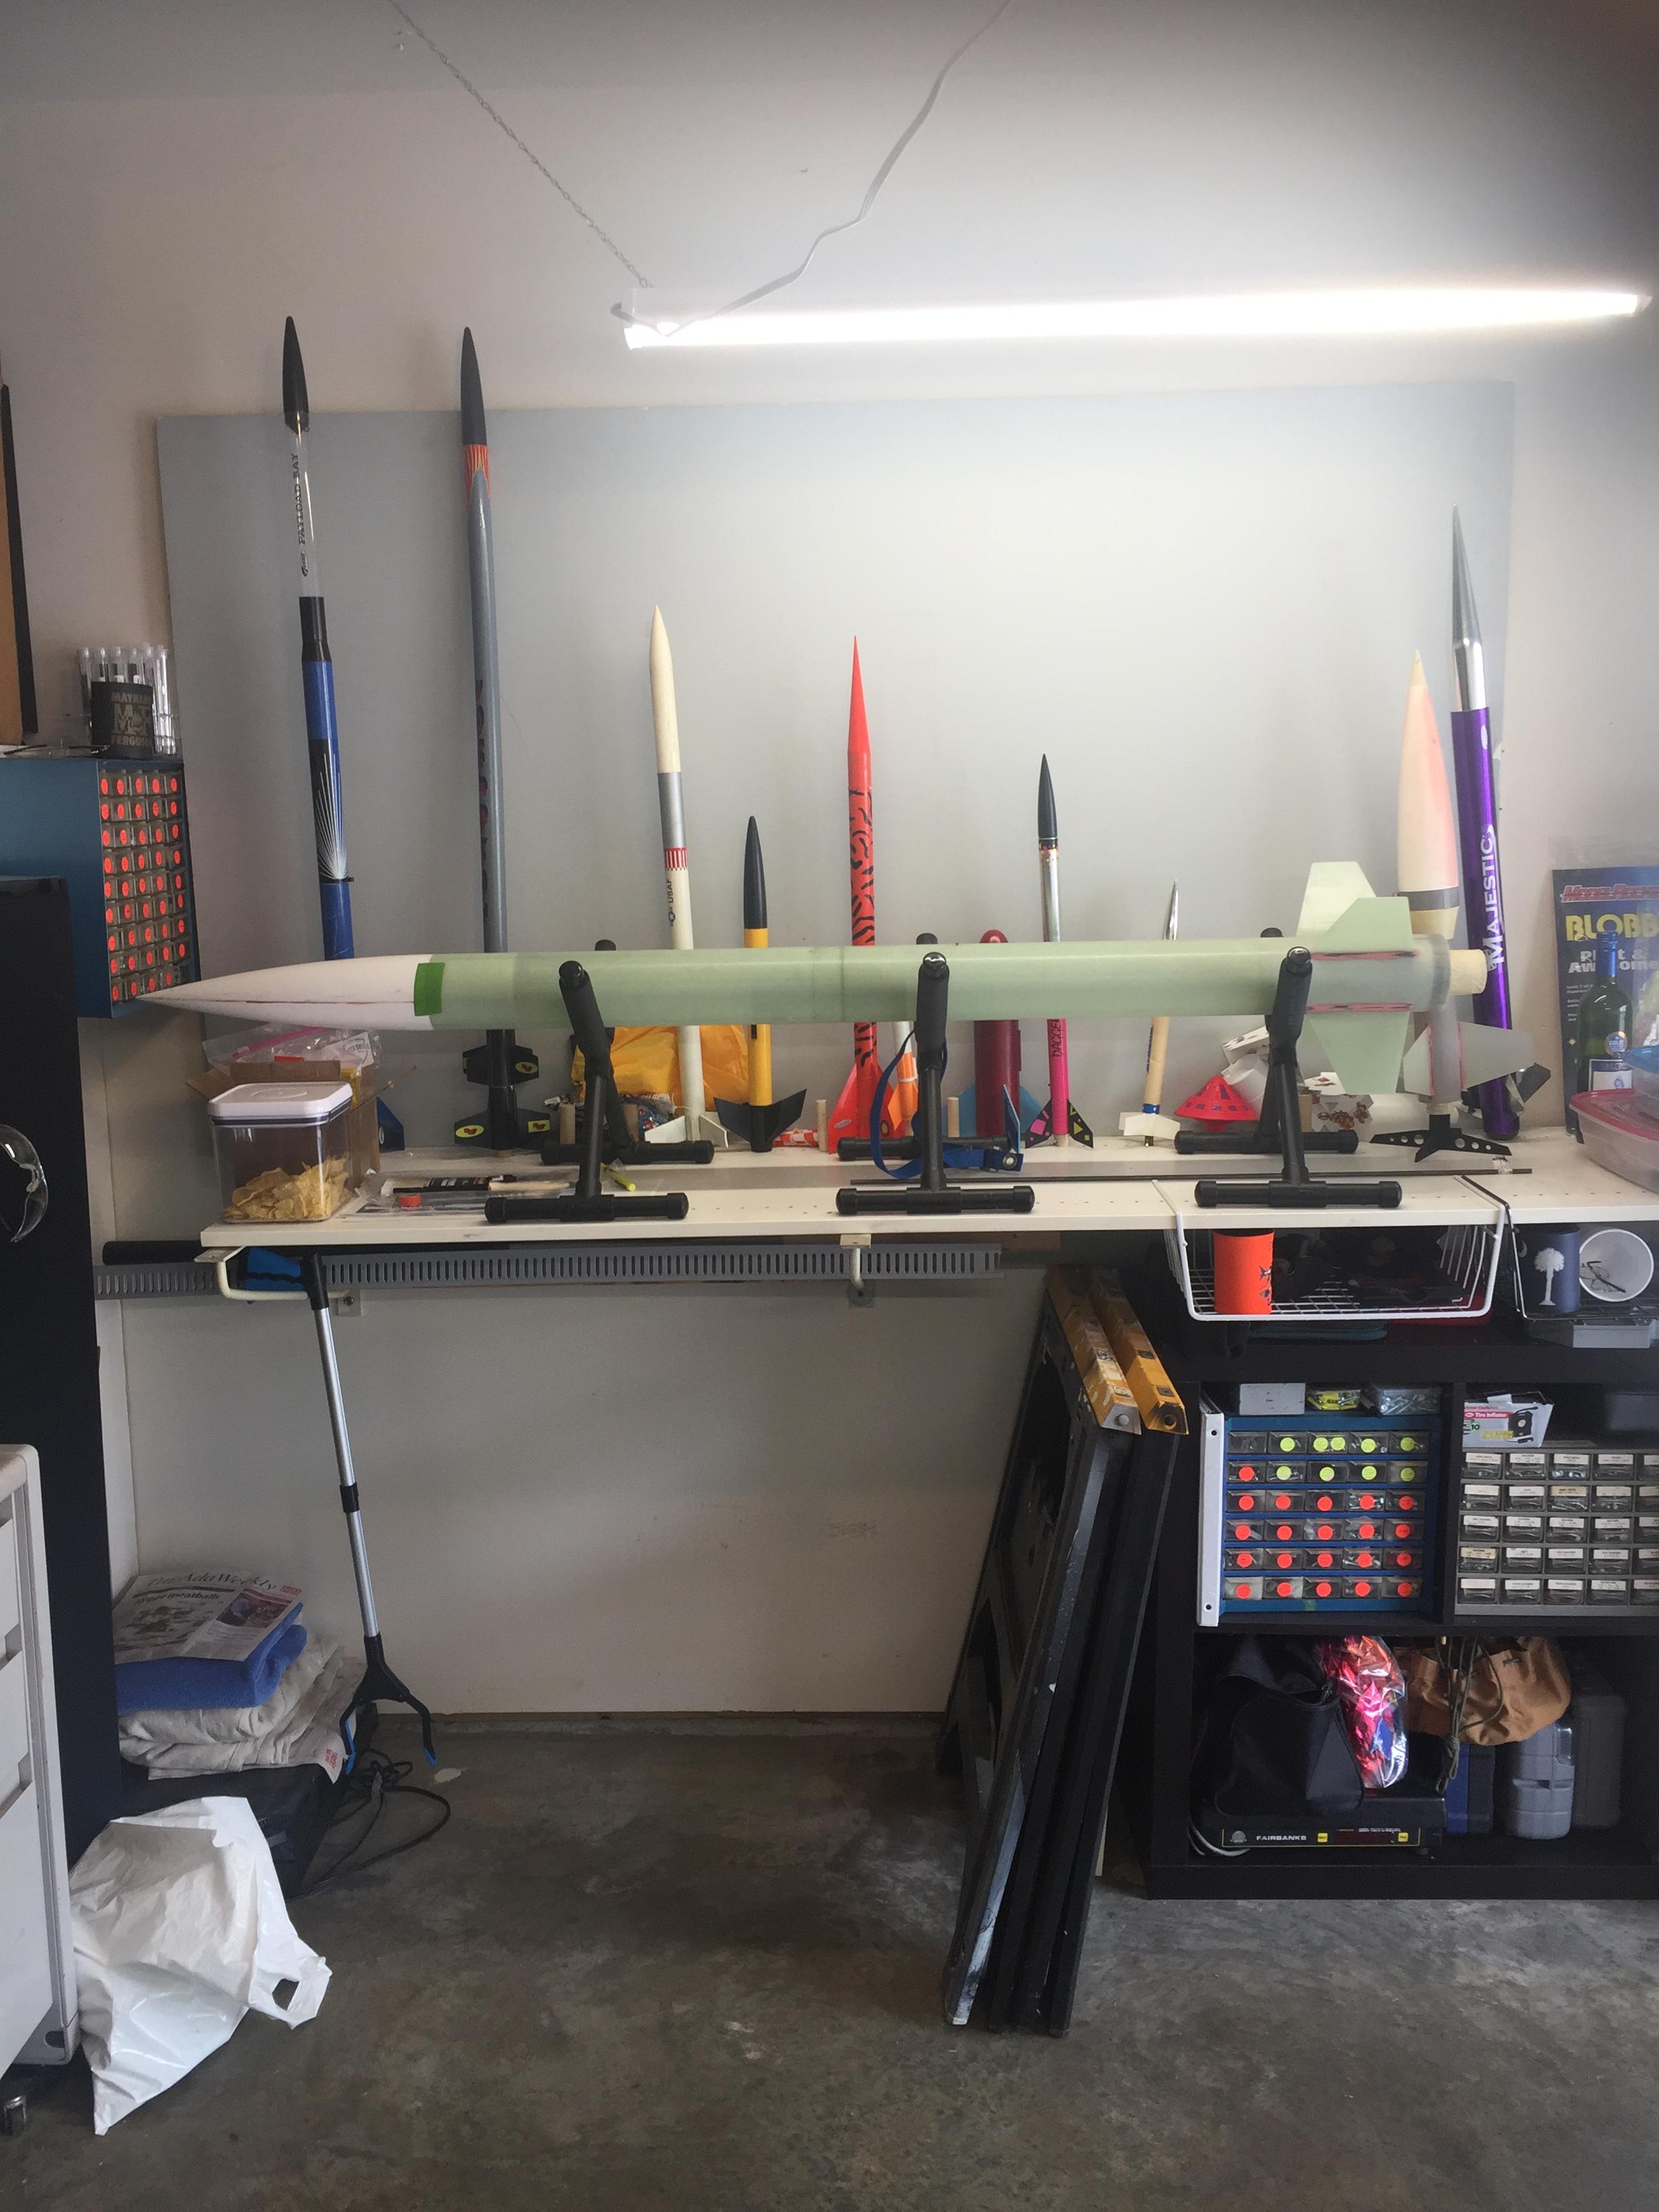
I was going to tap the fiberglass airframe for those (3) #2-56 shear pins, but my tap and die set is metric instead of standard, so now I have to find a tap and die set that will have that tap in it. My standard tap and die set is very likely in one of the (3) 5 ft tall Craftsman boxes that I gave away when I got disabled. Next on the list is to drill the three vent holes in the switch band of the electronics bay and order a metal key switch from DigiKey. I'm finally getting more excited about getting the level 2.
I was going to tap the fiberglass airframe for those (3) #2-56 shear pins, but my tap and die set is metric instead of standard, so now I have to find a tap and die set that will have that tap in it. My standard tap and die set is very likely in one of the (3) 5 ft tall Craftsman boxes that I gave away when I got disabled. Next on the list is to drill the three vent holes in the switch band of the electronics bay and order a metal key switch from DigiKey. I'm finally getting more excited about getting the level 2.
Last edited:
")


 The people who are sitting around the conference table making up these rules are NOT living on SS Income, and are NOT disabled with thousands of dollars in medical bills.