4 inch diameter Tube Fin rocket

The Rocketry Forum

Help Support The Rocketry Forum:

This site may earn a commission from merchant affiliate links, including eBay, Amazon, and others.
Joined
Feb 18, 2022
Messages
19
Reaction score
59
Location
Sydney, Australia
I have had a long term fascination with tube fin rockets. There is just something about the way the fly.

So I decided to build a mid power tube fin rocket designed for anything from an F composite up to a long burn H.

The body tube and fins would be made from cheap postal tubes with a long LOC 29mm motor mount tube. Aero Pack motor retainer and everything else 3d printed.

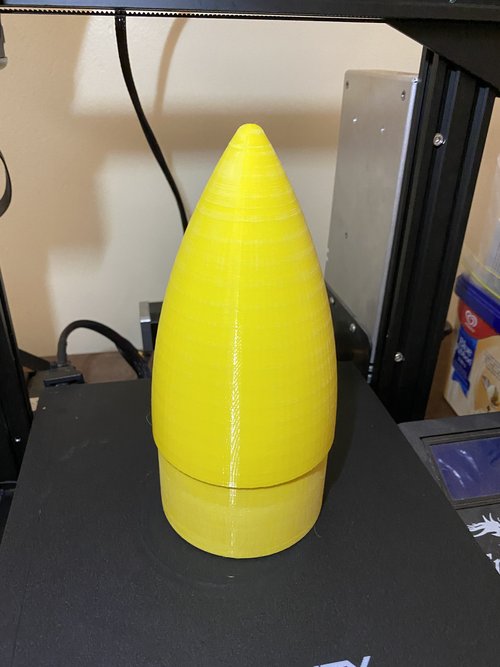
Nose cone ready for sanding after a long print.
Image


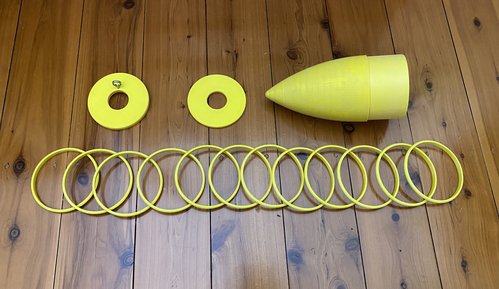
Nose cone, centering rings and fin reinforcement rings.
Image


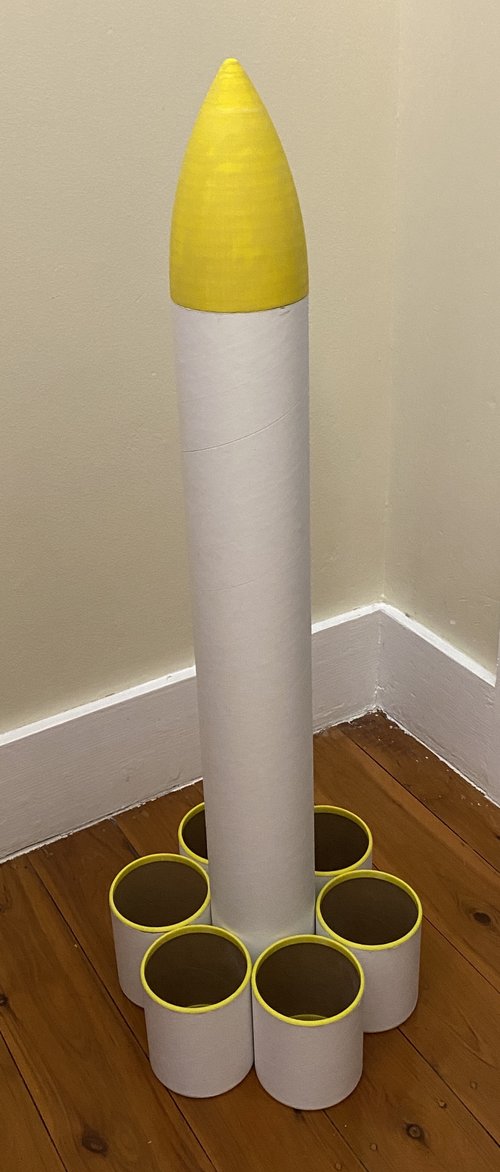
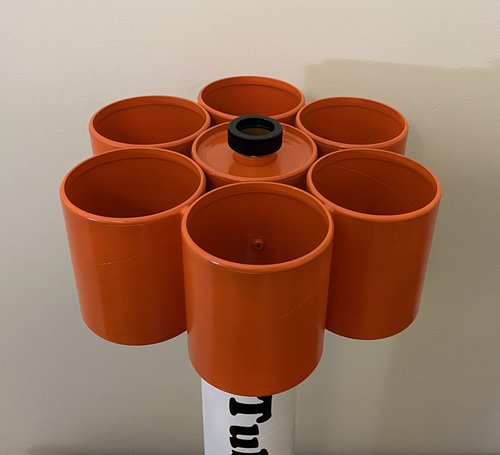
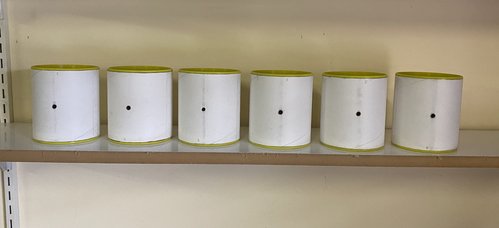
Fin rings installed. Designed to protect the tube fins on landing.
Image


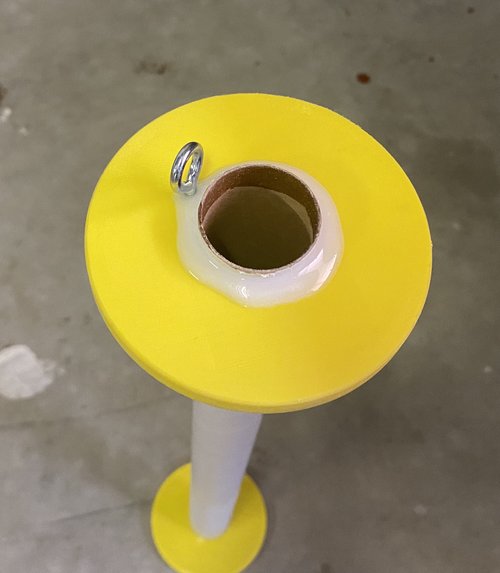
Extra long motor mount tube. Helps with deployment and holds the chute up in the nose cone.
Image


First dry fit.
Image


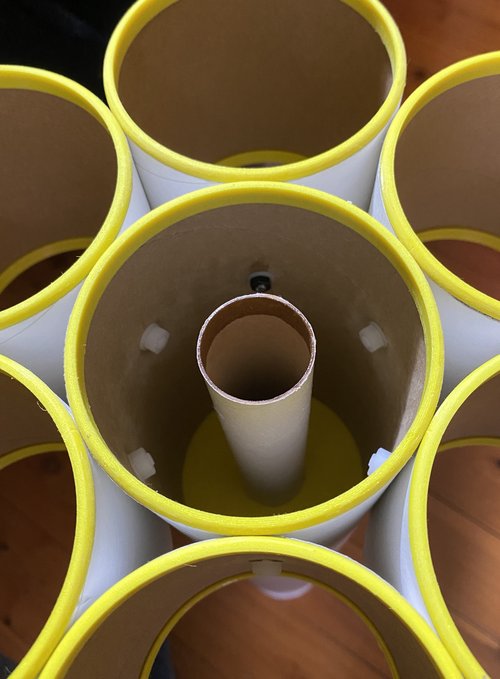
Dry fit with nylon bolts to help align the tube fins. Rail button at the top of the photo. Needed a stand-off to clear the inside of the tube fin.
Image


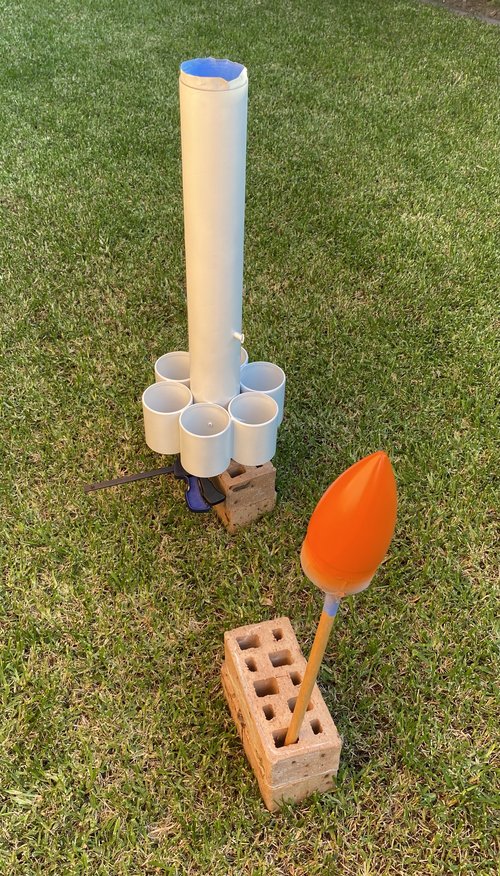
Paint scheme based on colours found in the shed.
Image


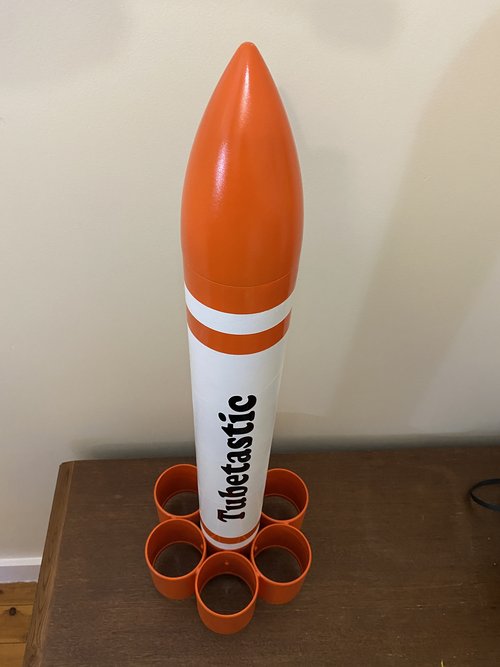
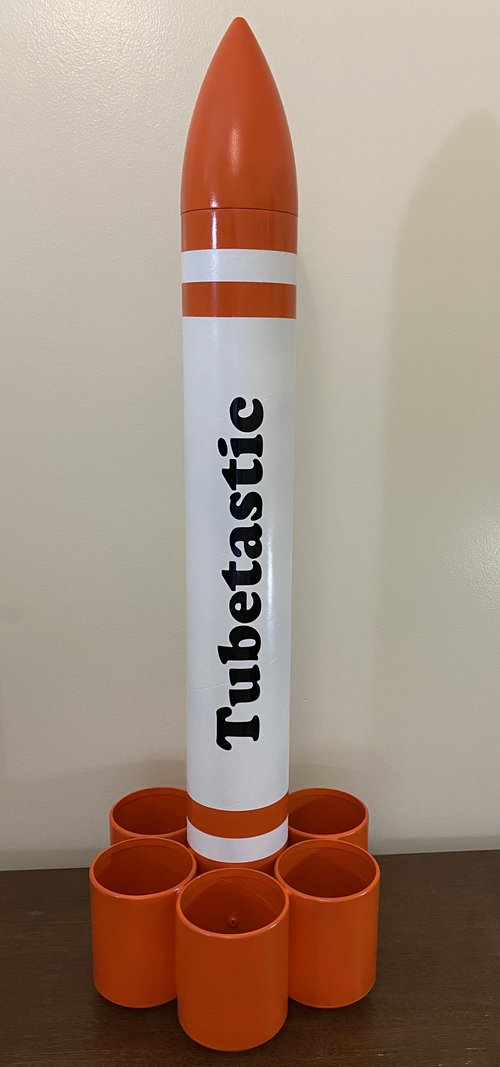
Some stripes and a vinyl decal finish the job.
Image


Plenty of drag.
Image


Nose down shot.
Image


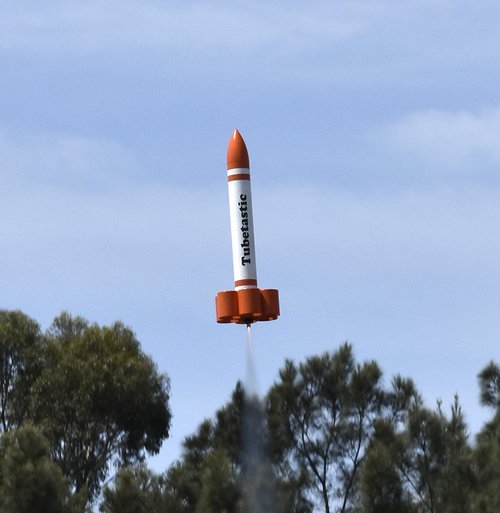
Maiden flight on an F50-4.
Image


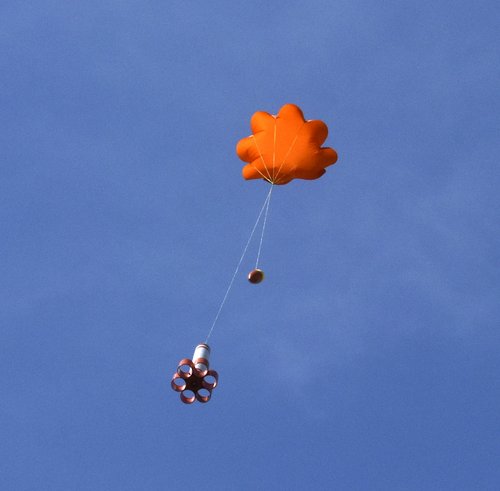
Open rocket said the optimum delay was 4.00 seconds and it was spot on.
Image


Photo credit for the action shot goes to Air Command Water Rockets.
 
Nice use of plastic hardware on the tube fins - hadn’t thought of that! Now I know what I’m going to do with that box of mailing tubes from work I saved from the cardboard dumpster all those years ago…😉
 
Great!
I was interested in approx what mass it came in at?
Also, roughly what size are those nylon bolts, look something like M5?
 
Simply... Awesome!

Did you use any epoxy / adhesive at the fin-to-fin joints, or is the only thing holding each tube fin to the fuselage just one nylon fastener?
 
Have you thought about posting the files to Thingiverse?
 
Great!
I was interested in approx what mass it came in at?
Also, roughly what size are those nylon bolts, look something like M5?

Its 2.2 pounds. The tubes are quite thick and heavy.

But not designed to be light and fast.

Bolts are M5. They don't add a lot of structural strength. But help with alignment, while the epoxy cures.

:)
 
Simply... Awesome!

Did you use any epoxy / adhesive at the fin-to-fin joints, or is the only thing holding each tube fin to the fuselage just one nylon fastener?

I sanded all the tubes where the fins touch each other or the body tube then epoxied the fins to the body tube. Once that epoxy had cured I epoxied the tube fins to each other and added fillets on the outside.

I used West System epoxy with microfibre thickener.

Bolts just for alignment.
 
How did you get all of those ridges smoothed out on the 3D nose cone?
Sanding through a few different grits, a good layer of filler/primer and then more sanding.

For nose cones smaller than this one I attach them to a drill and then spin them and sand. But 4 inch is a bit big for a drill. Maybe time to get a lathe. :)
 
I hadn't thought about it, but happy to. Just need to think about how to make it scalable for different size mailing tubes.
Would be interested to know when you make the fin reinforcement ring files available. That's such a simple yet effective idea! Well done!
 
the fin rings are the bees knees. Did the minimal diameter increase cause any problems with attaching the tubes to each other or to the main body tube? For the classic six tube fins my go to technique has been to take two tube fins, set them down next to each other (flat), and that automatically gets the pair alignment perfect. do two more pairs the same way.
Attach one pair to the main body, again the alignment is automatic, then just add the other two pairs.

Not sure if this still works with the little bit of extra diameter from the fin rings.

Anyhoo, really nice modification and great finish. Assuming fair winds and few trees, I suspect you will get a lot of great flights out of this one!
The 3d printed inserts don't increase the diameter of the tubes. They finish flush with the outside of the tubes. So no problems attaching the tubes.
 
It flew again at the weekend on an F32.

It was a little under-powered and the wind caught it as it left the rail, but still a great flight.

The F50-4 is definitly the right motor for this rocket.
Tube Fin.jpeg
 
Back
Top