DaveW6DPS
Well-Known Member
I just started trying to design my own toys. I have several in the works for ham radio, but this is one I just uploaded for rocketry.
https://www.thingiverse.com/thing:4488050
https://www.thingiverse.com/thing:4488050


What did you use for the fins?Here's some file to make a 4" V2 rocket. https://www.thingiverse.com/thing:4642896
I've been posting some of my designs to Thingiverse (once they mostly work).
So far there is:
Peanut (13mm): https://www.thingiverse.com/thing:2854353
Pathfinder (18mm): https://www.thingiverse.com/thing:2771395
WAC Corporal (18mm, 1/10th scale): https://www.thingiverse.com/thing:2745737
Nike Smoke (24mm, 1/10th scale): https://www.thingiverse.com/thing:2933203
Aerobee (18mm, 1/10th scale): https://www.thingiverse.com/thing:3236440
Sign Here Please (29mm): https://www.thingiverse.com/thing:2885052
Checked Baggage (38mm): https://www.thingiverse.com/thing:3164819

Guys,
I am looking for a motor grain stand to make research grains. Does anyone know where I saw that?
Thanks Alex. Not the one I am looking for but I will add it to the list.
Guys,
I am looking for a motor grain stand to make research grains. Does anyone know where I saw that?
Thanks Alex. Not the one I am looking for but I will add it to the list.

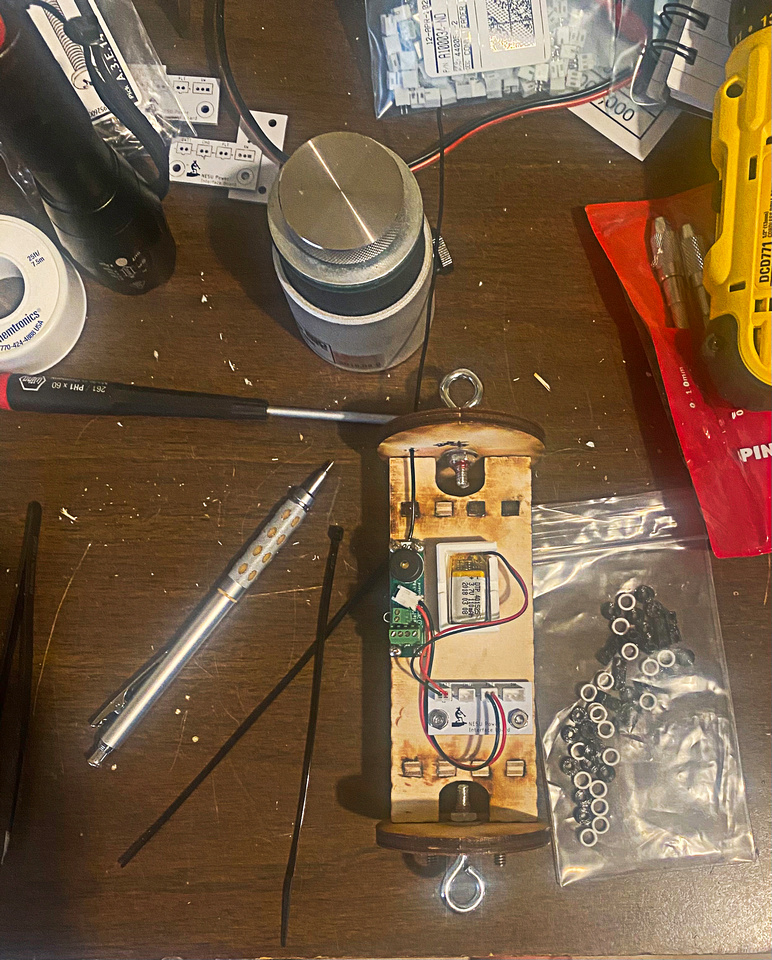
10. LiPo battery box (160mAh and 350mAh for the electronics bay
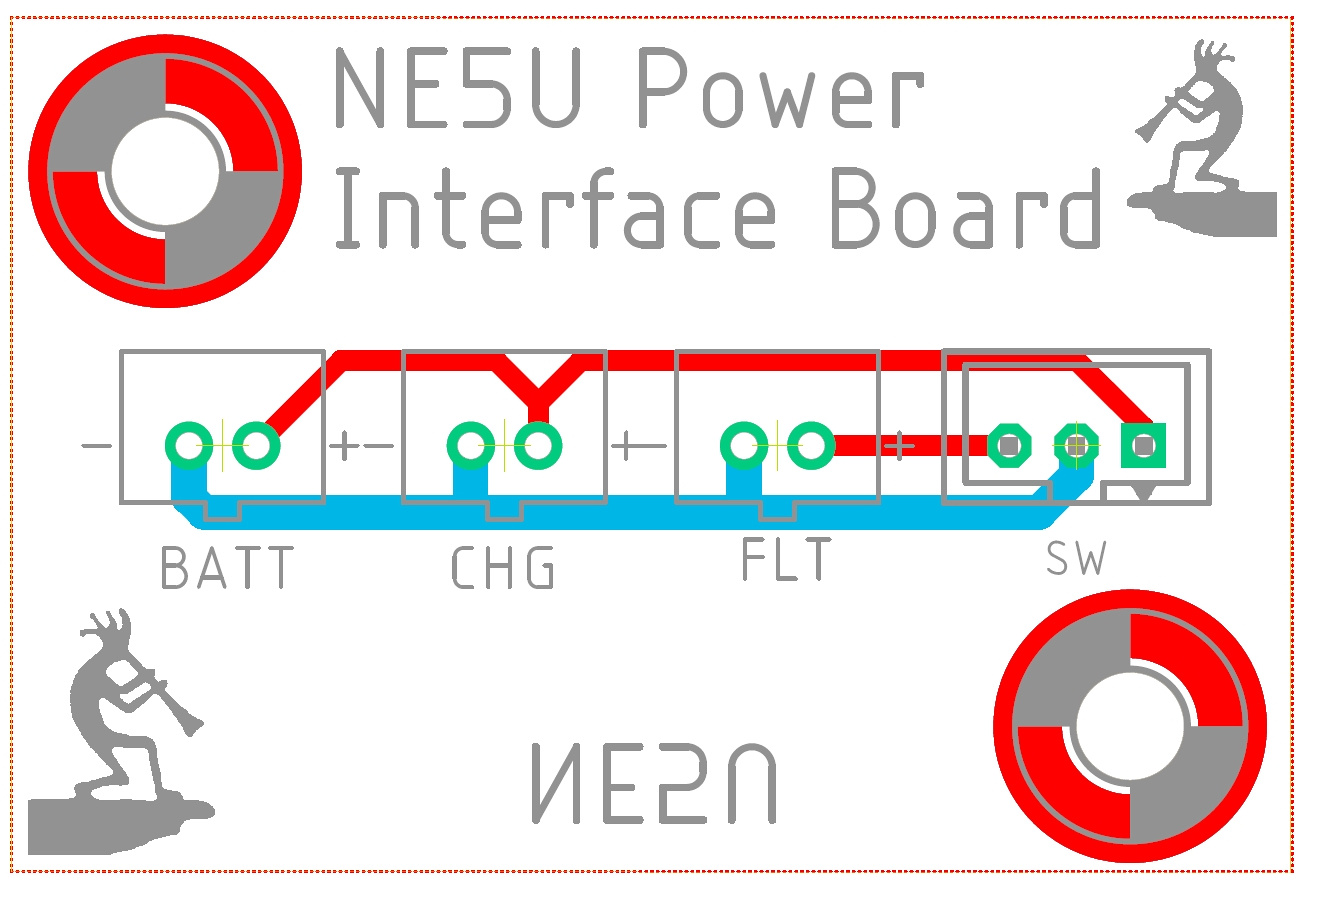
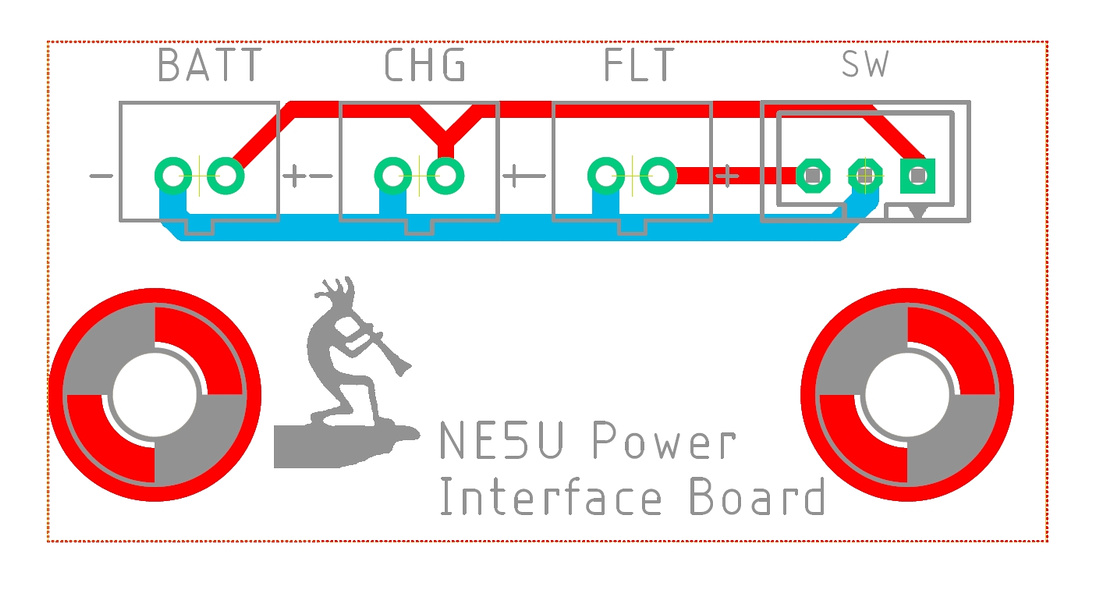
If you're familiar with Fusion 360 I included the f3d files on Thingiverse. You can easily rescale the box for any LiPo by adjusting the parameters (Modify, change parameters). The box is made so that a small Ty-wrap can be wrapped around and hold the batteries securely. Two batteries fit if you want more current. 4-40 screws hold it to the bay (or epoxy). Screw heads are sunk below the floor of the box. In theory you could fill the holes with epoxy and that would add a little strength. I'm going to use screws (maybe with epoxy).
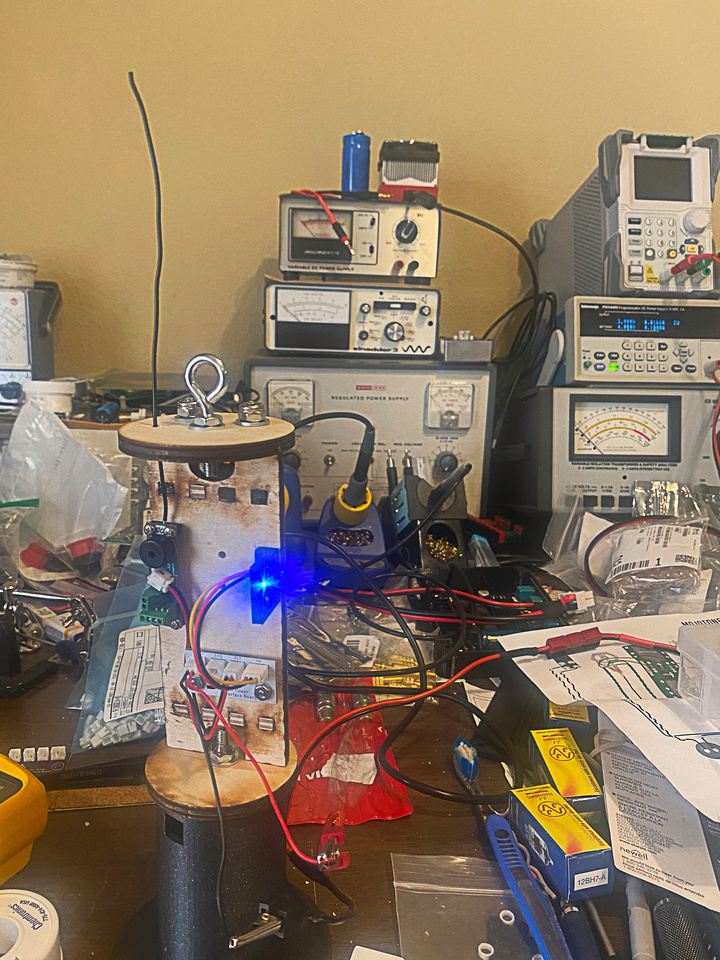
I'm using a Featherlight switch, Altus Metrum "brains", and a LiPo to make it all work. I made a couple of circuit boards to go inside the Av bay to clean the wiring kludge. Once the boards get here I'll install the board, box, "brains" and post a pic (maybe not here). It'll be plug and play when I'm done.
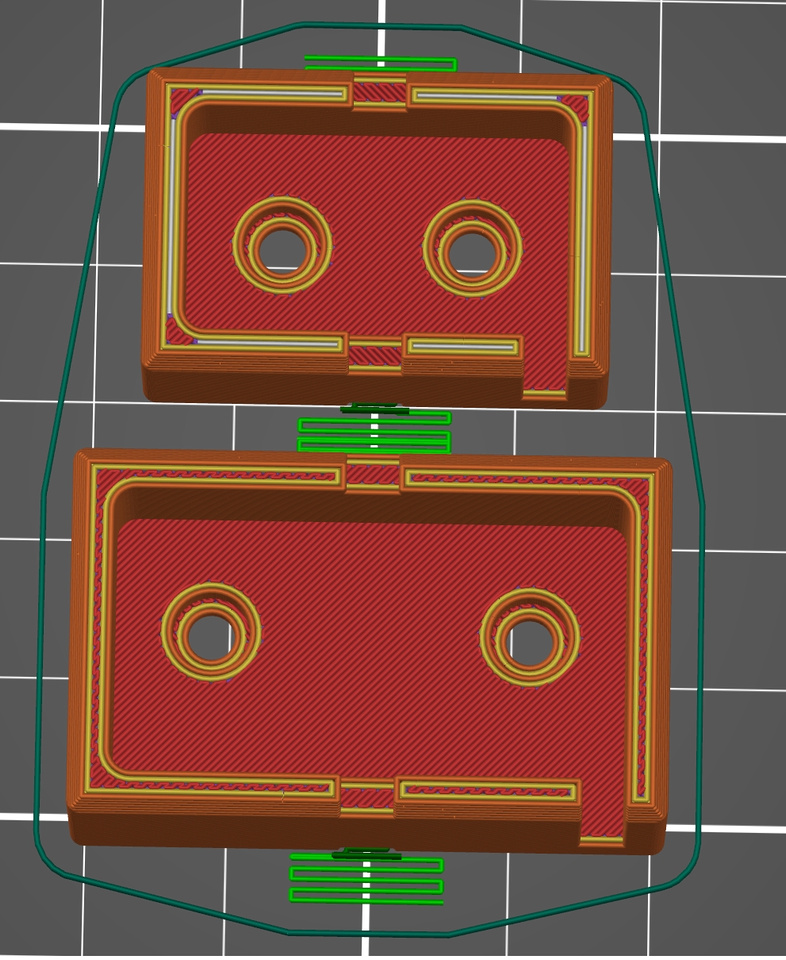
All sliced up and ready to print one of each
Larger board circuit board. Functionally same as the small one but takes up more space
Smaller board. Same function. Not that BATT and CHG are common so you can plug in two batteries or just one and use a charger. The SW connection was intended for the Featherlight magnetic switch but a 2-pole "conventional" switch will work if you use the two outside pins.
If you're interested in the files just PM me. I used Eagle to make the schematic and board files so you'll need that. Osh Park will take the board files. I should have some boards back next week. ST connectors are already here
What did you use to make the fins?Here's some file to make a 4" V2 rocket. https://www.thingiverse.com/thing:4642896
Has anyone 3D printed ejection charge cannisters?
For now, the airframes that I need cannisters for are 98mm and 63mm. I have not done the BP calc because I haven't finalized the dual deploy configuration so I don't know how much airframe I need to pressurize. Within the next year (maybe into 2022) I plan to build a 7-1/2" diameter rocket. We'll see how that goes. The best laid plans of mice and men often go awry and all that jazz...
") )
)

Enter your email address to join:

