1 or 2 threaded rods in AV Bay

The Rocketry Forum

Help Support The Rocketry Forum:

This site may earn a commission from merchant affiliate links, including eBay, Amazon, and others.

wsume99

Well-Known Member
TRF Supporter
Joined
Feb 28, 2014
Messages
510
Reaction score
264
Location
Ohio
Planning my first AV Bay build now. This will be for a Punisher 3. Yes I've read the CJ build thread about a dozen times along with other builds as well. Very helpful.

I'm looking for people's opinions on using one or two pieces of all thread in the AV bay. Obviously one is lighter and two would be stronger. Two would probably be just a few ounces more of hardware and on the top end where it's helpful. But is one strong enough? Seems to me the answer is yes. After my last build where I sided on the it's just a little more weight and a lot stronger but ended up with a tank I'm being more cautious. I'm leaning towards a single 1/4" rod down the center of the bay. Looking for reasons why this is a bad idea.
 
I find it easier to lay out the electronics sled with 2 rods near the perimeter than 1 rod inconveniently in the middle of the workspace.
 
Structurally, I highly doubt that you need more than 1 threaded rod. However, I always do two to prevent the sled from spinning around on the rod and causing issues with the wiring, etc. Maybe this is something unlikely to happen, but it makes me feel better to do it :)
 
The one rod does not have to be in the centre of the AV bay as long as cord attachment points are at the ends of the rod or firmly secured to it.
Cheers
 
With a 3" diameter, a single rod down the center will still allow a lot of room for electronics. On smaller diameters, especially 38mm and below, 2 smaller rods on either side typically allow for easier electronics mounting. And as OZRoc says, the rod does not have to be down the center, which I've done on some smaller diameter A/V bays. Where weight is a concern, I've started using aluminum threaded rod and nuts, but I don't think that's an issue here.

Really, whatever works best for you is the right answer.


Tony
 
Structurally, I highly doubt that you need more than 1 threaded rod. However, I always do two to prevent the sled from spinning around on the rod and causing issues with the wiring, etc. Maybe this is something unlikely to happen, but it makes me feel better to do it :)

There are many simple ways to keep the sled from spinning. This is one:
102_0852.JPG 102_0853.JPG
 
Appreciate all the replies. It's helpful to hear from others. At this point I've convinced myself that a single thread is what I am going with. I can work around all the things mentioned. If it is a bigger pain than I anticipated then maybe I'll change my mind on the next rocket I build.
 
I have 4 Punisher 3's one 2 stage....1 carbon....2 standard.....1 thin wall glass
They all have a bit different configurations depending on the use and what's in them.
1 has 1/4 in. rod in center. I uses 2 #10 [3/16th] rods
2 use 2 tie rods # 6 these are also 7in. long couplers,with 2 in. vent band, so I can still fit large motors and GPS + 2 altimeters and a tracker inside.
Sleds are cut to be tight fit on the 1 rod version and cannot spin.

I always configure a bay around what is going inside and whether there will be antenna's involved.
All of them have no issue with interference of transmission and rods. I tested this by placing bay about 4 ft above ground. [sitting on mailbox] and driving 1.5 miles distance checking signal strength......
.....with all units and GPS sitting outside bay for test/reference. signal loss was 1db for all compared to unit outside bay, units were Telemega and Missleworks.
Trackers were Marshall .
Even the carbon one was fine as the bay is all glass with 3in glass vent band.
No difference between 1 rod and 2 rod bays.
I went through a transition period to discover that # 6 rods were more than sufficient strength. Everyone starts out overbuilding till ya learn strength of materials.
Google is your friend for tensile,shear and compression strength of all rocket building materials.

Good luck with your build, have fun!

What I use now for standard 3in bays. [pic is 54mm bay, but config is same]
DSCN0910.jpg

My first Punisher bay standard size crammed with GPS 2 altimeters and 3 battery after re doing for 2 stage...lol

DSCN5258.jpg DSCN5260.jpg
 
Last edited:
I only use one rod down the middle. The reason for this is that the harness to all thread to harness routing is strong and does not depend on the strength of the bulkheads on the bay itself. In other words, the bay (and the air frame) just essentially floats on this "central spine" and is not a load-bearing part of the structure for the recovery system. This is the primary advantage of the single rod approach.

Jim
 
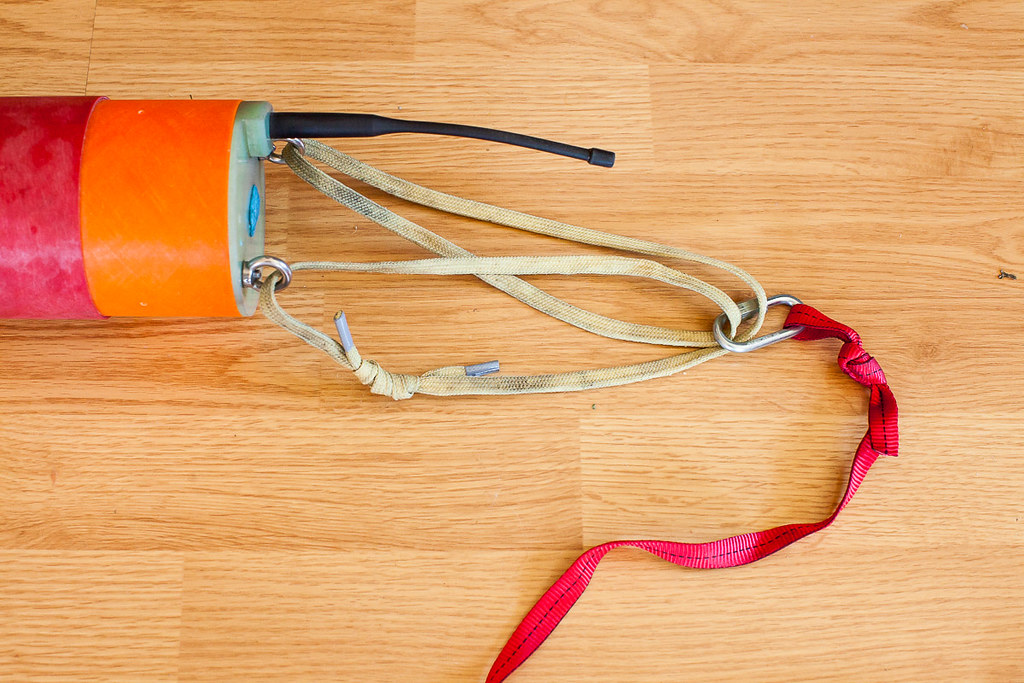
2 pieces of threaded rod for me. M6 for a 4" airframe. I use M6 316 stainless lifting eyes for nuts to hold the caps on. Using the threaded rod as a structural link is a benefit, as Jim says. In this case, 2 pieces of rod. The first loop of kevlar is set up in an 'equalizing' configuration, meaning that a loop is tied through both eyes, and it is pulled up into double loops as shown in one of these photos, but with a single twist in one 'leg', which means that if one of the anchors fail, the other is still connected. With the equalizing setup, the shock is reduced over one anchor point. As the harness pulls tight, the last bit of slack leaving the loop comes with some resistance which greatly reduces the shock.

This is what makes sense to me. I like to use the 2 rods for building a sled on. A single would work, but I like this better.


I only use one rod down the middle. The reason for this is that the harness to all thread to harness routing is strong and does not depend on the strength of the bulkheads on the bay itself. In other words, the bay (and the air frame) just essentially floats on this "central spine" and is not a load-bearing part of the structure for the recovery system. This is the primary advantage of the single rod approach.

I like the single rod for this reason as well. It is definitely simpler when it comes to the load path.

@blackjack2564 - I've been reading your punisher and darkstar build threads over and over. Needless to say I've learned a ton from them. I'm trying to learn from others and apply that knowledge towards what I am wanting to accomplish.

The Punisher 3 will be my first use of electronic deployment. I want the AV bay design to be flexible. My first flight will likely be on a 5 grain 29mm using motor deployment. Should be around 1500-1700' depending on final build weight. I plan to have an eggtimer classic onboard as the primary and the motor as my backup. Then I'll step up to full I motors with dual altimeters for drogue and main deployments. I'd add a StratologgerCF as my second altimeter. Final step would be to add a tracker, currently thinking the eggfinder mini. This would all be in preparation for my L2 cert flight. Since my L1 flight is going to be fairly benign I'd like to go bigger on my L2, probably a 4 grain K. This would put me around 9-10k ft. So I'd design the AV bay and probably 3D print a sled that can accommodate everything I would want to do but only install what is needed in steps as I build up towards L2.
 
Last edited:
2 pieces of threaded rod for me. M6 for a 4" airframe. I use M6 316 stainless lifting eyes for nuts to hold the caps on. Using the threaded rod as a structural link is a benefit, as Jim says. In this case, 2 pieces of rod. The first loop of kevlar is set up in an 'equalizing' configuration, meaning that a loop is tied through both eyes, and it is pulled up into double loops as shown in one of these photos, but with a single twist in one 'leg', which means that if one of the anchors fail, the other is still connected. With the equalizing setup, the shock is reduced over one anchor point. As the harness pulls tight, the last bit of slack leaving the loop comes with some resistance which greatly reduces the shock.

This is what makes sense to me. I like to use the 2 rods for building a sled on. A single would work, but I like this better.


Very nice! You just gave me another option. Thanks!
 
(Slight hijacking...)
Crazy Jim, wow, where did you get those pliers? I have a set just like those... Knight, my dad gave them to me when I was like 10. Best long nose pliers I've ever seen...
(Now back to your regular programming...)
 
2 pieces of threaded rod for me. M6 for a 4" airframe. I use M6 316 stainless lifting eyes for nuts to hold the caps on. Using the threaded rod as a structural link is a benefit, as Jim says. In this case, 2 pieces of rod. The first loop of kevlar is set up in an 'equalizing' configuration, meaning that a loop is tied through both eyes, and it is pulled up into double loops as shown in one of these photos, but with a single twist in one 'leg', which means that if one of the anchors fail, the other is still connected. With the equalizing setup, the shock is reduced over one anchor point. As the harness pulls tight, the last bit of slack leaving the loop comes with some resistance which greatly reduces the shock.
I like this. Think I'll try it.

Jim
 
(Slight hijacking...)
Crazy Jim, wow, where did you get those pliers? I have a set just like those... Knight, my dad gave them to me when I was like 10. Best long nose pliers I've ever seen...
(Now back to your regular programming...)

Same here, they are older than dirt. My dad gave them to me because the one tip was broken.
I put them on bench grinder and evened out the tips/flat so they were perfect for removing plastic rivets in airframes with out damage.
Great for holding 4-40 nutz when installing altimeters the flat tips are nice and snug to sleds.
Basically re-purposed them, he was throwing them out.
Way to nice of action to pitch them, no slop after 50-60yrs of being used daily in a shop..they don't make tools like that anymore. "made in usa" ;)
 
Jim H, how do.you prevent your batteries from slipping vertically? I see the zip ties, but do you also have some small blocks on the sled to keep them in check?
 
Folks,

This is a productive discussion. Thanks for informative, civil comments.

I have been in the habit for years of using two 1/4" rods for 3" and 4" av bays and one rod for 2". Larger like heavy 6" or 7.5" get three 5/16" rods. Based upon these discussions, in terms of the rods themselves, I see those may be mostly over-kill. I am rarely concerned with weight, but seeing everyone's layouts is helpful. I am just getting to the point of using GPS tracking (always been an RDF flyer) and LiPo batteries. All of these changes and ideas will help going forward.

Almost always, I use U-bolts, not eye bolts and center them over one of the rods. I really appreciate everyone posting their thoughts and rationale on their preferred method. I am now leaning towards "lightening-up" my av bays with fewer rods in the future.

Cheers!
 
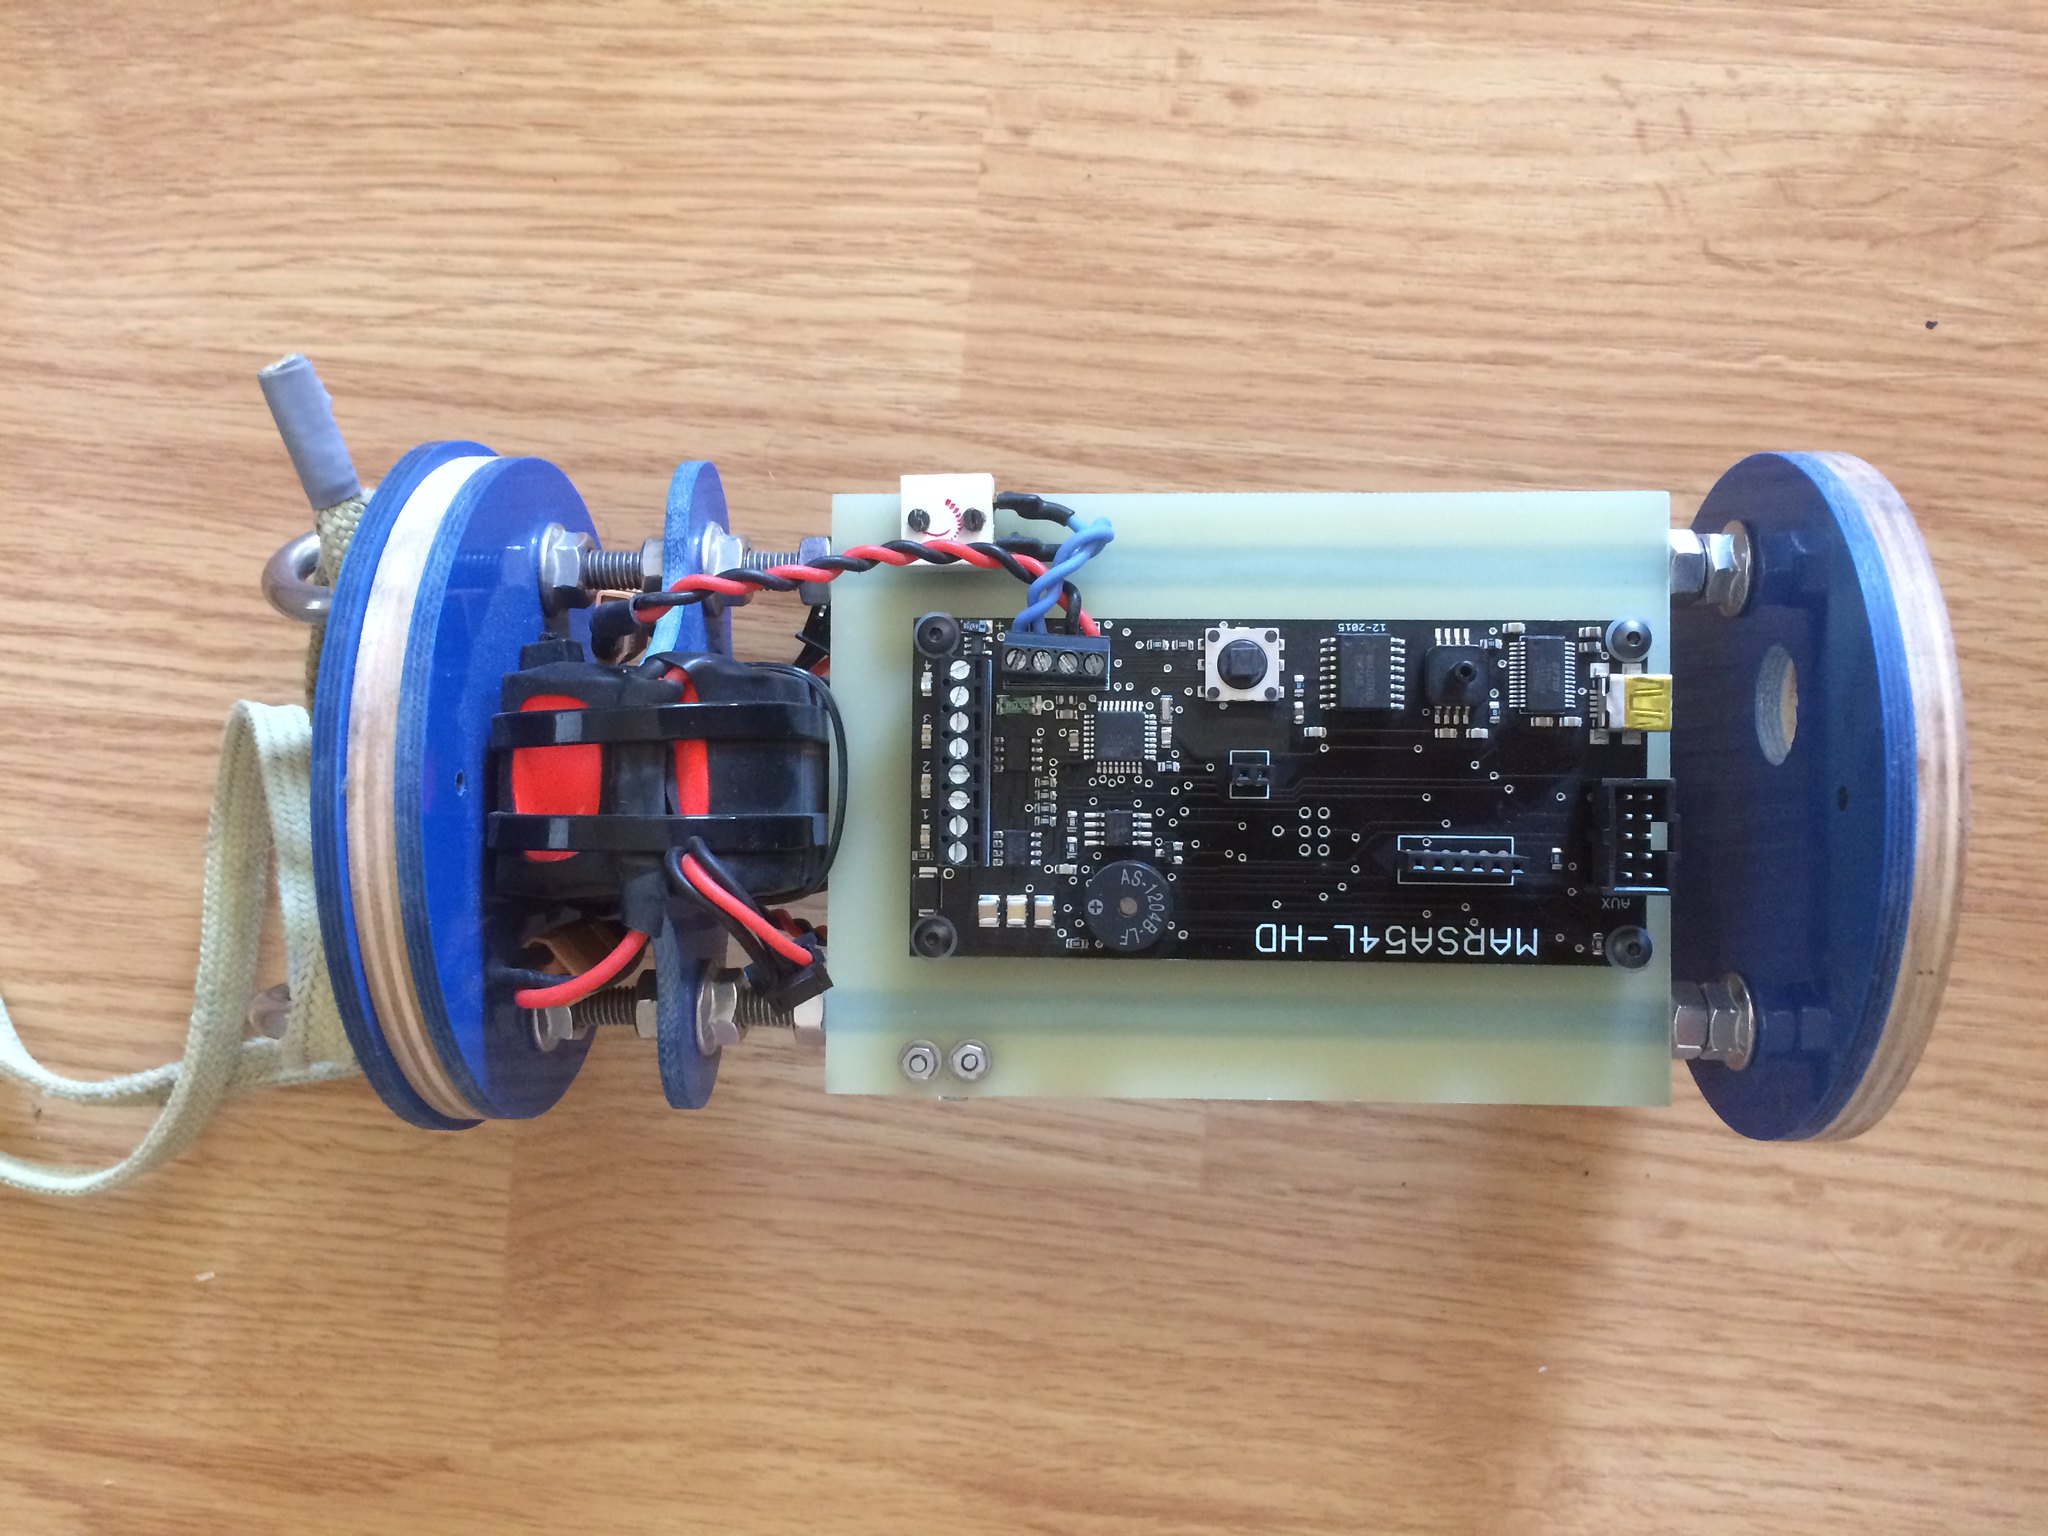
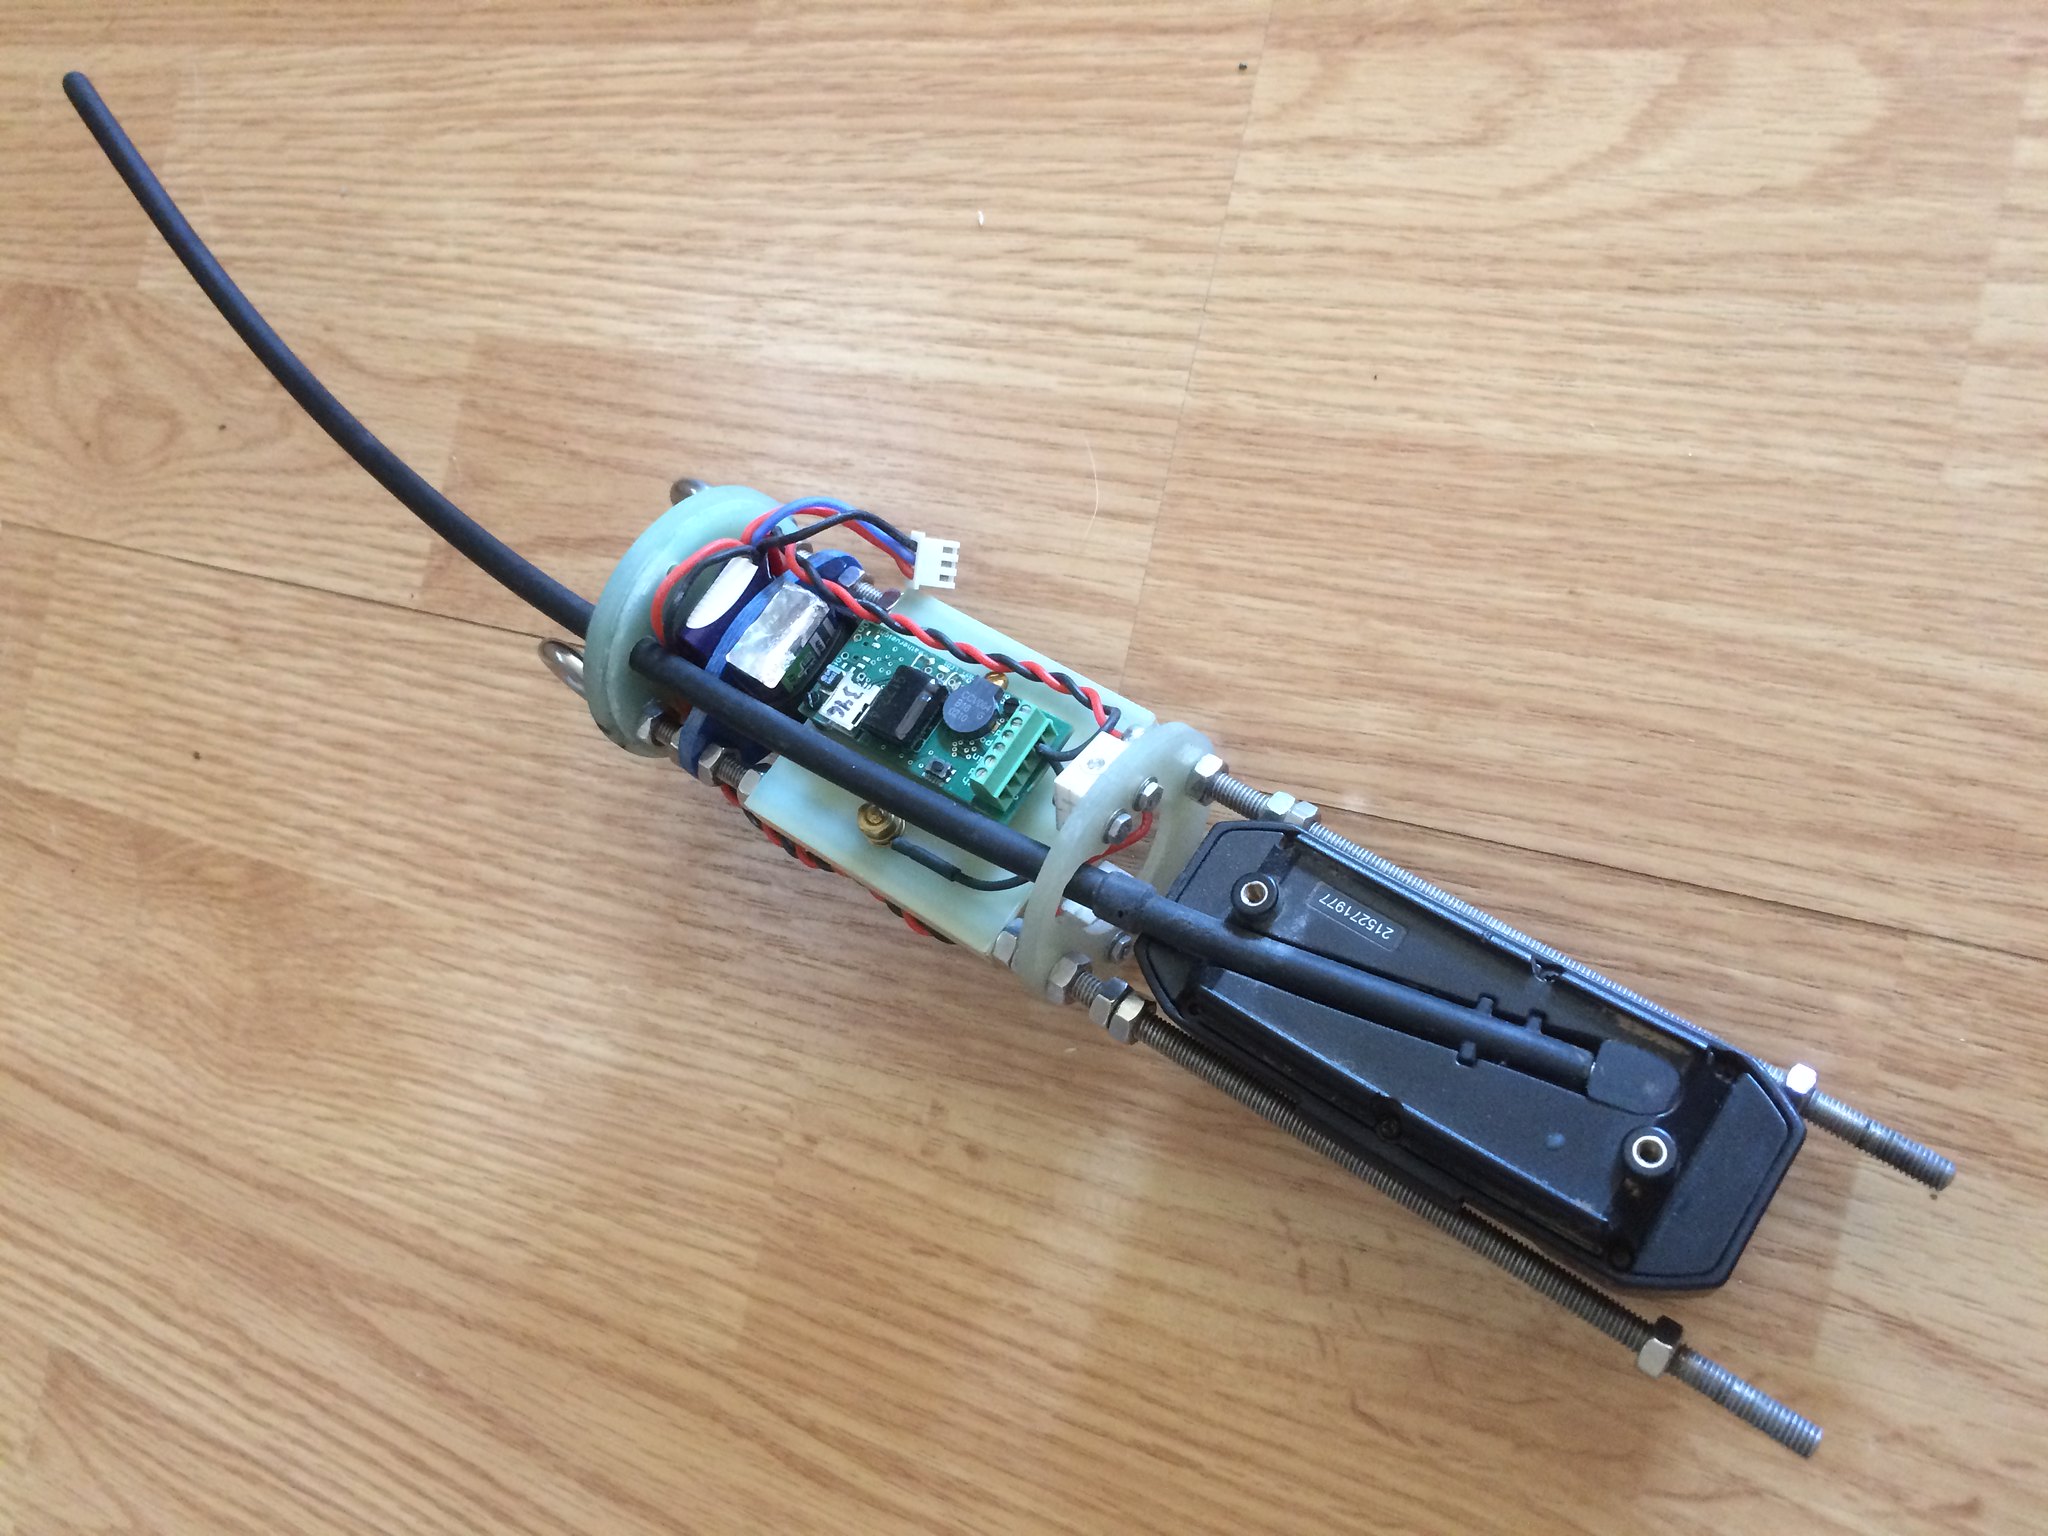
Here is a 54mm AV bay, using 2 M5 rods. Garmin dog collar for tracking.

I like using the Fingertech Robotics switches, and for them the multiple rod system makes for easy and adjustable locating of the switches.


When using the equalized loop for the anchor points, it is important to understand how that twist in one leg of the loop works. If it is not done correctly, the anchor is not there. It is easy to rig this, but it would be failure to rig incorrectly. Any number of points can be equalized, the sling is just longer, and each new point gets a twist.


Jim H, how do.you prevent your batteries from slipping vertically? I see the zip ties, but do you also have some small blocks on the sled to keep them in check?

Well... I have launched warp9 and V-max with no issues of movement. so no worries for me. This sled survived a K-2045 I never have used blocks, usually never have room, in smaller builds.
On my larger Xtreme builds I use battery box, and stack 2 battery in one box.

If ya have a bad event no block helps with this, 6in.bay compressed to 2.75 inches. The batteries were just dust...lol
That's the same bay in the above pics. Both Bp's are still there, I cut the coupler off to expose what was left.

DSCN0171.jpg
 
Good to know, thanks!

What about the single rod setups where the shock cord is attached to an eyebolt/nut on the rod end? What's your strategy for keeping it from unscrewing?
 
Interesting. My impression was that the single rod attachment allowed forces to be transmitted directly through the rod, whereas your Kevlar loop there puts the force back through the lid.
 
Like I have said many times: there are many ways to accomplish an end in rocketry, some simpler than others, my ways have served me well over my years of flying. In this case the only thing that would fail are the panels in the chute, before anything else.
As long as yours serve you well it's a win...win.:)
 
Good to know, thanks!

What about the single rod setups where the shock cord is attached to an eyebolt/nut on the rod end? What's your strategy for keeping it from unscrewing?

Almost all of my setups are this way, I use a single central coupling nut and 2 forged eyebolts. I prefer the longer (usually 1-3/4" I think) coupling nuts, and try to use half of it for each eyebolt (so a good 15+ turns on a 1/4"-20). But honestly, no matter how twisted the shock cord may end up being, the eyebolts have always been recovered screwed-in as tightly as they started. I just don't think there's that much force to really twist them apart, at least provided they didn't start out loose. Or maybe my rockets always spin in the tightening direction, who knows? :)
 
It is also my concern, that the ring nut could unscrew if either the chute or rocket start spinning. To avoid this I drill a small hole in one end of the rod and secure the ring nut with a split pin or a pice of wire. Although it is a bit trick to dril the hole in a 1/4 inch rod with a 1/8 drill. The other nut I secure with epoxy.
 
It is also my concern, that the ring nut could unscrew if either the chute or rocket start spinning. To avoid this I drill a small hole in one end of the rod and secure the ring nut with a split pin or a pice of wire. Although it is a bit trick to dril the hole in a 1/4 inch rod with a 1/8 drill. The other nut I secure with epoxy.

Two vs 1 Rod? I understand the concern. I will not say it never happens comes undone or fails), but I have never seen it happen on my rockets. I think if your rocket is spinning fast or hard enough on decent for that to happen, there might be other problems.

I have used aluminum rods without failure and they are much softer. I stopped because they were more expensive and not because they fail.
 
I like the single rod for this reason as well. It is definitely simpler when it comes to the load path.

@blackjack2564 - I've been reading your punisher and darkstar build threads over and over. Needless to say I've learned a ton from them. I'm trying to learn from others and apply that knowledge towards what I am wanting to accomplish.

The Punisher 3 will be my first use of electronic deployment. I want the AV bay design to be flexible. My first flight will likely be on a 5 grain 29mm using motor deployment. Should be around 1500-1700' depending on final build weight. I plan to have an eggtimer classic onboard as the primary and the motor as my backup. Then I'll step up to full I motors with dual altimeters for drogue and main deployments. I'd add a StratologgerCF as my second altimeter. Final step would be to add a tracker, currently thinking the eggfinder mini. This would all be in preparation for my L2 cert flight. Since my L1 flight is going to be fairly benign I'd like to go bigger on my L2, probably a 4 grain K. This would put me around 9-10k ft. So I'd design the AV bay and probably 3D print a sled that can accommodate everything I would want to do but only install what is needed in steps as I build up towards L2.

I just want to commend you. You’re asking good questions and taking a wise incremental path that provides useful experience as you gather knowledge. That’s great to see.
 
Pin the center rod so it can't spin - like this.
You can do it with an Eyebolt too - this is our older way to do this, but the picture I had handy.
EBay-end.jpg
 
Back
Top