Level 3 Build Diary

The Rocketry Forum

Help Support The Rocketry Forum:

This site may earn a commission from merchant affiliate links, including eBay, Amazon, and others.
Dave,

No. As you likely know, Brad Wilson and Bob Justus typically fly only with Quad Cities and WOOSH. So I will have to go to one of those launches to do the cert flight. Realistically not until Midwest Power I'd say.

-Tim

BTW, in the last couple of days Tripoli Indiana had appointed two TAPs :clap:. Unfortunately, long after I engaged with the guys up north.

I thought you were going to go for L3 at Thunderstruck. So if it isn't going to be this weekend then when are you going to go for it?
 
I started using Triple Seven originally based on a recommendation from a person in California at the Los Altos Rod & Gun Club where my son and I used to go shoot. Triple Seven in testing is "more explosive" than Pyrodex P, but frankly, if done right, I think Pyrodex P will work fine. My advice: test, test and test again until you are absolutely sure you know how to make the charge work.

From all the posts here and elsewhere, I had though these types of comparisons were useless when it comes to ejection charges because the powder isn't contained like it is in gun. Without containment to ensure complete burn of the powder, the non-BP doesn't work as well as actual BP.

Do you know how much containment is needed before the "power" begins to approach the chart values and there is a difference between them?
 
You're exactly right. As you can see from the pics, that's why I use copper tubing and multiple layers of metal tape to contain the charge (the new Blastcap product would work well here too BTW). It's even more tricky when you don't use metal tubing, e.g. a plastic micro-centrifuge tube which I do on occasion due to space constraints. Through trial and error and a lot of testing you can (I have) developed a method to get a consistent strong charge even using the micro-centrifuge tubes.

BTW, I didn't post the chart as a comparison against black powder (as the behavior mode is clearly different), it was just posted as a comparison between Pyrodex P and Triple Seven (where the behaviors in this application are similar).

From all the posts here and elsewhere, I had though these types of comparisons were useless when it comes to ejection charges because the powder isn't contained like it is in gun. Without containment to ensure complete burn of the powder, the non-BP doesn't work as well as actual BP.

Do you know how much containment is needed before the "power" begins to approach the chart values and there is a difference between them?
 
Last edited:
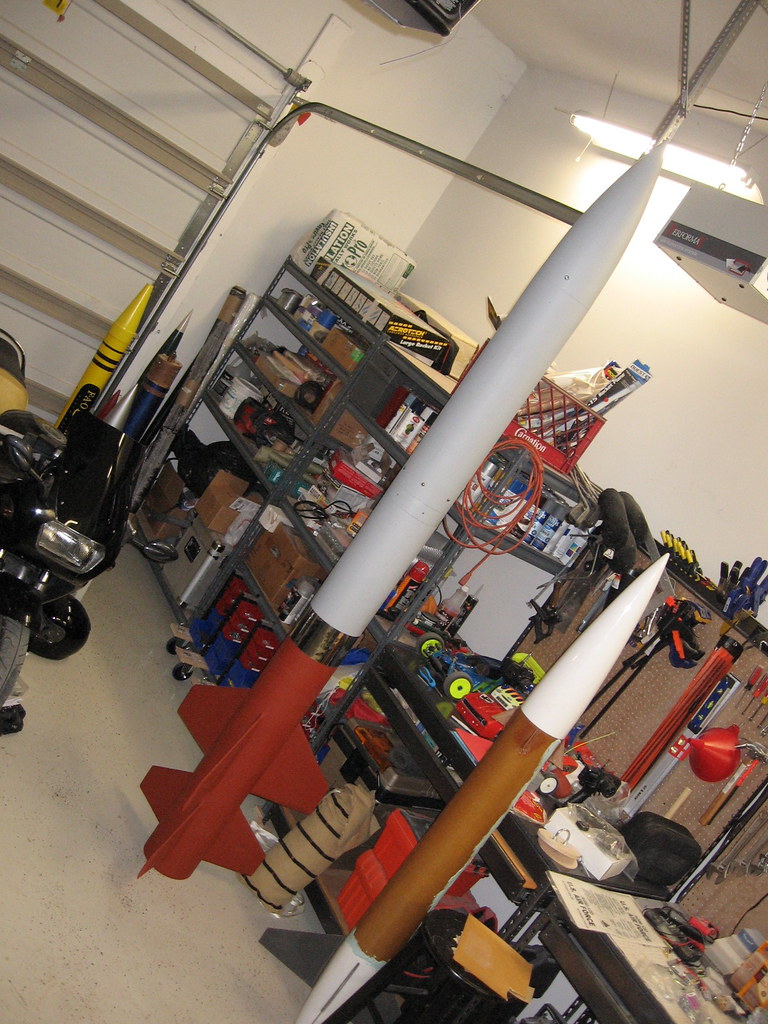
Well did a bit of touch up painting this morning after the ground test this weekend, added homemade "Fireball" protectors on the shock cords and installed the thin plexiglass window in the camera opening.

Build checklist says I'm done, and I guess I am--with two days to spare. Looking back on the emails with my TAPs, I began the build on 12/17 and finished today, so, let's see, 3 months and 3 weeks. Ready as she'll ever be for the shakedown flight this weekend.

4472040130_9746223cd1_b.jpg


View attachment Build step detail_v1_6.pdf
 
Last edited:
Nice build Tim! Thanks for taking the extra time to share it with everybody. Good luck on the shake-down flight.

Scott
 
After 10 pages of this thread you better come back with some photos. If you don't, there will be hoards of angry rocketeers with pitchforks and torches.

:hot:

We will find you.

Seriously...good luck.
 
Dave,

Well, that may be a problem. LCO announced another rocket as he was meaning to launch on a forward set of pads, but apparently didn't have his switches set right and my rocket was lit. Good for not getting nervous, but bad for picture opportunities. We'll see if anyone got the launch.

I do believe someone got a picture of the "very interesting landing" by the way. The wind was very strong and the rocket was moving probably 2x the speed horizontally versus vertically--caught a cornstalk and did a cartwheel (literally end-over-end before coming to a stop). I'm sure glad I did the kevlar reinforcement on the BT ends or I would be doing a pretty significant repair now.

Other than that a pretty nominal flight. But did learn much by going through the shakedown flight. I'll do a debrief later (packing up for day 2!).

-Tim

After 10 pages of this thread you better come back with some photos. If you don't, there will be hoards of angry rocketeers with pitchforks and torches.

:hot:

We will find you.

Seriously...good luck.
 
Last edited:
Dave,

Well, that may be a problem. LCO announced another rocket as he was meaning to launch on a forward set of pads, but apparently didn't have his switches set right and my rocket was lit. Good for not getting nervous, but bad for picture opportunities. We'll see if anyone got the launch.

No worries Tim. The hoards are on their way to the LCO's house.

When I am LCO that's like my biggest fear at a large launch is selecting the wrong pad. I don't think I've ever done it (knock on wood).

-Dave
 
When I am LCO that's like my biggest fear at a large launch is selecting the wrong pad. I don't think I've ever done it (knock on wood).

I'm with you there. I've only ever done it once, and it was at a small monthly launch rather than a big event. I hope it never happens again though.
 
I do believe someone got a picture of the "very interesting landing" by the way. The wind was very strong and the rocket was moving probably 2x the speed horizontally versus vertically--caught a cornstalk and did a cartwheel (literally end-over-end before coming to a stop).

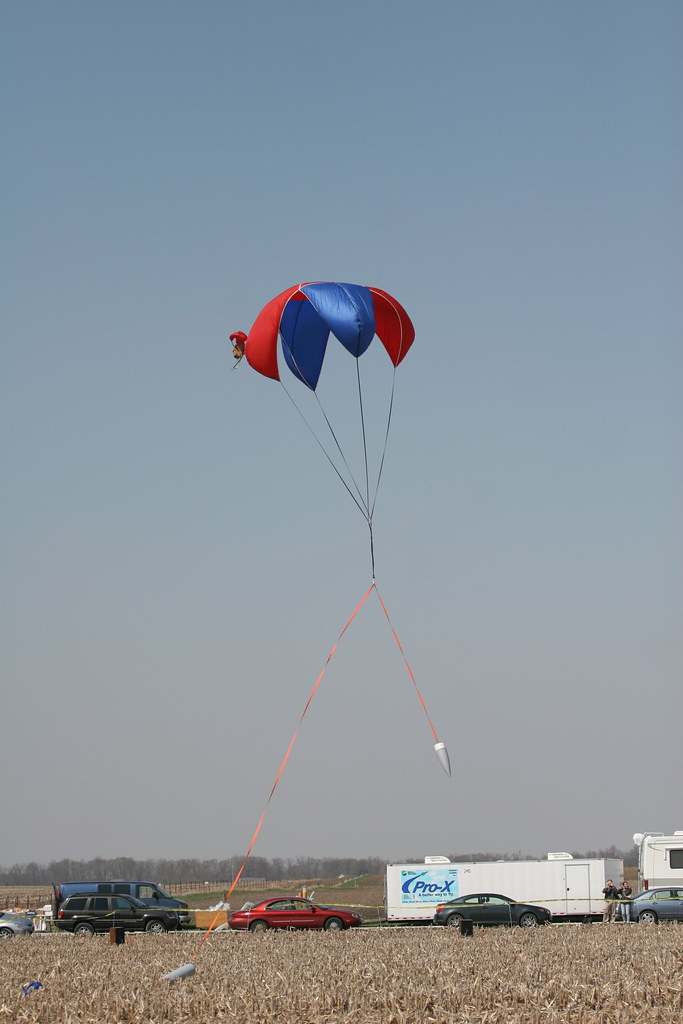
Missed the liftoff (but I fell over trying to get it -- don't say rocketry ain't a physical sport!) but here's my favorite of the "interesting landing" pics... It didn't stay like this!

TimDixon-Landing.jpg
 
All,

Still sifting through data and getting some input from others on anomalies seen during the flight. It is surprising that the flight looked so good/nominal as it was so very close to utter disaster (even excluding the cartwheel at the end) :eek:.

Anyway, much learned and that is exactly why test flights are done--to learn and debug. I'll post a detailed summary later.

-Tim
 
O.K. Attached is a summary of the flight issues (learning opportunities) that arose during the test flight. They range from pretty mundane "fit" issues to some pretty serious non-operational electronics issues. I thought I would go ahead and post the full list although I am still working with some of the manufacturers to isolate and debug the problems.

Clearly the big one is that my secondary altimeter never detected launch and the secondary apogee and main charges never fired. According to the manufacturer and their explanation of their internal algorithm it should have detected launch--needless to say we're working on it.

In any case, it really goes to show the value of redundant/independent electronics. In fact, you might note that even the primary altimeter was "limping." It performed properly in flight, but the recorded data was/is corrupted.

Then layer on top of that an "operator error" with me not getting my Parrot in the right mode on the pad, thus loosing a "third party" vote and validation of the operation/non-operation of the other two alts and you can see just how "iffy" this whole test flight was. Just got by "by the hairs on my chinny, chin, chin."

O.K. Well, not so bad really. Rocket is in perfect shape and ready for much more. I'll keep you informed as I peel the onion layers.


BTW, if anybody considers themselves an altimeter expert (Dave Schultz has already helped immensely), I'd be happy to pass on some data files for your review.

View attachment Test Flight Issue Summary.pdf
 
Still debugging with a lot of bench testing and even some additional test flights over the weekend for the electronics... I'll tell you though, we certainly have some top notch rocketry vendors serving us (more on this later).

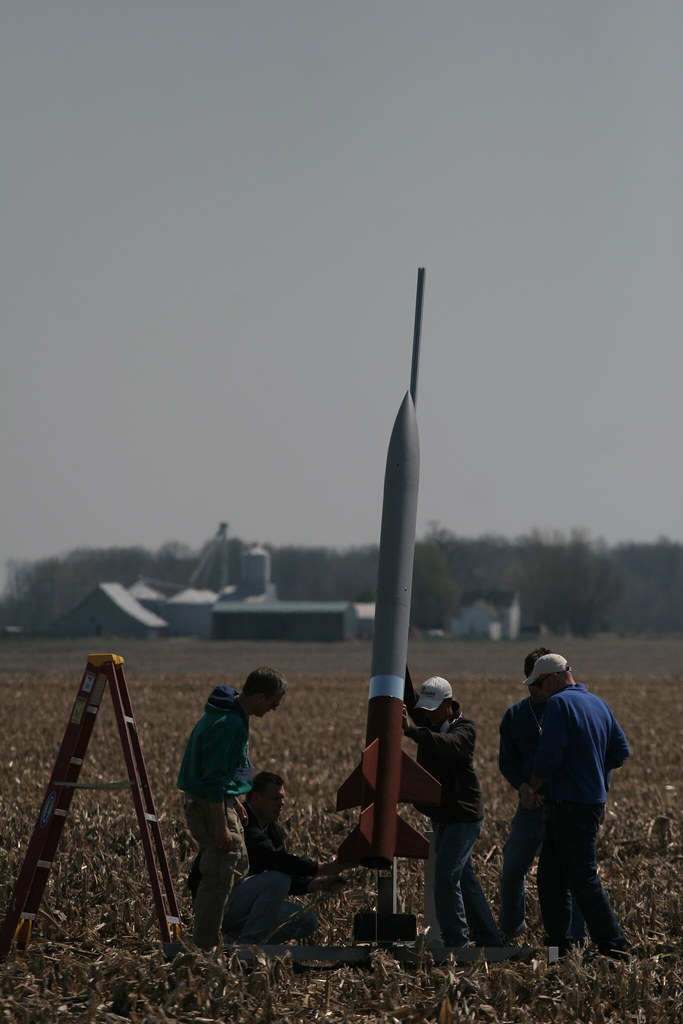
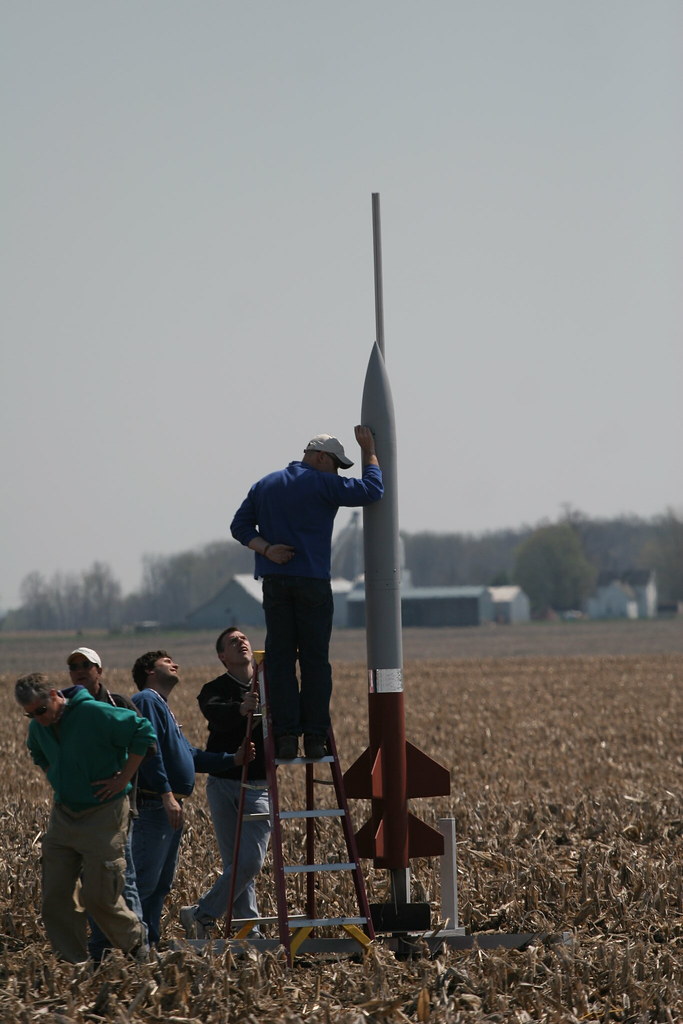
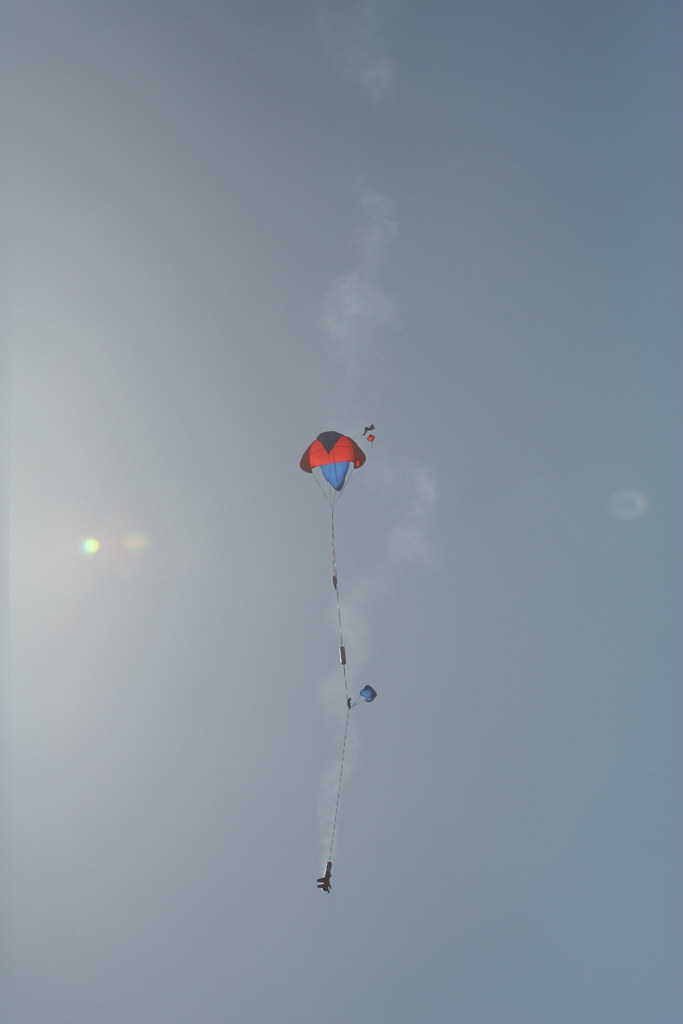
In the mean time, a few more maiden flight pics courtesy of David Reese (daveyfire). Thanks David!

A couple of pad prep shots (with ample help from Gus Pippenburg, Pete Heavlin, Curtis Reynolds, et. al.)

4535706714_ff7dfc4579_b.jpg


Arming the electronics:

4535707016_508e7ae050_b.jpg


And a couple of in-flight pics with main chute fully opening:

4535073725_354b3dcd8c_b.jpg


And finally landing (after the booster cartwheel):

4535707558_c8179112d5_b.jpg
 
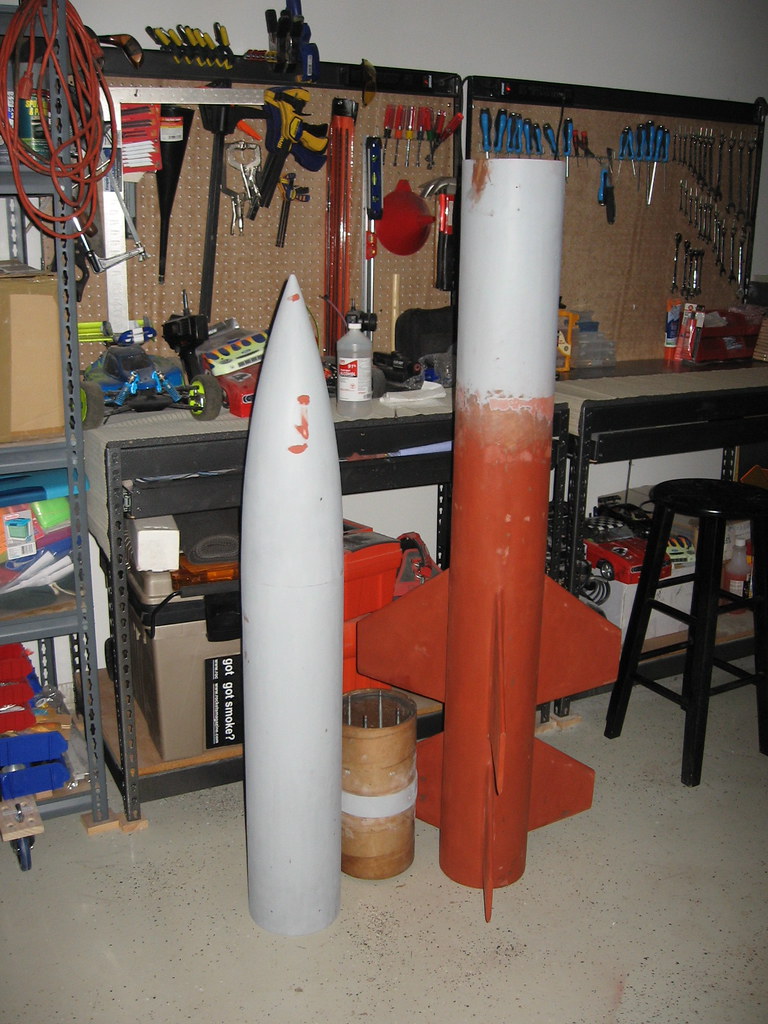
Well, yesterday I finally got around to stripping the silver MonoKote trim off and doing some final sanding and fill as prep before the final paint job. There was a crack discovered at the top of the booster section resulting from the cart wheel done upon landing. As it turns out, this was just a surface crack in the very top layer of kevlar where the seam finished. I did go ahead and sand this area and brush on some U.S. Composites/milled FG just to be safe.

4741780979_0141be8265_b.jpg
 
Since I was doing prime and fill on my PML Bulldog, I spent a bit more time fixing little imperfections on my L3 also. Plus I had to wait for a slot to get it in to Scott at Fifth Dimension. Dropped the ugly rocket off about an hour ago and should have "the makeover" complete in a couple of weeks -- CAN'T WAIT!
 
Last edited:
While waiting on the painting, I have been tying up loose ends left over from the initial test flight (a summary of the issues now closed is attached). This morning I completed the two that required the most work.

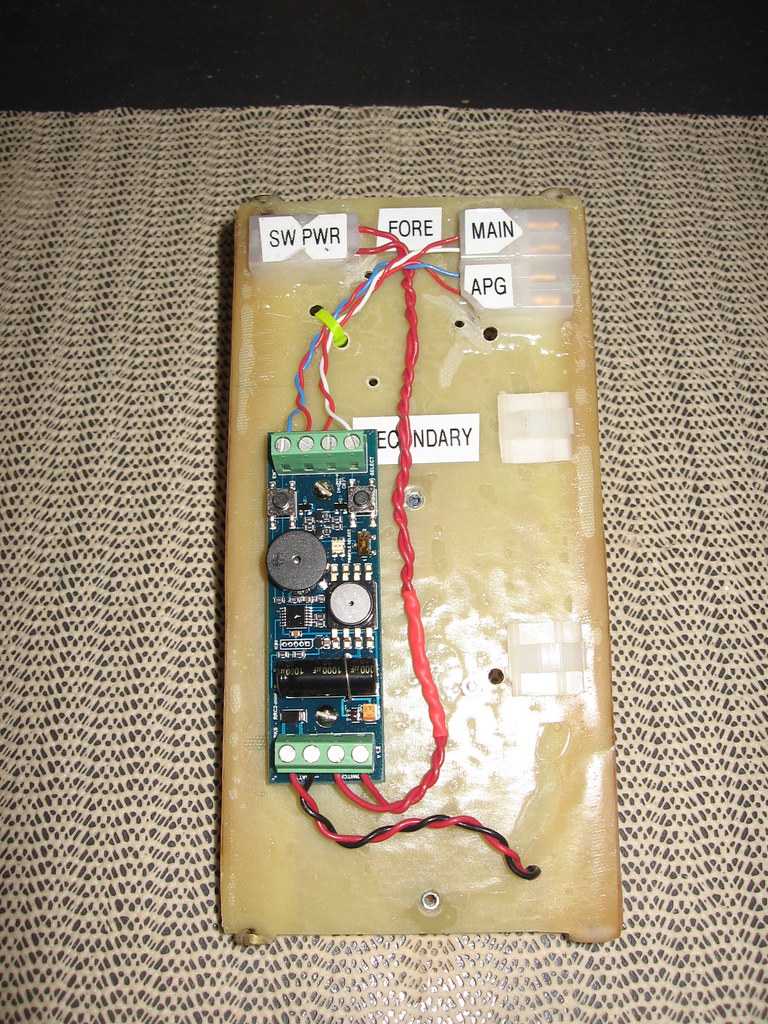
First was the back up altimeter... During the initial test flight my back up altimeter did not fire its charges. After a couple of weeks of debug a while back (additional flights and discussion with G-Wiz), the manufacturer provided an upgraded unit (YEAH!). Unfortunately the new unit did not fit the existing electronics sled and making changes to support the longer unit was not practical given the battery locations on the back of the board. So instead, I made provisions for an alternate backup altimeter, the Missileworks RRC2 mini.

4815292264_9e27f8cc94_b.jpg


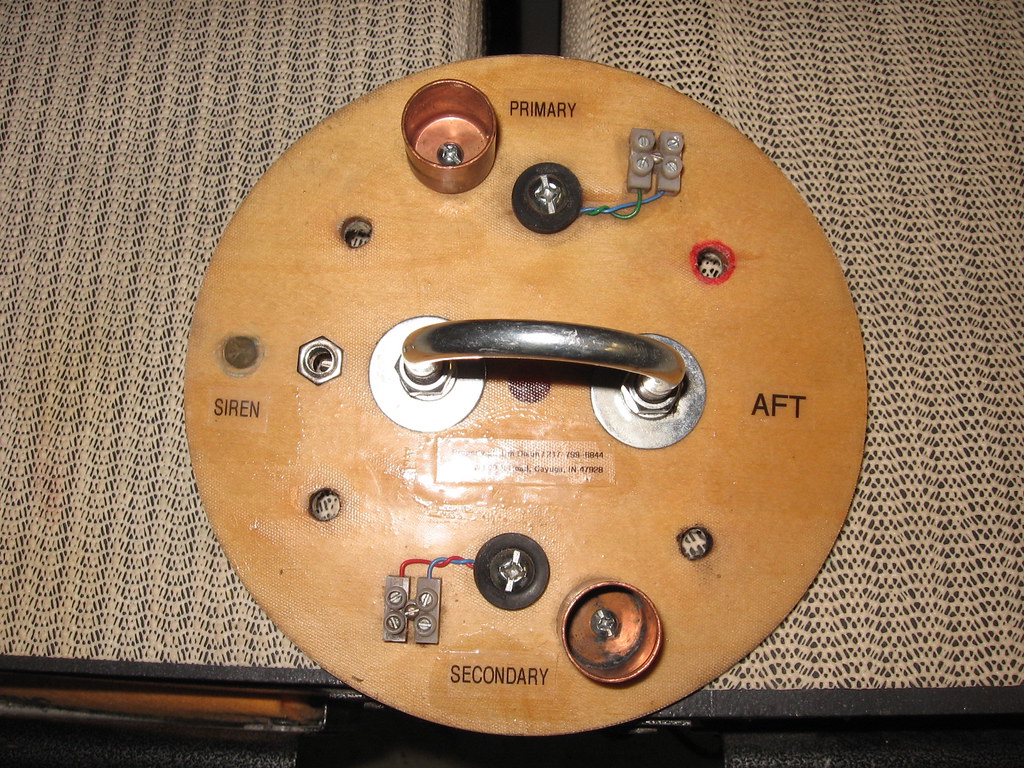
Second (less critical) was the siren control and modification to aft av-bay bulkhead. During initial test flight it was observed that the receptacle for the siren pull plug on the left was too close to the edge of the bay. This resulted in the rubber seal gasket interfering with operation of the normally closed contact and made the siren operation intermittent. The fix was to remove the receptacle, fill the hole with an epoxy plug and reinstall about 3/4" to the right.

4814670161_221a0fef41_b.jpg


View attachment Test Flight Issue Summary.pdf
 
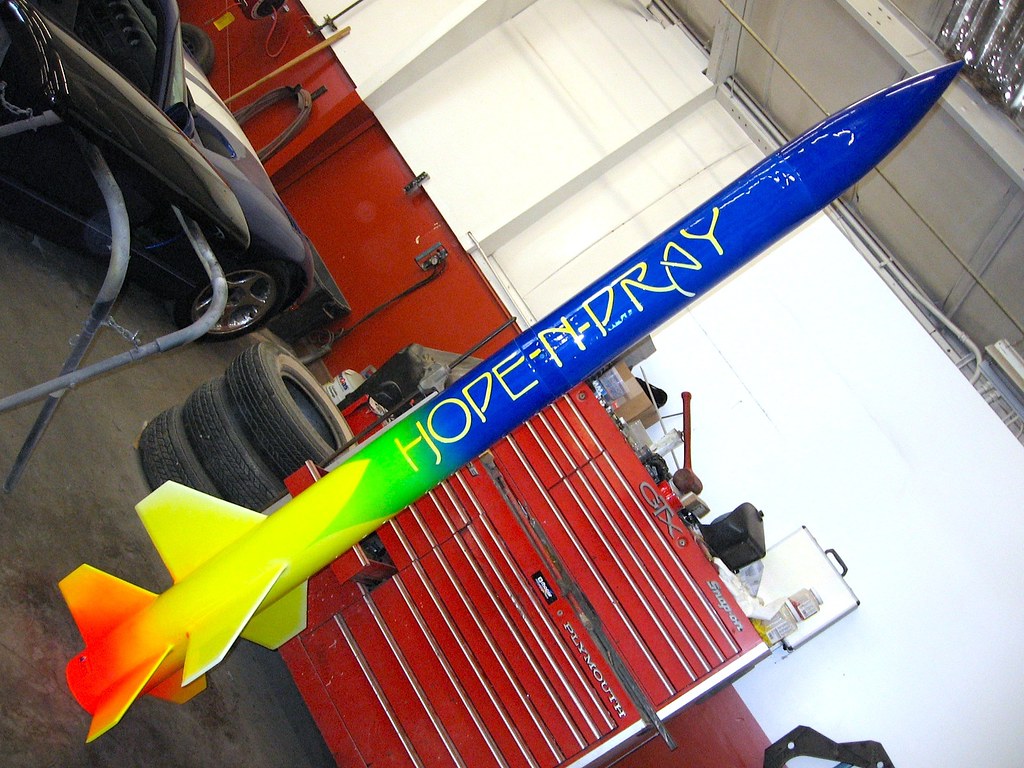
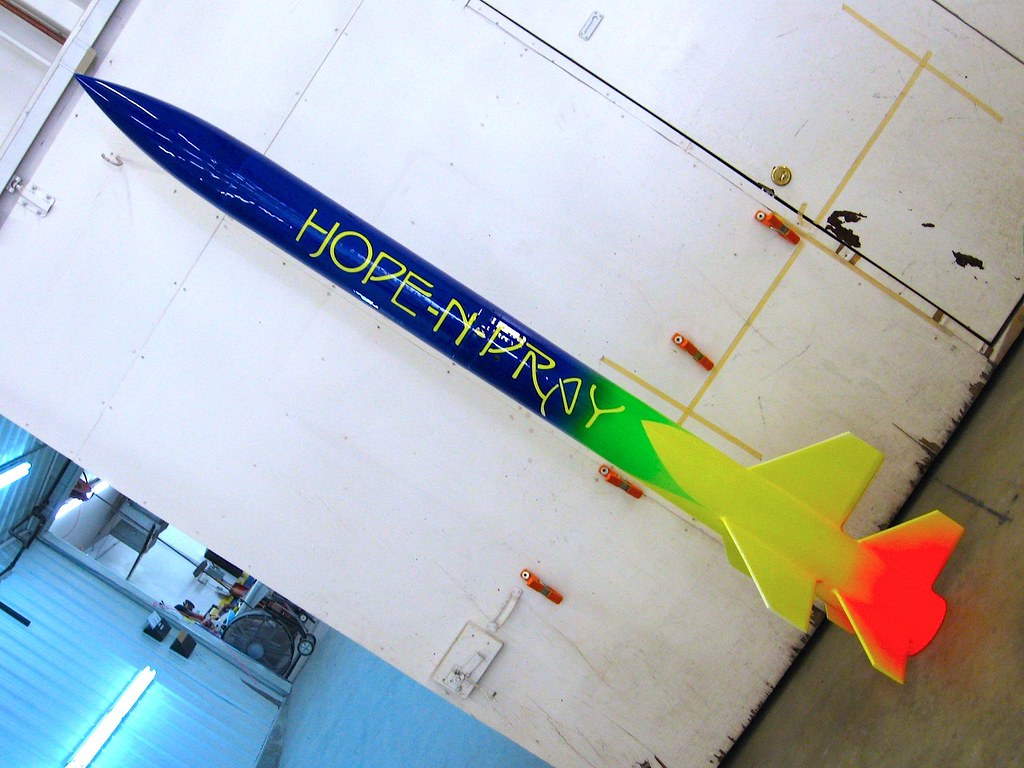
Painting complete. My wife wanted blue; I wanted to see it. We compromised.

4831638526_11581b275e_b.jpg


And from the other side...

4831638928_db68676118_b.jpg
 
Keep the rocket, I will take the Viper!

Ha! ha! But good eye. Scott Miller the owner of Fifth Dimension collision and the person that painted the rocket has built an niche (well empire) specializing in Vipers. Here are a few; click on each picture and you can see more detail. He gets them in from all over the U.S. (actually the world).
 
One thing I neglected to mention on the final finish, the lettering is from Mark at Stickershock (well sort of). I supplied the two decals to Scott and he was going to use them, but the yellow vinyl didn't quite match the fluorescent yellow and fading to white that he was trying to achieve so he scanned and stenciled the Stickershock decals and applied the shape with paint. Just wanted to give Mark the credit due for inspiration in this case.

Oh, and am using his Rocket Protectors also.

Stickerarea.jpg
 
Last edited:
Great looking rocket. Nice to see her in paint. Looking forward to seeing her fly. Are you planning a specific day at MWP?
 

Attachments

  • Screen shot 2010-08-02 at 4.29.10 PM.png
    Screen shot 2010-08-02 at 4.29.10 PM.png
    14.6 KB · Views: 32
Back
Top