The Energizer Bunny

The Rocketry Forum

Help Support The Rocketry Forum:

This site may earn a commission from merchant affiliate links, including eBay, Amazon, and others.

Wayco

Desert Rat Rocketeer
TRF Supporter
Joined
Mar 23, 2011
Messages
4,348
Reaction score
2,142
Location
Goodyear, AZ
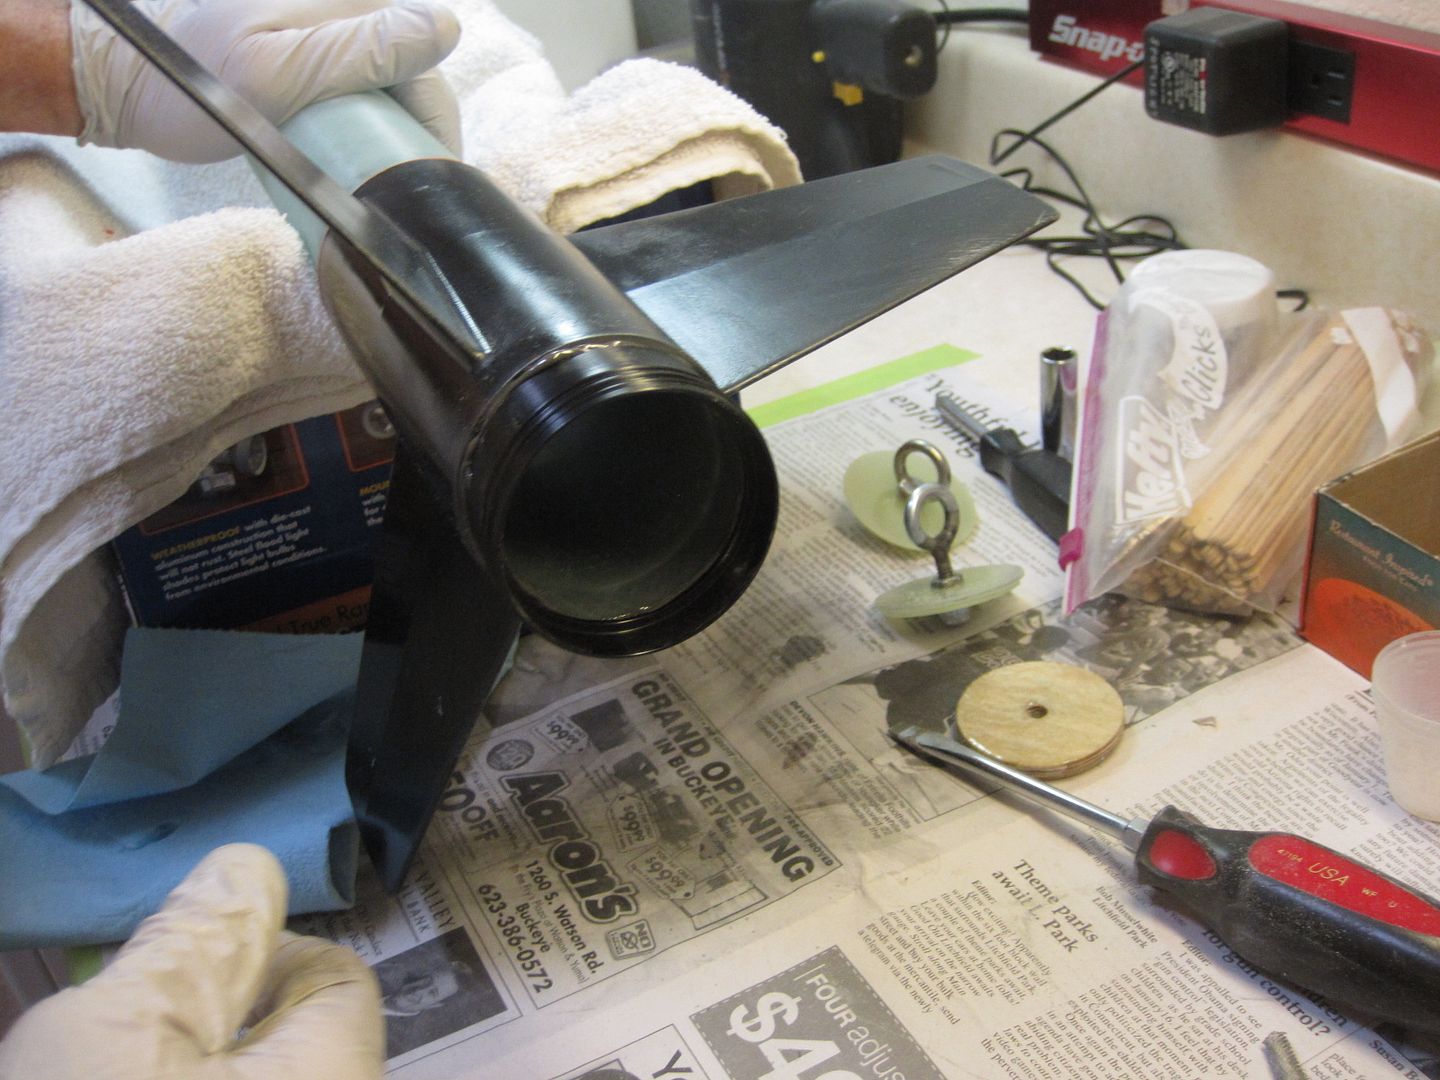
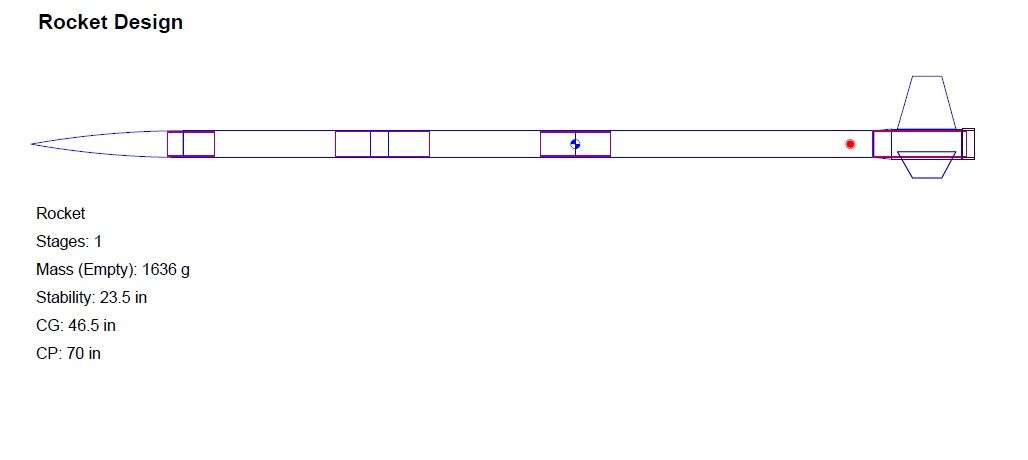
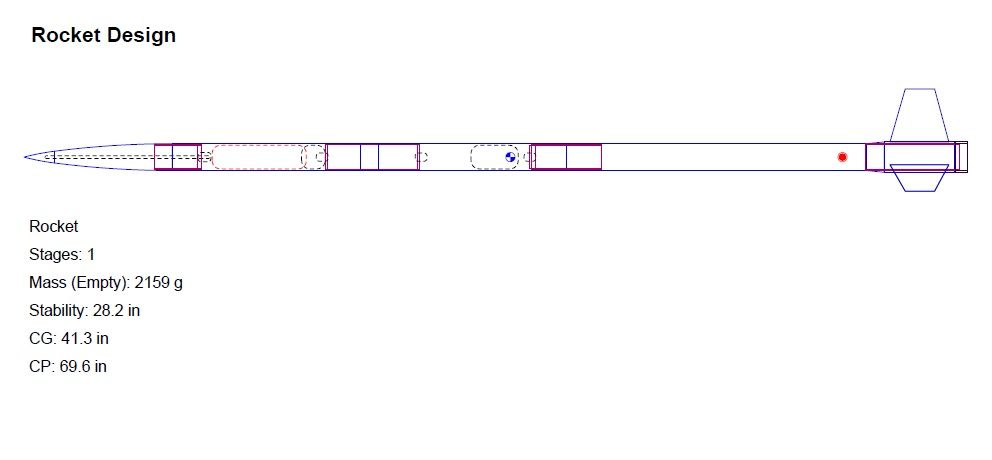
Started my next project yesterday, a 54mm minimum diameter fiberglass rocket I'm calling the bunny:
Bunnyscreenshot1252013_zps85688d43.jpg


This rocket is a copy of my "Coppertop" rocket from this thread:
https://www.rocketryforum.com/showthread.php?44796-Estate-Sale-Coppertop-rocket
The main difference is the fiberglass components. I just finished my first fiberglass rocket, Wildman's Dark Star Jr.
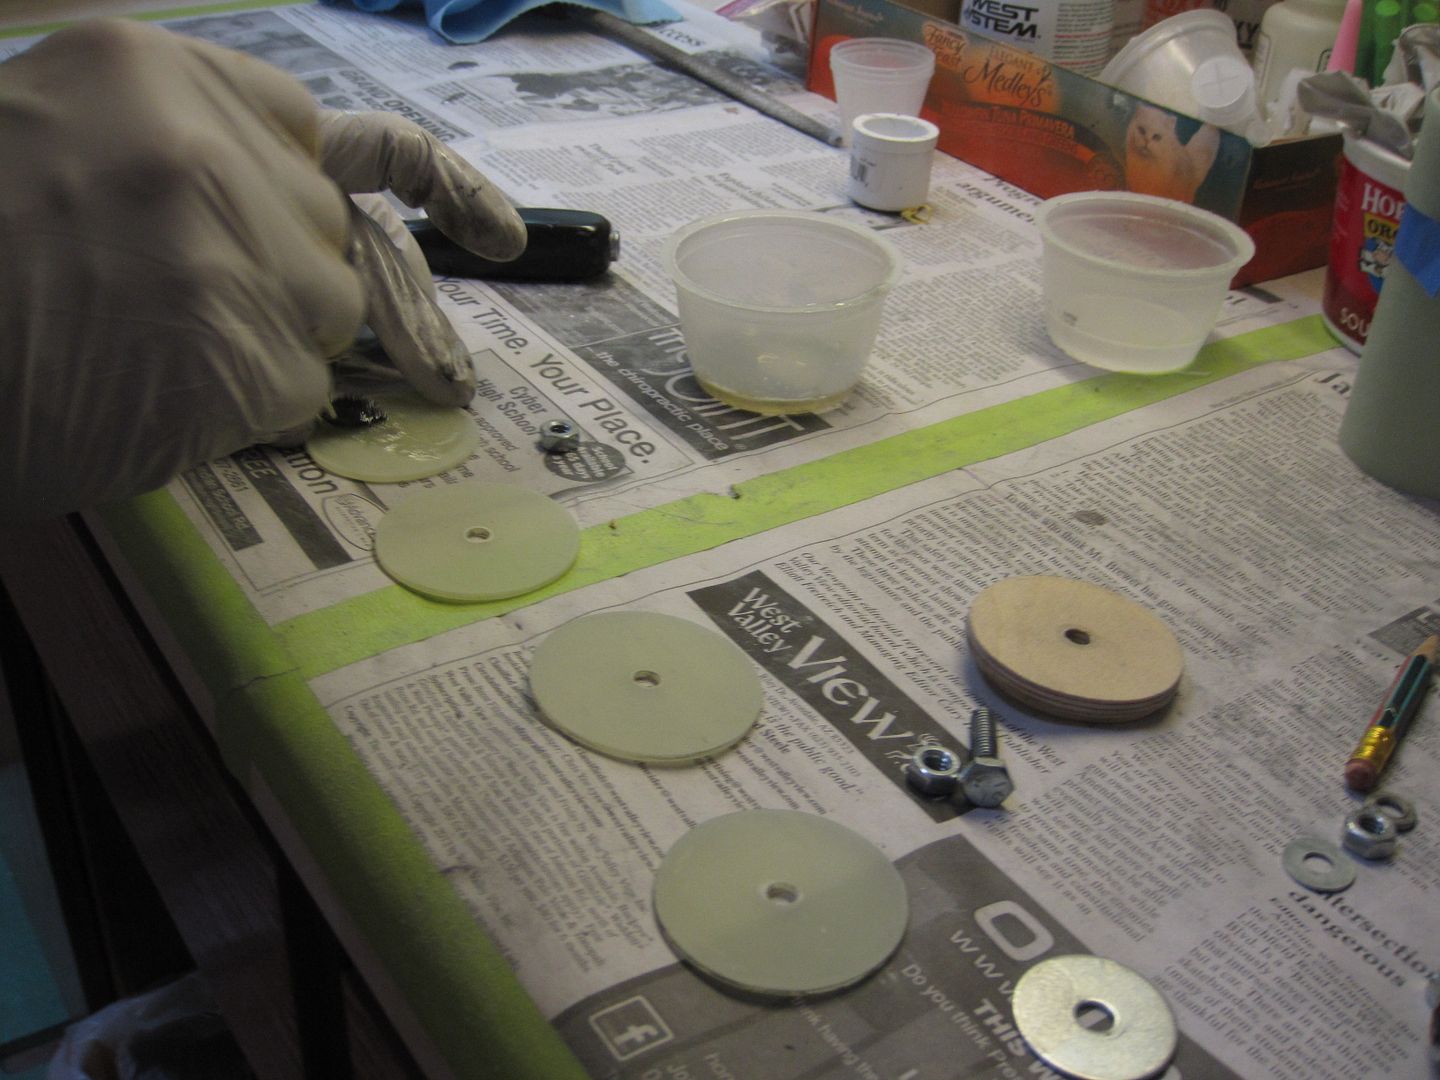
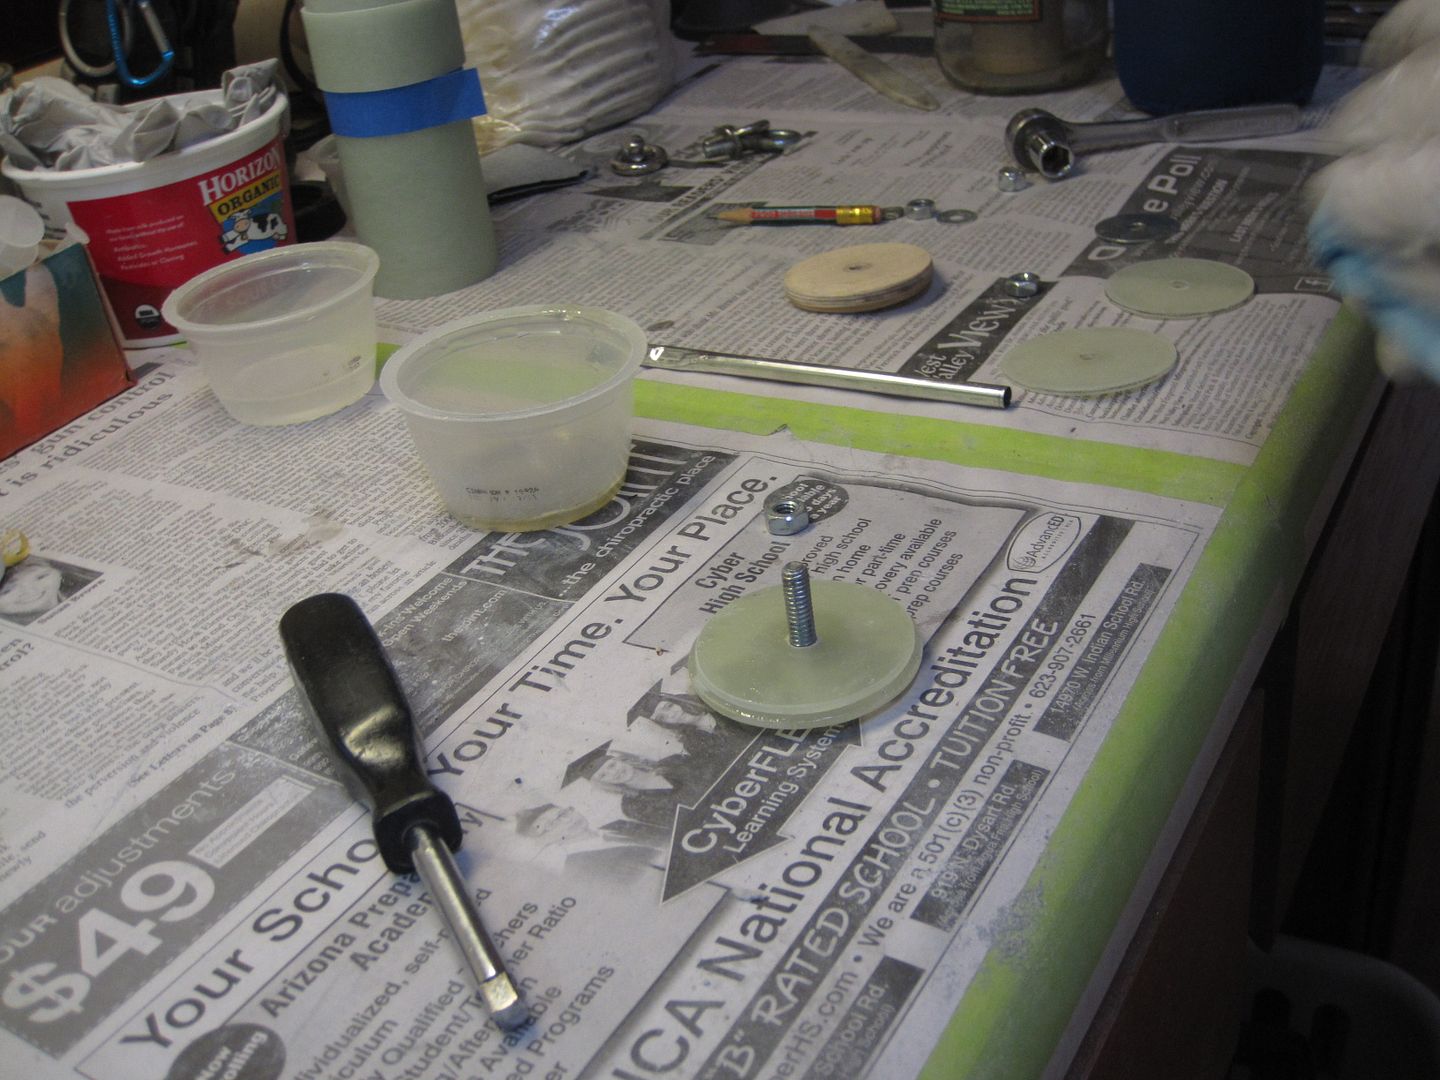
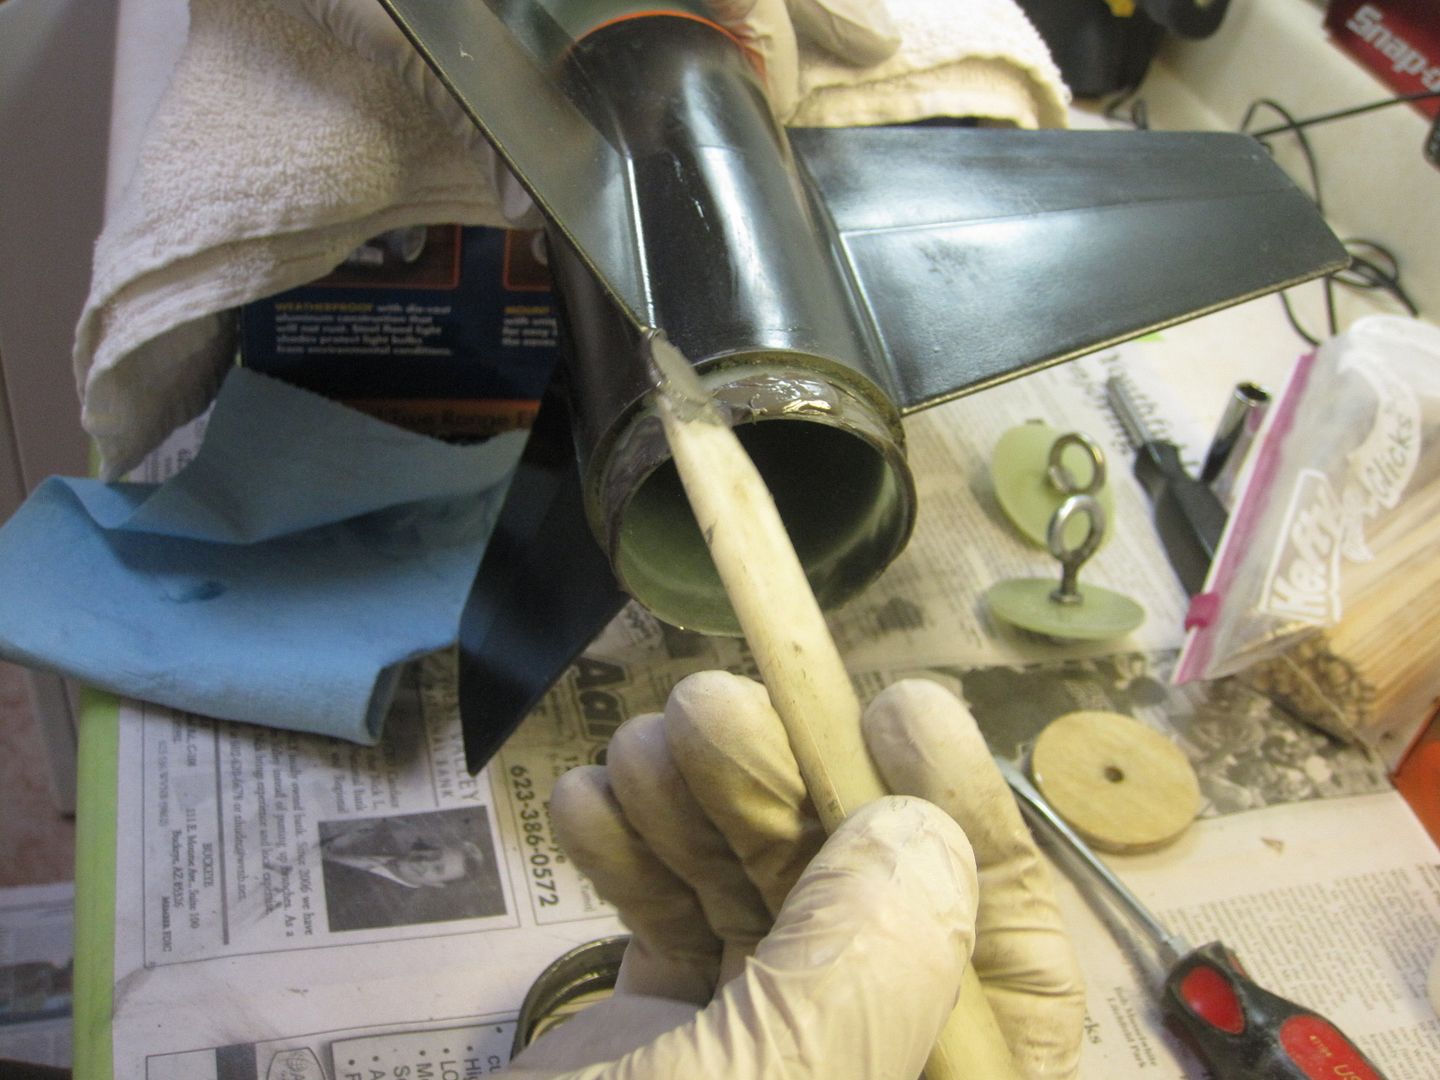
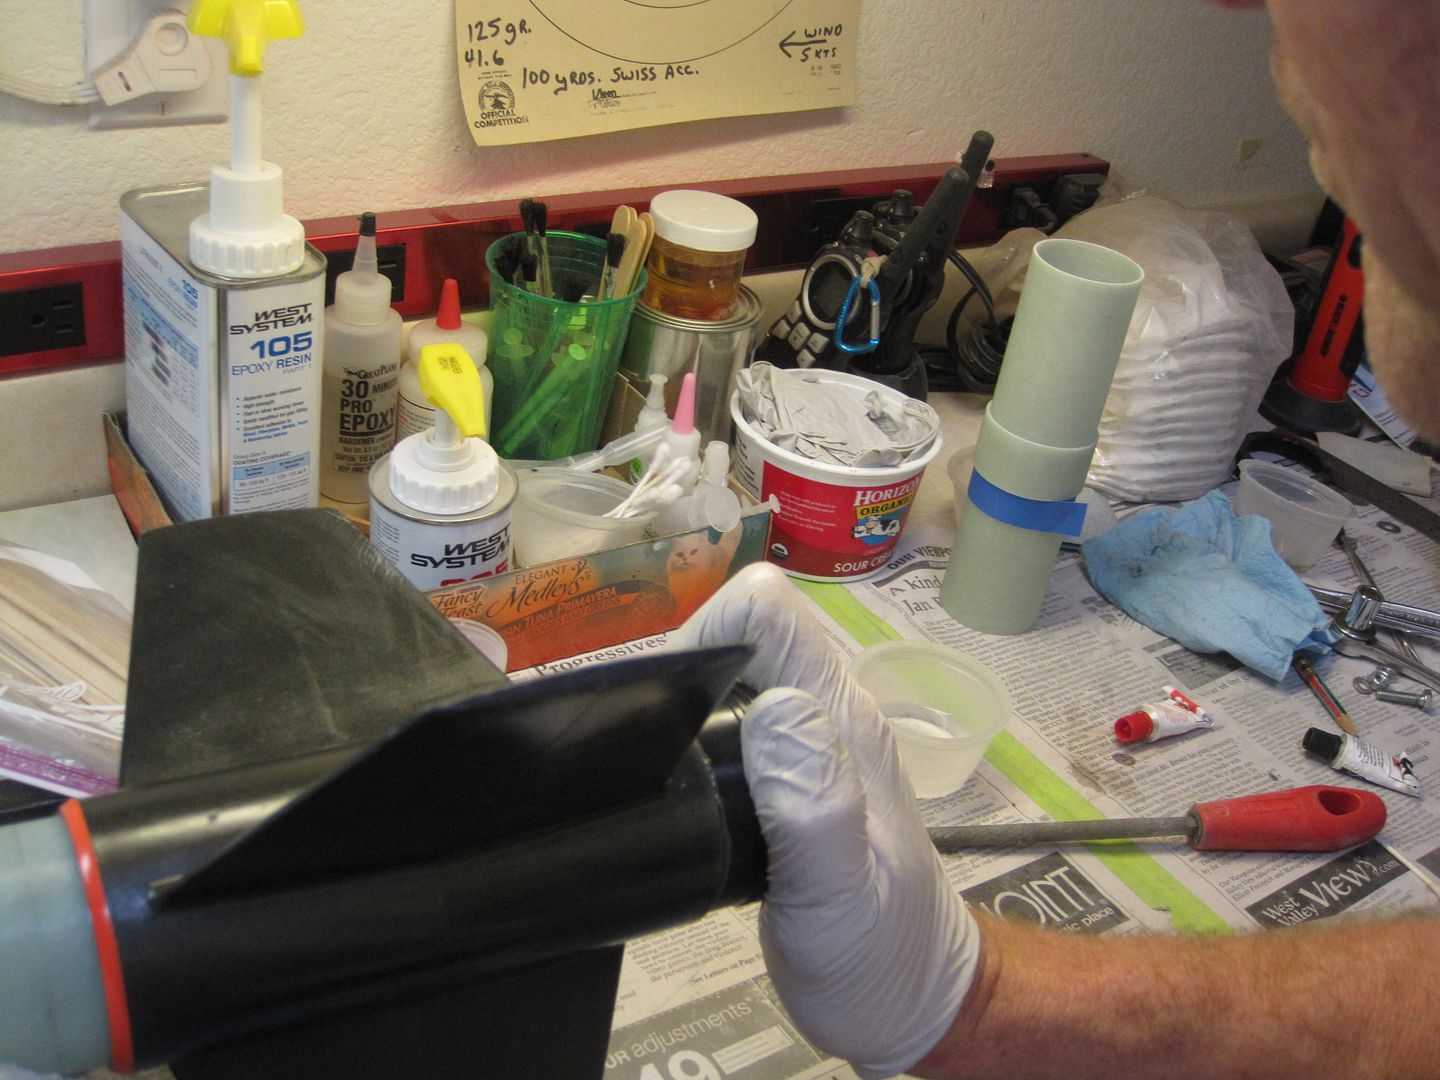
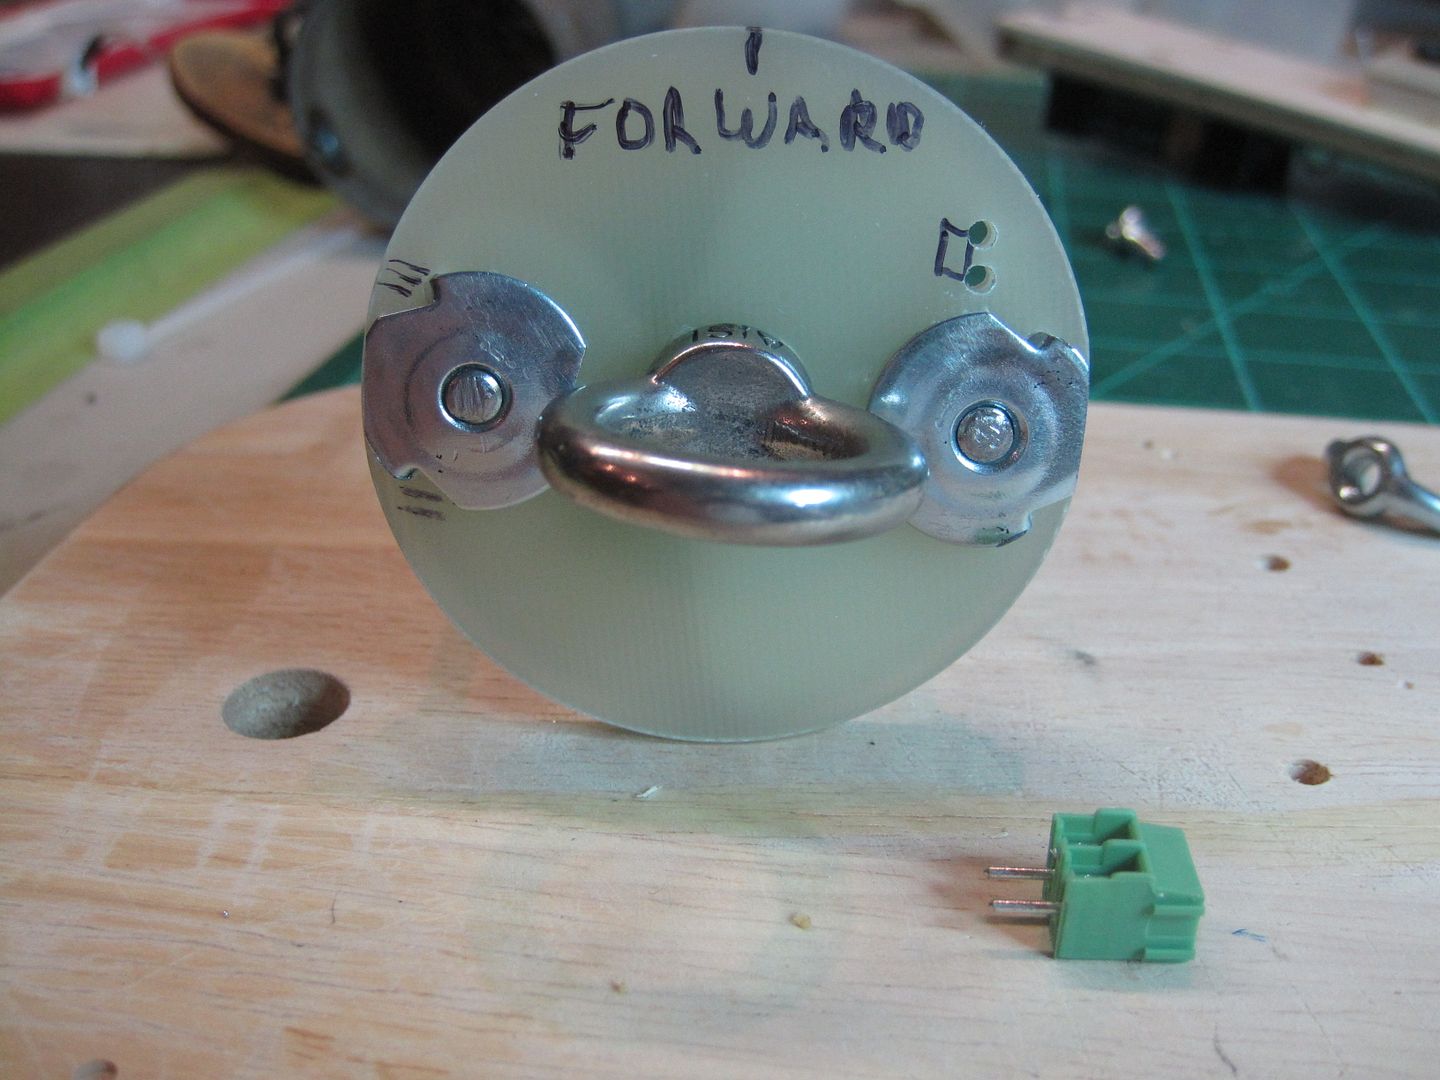
This one should be easier with the Acme fin can, but I'm still wondering about the correct adhesives for this build. Someone posted on another thread that West Systems 105 is a "laminating" epoxy for adding layers of fiberglass cloth, but I would like to use it structurally for bulkheads, couplers and to attach the fincan to the body tube. I have some milled fiberglass I add to the mix for these applications. Any problems with this idea?


I am just learning how to work with Open Rocket and would like some tips on how to add certain features, like the metal tip on my nosecone. Do I just add a mass object at the front, or can I form it separately?
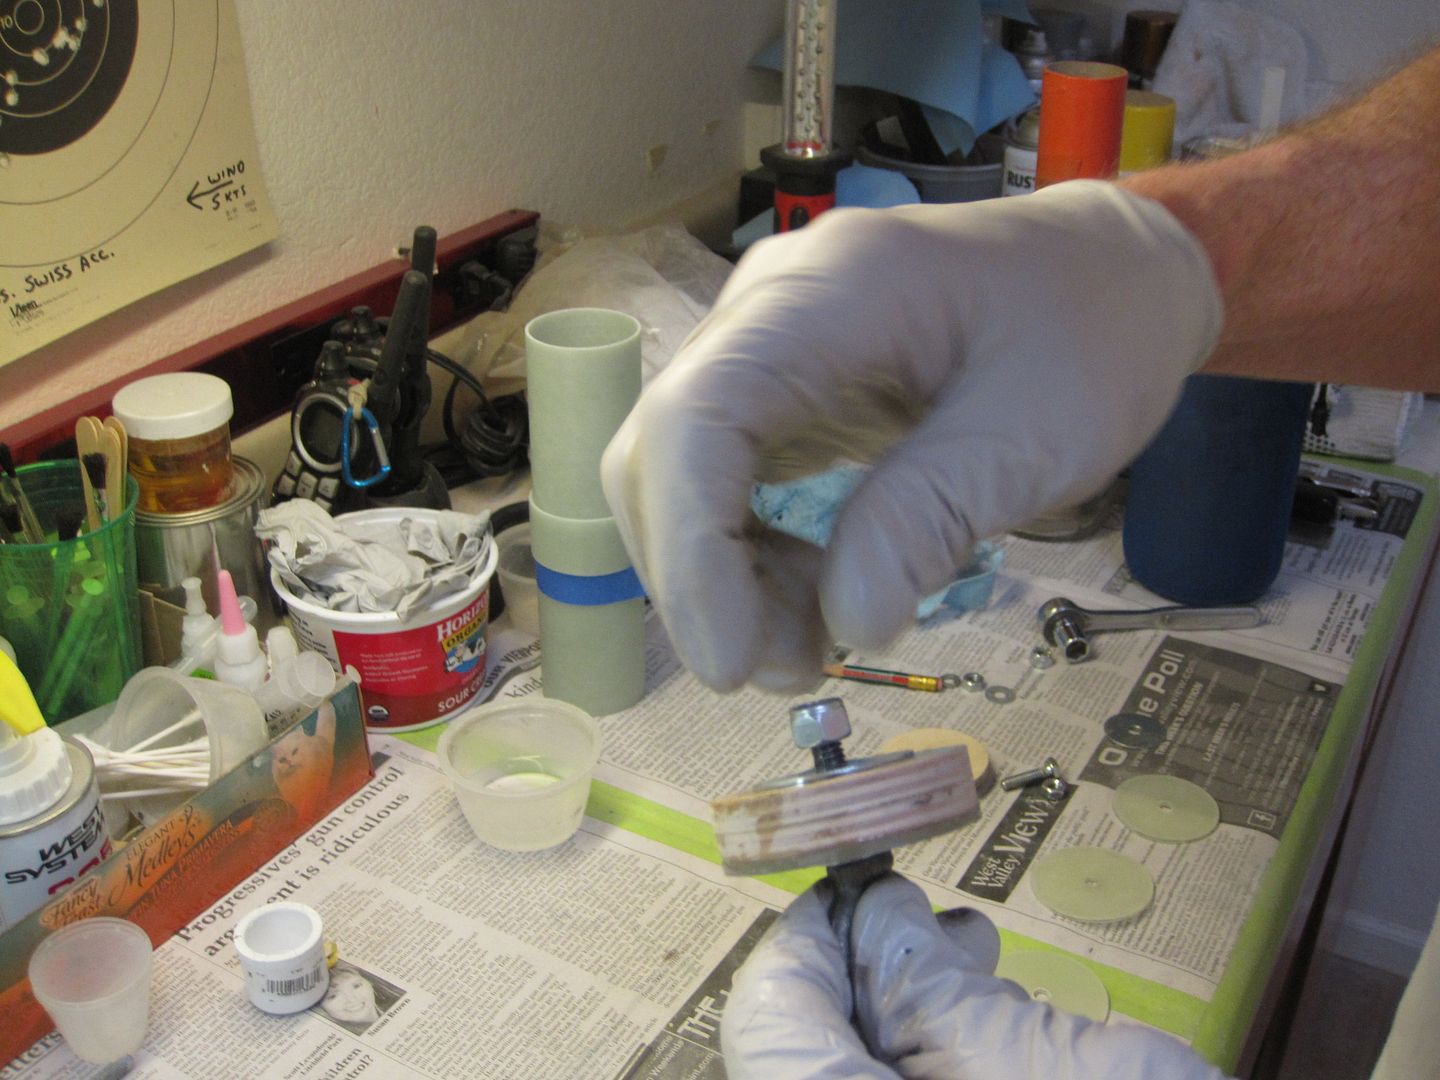
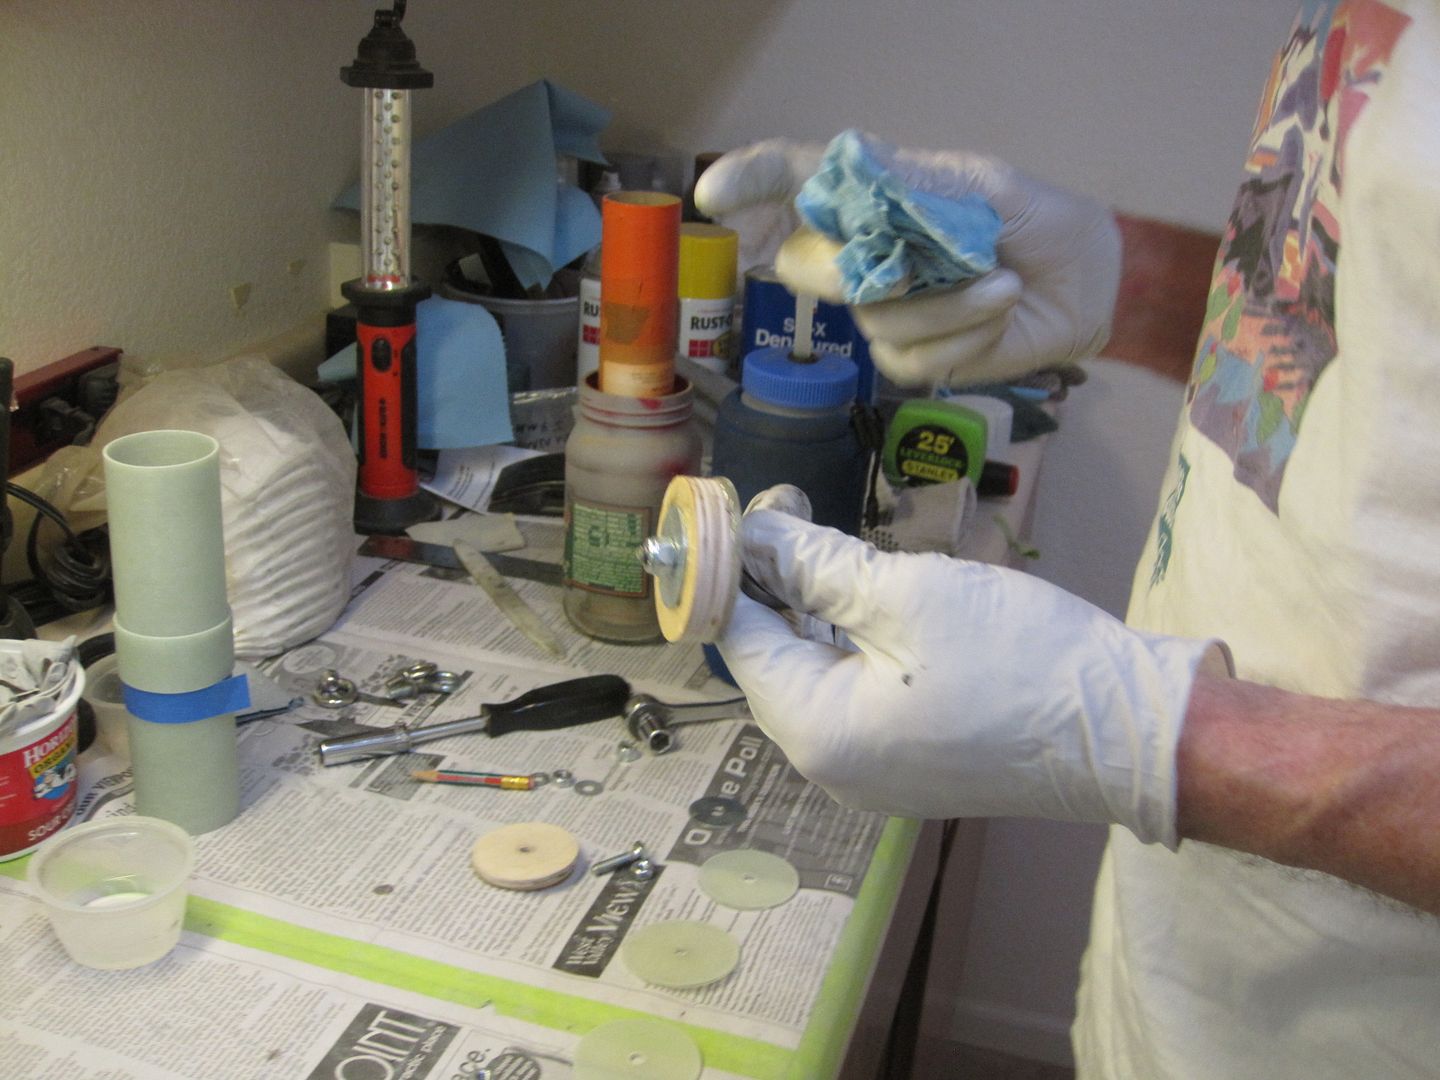
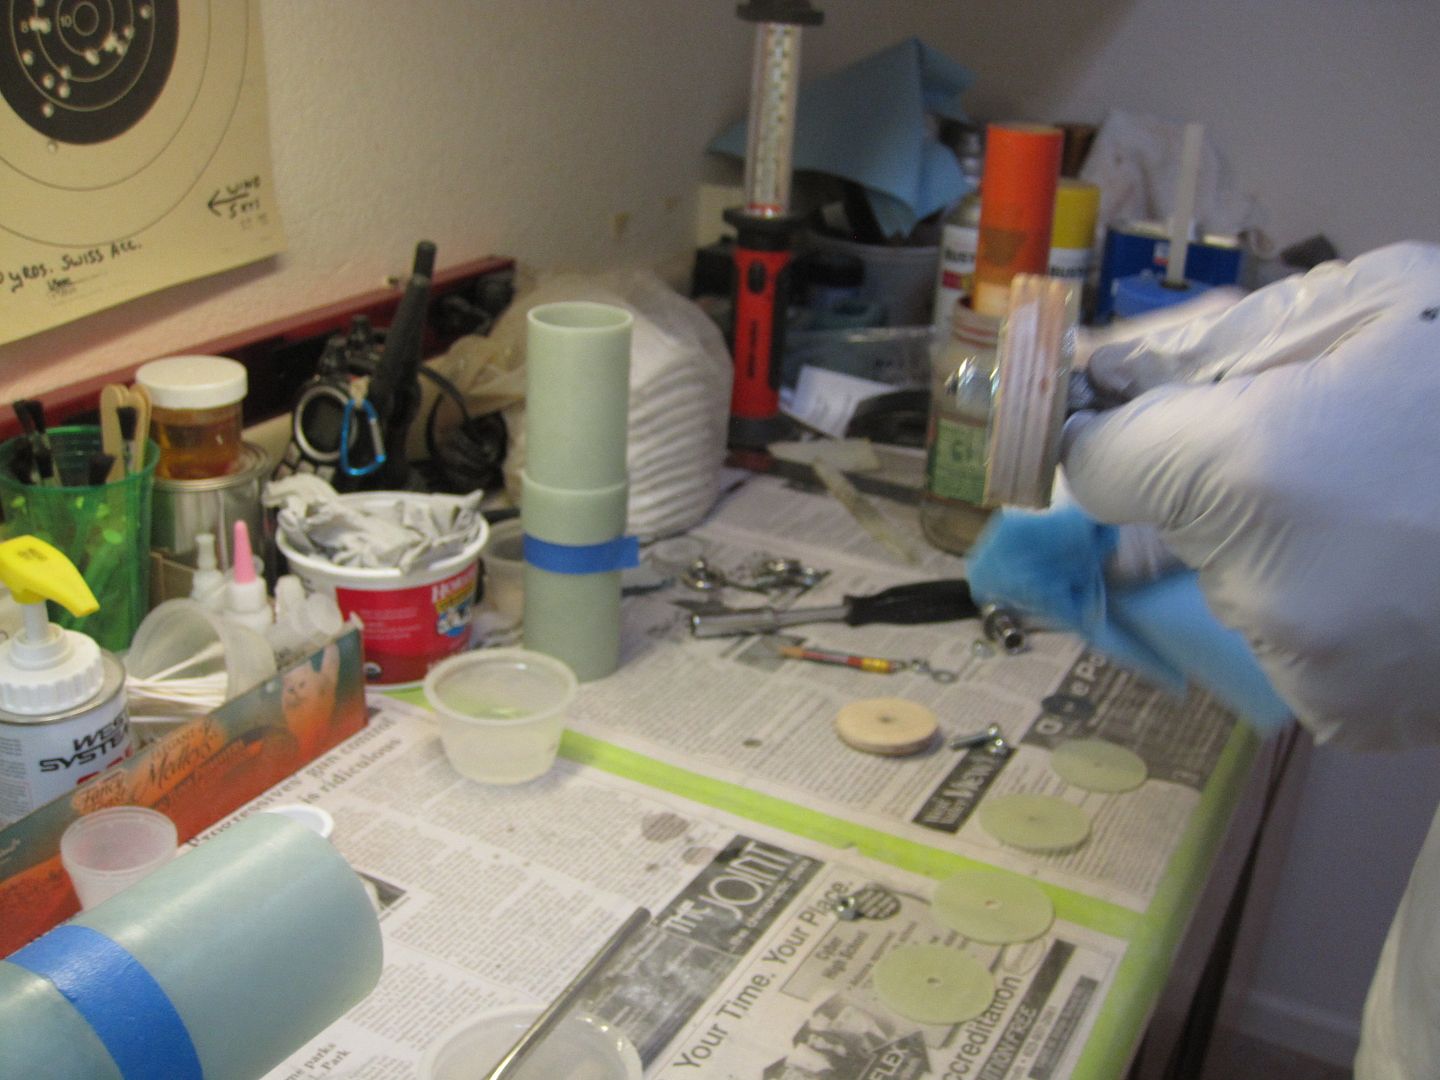
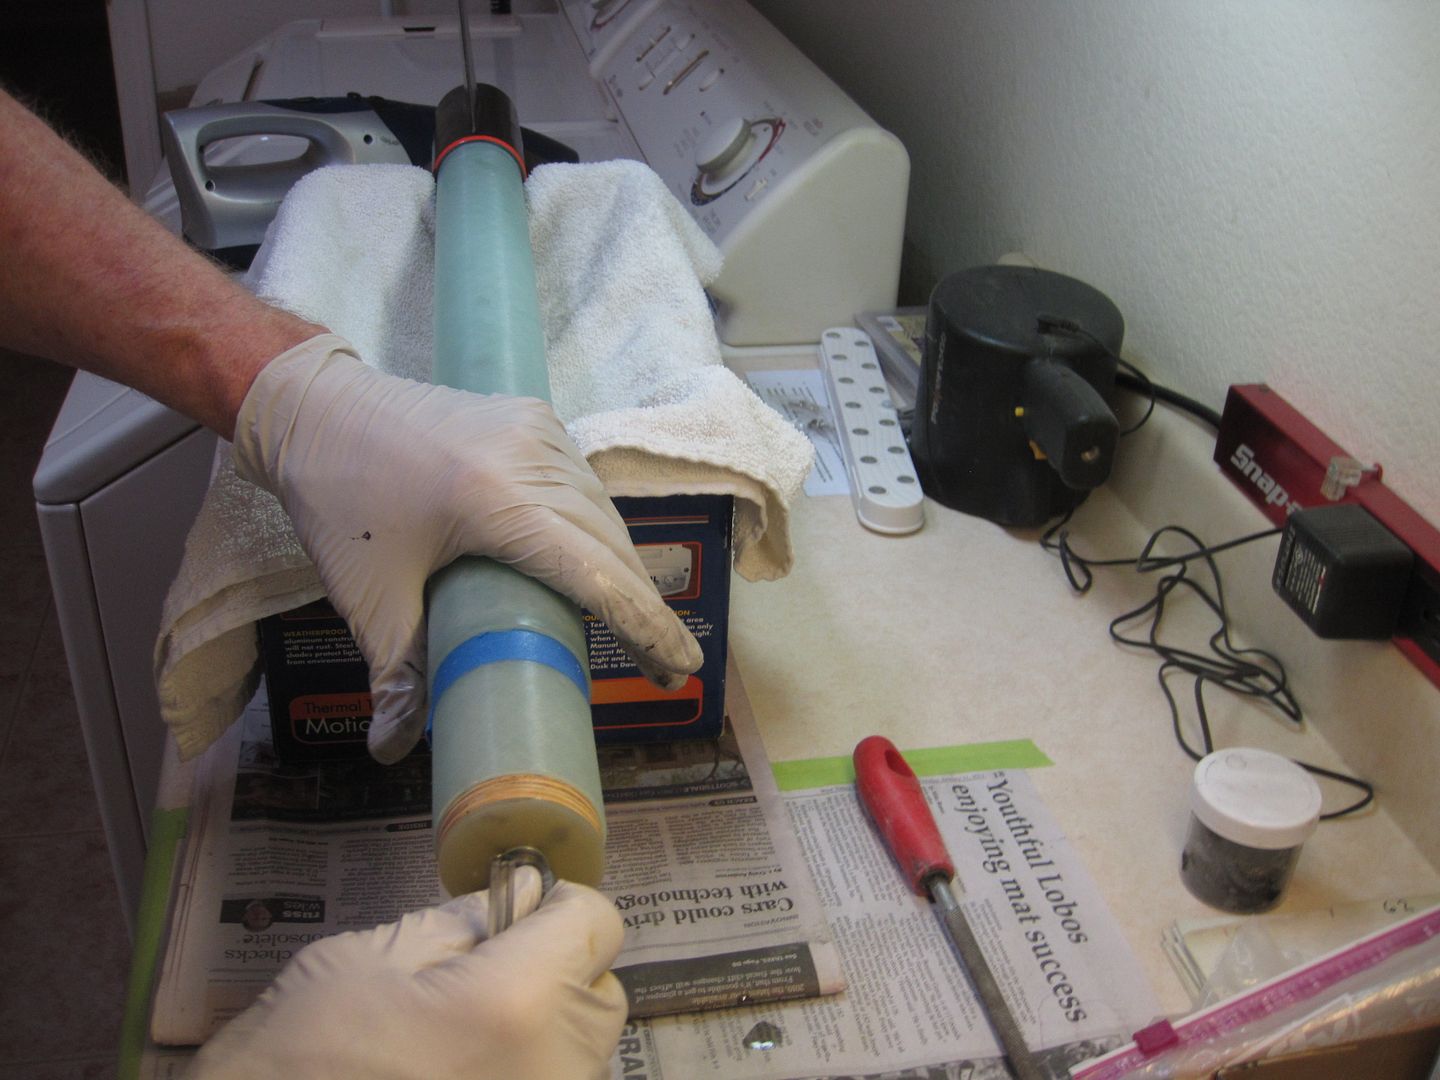
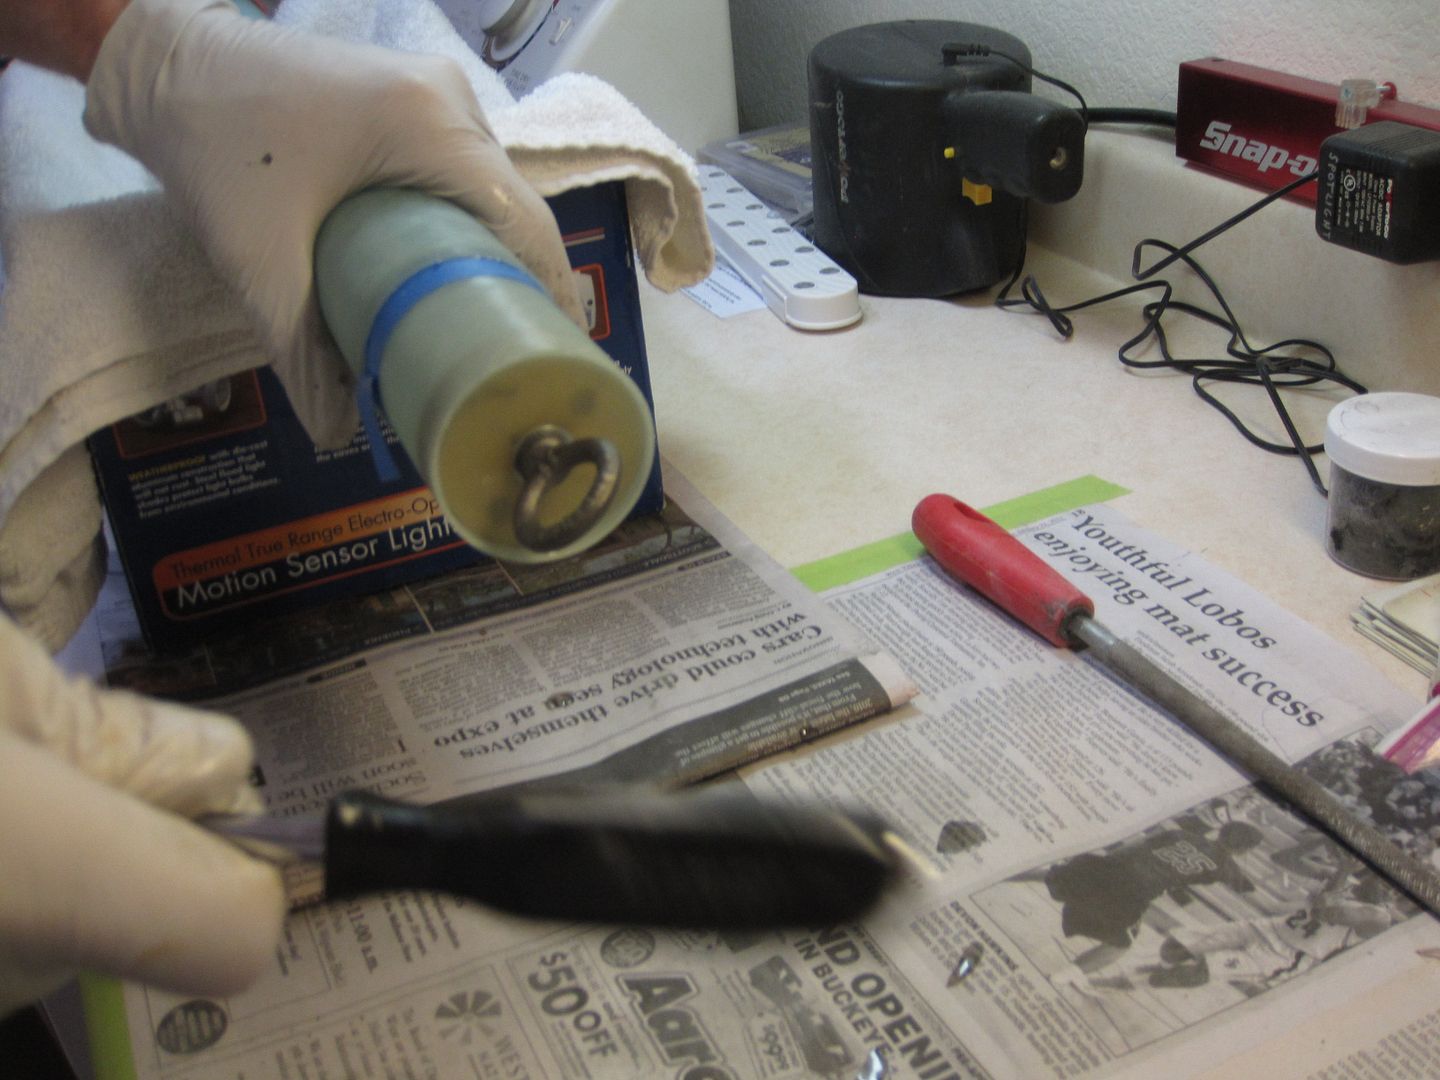
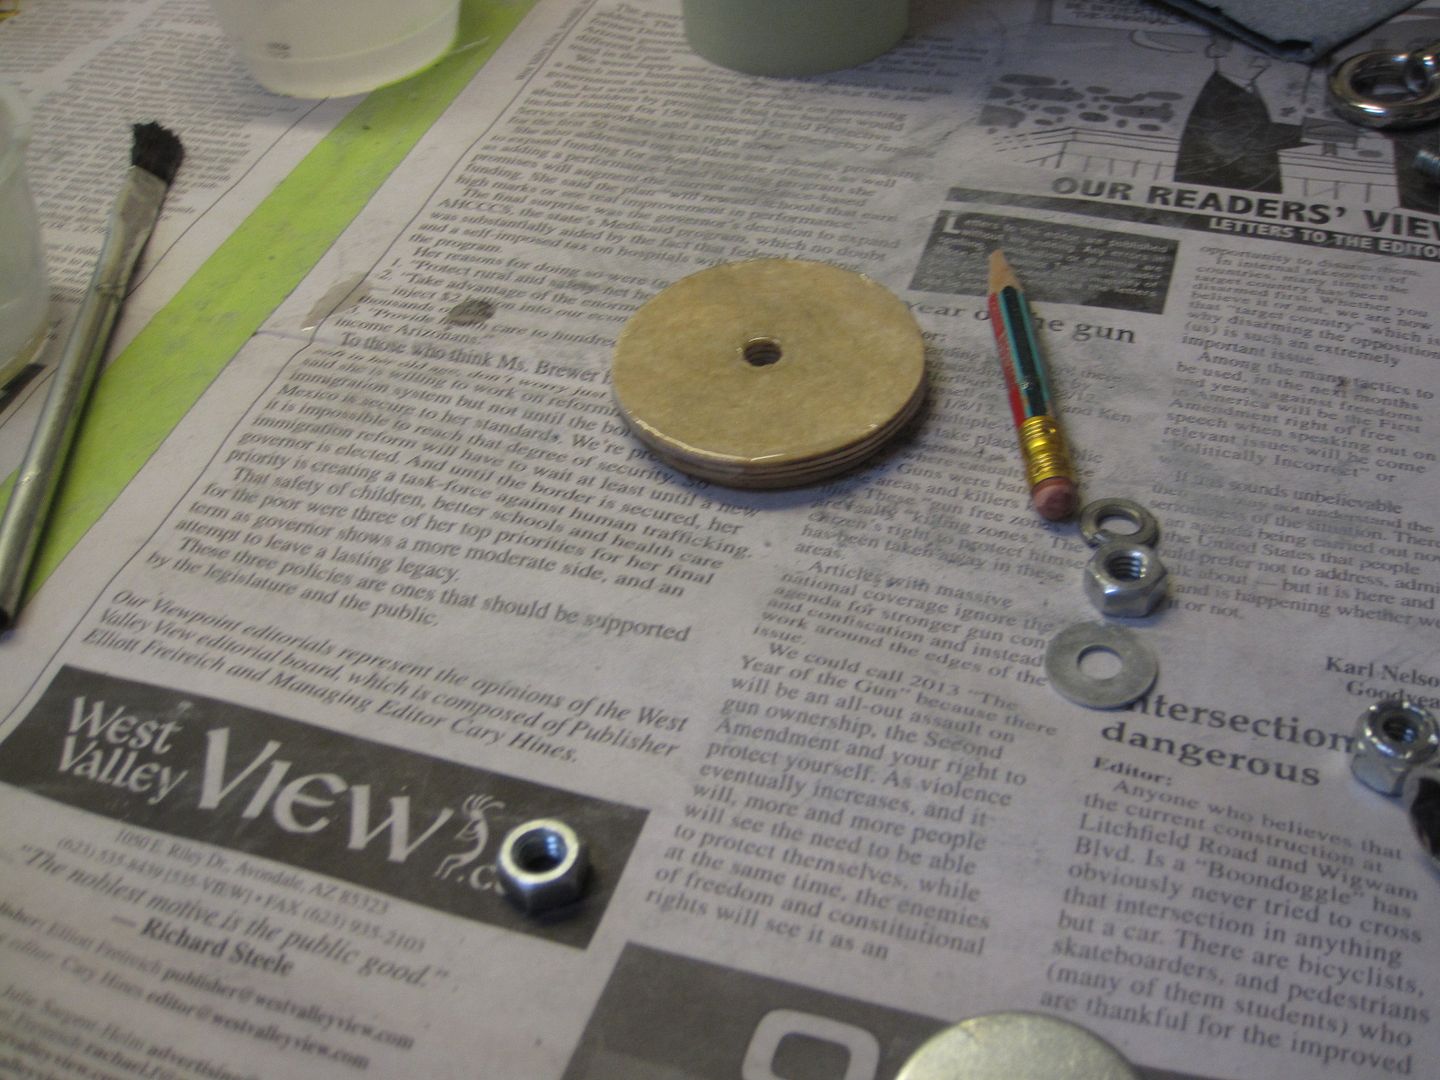
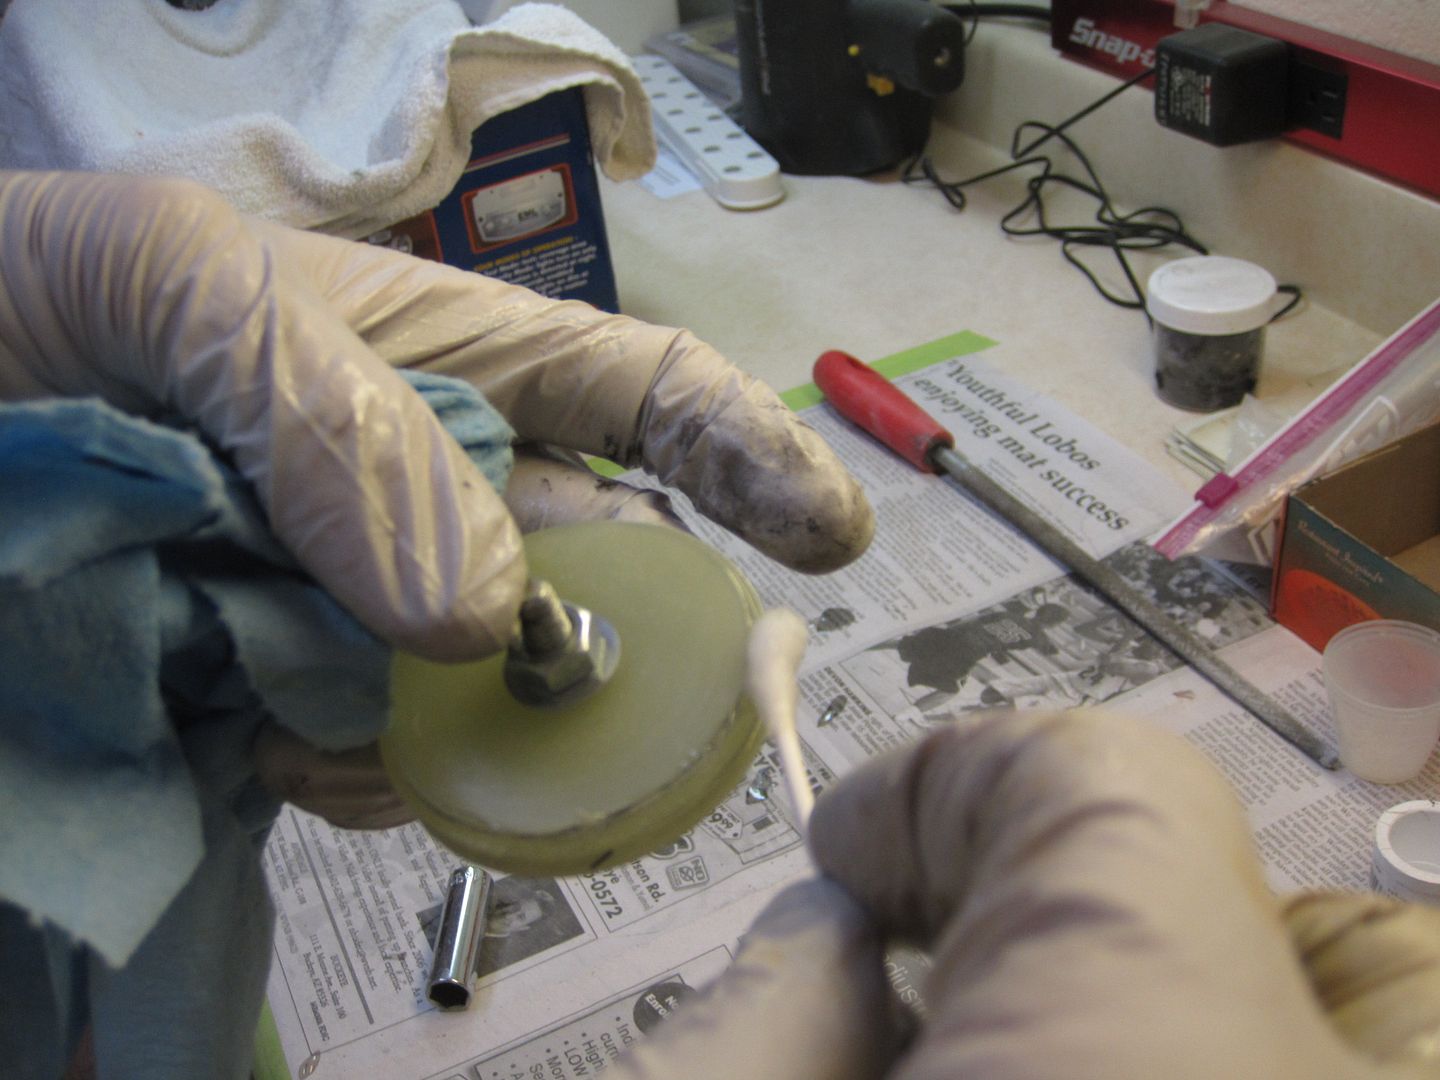
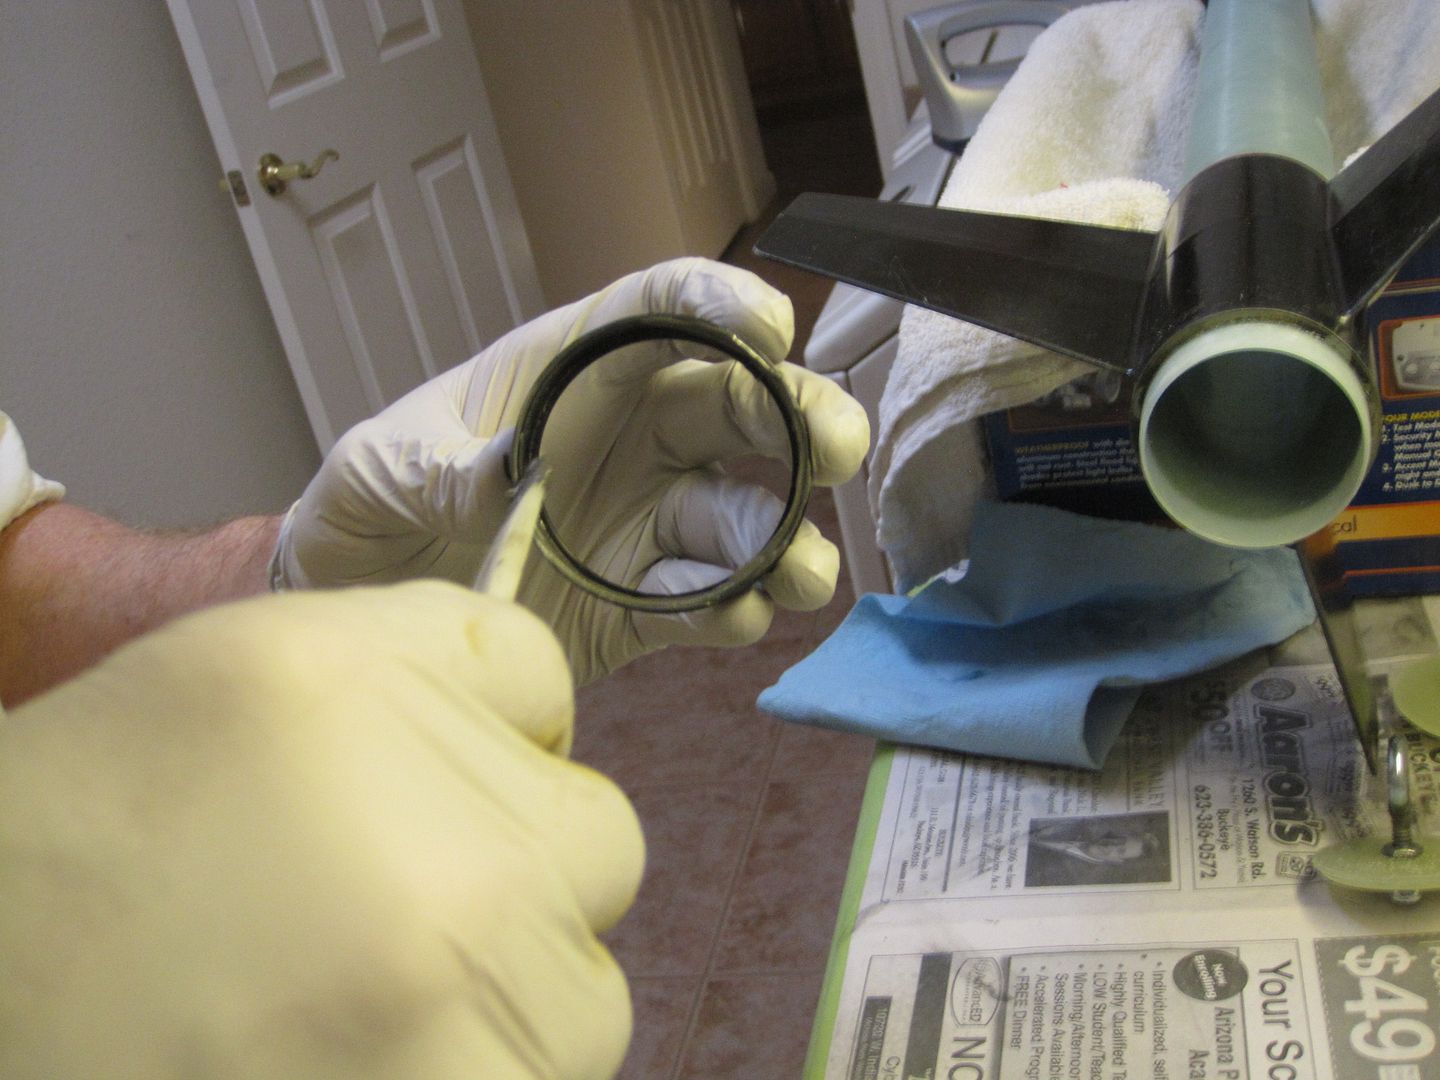
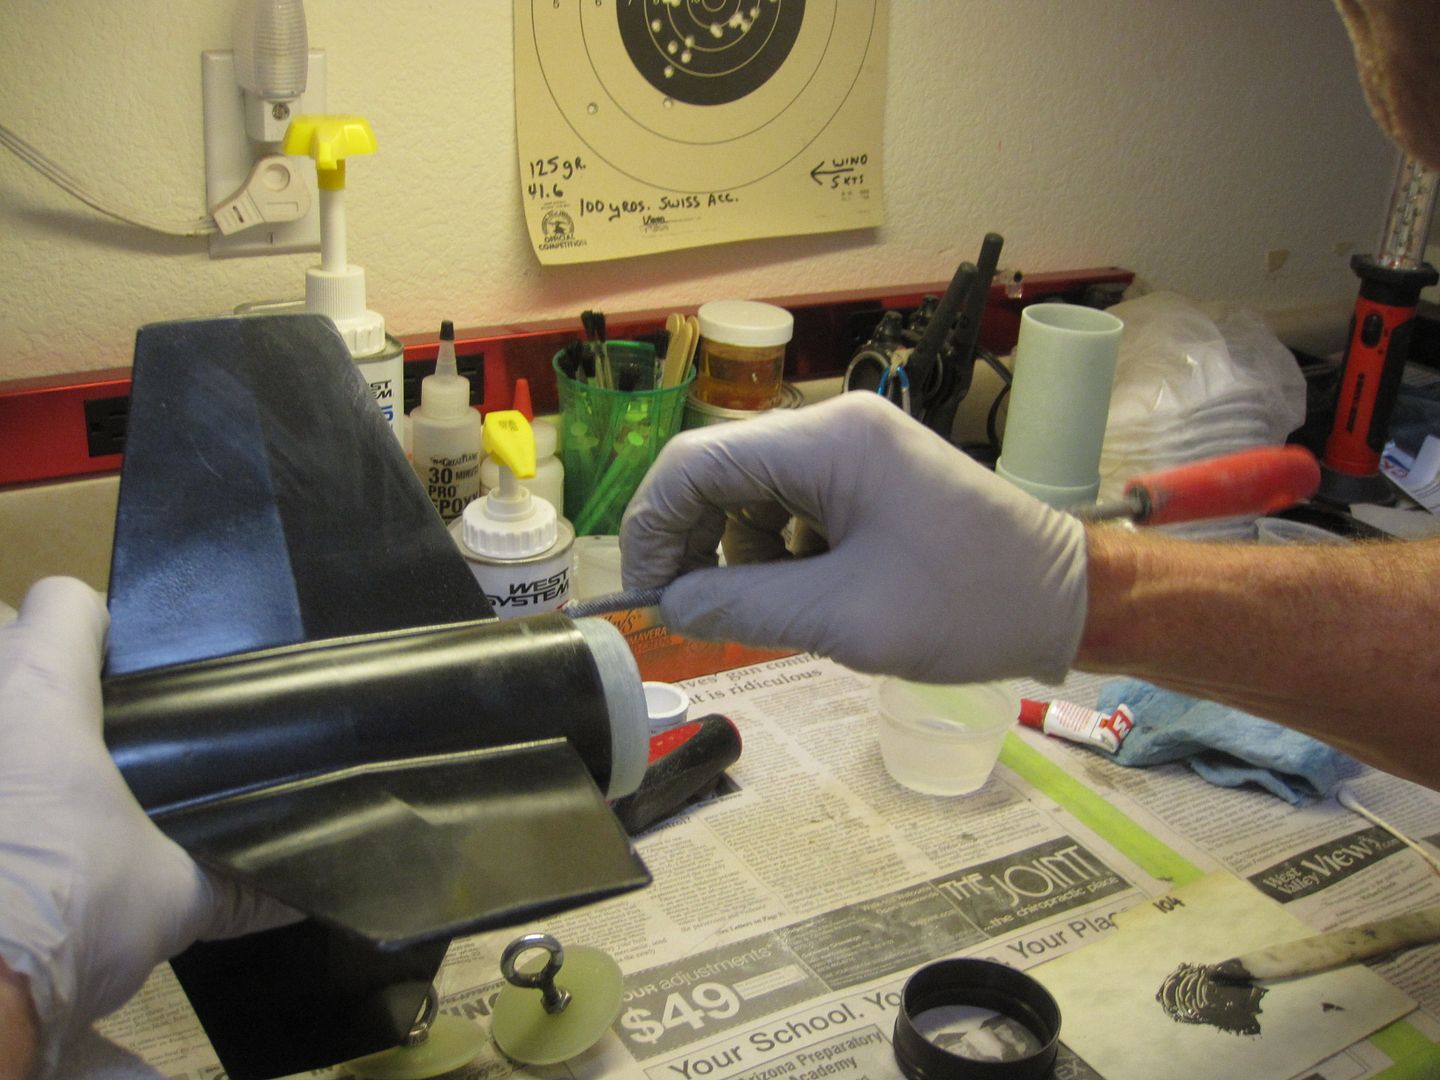
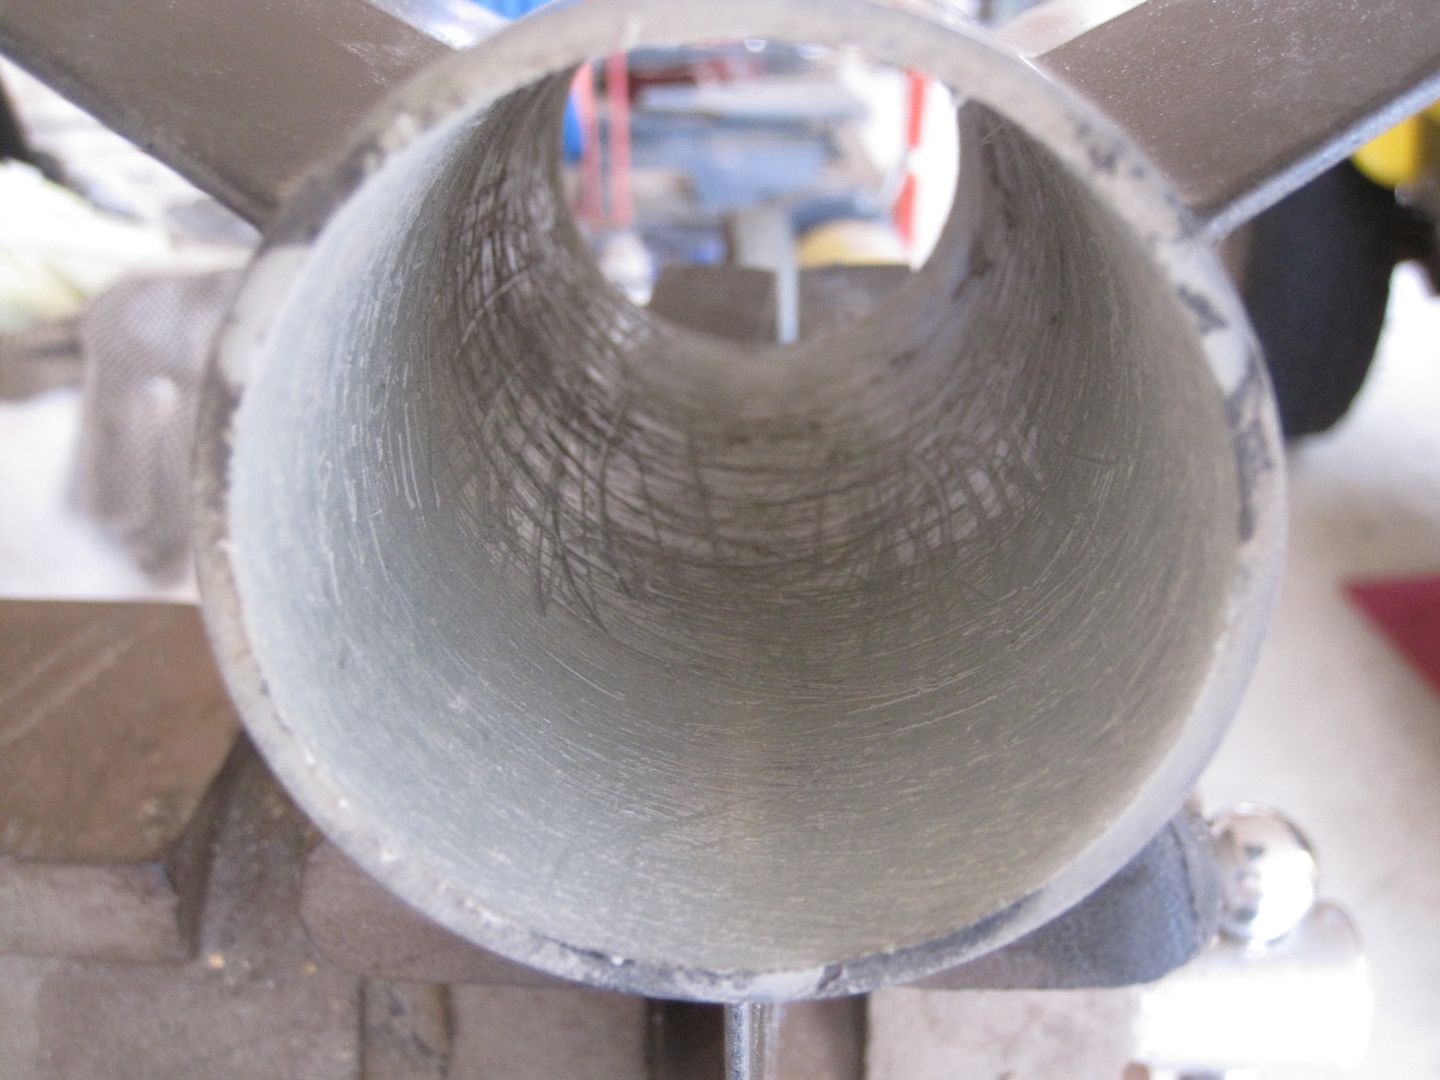
Since this will be a very simple build, I'm not planning on making this a build thread, but I will be posting up some pic's shortly.

 
Last edited:
OOOOOOH!!!

Shove a longburn in there, and it will:
"just keep going and going and going and going and going..."

:rofl:
 
You guys are very perceptive, I had already planned on using Testors electric pink lacquer on the nosecone and Acme fincan. The body will probably be VHT graphite wheel paint, same as I used on Coppertop.
Since I'm planning to get my Level 2 cert with this rocket, the J240 Red lightning will be for that, then on to the K160, K261 and if we make it to LDRS this year, I'm thinking the K300 for 15,400 ft. The J90 and J140 are too slow off the rod for what I'm guessing will be a 6 lb. rocket.
But I digress, what I'm looking for is advise on epoxy.....


Last edited:
to model your nosecone in OR, I would make the metal tip the nose cone with a fg transition.
rex
 
to model your nosecone in OR, I would make the metal tip the nose cone with a fg transition.
rex

Thanks for the tip Rex, spent a little time filling in some stuff in OR:
2013-01-26TheBunny_zps64aa8f24.jpg


So far I'm surprised by how easy it was to work with OR. It's raining here today,
:eyepop: so I can't finish the paint on Coppertop, but I did some prep work on all the fg parts I need to fit together for this rocket. It dawned on me that I should weigh all the components and add them to my sim before I glue everything together. So, there are the results. Now I'm getting ready to mix some epoxy, and I like to have everything prepped in case there is some left over.
Roughed up the tube and inside the Acme fincan:


012-3_zps7d77e479.jpg


Hey Juan, recognize anything there?
Here is my designated epoxy station in the laundry room:
013-2_zpsb466d734.jpg


This could all get done in about an hour, but I get a little nervous at this point in a build, so I'm gonna go eat lunch and hit it later today.
 
Last edited:
Looking good Wayne! I never used West systems 105 but I know people use it for laminating and structural. If you have the fast hardener it will be for structural I believe. Good luck on your Level two!
 
heheh, before you know it you'll be using OR as a form of recreation :). glad I could be of assistance.
rex
 
After a delicious PB&J I jumped on this build and glued it all together, mostly.... Started with one pump of WS 105 and one pump of 205 fast hardener, added a little milled fg and a pinch of chopped carbon fiber, mixing as I added each ingredient. Buttered up the tube and the fincan:
001_zps85a83706.jpg


002_zps73647254.jpg


Slid it on nice and juicy:
005_zpsc6de2332.jpg


Kinda orgasmic, huh? That was so much fun, I did it again at the other end with a 6" c o u p l e r.....
0082_zpse0edee3b.jpg


Then I wiped up my mess and moved on to the smaller parts.
 
Last edited:
Spread some more juice on the bulkhead/anchor and joined it with its other parts for (hopefully) a bulletproof anchor point at the top of the fincan:
016_zpscb4e4561.jpg

018_zpse872f4b8.jpg


Moving fast now, the epoxy is starting to thicken and I have a long way to go.....
019_zps04885127.jpg


Spread some more goop on the plug and the inside of the coupler:
020_zps5edf85ab.jpg


Oh boy, tight fit!
021_zps6eb5b53f.jpg


Couple of love taps and it's in:
025_zps64c49f67.jpg


Add a little more juice to the top and it's there forever:
027_zps651e2e5f.jpg


Once again, I'm wiping up my mess with alcohol and moving on to the last little parts....
 
Last edited:
The soup is turning into stew and I still have some bulkheads and the switch band to finish, so I'm really hustling now:
031_zpsb4885576.jpg


Stack up the avbay bulkheads and squeeze them together:
033_zpsa87eb6b5.jpg

039_zpsf200adc9.jpg


Too thick to do the switch band, so I spread a little more on the N/C bulkhead, just because it's there:
037_zps4dbb64e9.jpg


And then there is the inevitable cleanup:
043_zps2e58ce83.jpg


Last edited:
One more task before everything is set up, I wanted to get the Aeropac retainer on before the fincan was solid so I could squeeze them together. So I mixed up some JB weld and buttered up the retainer:
053_zps1c399e09.jpg


Cleaned up the end of the BT and roughed it up again with my rat-tailed file:
051_zps3d9dfe10.jpg


Spread some weld on the BT:
060_zpsc437085f.jpg


Slid that puppy on until it was up to the inner ring:
062_zps2e46205d.jpg


Then I slid the fincan back and squeezed out the excess:
063_zps73065eb4.jpg


And of course there is the inevitable cleanup, but enough for now. I will glue the switch band with some 5 min. epoxy later and start the avbay tomorrow.
 
Last edited:
Man you work fast, this is gonna look great when its done. Hopefully you can get the bugs worked out with the stralogger and DD.
 
This is my third avbay, so I think I'm getting the bugs worked out as far as layout is concerned. The first was a K and S avbay in Coppertop, and I documented it in this thread:
https://www.rocketryforum.com/showthread.php?44796-Estate-Sale-Coppertop-rocket

I bought the 8" fiberglass coupler from Wildman, along with the switch band and bulkheads. The forward bulkhead has a forged SS eyebolt and two tee nuts for the #8 allthread. I drilled two small holes to fit the posts from my terminal block through. The terminal block is from Mouser.com where I get most of my small electronic parts.
0012_zpsaace7c9d.jpg


I'm using 24 gauge stranded wire for all the wiring, starting by threading it through the bulkhead and soldering it to the posts:
0022_zpsd7990c79.jpg

The terminal block will be epoxied to the bulkhead.

The sled is set up with the battery on one side and the switch and altimeter on the other. I made a little block to mount the rotary switch in which makes it a lot easier to access with a screwdriver through a vent hole to turn it on. The Strattologger is mounted using the supplied standoffs:
0032_zpsbc346f38.jpg


The battery is mounted on the other side using a box I got from Missleworks. The positive terminal is connected to the rotary switch and then the wiring is threaded through a hole in the sled to access the altimeter:
0062_zps31e83f63.jpg


Here is a view from the end inside the coupler:
0042_zpsf91e2972.jpg


Here is a side view to show the relationship of all the parts:
0113_zpsfd53c404.jpg


I'm waiting for an external speaker from Perfectflite to build the aft bulkhead, but here is a shot of the one I built for my DS Jr.:
0083_zpseea6f23f.jpg


I'm using Wildman's welded eyebolts for the aft coupler because they have a longer thread and that allows me to clear the external speaker. I wrap the speaker with metal tape to protect it from the ejection charge.
I will finish this up when I get the speaker from Perfectflite.


Last edited:
K160 would be great for this, but so would a K261. Really nice.
 
In April for Spring Blast. My mom is flying out from Texas to watch, talk about pressure!

I wish you the best of luck! I will be there for sure and will fly many rockets if I don't make another launch before.
 
I need to get hopping on this bunny, the launch is this weekend and I just started priming it. Finished the avbay yesterday with the external speaker on the aft bulkhead, no pic's yet, still need to download the camera. Started building the recovery with 12 ft. of 1/2" tubular nylon attached to 3 ft. of 1/4" kevlar. I have a 44" vented nylon chute from the estate sale I will try on this rocket. Still need to sew up some nomex pads for the various parts that need protection.
Got my Performance Hobbies order in yesterday too! WOOT!! Four one grain 54mm loads to feed my bunny with. I120 Imax, I140 Skidmark, I150 Blue streak and I165 C-star.
Just got word from the SSS that our waiver has been upped to 12,000 ft. with no call in, so I'm good when I want to fly that K160 long burn to 10,000 ft. Just need a tracker......
Got really lucky and scored a 2 and 4 grain CTI casing off the forum last week, so I'm hoping to score the I100 off Jack at ARG. Six sec. burn time to 3300 ft., perfect for dual deploy on this rocket.

 
Wow, nice pics Wayco !

The extra coupler through me off - in the pic 'Tight Fit' (insert joke here) you are glueing in a bulkhead - is this dedicated Electronics or was that the nosecone coupler or ??

Very nice avbay and fin can - glad you are embracing the KISS in your pursuit of L2, sounds like you will take advantage of the cert special also with the Redline - more hardware! Will have to compare notes on trackers/gps - looks like we are both shopping

If you use any kevlar from Fudd, you will have to rename the build to 'Kill the Wabbit ! "

Kenny

The "Tight fit" coupler is at the top of the fincan, same as in "Coppertop". I have had two seperations with my "Duke Nukem" LOC rockets where the kevlar cord pulled out of the MMT/upper centering ring anchor point, so this rocket has a forged eyebolt bolted through 1/2" plywood sandwiched between a fender washer and a G-10 fg bulkhead.
If I were really brave, I would get the J355 3 grain red lightning for my cert load, but it sims to 9175 ft. Definitely need a tracker for that! The J140 white longburn would also put it up there at 9553 ft. Either of those would give me a 3 grain CTI casing and fill the gap between the two casings I got from atxcple.

Sharon and I are currently putting together an order to Stickershock for several rockets, I wonder if I would get into trouble stealing this image:
TheBunny-1.jpg
 
Last edited:
So, how do you paint a six foot long rocket?
I took the bunny outside and mounted it on a 2" PVC pipe. Shook up the primer and climbed onto my step ladder:
0034.jpg


After sanding down the primer, I painted the N/C and fins with Testors Electric pink one coat lacquer. Just finished up with the VHT graphite wheel paint:
0104.jpg


Now I need to make that Stickershock order.

 
Last edited:


Sharon and I are currently putting together an order to Stickershock for several rockets, I wonder if I would get into trouble stealing this image:
TheBunny-1.jpg


Not if ya changed "energizer" to "Enerflyzer'' ....LOL!

The EnerFlyzer Bunny!
 
Back
Top