

dixontj93060
Well-Known Member
- Joined
- Feb 19, 2009
- Messages
- 13,083
- Reaction score
- 45
Way cool! what's the powerplant going to be?
Likely first flight will be on a J340 Metalstorm.
Way cool! what's the powerplant going to be?
Likely first flight will be on a J340 Metalstorm.


Earlier in this thread I mentioned having seen a similarly themed rocket at Snow Ranch. Well, this Saturday said rocket was on the Snow Ranch range. I mentioned your Battle Axe project and asked the owner to pose for a photo.
The photo of the "Blade-O-Death" and owner is attached.
.jpg")

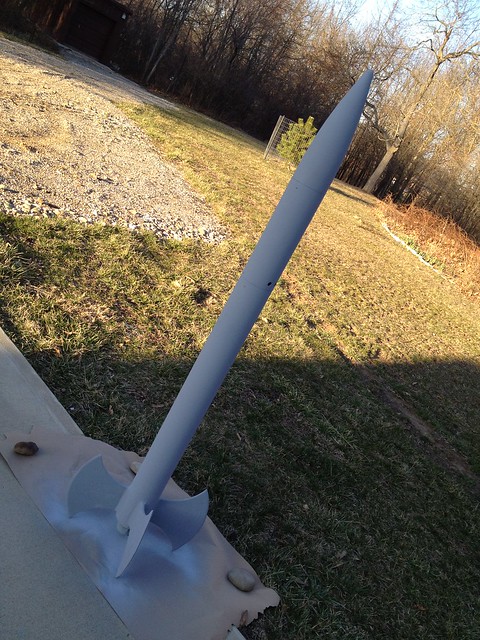
Yea..waiting for primer pics..
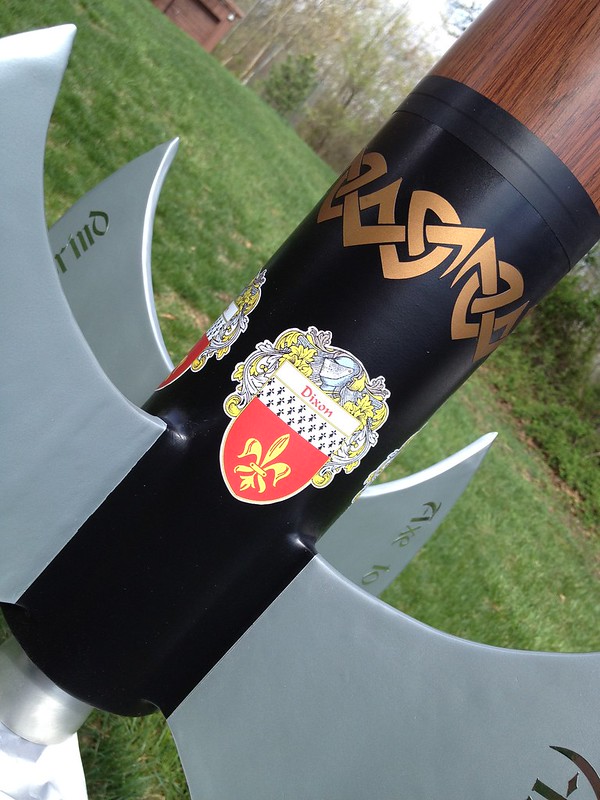
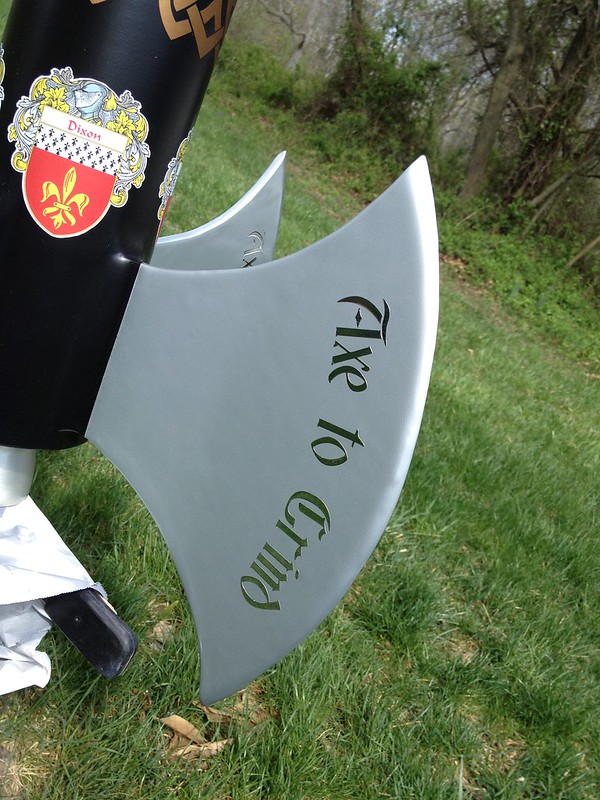
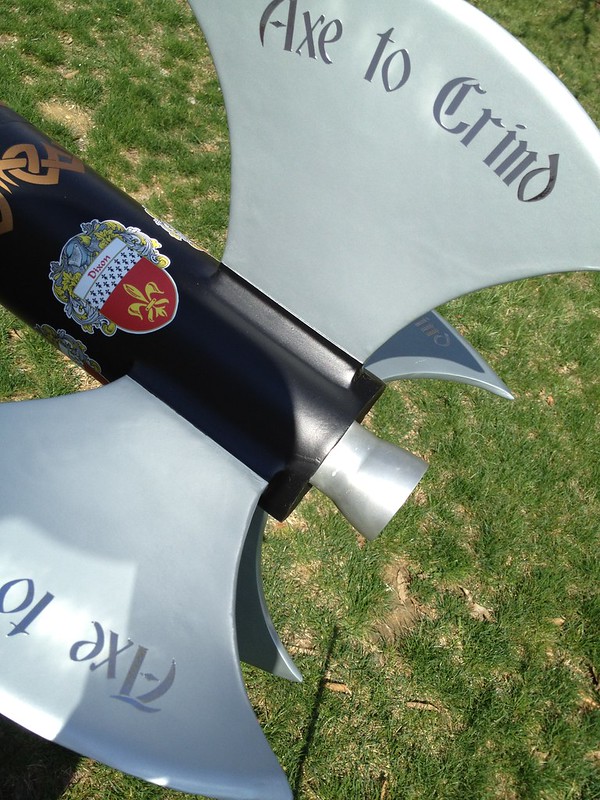
Truly Magnificent Sir Dixon.
Beautiful!!! cannot wait to see her fly. Any prediction as to what day you will fly it?
Outstanding work!! Good job man!!
Truly nifty!
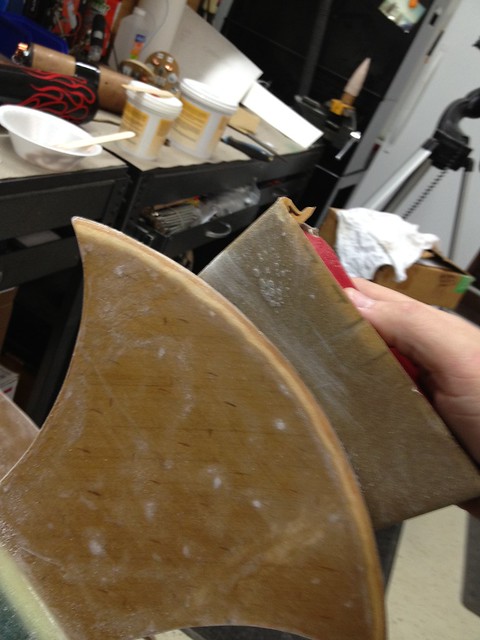
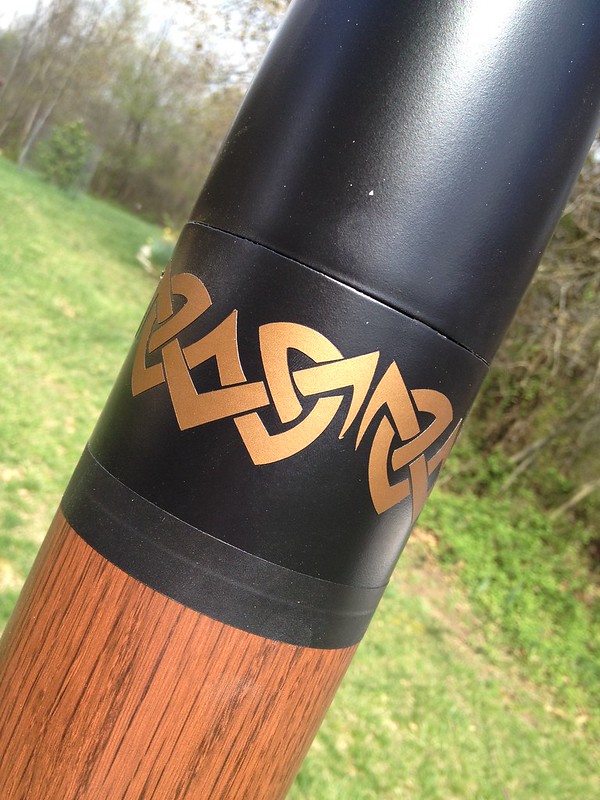
How did you do the woodgraining?
Enter your email address to join: