NEW 8" GIZMO XL FROM PERFORMANCE ROCKETRY

The Rocketry Forum

Help Support The Rocketry Forum:

This site may earn a commission from merchant affiliate links, including eBay, Amazon, and others.
Dude, at that price, everything is extra! :point:

G.D.

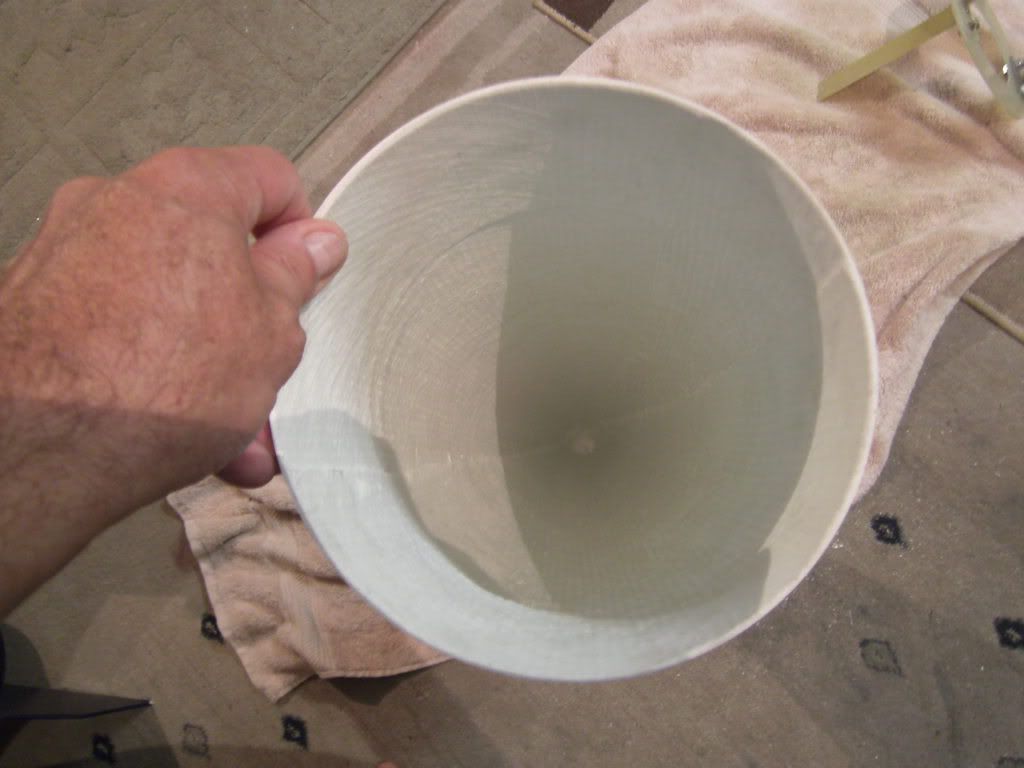
Rocketry Warehouse is including a decal by Stickershock as soon as they receive them. Got my kit yesterday and have been working on reducing the tight nosecone fit. Have already roughed up the fin, centering rings, motor mount, and body tube joints. More to come, if anyone is interested.

Fred
 
Here's how I sent up my GIZMO XL for DD, Essentially I turned the Nose cone into my Av-Bay.

  • First I cut a 4" hole in the NC Bulk plate.
  • I then cut a second small rectangle hole in the bulk plate where the electronics can slide in and out of.
  • Next was adding a section of 4" G12 down the center of the NC to house the Main.
  • I fabricated an Av-Bay hatch and sled and used a piece of angle aluminum to connect the two.
  • On the sled is an RRC2 Mini, Battery and switch.
  • On the hatch are two E-Match connectors, One for the drogue's E-Match that goes right into a small Blastcap and the second that goes down into the 4" G12 tube positioned under the main chute and shock cord.
Everything on the inside of the NC is completely sealed off from the outside making IT! my Av-Bay.

I put the NC on the BT, Drilled 3 static port holes through the BT and the NC shoulder, I then put (3) 2-56 shear pins around the BT to one stop the NC from drag separating and 2 to keep the static port holes lined up between the BT and NC shoulder.

The static port holes are 3" down from the edge of the BT, I've used this same spacing plenty of times before with NO ill effect on the altimeters due to turbulence, I also set the Mach delay NOT for Mach flights but just so the altimeters ignore the first 6 seconds of the flight just to be safe.


Inside of the NC
002-2.jpg

NC Bulk Plate with hatch, sled and Drogue Blastcap
003.jpg

The bottom of the 4" G12 tube the Main goes in.
0062.jpg

Underside of the Bulk plate.
0042.jpg

009-1.jpg

010-2.jpg

013-1.jpg

011-1.jpg

015-1.jpg

Static Port hole and 2-56 shear pin hole

016-1.jpg
 
Last edited:
Gary, your builds are truly amazing...amazingly clean. Your altimeter placement on this Gizmo XL is very interesting. Is there another Blastcap at the bottom of the 4" nosecone tube to eject the main chute? Or, is there a drogue and Tender Descender or such to get the main out? Please post pictures of the first flight(s).
 
Gary
Looks like a great build. It must be to early in the morning but how does that make for DD set up?
The BlastCaps are great
Thanks
GP
 
Looks like a great build. It must be to early in the morning but how does that make for DD set up?

Speculating...

When the nose comes off, that will allow the drogue to come out. The main will be retained inside the 4" tube inside the nosecone. There's a charge at the "bottom" (tip of the nosecone) that pops the main out at the appropriate time.

My only real concern is the use of an RRC2 Mini (baro altimeter), in a nosecone, where the airflow isn't going to be clean.

-Kevin
 
Mark:
Thanks much for the compliments. No I didn't put a Blastcap in the bottom of the Main chute tube, It would just be to hard to reach, fill etc.

For the main charge I plan to use a plastic container such as the ones that come with the AT loads. Drill a small hole in the container, Add the E-Match and appropriate amount of BP and place in the bottom of the 4" tube.

The bolt in the above pic at the bottom of the 4" tube is just to block the hole in the bulk plate I used.


Todd, I didn't think this beast would appeal to you? I know how you like those Mach busters! It really is a pretty cool rocket though.

I'll be sure to post pics of the 1st launch, Still not sure what motor I'll use but it will most likely be one of the 3G CTI loads. L851WH, L995RL or the L1720WT
 
Kevin:
I knew that question was going to come up sooner or later, I've used this set up plenty of times before in other rockets with out ever having a problem. I've flown it with the delay on and off and still no problems.

Here is a scratch build I did using the same technique. MR-64

On the GIZMO XL the air flow will be plenty clean for the RRC2 Mini, With the Baro I can set the delay manually before its starts using any of the data it's collecting on the way up, But like I said I've tested it with the delay on and off with no trouble.

Think of when you toss one up to 10-15K, The drogue comes out and the bird falls for over 10k, Its tossing, turning, spinning, gaining speed, slowing down and hitting all kinds of cross winds yet all this never affects the altimeter.

I would agree if you place your static port holes ON the slope of the NC then you got troubles, But 3" down from the edge of the BT it will work just fine.
 
i was wondering since this is such a stubby rocket is a 0.56 margin too close or should i add weight to 1.2 like i usually run? I found a sim file for these. I ran a sim with a 76-6000 loki M2550 in it.

9423 ft agl at 1.2 mach 0.56 stability margin.
 
Shane:
Nose weight will most likely be needed, How much will depend on the individuals build technique and what motors they plan to fly.

For short stubby rockets like this a .56 margin between your CP & CG will work just fine, Actually thats about what I'm running on mine.


For mine worse case scenario is a 2G 75mm load where I'll get the .56 caliper,
3G 75mm its a tad better due to the longer motor, 4G even better and dropping to the 54mm loads its even better.
 
Speculating...

When the nose comes off, that will allow the drogue to come out. The main will be retained inside the 4" tube inside the nosecone. There's a charge at the "bottom" (tip of the nosecone) that pops the main out at the appropriate time.

My only real concern is the use of an RRC2 Mini (baro altimeter), in a nosecone, where the airflow isn't going to be clean.

-Kevin
That's how I built my Goblin. Allows for the motor to take the whole body tube length :)

https://www.rocketryforum.com/showthread.php?t=8709 includes video showing deployment sequence.
 
Gary
So if I see the picture right here your blowing nose cone off, the main is in the 4" tube in nose cone with another charge. How is main held in the 4" tube untill you want the laundry to deploy?
Thanks
GP
 
Gary
So if I see the picture right here your blowing nose cone off, the main is in the 4" tube in nose cone with another charge. How is main held in the 4" tube untill you want the laundry to deploy?
Thanks
GP


G:
The main can be held in place in a number of ways, 1 it's not really going to want to fall out as it creates a vacuum when pulled out, The charge goes in first then some dog barf or a Nomex blanket, Then your shock cord and lastly the main.

To hold the main in I'll be using 2-3 strips of 2" tape over top then one around the circumference of the 4" tube. You can also make a piston, Connect it to the mains pilot chute ring then use shear pins to hold it in.

IMO the tape will work fine and is much easier, Also when flying a 4G 75mm Load the case will extend partially into the 4" tube where the piston method will get in the way.
 
Look good, Gary! Very slick altimeter bay and dual deployment scheme.
 
The bottom of the 4" G12 tube the Main goes in.
0062.jpg

Is the nut holding a shock cord anchor on the other side of the bulkplate? Great design by the way. The electronics sled beside the parachute tube is very slick. I may have to copy that idea on my next large diameter rocket.
 
No the Mains Shock cord gets connected to the U-Bolt on the bulk plate (opposite the Blastcap) Charge goes in the 4" tube 1st, Then your Shock cord then your chute.

You actually don't even need much of a SC.
 
Gary,
Great rig man, that looks awesome. What are you going to use for a main and how the hell did you get that rectangle hole so clean!! Lol also are you going to make tour nose weight modifiable? I'm interested in this design as I've never done it this way...trying to get my head around it...looks great!

Drew
 
Wow! I wish these parts were offerred as an addon for the kit. This is an awesome way to do dual deployment out of one tube.

Chuck
 
Drew:
Glad you like the design, For the main I'm using either a Starchute Large or a Cert-3 Large.

As for nose weight with all the components already in there I only needed to add like 3lbs which is permanent, With a 2G 75mm load I get about .56 calipers which is perfect for these fat stubby rockets, 3G 75 about .67.

The rectangle hole I'm still not happy with.. It could be cleaner lol


Chuck:
That may be a possibility down the road ;)
 
Gary
Have you ever had a problem with the main chute sliding out of the chute tube before the charge fires?
Thanks
GP
 
Back
Top