Estes Interceptor (K-50 or #1250) Gallery

The Rocketry Forum

Help Support The Rocketry Forum:

This site may earn a commission from merchant affiliate links, including eBay, Amazon, and others.

Micromeister

Micro Craftman/ClusterNut
TRF Supporter
Joined
Jan 18, 2009
Messages
15,074
Reaction score
102
Location
Washington DC
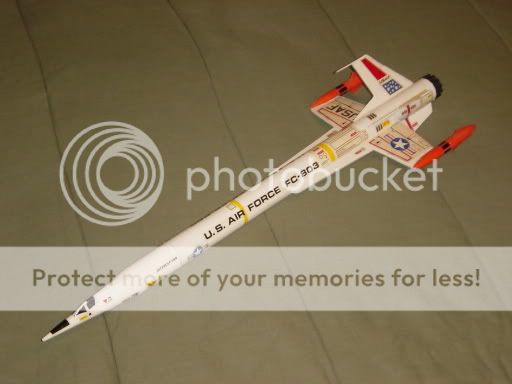
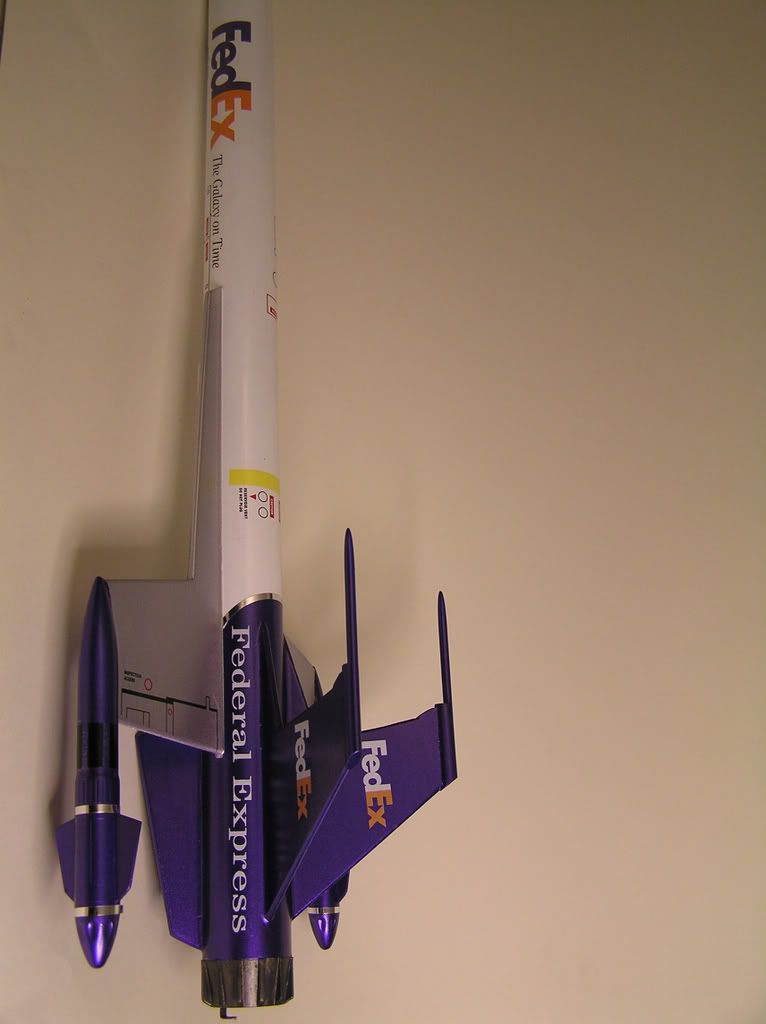
OK I'll bit: Off all the Classic Estes kits how come this one hasn't been featured yet?

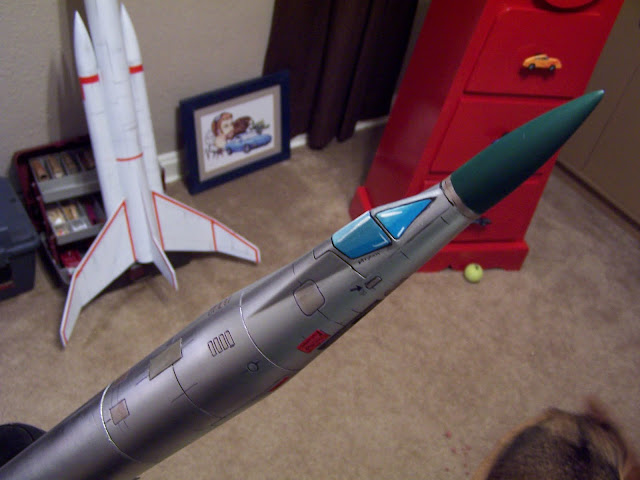
The Interceptor was more then likely the model that burned the most of my C6 motors in First fleet. I just couldn't fly it enough.. KEWL Sleek design just doesn't get old. Even now 4 decades later I still think its got to be one of the Slickest designs ever produced. Over the years my stock pile of original K-50 interceptors has dwindled to 2. and now we have the new version along with the Interceptor-E. haven't purchased the new standard size Interceptor so I'm hoping some of you others folks well have photos of the new kit. I did spring for a couple of the Interceptor-E kits. I very nice kit, even with the original offering decal problem.
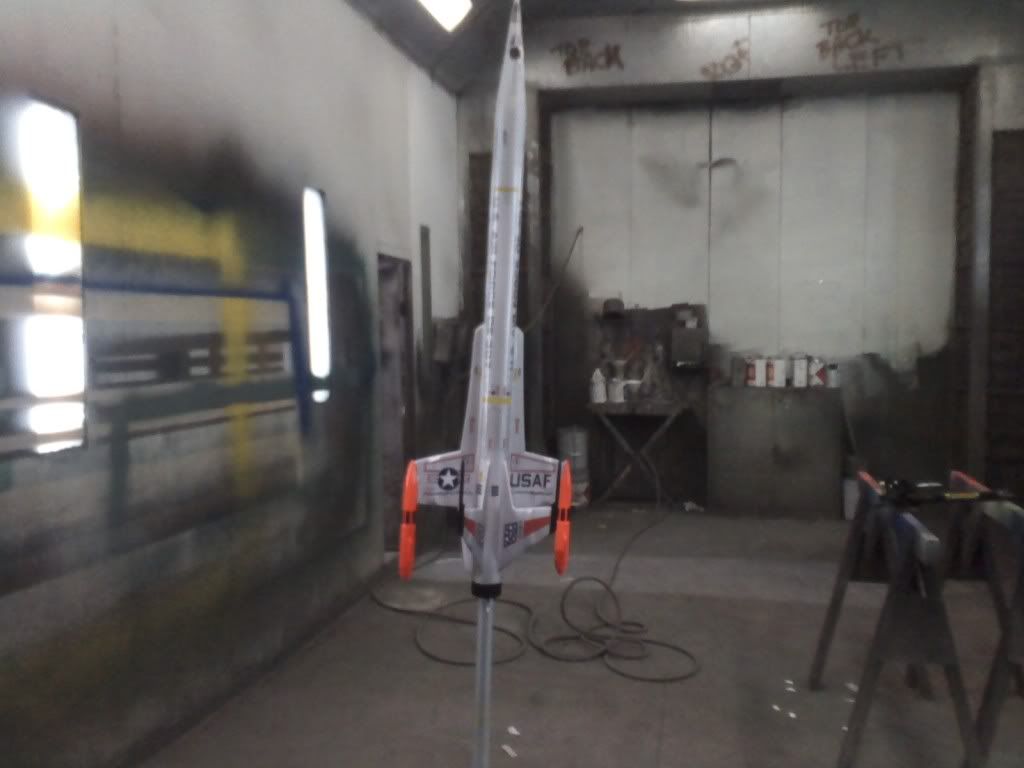
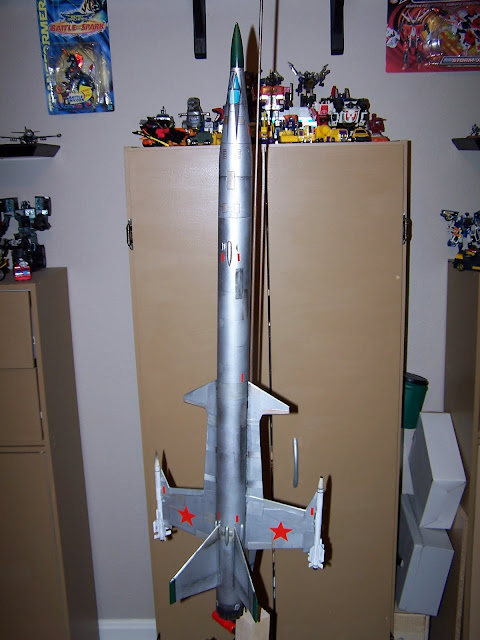
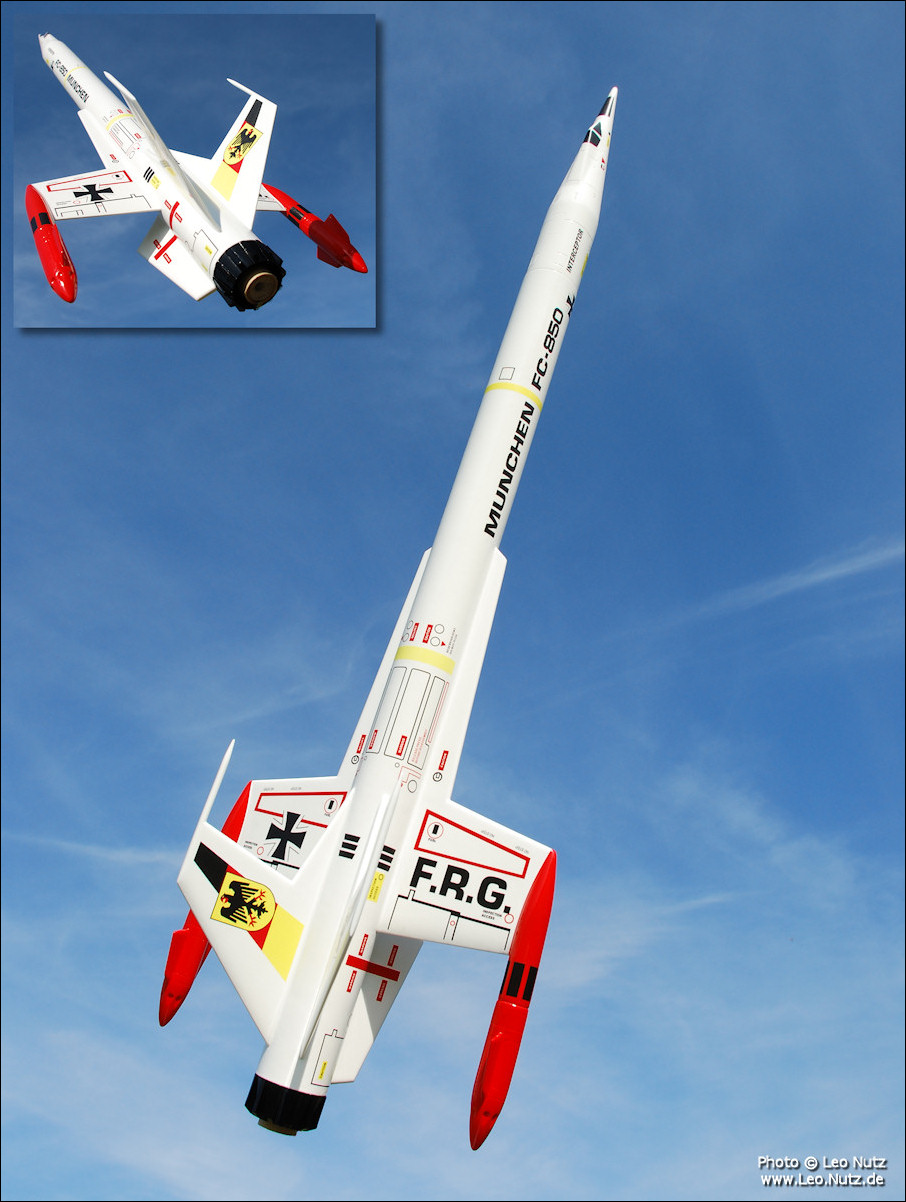
As one of my favorite models I of coarse HAD to downscale it to Minimium diameter Micro Maxx size which i've flown the heck out of as well. I think it's on flight 27 or so, has spent a few nights swinging in a couple different trees until the necessary equipment could be rounded up to retrieve her.
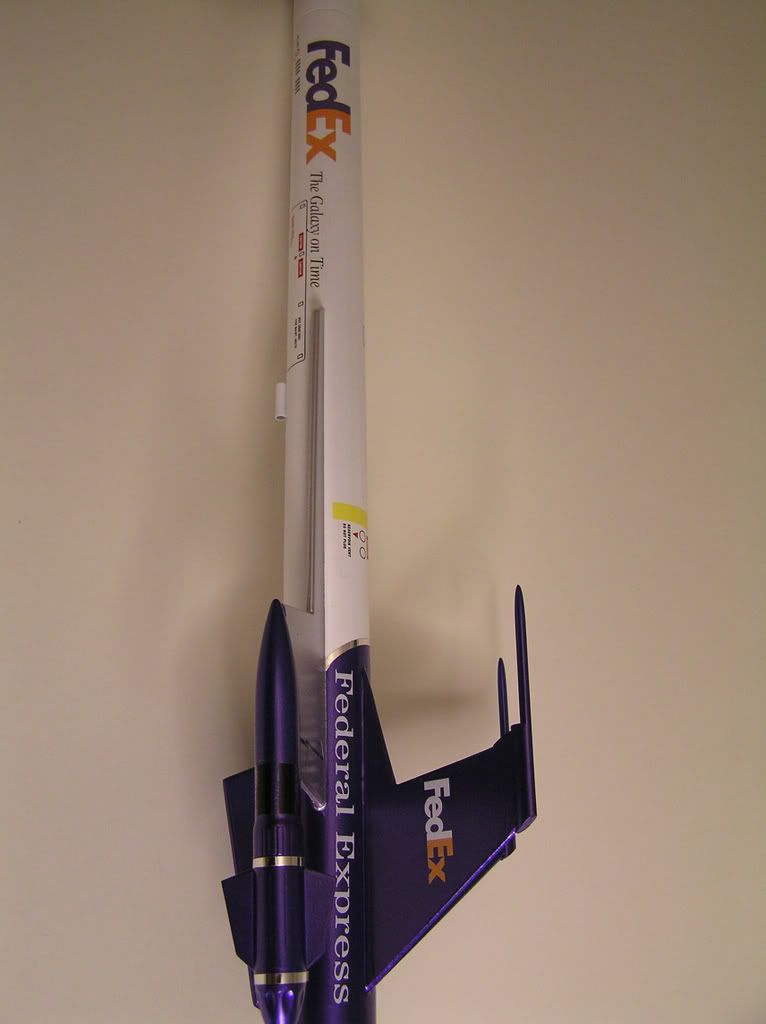
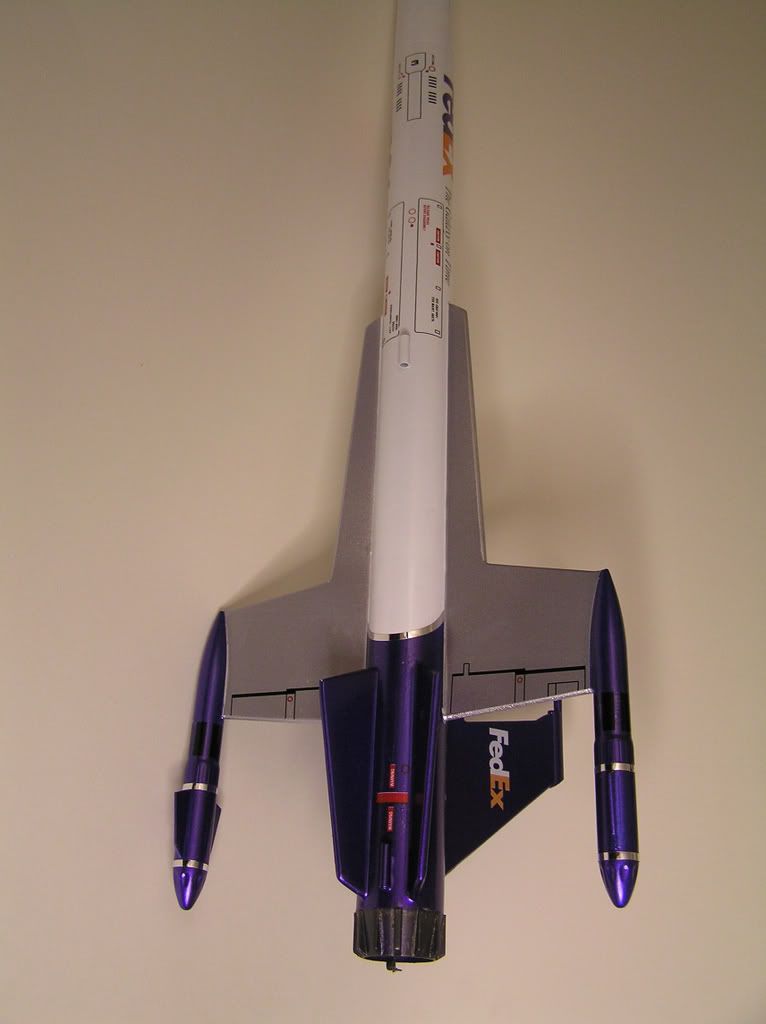
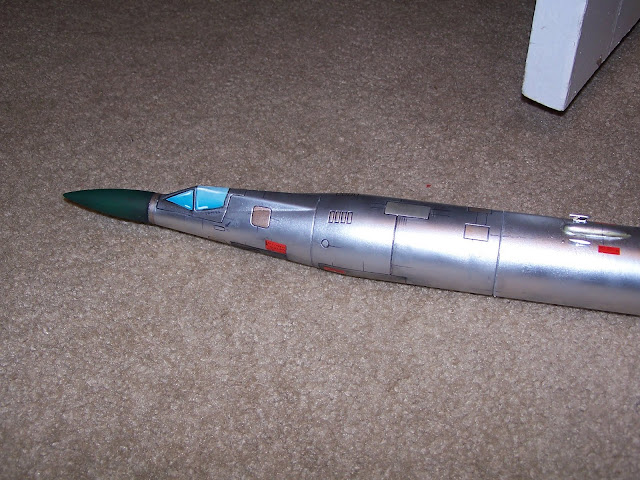
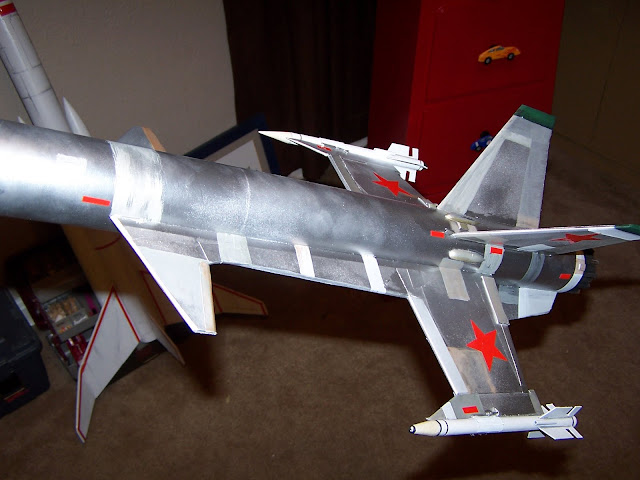
Like many of the Classic designs it really doesn't matter what scale the interceptor is rendered in.. they are all works of art:)

Intercepter-1-sm_1st fleet Estes best b&w_04-03-71.jpg

Interceptor-b4-sm_Preflight on Pad-39_12-04-71.jpg

Interceptor-b8-sm_results of B8-5 Prang Flt_06-10-72.jpg

009b3_Interceptor 3pic comparison(128dpi)_08-12-06.jpg

009Lp10c_Interceptor Flt 41 2 pic LiftOff(128dpi)_08-19-06.jpg
 
Last edited by a moderator:
A couple of the Micro and Interceptor-E in my fleet.

Sorry no liftoff or flight shots of the Micro Interceptor..it's WAY to fast to catch, I have plenty of smoke trail pics but have yet to catch it in the air.

Interceptor-E has yet to make it to the field.

474-a_Interceptor-E sideview_05-12-10.jpg
 
Last edited by a moderator:
Here's my Miniceptor based on a BT-20 body tube and 13mm motors.

mini.jpg
 
Time has not been kind. I've got a new one in the bag waiting for attention.

DSC03442.jpg
 
I don't have many good shots of it, here is our 'E' after clear coating on the stick in my booth, with the silver base color.

:cool:

0324101123a.jpg
 
You know how it is. You've got a favorite rocket design and you can't build just one. But why build exactly the same? There's other possibilities, upscales, downscales, or goonies, to name a few. Here's some of my variations on a theme.

View attachment 35251

Who doesn't love the Interceptor? I have a couple more to add to this family, the Briterceptor with decals from Phred, and a rebuild of my vintage bird.

What families have you built?
Share.......


------------
With Blade's permission, I have copied this post over and edited it for this thread.

Thanks, Blades!

JAL
 

Attachments

  • Interceptors.JPG
    Interceptors.JPG
    97 KB · Views: 88
Last edited by a moderator:
OK, I'm nowhere near the talent of the others in this thread, but here are my Interceptors, the original and the E.

G.D.

Last Import - 2.jpg
 
I made these BT-80 sized nose cones for a customer a while back.

CONESETS.JPG
 
Very impressive rocket! Nicely done! :clap:

Slightly premature, but thank you! ;)

Here we have an example of an SU-99 interceptorski which was captured when a rogue soviet pilot defected his craft to a South Korean Moon Base.:cheers:

100_3422.JPG


Seriously, I had a great time on this build and really learned a lot. The natural metal thing has always been very difficult for me and I haven't ever been thrilled with the results. This time, I am. The larger scale and the fact that it's a rocket and not a scale model gave me artistic freedom to try new techniques. Metal paneling in different hues was achieved through a variety of methods- thinned washes of grey and black paint over the base silver, buffing with a pencil eraser, shading panels with pencils and pastels and simple metallic paint. The heavy weathering was done with pastels, which worked really well on the panels painted with flat paint.

My proud F-9 Panther kit provided many of the detail bits. These were left over from the Force-5 project.

The markings are red trim monokote, cut to shape. This stuff has to be the best $3 i've ever spent in rocketry. I love it! Thanks Chris for turning me onto it.


100_3424.JPG


100_3420.JPG


100_3415.JPG


100_3409.JPG


I'm quite happy with the result. now to see if she flies. :eek:
 
My Interceptor. One of the first models I built when I returned to rocketry a few years ago.

Interceptor-forum.jpg
 
Next up was estes e interceptor :)

Post copied to gallery with permission

ie inflight1.jpg

IE2.jpg

ie3.jpg

ie4.jpg
 
Last edited by a moderator:
Upscaling is alot of fun. Here are 2 I did recently. The Interceptor is a 3X upscale and is about 78 inches long. Flys on I and J motors The graphics were done by Stickershock 23. The Cherokee D is a 2X upscale and is 47 inches long. Flys on a G motor.

Post copied to gallery with permission

Launch day 1.jpeg

Chewrokee G.JPG
 
Last edited by a moderator:
]Slightly premature, but thank you! ;)

Here we have an example of an SU-99 interceptorski which was captured when a rogue soviet pilot defected his craft to a South Korean Moon Base.:cheers:

100_3422.JPG


Seriously, I had a great time on this build and really learned a lot. The natural metal thing has always been very difficult for me and I haven't ever been thrilled with the results. This time, I am. The larger scale and the fact that it's a rocket and not a scale model gave me artistic freedom to try new techniques. Metal paneling in different hues was achieved through a variety of methods- thinned washes of grey and black paint over the base silver, buffing with a pencil eraser, shading panels with pencils and pastels and simple metallic paint. The heavy weathering was done with pastels, which worked really well on the panels painted with flat paint.

My proud F-9 Panther kit provided many of the detail bits. These were left over from the Force-5 project.

The markings are red trim monokote, cut to shape. This stuff has to be the best $3 i've ever spent in rocketry. I love it! Thanks Chris for turning me onto it.


100_3424.JPG


100_3420.JPG


100_3415.JPG


100_3409.JPG


I'm quite happy with the result. now to see if she flies. :eek:[/QUOTE]
 
I'm building this one as a display only project. Did some minor modifying. Still a long way to go , but having fun. Have two more I'll be starting soon. They will be twins and much more altered. I hope I do the kit justice. One will be display the other flying101_1270.JPG

101_1320.JPG

101_1323.JPG
 
The soviet version was amazing and the american one as well. Why not fly it bud? Just a suggestion you understand:)
Cheers
fred
 
The follow on I'm building is flyable and will use glide recovery. I don't want to get to radical with a planform change so I'm working out some CG challenges now. The one you see pictured was modified from the beginning to be non flying with cockpit detail- gun bay detail and all that jazz.
 
The follow on I'm building is flyable and will use glide recovery. I don't want to get to radical with a planform change so I'm working out some CG challenges now. The one you see pictured was modified from the beginning to be non flying with cockpit detail- gun bay detail and all that jazz.
Sounds awesome:)
Cheers
Bill
 
A project that began in December 2007 and ended today, May 2011 :)

Introducing the .....

Deutschceptor

deutschceptor.jpg


  • Thanks to Mike Schmidt from Moldin' Oldies for the great casting parts (nose cone, wing pods and exhaust)!
  • Also thanks to Fred at Excelsior Rocketry for the decals. They rock!

Es sieht wunderbar. Ich biete Gratulation zu diesem wunderbaren Projekt.
 
Back
Top