You are using an out of date browser. It may not display this or other websites correctly.
You should upgrade or use an alternative browser.
You should upgrade or use an alternative browser.
Anyone Have The LOC Viper III Flying On 24mm?
- Thread starter TopRamen
- Start date


Help Support The Rocketry Forum:
This site may earn a commission from merchant affiliate
links, including eBay, Amazon, and others.
green dragon
Well-Known Member
- Joined
- Oct 25, 2009
- Messages
- 349
- Reaction score
- 120
Now you've done it! Seeing it for those prices is too good to pass up! That said, what's up with the Decal? It is different than the one on the LOC Site. I want the Decal from the LOC Site. Can I order just the Decal from them?
The Photo on the Hobbylinc site is from an earlier LOC catalog, built by Ron Schultz and probabally painted and hand lettered, like most of his birds. See the catalog scans on Ninfinger for the older look for the kits. ( which, personally, I like better than the modern ones on the LOC site ) .
 I'm sure I likely have something in my Junk Drawers or one of my Sheds.
H_Rocket
Death by Powerpoint
Rather than use a threaded rod, try this instead.
Get a 1/4-20 hex standoff and epoxy it into the void between the mmt tubes and recessed about 1/2". Then use a machine screw and washer to secure the motors. The advantage here is that the motor exhaust will corrode a sacrificial part rather than a rod that may be a B***H to swap out.
Get a 1/4-20 hex standoff and epoxy it into the void between the mmt tubes and recessed about 1/2". Then use a machine screw and washer to secure the motors. The advantage here is that the motor exhaust will corrode a sacrificial part rather than a rod that may be a B***H to swap out.
green dragon
Well-Known Member
- Joined
- Oct 25, 2009
- Messages
- 349
- Reaction score
- 120
Al has a good suggestion there. That's exactly how I set up my King Viper III, is the threaded (coupler nut ) epoxied into the center space, and use a bolt and large fender washer, even with 38mm adapters.
H_Rocket
Death by Powerpoint
Funny thing is I used threaded rod on my KVIII. I actually had a piece of 5/8 running the full length of the mmt and anchored to the bulkhead. The idea was to put additional strength into the tail end. When the 3 x K550 tore it apart, the rod actually bent in half! :y:
TopRamen
SA-5
- Joined
- Aug 9, 2013
- Messages
- 9,955
- Reaction score
- 111
Dang! Too late for that!
I dry-fitted all the Parts first, and found that the Centering Rings actually held the MMTs apart by a tiny Fraction of an Inch. Because of this, I glued the Tubes together about 3/4 of the length of them, then before the Glue set up, I installed the Rings. Had I have simply gone and glued the Tubes together as per the Instructions, they would not have fit into the Centering Rings.
After they dry, I'll hit them up with some more Fillets.
Last edited:
rocketgeek101
Well-Known Member
looking good! (both the Viper and the Alarm:wink")
TopRamen
SA-5
- Joined
- Aug 9, 2013
- Messages
- 9,955
- Reaction score
- 111
TopRamen
SA-5
- Joined
- Aug 9, 2013
- Messages
- 9,955
- Reaction score
- 111
This is how I started, because I did not want the Force of Hydraulic Compression warping my MMTs. I laid the Steel into the Fillet, then added little bits of Cotton peeled off of a Q-Tip, to form a "Build up" around the Steel Rod, which is only threaded for the last Inch. I cut notches in the Rod, and made sure it went far enough inside. Then I put the Cotton Fibers on it and rotated it to allow the Fibers to build in a concentric Fashion. After this was setting up for about 25 Minutes, I went at matching up the Final Tube and the Rings.
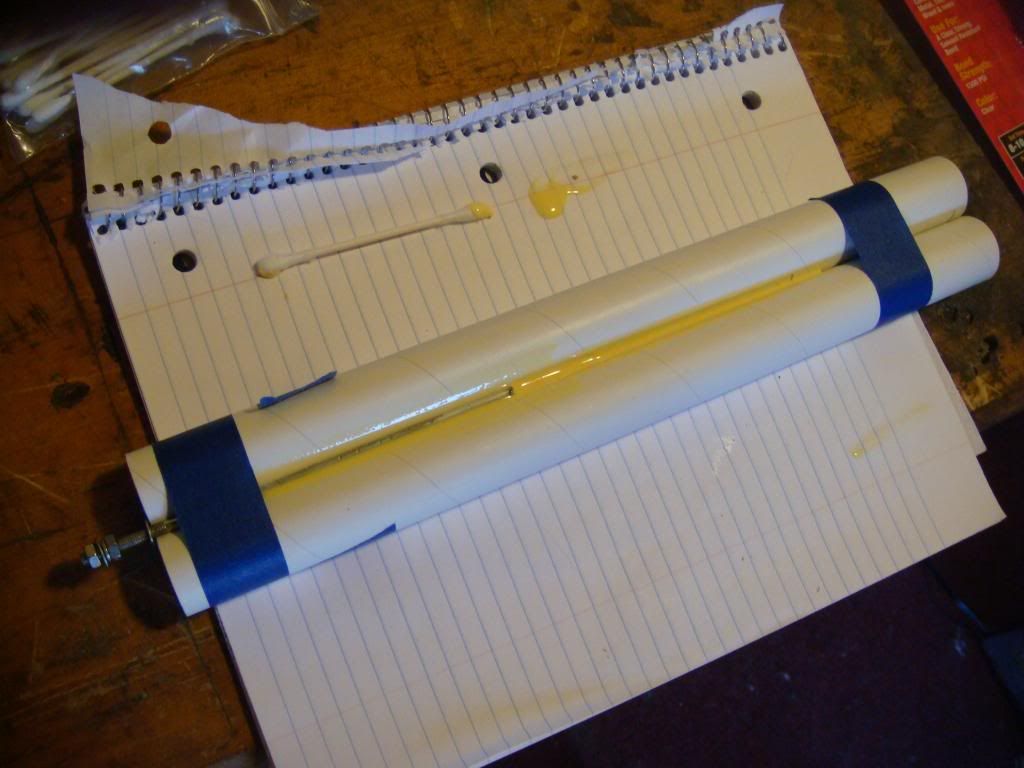
This whole Process was a lot easier than I make it look. Just Dry Fit your Parts first and get a feel for the Tightness of the Centering Rings. I feel that Titebind II is adequate to assemble this Part, but I'm using Epoxies and TB III in this build too eventually. Each one has a Quality that will be ideal for each Situation.

This whole Process was a lot easier than I make it look. Just Dry Fit your Parts first and get a feel for the Tightness of the Centering Rings. I feel that Titebind II is adequate to assemble this Part, but I'm using Epoxies and TB III in this build too eventually. Each one has a Quality that will be ideal for each Situation.
Last edited:
TopRamen
SA-5
- Joined
- Aug 9, 2013
- Messages
- 9,955
- Reaction score
- 111
I recommend this Build to Everyone that is looking for something just a little bit Different. It is so easy that it should be a Skill Level 1 Rocket. It does'nt even have Motor Retainers or a Motor Retainer System.
I'de gladly pay more for a Kit of this Quality, and the Parachute is made beautifully too.
I can't wait to try out my second LOC Kit! This thing is too fun! Three D-12 Motors? I've never done that. I understand I'll have to order up some of those Quest Ignite Everything Igniters.
I'de gladly pay more for a Kit of this Quality, and the Parachute is made beautifully too.
I can't wait to try out my second LOC Kit! This thing is too fun! Three D-12 Motors? I've never done that. I understand I'll have to order up some of those Quest Ignite Everything Igniters.
Last edited:
grouch
Well-Known Member
Come on down to CATO and fly it with us. We drag race the viper 4's but wouldn't kick out a 3, maybe give you some good nature ribbing about forgetting a motor....
We do it on D12's
rick
Maybe we should all build Viper 3's now? Been thinking about it just for the fact that it only takes one package of Estes to put it in the air.


TopRamen
SA-5
- Joined
- Aug 9, 2013
- Messages
- 9,955
- Reaction score
- 111
Well, looks like that's finished for now. I'll have to find a heated Garage to do my painting in and bring my Respirator.
Mods I made were adding a Baffle, to which I mounted the Shock Cord via a Screw Eye, And I need to make up a Bulkhead for the Nose Cone because it seem to be stronger than using the Plastic Loop that's molded into the Cone. I papered the Fins too with regular Copy Paper. Also this leaves more room for my Chute/Lines, to which I'm going to attach an Altimeter, so I'll have to drill a small Hole or two into the Chute Compartment. Have not really looked into that yet.
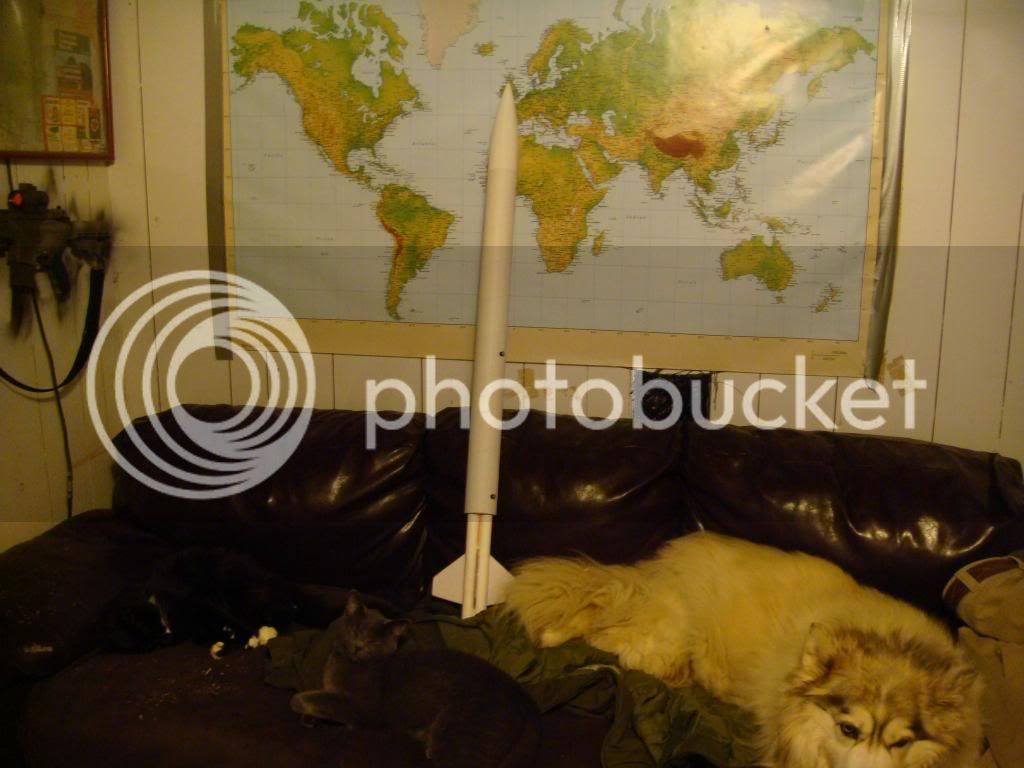
I'de rate this as an Easy Build. The quality of the included Components was "Top Notch", and left nothing to be desired.
Last edited:

Reytech
Well-Known Member
- Joined
- Jul 8, 2009
- Messages
- 85
- Reaction score
- 6
My buddy ordered one it came witholut the decals, but their website has the pattern for download. I printed a set for him, and it came out nice. That sucker flies great on a cluster of three AT E-15s and And probobly three F32's. Strong rocket with strong materials. A great selection!
Rey
Rey
Now you've done it! Seeing it for those prices is too good to pass up! That said, what's up with the Decal? It is different than the one on the LOC Site. I want the Decal from the LOC Site. Can I order just the Decal from them?
chadrog
Well-Known Member
- Joined
- Sep 27, 2010
- Messages
- 6,854
- Reaction score
- 21
My buddy ordered one it came witholut the decals, but their website has the pattern for download. I printed a set for him, and it came out nice. That sucker flies great on a cluster of three AT E-15s and And probobly three F32's. Strong rocket with strong materials. A great selection!
Rey
Must have been awhile ago, they don't have that available anymore since they've started selling the vinyl.
Reytech
Well-Known Member
- Joined
- Jul 8, 2009
- Messages
- 85
- Reaction score
- 6
Reytech
Well-Known Member
- Joined
- Jul 8, 2009
- Messages
- 85
- Reaction score
- 6
Yes. It was a while ago. I didn't know they took the decal patterns down.
Rey
Rey
Must have been awhile ago, they don't have that available anymore since they've started selling the vinyl.
TopRamen
SA-5
- Joined
- Aug 9, 2013
- Messages
- 9,955
- Reaction score
- 111
Got the Primer on finally, thanks to the nicer Weather. The Nose Cone has the most abominable Molding Lines, so I just said "Go crazy with the Bondo!!!". I'm sure it will look fine once I sand it all down. I sanded the Molding Lines as far as I could without wearing a Flat Spot into the thing, so Bondo had to come into play. No Worries.


TopRamen
SA-5
- Joined
- Aug 9, 2013
- Messages
- 9,955
- Reaction score
- 111
Here it is now, hanging up to dry. I put one of the Vinyl Bands on it already because I needed a spot to use for holding the Masking Tape.
It's sunny, breezy, 80 Degrees and low Humidity today, so it's a perfect Day for painting.
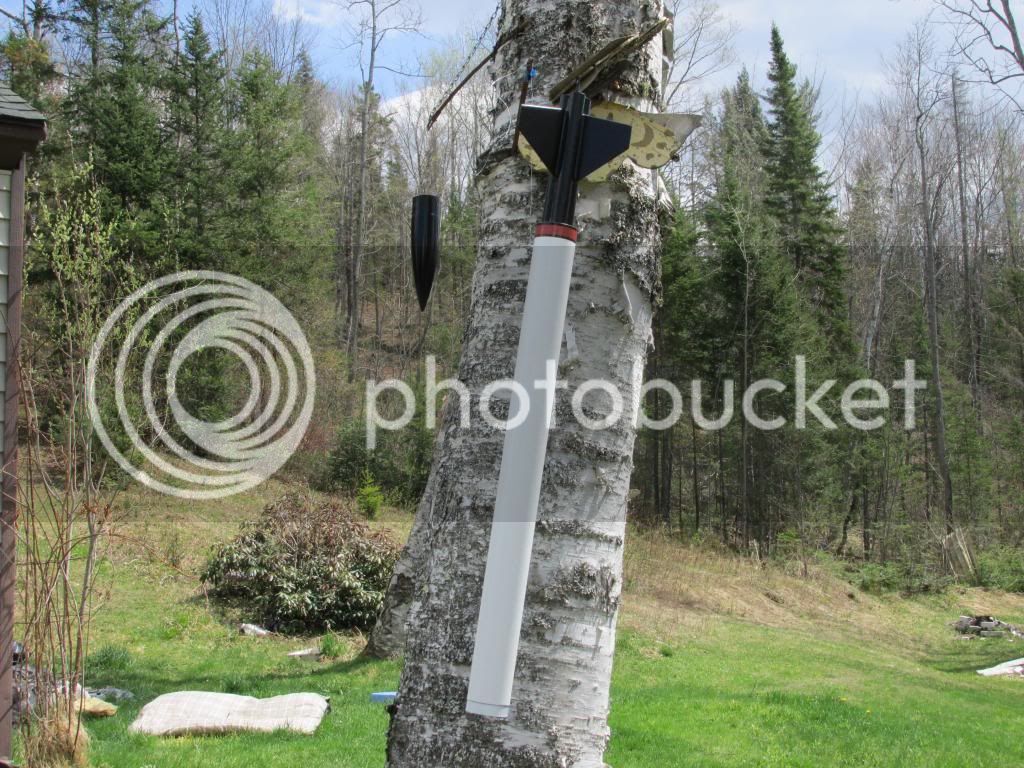
It's sunny, breezy, 80 Degrees and low Humidity today, so it's a perfect Day for painting.

Last edited:


grouch
Well-Known Member
Not bad looking at all. That should be a great flyer for you.
Similar threads
- Replies
- 64
- Views
- 2K
- Replies
- 41
- Views
- 1K