You are using an out of date browser. It may not display this or other websites correctly.
You should upgrade or use an alternative browser.
You should upgrade or use an alternative browser.
What did you do rocket wise today?
- Thread starter BeerorKid
- Start date


Help Support The Rocketry Forum:
This site may earn a commission from merchant affiliate
links, including eBay, Amazon, and others.


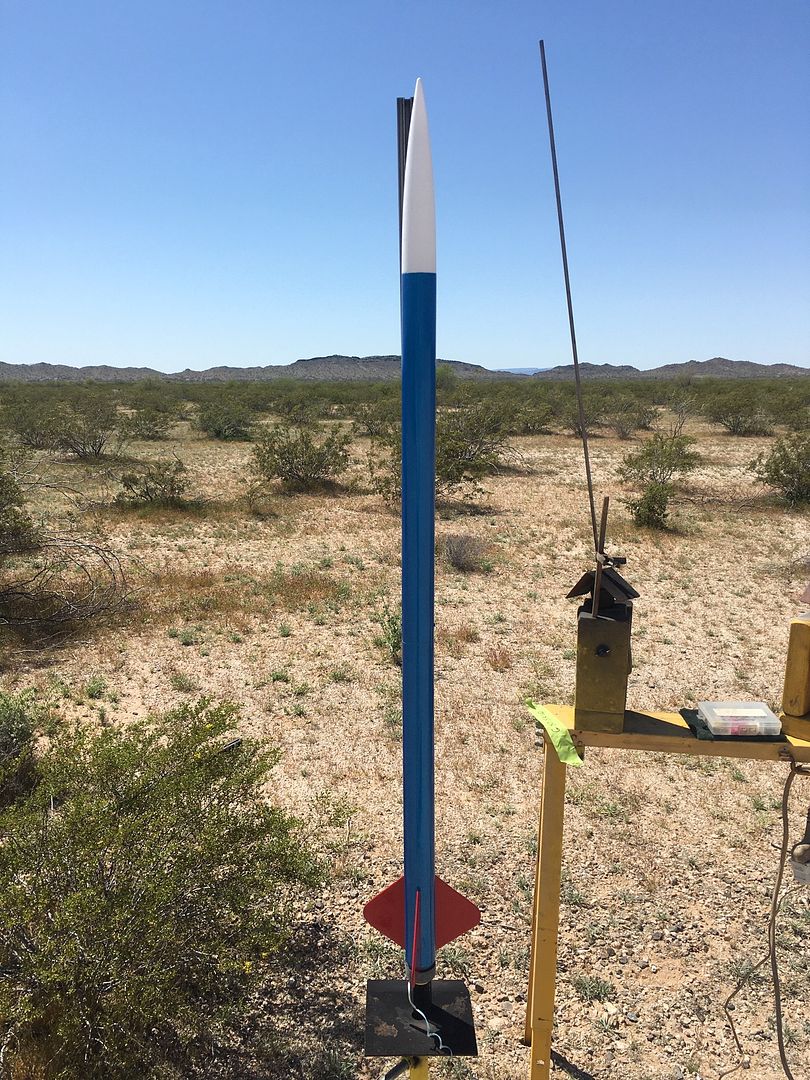
Finally got to launch my dual deploy Loc Athena this weekend, would have worked perfectly if i had not trusted the plastic loop on the nose cone. i guess that'sView attachment 411523 why they call it a learning curve.....
I got the same results when I flew my Star Orbiter for the first time last weekend:
Perfect flight on a CTI F59 to 1800 ft. then the nosecone falls off! Fortunately, I had a spare, but won't trust that loop again. Anybody have a better way of securing it ?
JCRL
Well-Known Member
@Ralph M Bohm from top to bottom: RGB LED, buzzer, humd/temp, GY-521 gyro, and a push button.
Still need to add an air pressure sensor, a real time clock, and a microSD (all on order). I saw that you were sorting resistors, any fun projects you're working on?
Still need to add an air pressure sensor, a real time clock, and a microSD (all on order). I saw that you were sorting resistors, any fun projects you're working on?
I got the same results when I flew my Star Orbiter for the first time last weekend:
Perfect flight on a CTI F59 to 1800 ft. then the nosecone falls off! Fortunately, I had a spare, but won't trust that loop again. Anybody have a better way of securing it ?
See attaching nose cone section here: https://locprecision.com/construction/
Needs paint and decals now...

Rocketjunkie
Addicted to APCP
- Joined
- Jan 19, 2009
- Messages
- 5,545
- Reaction score
- 1,938
Made some 18 mm motors...

2 with a single 1" long grain and 2 with a max length 1.5" long grain.
2 with a single 1" long grain and 2 with a max length 1.5" long grain.
rharshberger
Well-Known Member
Epoxied the liner into my Argent/Ventris dual deploy altimeter bay, a three step process, thickened 15 minute epoxy into the larger section all the way around, insert liner with centering guides, then after 15min epoxy cures for 30-45 minutes go back and trickle 30 minute laminating epoxy into voids left above 15min epoxy, wait for that to cure then flip over and repeat on other end.


@Wayco I've been drilling a couple of 3/8" holes and snaking shock cord through the holes & then tying a secure knot.I got the same results when I flew my Star Orbiter for the first time last weekend:
Perfect flight on a CTI F59 to 1800 ft. then the nosecone falls off! Fortunately, I had a spare, but won't trust that loop again. Anybody have a better way of securing it ?


If you've got any of the open mesh fiberglass drywall tape laying around, that works to deal with excessive spaces and allows the epoxy to work well.Straightened the Cherokee-H fins and test fit the motor mount into the slotted tube. It turns out the centering ring are are slightly undersized in the tube. The char on the laser cut rings tells me I didn’t sand them down.
Thinking about adding a coat or two of epoxy to the edges to increase the diameter of the rings and them sand them down to fit the tube. I will be adding fillets to top centering ring in the tube and to the rear center ring so that should be sufficient to anchor the assembly in place. Then of course the fin fillets will add additional strength as well.
View attachment 411477
I'm pretty sure that's a trick I learned from the Vatsass Brother's website.
Here's a better photo of the Sitka Spruce nosecone I turned yesterday. Sitka is a nice wood to turn.
yesterday. Sitka is a nice wood to turn.yesterday. Sitka is a nice wood to turn.
Really nice, how does it compare to Basswood?
@mbeels I haven't turned any basswood in ages so I'm not in a position to compare. With the Sitka there was very little tear-out with a gouge and a scraper made it very smooth so I could use 150 grit for the first sanding to smooth things out.Really nice, how does it compare to Basswood?
Flyfalcons
Well-Known Member
- Joined
- Apr 14, 2015
- Messages
- 2,584
- Reaction score
- 912

Watched my printer more. Still have 18 days to go. Did get some nifty Pro PLA fliament to try.
o1d_dude
'I battle gravity'
Ordered an RRC2+ altimeter from MissileWorks to go with my SMT 54MM Av Bay package for my Mach 1 Red Shift.
Browsed the SMT website (www.smtdesigns.com and will be ordering a few goodies to tailor my AV bay to my specs...and will be ordering another AV package to my specs for my Mach 1 Chimera 65.
This quarantine thing is getting expensive rocketry-wise.
Productively I’m still working on the motor mount for my Cherokee-H and un-warping two of the fins. I use a large 6 in vise with padded jaws, and popsicle sticks to exert counter-warp pressure. It’s been raining gthe past few days so the humidity is relatively high. Otherwise I’d be using the steam iron as needed.
Received my Big Daddy Plywood upgrade package from Rocketry Works (www.rocketryworks.com) and must say it was certainly worth the purchase price. The package included fins, centering rings, heavy wall 29mm motor tube, and a shock cord mounting piece that I’ll most likely not use...no big deal. I just prefer an eyebolt to a plywood loop.
Been looking at the new LOC Precision minimum diameter LaserLOC in 54mm. It’s a cardboard rocket(!) that looks pretty nice.
As the Wayan brothers say...
o1d_dude
'I battle gravity'
Been following your YouTube series on building fiberglass rockets and have learned a metric ton about proper building techniques.Finished this little Luna Bug for backyard launches with my daughters.
Thanks for posting them.
Noticed you have some rather large airplane models in your shop.
Well done, sir!
rharshberger
Well-Known Member
Been following your YouTube series on building fiberglass rockets and have learned a metric ton about proper building techniques.
Thanks for posting them.
Noticed you have some rather large airplane models in your shop.
Well done, sir!
You outta see his 1:1 scale Stinson model....
I started a build thread.
https://www.rocketryforum.com/threads/my-madcow-2-6-bomarc-build-thread.158735/
https://www.rocketryforum.com/threads/my-madcow-2-6-bomarc-build-thread.158735/
o1d_dude
'I battle gravity'
Pretty sure one of his videos is a cockpit video and his daughter takes the controls.You outta see his 1:1 scale Stinson model....
One of my favorite Comet stick and tissue scale models back in the early 1970’s was the Stinson SR-7 so I have a soft spot in my heart for Stinsons.
o1d_dude
'I battle gravity'
Cherokee- H:Ordered an RRC2+ altimeter from MissileWorks to go with my SMT 54MM Av Bay package for my Mach 1 Red Shift.
Browsed the SMT website (www.smtdesigns.com and will be ordering a few goodies to tailor my AV bay to my specs...and will be ordering another AV package to my specs for my Mach 1 Chimera 65.
This quarantine thing is getting expensive rocketry-wise.
Productively I’m still working on the motor mount for my Cherokee-H and un-warping two of the fins. I use a large 6 in vise with padded jaws, and popsicle sticks to exert counter-warp pressure. It’s been raining gthe past few days so the humidity is relatively high. Otherwise I’d be using the steam iron as needed.
Received my Big Daddy Plywood upgrade package from Rocketry Works (www.rocketryworks.com) and must say it was certainly worth the purchase price. The package included fins, centering rings, heavy wall 29mm motor tube, and a shock cord mounting piece that I’ll most likely not use...no big deal. I just prefer an eyebolt to a plywood loop.
Been looking at the new LOC Precision minimum diameter LaserLOC in 54mm. It’s a cardboard rocket(!) that looks pretty nice.
As the Wayan brothers say...
View attachment 411605
The fins are now straight. Yay!
The body tube has been cut to scale length. Yay!
The centering rings have been sized up to fit snug in the body tube. Yay!
I took a close look at the Big Daddy parts from Rocketry Works. I apparently got “the works” as included in the ziploc was a small bag of lead shot and cute little laser cut plywood key ring. The Rocketry Works is THE one stop solution for making an “Angry Big Daddy”. Still thinking about applying a layer of fiberglass to the body tube. Just in case.
o1d_dude
'I battle gravity'
Cherokee-H
Proof of progress.

Proof of progress.

 I was working on my "Mock 2" rocket. A bt80 scratch build with a 38mm mmt. I have wanted to try fiberglassing a cardboard tube and did so tonight with 1oz cloth and fiberglass resin from home depot. I will be doing the fins as well.
I am also working on making a 24mm MD project. This started life as a estes BB3, it will be called "Moon Taxi mini". Now it has basswood fins, I will be doing a full carbon tissue layup using west systems epoxy and plan to fly it on the CTI 24mm 6 grain motors. It will use a rrc2+ for apogee, cable cutter, and RF tracker.
~John
@o1d_dude Back when I was in high school (1960's) my brother-in-law owned a Stinson. I don't remember which model, but it was a very sweet plane.Pretty sure one of his videos is a cockpit video and his daughter takes the controls.
One of my favorite Comet stick and tissue scale models back in the early 1970’s was the Stinson SR-7 so I have a soft spot in my heart for Stinsons.
")
Flyfalcons
Well-Known Member
- Joined
- Apr 14, 2015
- Messages
- 2,584
- Reaction score
- 912
Thank you, I am glad to hear that my videos are helpful. With my kids home all day every day now, I'm finding myself having less free time to get in the garage and do some work and filming. But the Patriot build will go on, and I'm setting up to do a short video on head end dual deploy as well.Been following your YouTube series on building fiberglass rockets and have learned a metric ton about proper building techniques.
Thanks for posting them.
Noticed you have some rather large airplane models in your shop.
Well done, sir!
Painted 3 of the Nike Smoke Fins and put a coat on the BT
Charles_McG
Ciderwright
Mounted the spin motor tubes and ran wiring to the integrated avbay.

I should update the Thingiverse file with chases, now that I’ve drilled them in.
I should update the Thingiverse file with chases, now that I’ve drilled them in.
Jay Dub 4009
Well-Known Member
Received digikey goodie bag today. Used the Jst rcy pins to run a new black wire on the power harness on the avionics bay of finish up my LOC 2.6” amraam. Next, fabricated the drogue harness out of 1/4” tubular Kevlar. Made loops on the ends and a middle loop.


o1d_dude
'I battle gravity'
Fit the motor mount into the Cherokee-H after adding Titebond III to the edges of the C-rings, sanding them down, rinse, repeat. Now they all fit.
While the glue was drying, I built a Luna Bug as a change of pace.
Corresponded with Steve Thatcher, proprietor of SMT Designs, to find out if I could order a few parts for the 54mm Av Bay that came with my Mach 1 Red Shift. He created the necessary entries on his website for the items on the fly and they are now sitting in my shopping cart. Excellent! ...and another $100 to “stimulate the economy”.
The website is smtdesigns.com if you’re interested in modular av bay kits.
Then I discovered labrocketrocketry.com and drooled over the pull-pin av bay switch with Remove Before Flight tag shown in the photo directly above this one. ...with predictable results.
Thanks, Jay Dub 4009. More money going out the door... LOL!
Going to have to change my userid to “Big Daddy Warbucks”.
- Joined
- May 29, 2019
- Messages
- 1,234
- Reaction score
- 993
You guys with the Cherokees inspired my wife to get me to make one for her so she could try out her Cricut. I need to show pics of the decals she made on the build.
That one was a little overbuilt, but flew so well, I have bought blue tube to make a 3" diameter upscale with 38MMT. Probably going to call it a Cherokee J, since I'll fly it with up to 38MM J's.
I'll have to post some pics of the Estes and the new build.
That one was a little overbuilt, but flew so well, I have bought blue tube to make a 3" diameter upscale with 38MMT. Probably going to call it a Cherokee J, since I'll fly it with up to 38MM J's.
I'll have to post some pics of the Estes and the new build.
Similar threads
- Replies
- 158
- Views
- 6K
- Replies
- 5
- Views
- 306
- Replies
- 19
- Views
- 2K
- Replies
- 1
- Views
- 990