2.6" Scratch Build

The Rocketry Forum

Help Support The Rocketry Forum:

This site may earn a commission from merchant affiliate links, including eBay, Amazon, and others.

CoachSteve

Well-Known Member
Joined
Feb 14, 2018
Messages
491
Reaction score
537
Location
Colorado
Rocketarium has some of the best nose cones around.
a 2.6" X 13" cone - so cool
So cool I needed 2 so I could make a super sleek rocket with boat tail centered around 24mm F39 reloads.
Sims out around 1000ft on the F39.
3 super swept 1.5mm G10 fins
2.5 LOC body tube
Rail buttons
Rocketarium 24mm aluminum retainer.

Little nose cone shoulder work to get rid of the big slope (a la Big Daddy syndrome)
QMXAx3p.jpg


Setting of the fins in the 2nd nose cone turned boat tail
G58mdkT.jpg


first coat of paint
QUEYiOl.jpg


So far one fast looking rocket
 
The fins go through the boat tail and attach to the heavy wall 24mm motor tube.
the fins are epoxied to the motor tube and then received slim internal and external epoxy fillets.
RrRnxRG.jpg

gUaLjcc.jpg
 
That is HOT !! Very Sexy rocket.

I have never built a Big Dady so what were you referring to with the NC trimming?
 
The Big Daddy Nose cones have such a large "ramp" where the shock cord attaches that under some deployment conditions the nose cone starts to push out - the "ramp" is exposed - all the gas escapes and the nose doesn't come all the way out - lawn dart. :)
here shows the "Ramp" being spoke of :)
upload_2019-12-17_10-3-46-png.400967
 
Hey CoachSteve, this is my first post on the forum.

I’ve always loved the boat tail, 50’s - 60’s sci-fi rocket style, and yours is just simple and cool.

I’d love to see how you created the aft section.

Slotting a cone as well as creating the fin geometry and pattern for a boat tail seems challenging.

I may be overthinking. It may be as ‘easy’ as printing and affixing a fin-to-tube layout pattern and slotting the cone carefully with a hobby knife.
And just coming up with a cool pattern for the fins. Or did you have them custom cut? Or that style is just available somewhere?

But I’ve never scratch built, so I’m sure there’s my ignorance at play.
 
Last edited:
First post! - Llama, welcome to this amazing forum. you will find the people here amazing and so willing to share so much information.

so - lets see what I can do for you here:
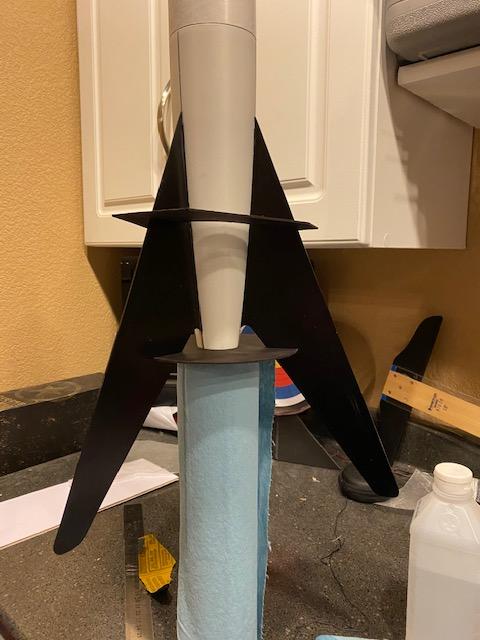
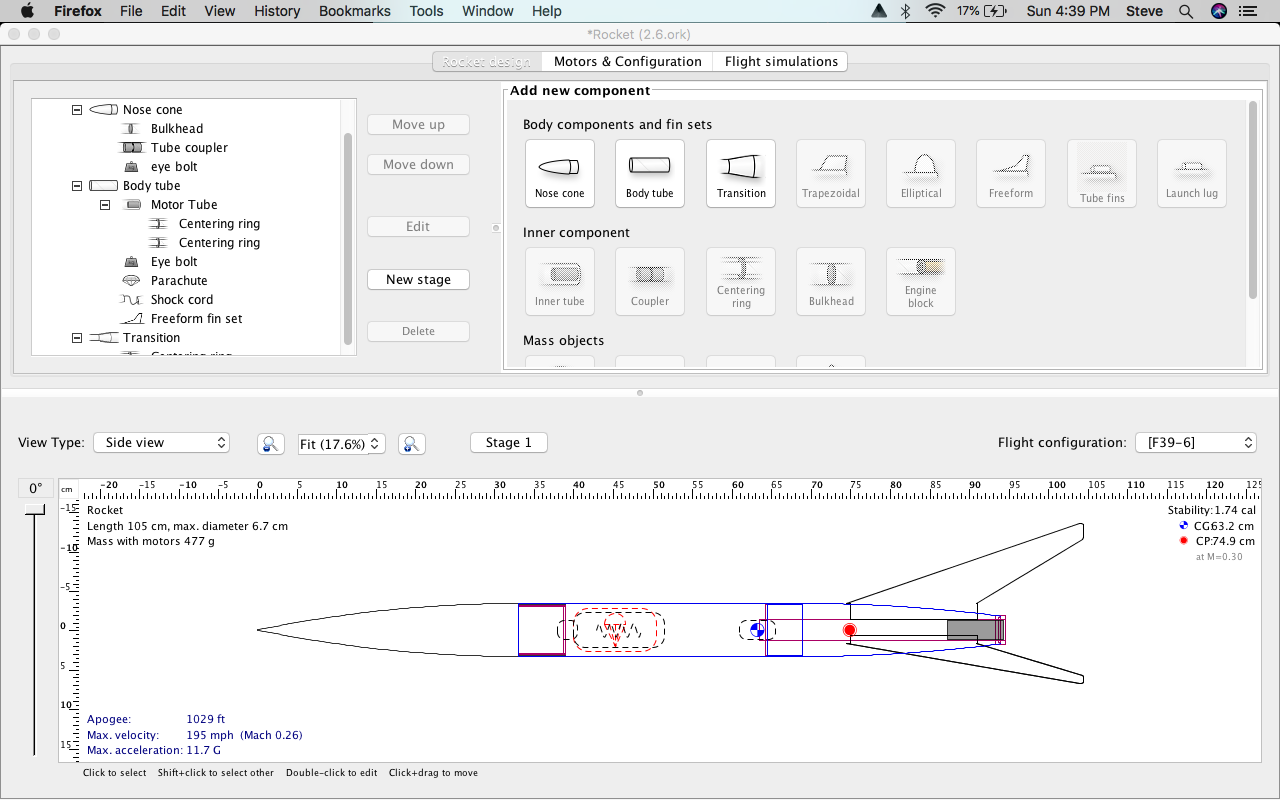
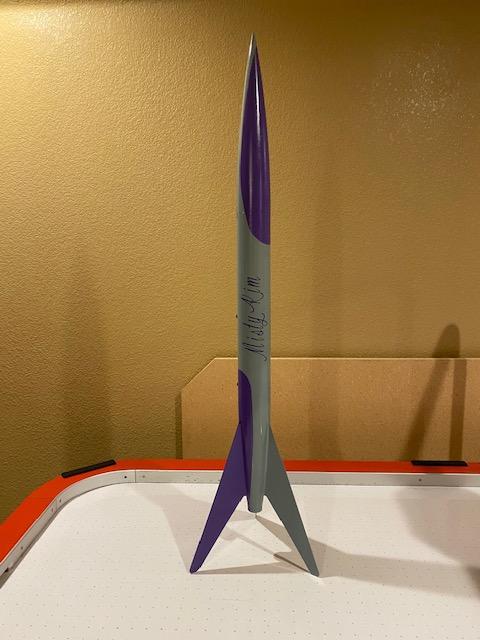
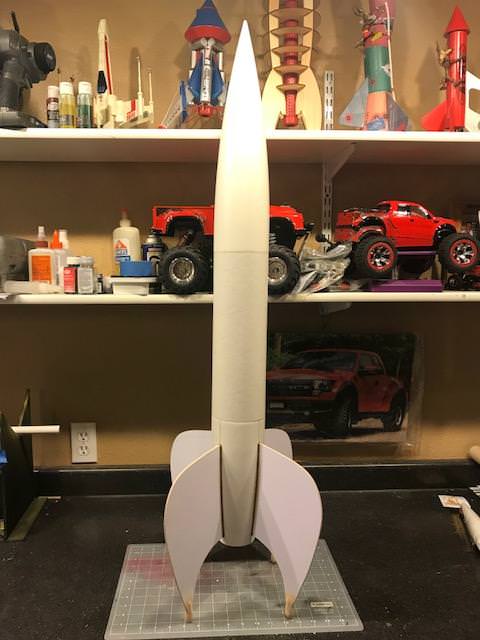
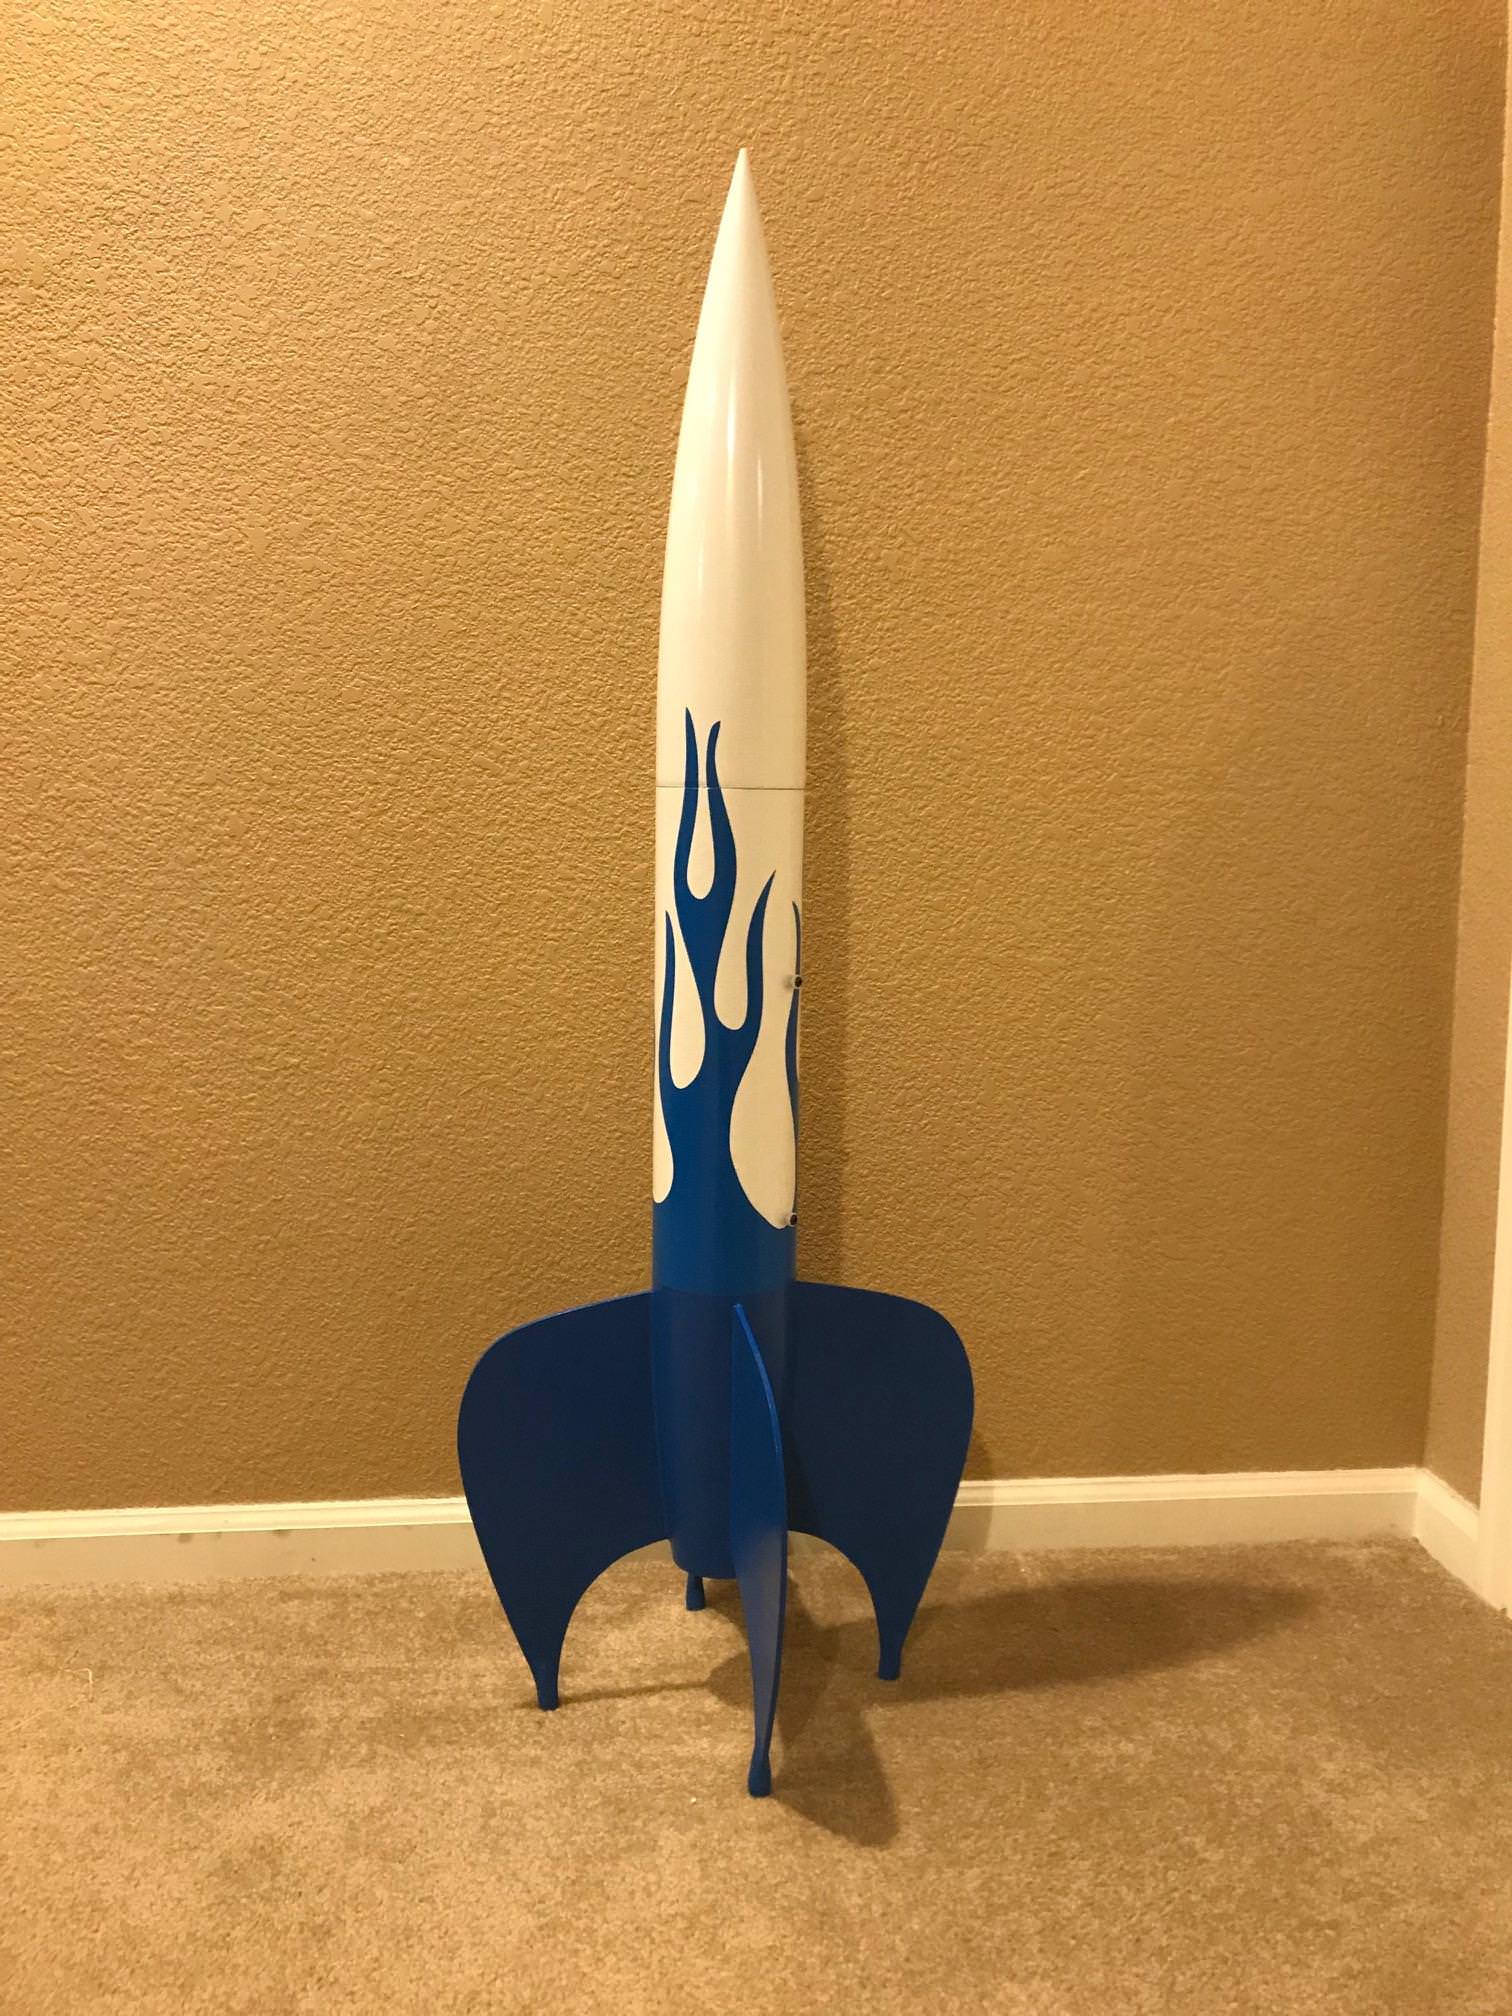
The rocket in this thread was just something in my head, I got the 2 nose cones, body tube, motor tube, centering rings and motor retainer from Rocketarium (love their selection of nose cones). The fins are G10 fiberglass purchased in sheets from EBAY).
First, I model the idea in open rocket (if you don't have it, get it, it is free :) ).
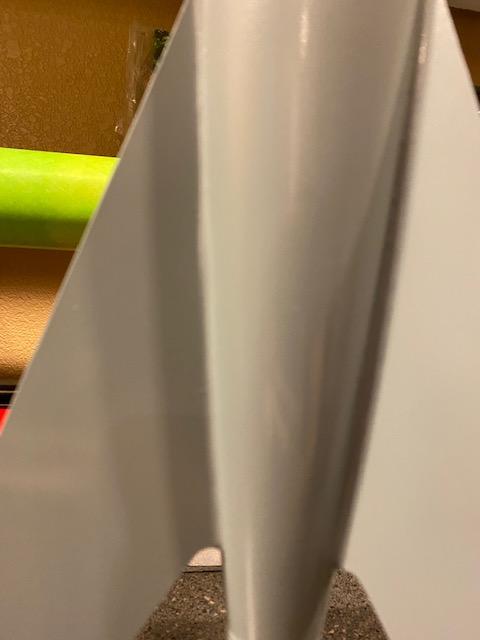
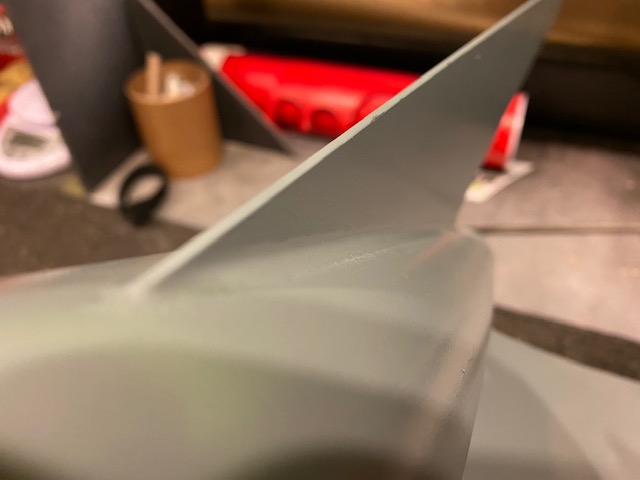
The reason I do this is because once you model your body tube, tail cone and motor tube, you can create your fins on the body tube, then move them down to the position over the tail cone. Then create fin tabs that extend through the model to the motor tube. When this fin template is printed out (feature of Open Rocket) this gives you a template for the fins that is the shape and size you want with the material needed to reach the motor tube - has worked great for me.
Next, I mark the bottom edge of the body tube with the fin placement (3 or 4 fins), even if the fins will never touch the body tube.
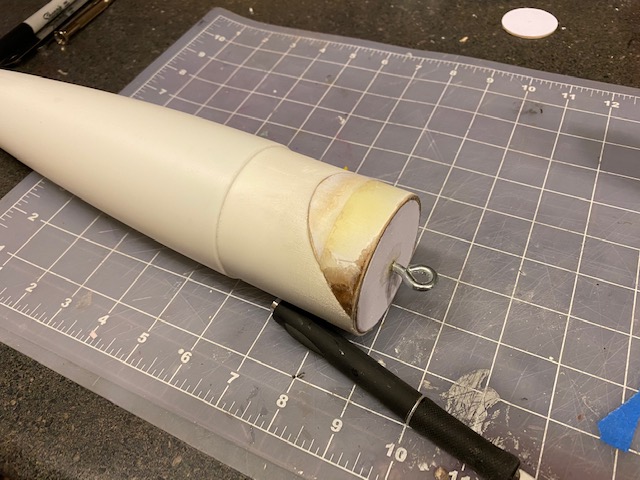
I then insert the full nose cone (that will be cut off later to become a tail cone) into the body tube.
I then run a strip of tape from the each mark on the body tube to the center tip of the tail cone, draw that line with sharpie. Now I effectively have 3 or 4 perfectly spaced "cut" lines along the tail cone.
I then use one of 2 methods of actually cutting the slots:
method one: tape a flexible metal ruler on either side of the sharpie line, make multiple passes with a sharp exacto until i get through the plastic, move the ruler to the other side of the line, repeat. once both sides of the line are cut, i whittle the point in at each end of the slot to free the cut out piece, move to the next slot.
Method 2: - take a dremel with a cutoff wheel, put 2 cutoff wheels (with one or 2 small washers between them) on the dremel. You now have a dremel wheel that is as wide as your fin material. I then carefully free hand the cut with the sharpie line in between the 2 dremel cut wheels, works a champ.

you can then proceed to cut off the tip making it a tail cone :)

As for fin shapes, I play in open rocket or sketch out on paper, then create my template and cut them by hand :)
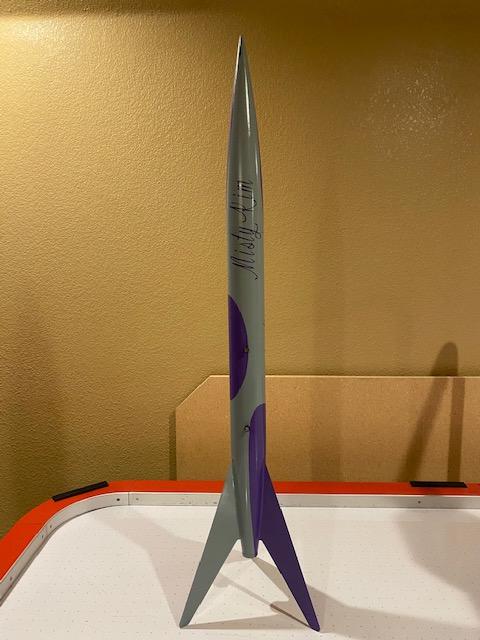
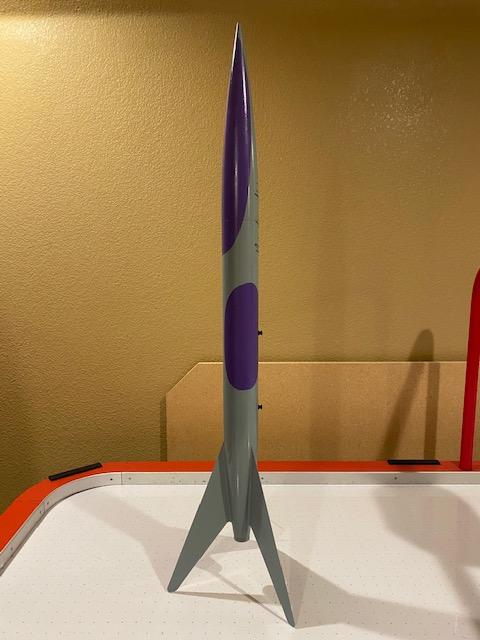
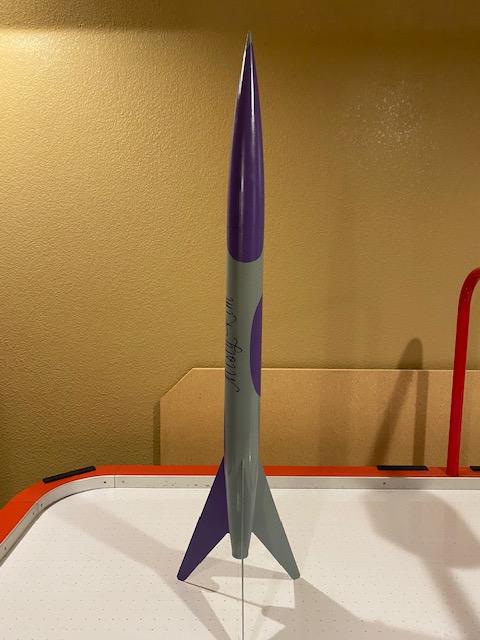
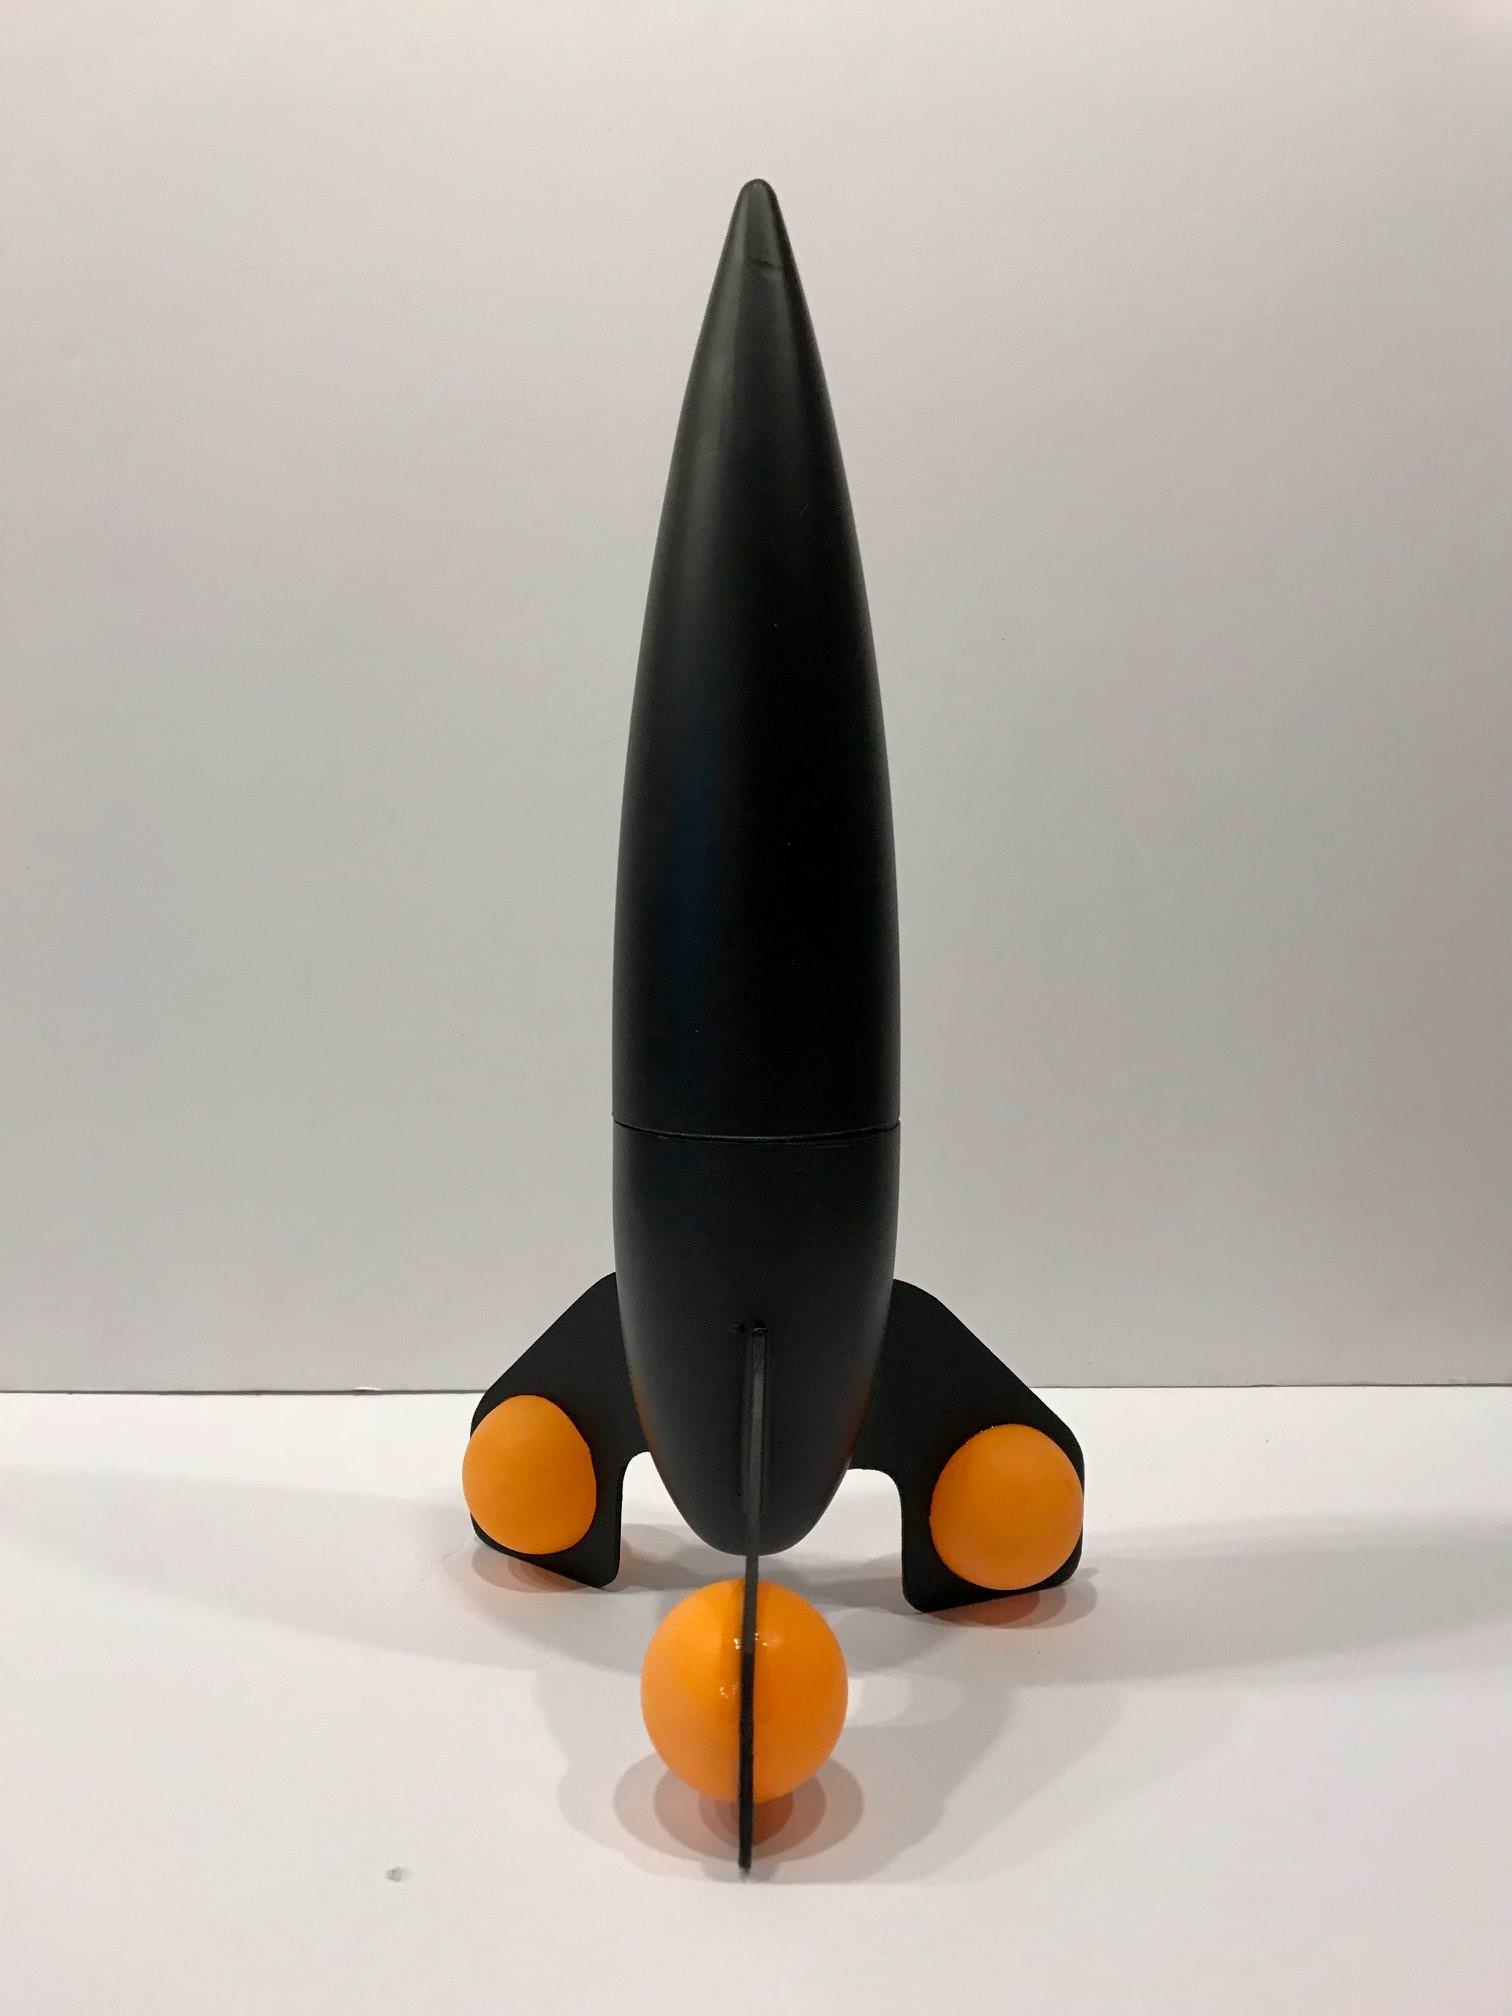
here are a few more examples of one off rockets that I have done with tail cones and the methods described here - all these fins were cut with a vice and a hack saw, the curves were done with a hand held coping saw and a drill (for the tight internal curves)
MKGxWtr.jpg

MTNWtbX.jpg

vaUESIV.jpg

Yg9OU2e.jpg
 
Last edited:
CoachSteve,

Whoa- maybe I’m just not adept at searching forums. But you just gave me information I’ve searched for but could not find as concise as this.

I probably should have asked questions long ago, but I typically try to lurk & wing it after seeing a general process.

Thank you!

Just one more question (speaking with the voice of Lt. Columbo). Do you bevel the outer edge of the motor tube centering rings to match the interior slant of the cone? Or do leave that gap for the epoxy to fill?

Just one more question (Columbo again). Am I right to assume you’re not only penetrating the cone, but also gluing the fin to the motor tube?

And thank you for sharing pics of your similar work. Love it!
 
I personally let the epoxy do the work for any centering rings that are inside the boat tail :) -
and for sure I have the fin tabs get to the motor tube - this is where the real strength comes from as nose cone material doesn't really glue all that well, be sure to wash it with soap and water and then sand it a bit where you want epoxy to grab - centering rings and fillets and whatnot.
 
Back
Top