Build thread: 5.3:1 sport scale Super Deluxe #2 Skywriter XL Premium Pro Max - Limited Edition

The Rocketry Forum

Help Support The Rocketry Forum:

This site may earn a commission from merchant affiliate links, including eBay, Amazon, and others.
The Marigold is very close to that... good news is that there is no one correct pencil color, so anything across the spectrum of yellow to orange should work. That one seems kind of in the middle.

No tips for paint to CA. I haven't had any problems with my CAed nose cones in the past, certainly hope for none here. I'll use a coat of primer, but other than that nothing special. Don't get me worried... :eek:
 
Do you living in a winter painting climate? Indoor paint-room? Dash-n-spray-on-a-cold-day?

<\subliminal> Stain the grain! <\subliminal>
 
Now you've gotten to make that correction twice! :) :)
And if a third person calls them parabolic, I'll make it a third time.:)
Or build a large pencil sharpener to scrape off the overspray. Will also add an "authentic" look.
Hmmm, let's see. 3D print a conical cup that matches the nose cone, attach sand paper to the inside, and go at it. Actually, one wouldn't need the whole cup, just a truncated conical band with both ends open.

Or, one could not do that. :D
 
It only just occurred to me that this rocket is going to need a launch lug. And further, it would seem that the ideal location will be right on one of the seams, which ensures clearance over the ferrule. If I had thought of this earlier I could have prepared a nice mounting point for it, now I'll have to think of best approach. Probably sand down a flat spot onto the seam that is already flattest, then glue and fillet like crazy. Will do that as soon as I get an opportunity so I don't forget.
 
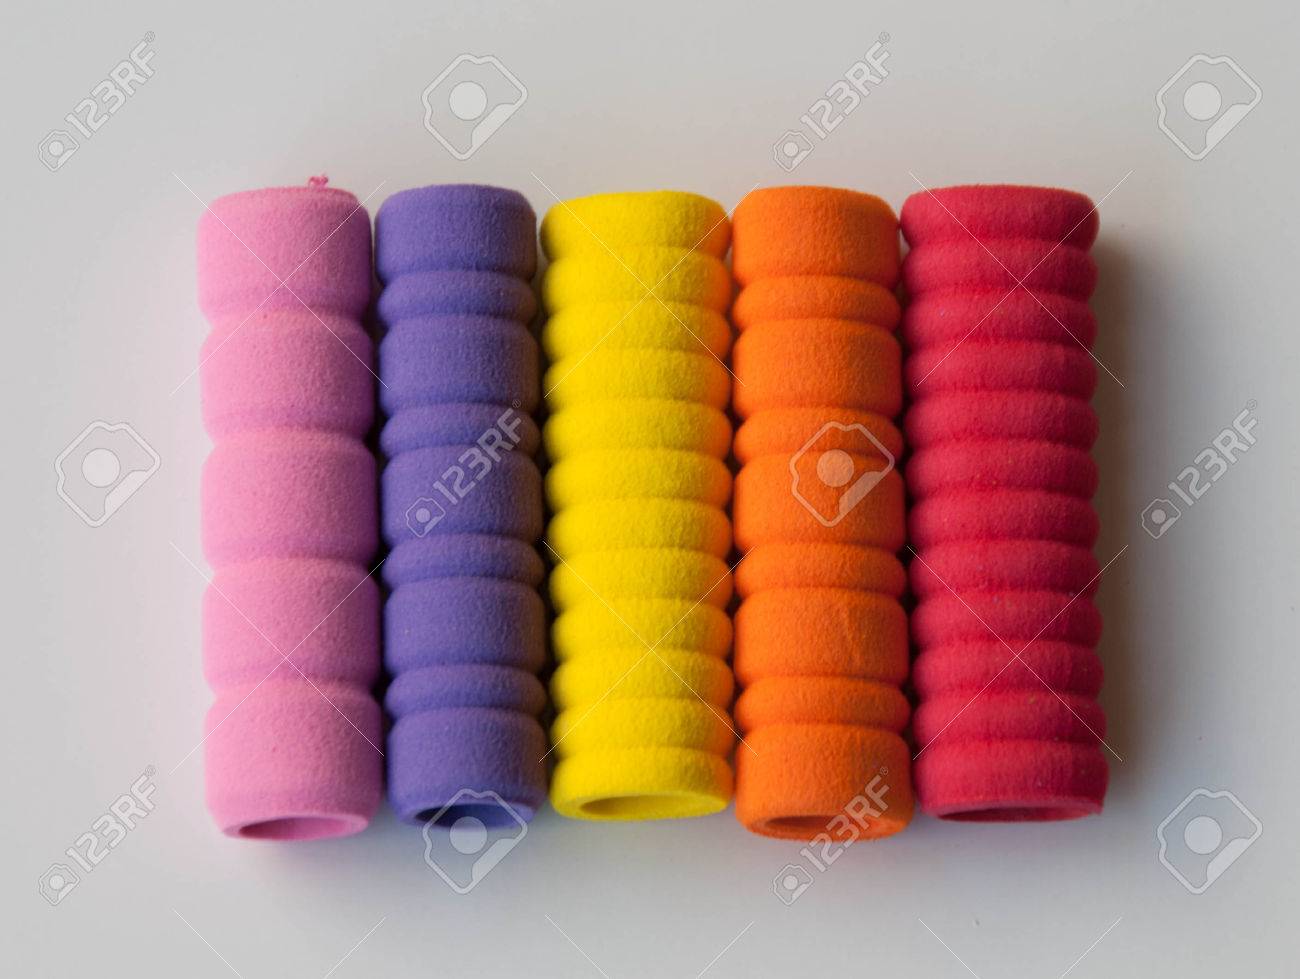
Or something like these, for grip, ya know.

26932310-colorfull-pencil-grip-pink-purple-yellow-orange-red.jpg
 
It only just occurred to me that this rocket is going to need a launch lug. And further, it would seem that the ideal location will be right on one of the seams, which ensures clearance over the ferrule.
Directly on the ferrule also assures clearance, but that low might not be a good idea.

A fly away rail guide could work.
 
Directly on the ferrule also assures clearance, but that low might not be a good idea.
Yeah, that'd be *really* low on this rocket. Plus it would violate the corporate "don't mess with the ferrule" directive. I'm already prepared to be unhappy with having the fins hanging over it. :(

(Speaking of which, I should do a full dry fit one of these days. Maybe after I finish sanding the nose cone.)
 
Instead of a traditional launch lug, how about a couple metal screw eyelets, that screw into the wood slats? Paint them the same color as the pencil body...

That's my plan on the "Explores On The Moon" rocket , items 6/13 below.

EOTM Sheet 2 of 7 Rev 02.jpg
 

Attachments

  • Screw Eye.jpg
    Screw Eye.jpg
    24.6 KB · Views: 20
Last edited:
It only just occurred to me that this rocket is going to need a launch lug. And further, it would seem that the ideal location will be right on one of the seams, which ensures clearance over the ferrule. If I had thought of this earlier I could have prepared a nice mounting point for it, now I'll have to think of best approach. Probably sand down a flat spot onto the seam that is already flattest, then glue and fillet like crazy. Will do that as soon as I get an opportunity so I don't forget.
I’d put the launch lug in the angle between one of your fins and the rocket body, which is pretty close to being on a seam. That will give you more surface area for adherence, should guarantee perfect alignment (since you have precut fin slots which should be straight.

Other alternative, however........mini rail buttons?
 
[M]uch like jqavins' paperclip design for his Office Supplies rocket.
I had exactly the same thought. BABAR's traditional tucked-in-against-a-fin notion is simpler. If there's concern over clearance because it's not exactly on a ridge, the smallest of dowels or square stock or a sliver of balsa sheet could be added under the launch lug, constituting the world's smallest standoff.

And, just in case it wasn't clear, a fly away rail guide was not a joke.
 
The fin joint idea is good except for one problem: I plan to glue the fins on at the very very end, after the body is completely painted and clear-coated. That includes the lug.

Eyelets could work, but I would be much happier with that approach if I had provided something a bit more solid for them to anchor into (could have done that if I had planned from the beginning).

Considering all, I'm going to go with a plain old launch lug. I know I can make that work just fine and I'm not in general bothered by launch lugs so it's no biggie. I do need to decide whether to mount it on a vertex (as previously described) or else put it in the middle of a face on a stand-off. Can't decide which will look better.
 
Considering all, I'm going to go with a plain old launch lug. I know I can make that work just fine and I'm not in general bothered by launch lugs so it's no biggie. I do need to decide whether to mount it on a vertex (as previously described) or else put it in the middle of a face on a stand-off. Can't decide which will look better.

I think that the vertex might look better, there is already a visual line along that vertex. In the middle of a face (especially with a standoff) seems like it will be more obtrusive and noticeable.

As for strength, I think it will be plenty strong on the vertex. Some good glue fillets or wedge shaped balsa pieces would make it pretty solid.
 
Eyelets could work, but I would be much happier with that approach if I had provided something a bit more solid for them to anchor into (could have done that if I had planned from the beginning).

Gluing in an internal centering ring now, like a motor bulkhead, would give you that support. ;)
 
Be sure to ick out the wood filler on the section of corner you attach the lug to.

Taking the time now is better than cleaning up a paint job and patching up a broken lug later
 
That's awesome! HOW did you make that??? Is that just folded paper or cardstock?
Yup. 110lb, scored with the back of a knife on the *outside*, folded, glued, and then CAed inside and out with my 3-year old thin CA.

Precision folding at that size is challenging. You can see that the cross section is far from symmetrical, although this is not a concern:
Hex lug-2.jpg

My first concern was whether this was going to be strong enough. Now that the CA has dried... well, that's probably not an issue. Feels pretty sturdy.

Second concern is more of an annoyance. I kept the CA off the bottom edge to preserve its ability to be glued with TBII, but a good amount seeped in one of the sides.
Hex lug-1.jpg
Then I realized that TBII fillets won't stick to the side facets, which are well-sealed with CA. Which means... epoxy fillets? Ick.
 
Back
Top