A tale of three Big Daddies...

The Rocketry Forum

Help Support The Rocketry Forum:

This site may earn a commission from merchant affiliate links, including eBay, Amazon, and others.

Pariah Zero

Gravity’s Plaything
TRF Supporter
Joined
Dec 15, 2019
Messages
123
Reaction score
94
Location
Salt Lake Valley
So I built my son (4) an Estes Big Daddy... upon seeing it, he wouldn’t be parted from it without some serious subterfuge. After that, my wife told me I had to build a non-flying version for my son.

... so, I ordered two more. One to composite over for my son to play with (and for me to practice composites), and a second to modify to 29mm & make flight worthy for mid power, and hopefully make an L1 attempt.

(I see that LDRS is at Bonneville this year... it’s conveniently close and hard to imagine losing the rocket...)

I have many questions, but I’ll start with: is there a big gain in using carbon fiber instead of fiberglass for a 29mm L1 Big Daddy?

I’m less interested in altitude than certifying, so I’m not sure the lightness of carbon justifies the expense.
 
Make sure to modify the nosecone. The Big Daddy has a reputation for lawn darts, and my latest theory is that drag separation, in combination with that ramp for the shock cord attachment is the culprit.
 
The tube will be fine with an H or I.

Focus on the balsa fins. Skin them with 1/32 basswood to make a nice stiff sandwich, or replace them with 1/8 plywood.

Also, be aware the angled nosecone shoulder has been known to funnel ejection gas out without fully deploying the cone, so many folks chop the shoulder and i stall a bulkhead i side the nose (just past the lip of the shoulder) with an eyebolt to attach shock cord.
 
All you really need to do, besides trim to fin tabs to properly fit the larger motor mount, is replace the fin material with ply or fiberglass. My Angry Daddy 54mm has fiberglass fins, kevlar shock cord, and the nose cone shoulder cut with an eye bolt and nose weight up front. And that's pretty much it for mods. Flown on a J315R. Wouldn't that be something if someone certified L2 with a Big Daddy.....
 
All you really need to do, besides trim to fin tabs to properly fit the larger motor mount, is replace the fin material with ply or fiberglass. My Angry Daddy 54mm has fiberglass fins, kevlar shock cord, and the nose cone shoulder cut with an eye bolt and nose weight up front. And that's pretty much it for mods. Flown on a J315R. Wouldn't that be something if someone certified L2 with a Big Daddy.....
:dancingelephant: :dancingelephant: :dancingelephant:

I was gonna suggest he step up to 38mm but you sir have won. A 54mm Big Daddy!!! How much nose weight? Stock Estes airframe? I bet it is fun with 1grain 54s.
 
:dancingelephant: :dancingelephant: :dancingelephant:

I was gonna suggest he step up to 38mm but you sir have won. A 54mm Big Daddy!!! How much nose weight? Stock Estes airframe? I bet it is fun with 1grain 54s.

Closest thing to a teleportation you will see, bang, and it was GONE! 2019's SodBlaster is where Ryan flew it at in the Bid Daddy Structural Stress Test event unlimited class.
 
Yes, I used LOC motor mount and centering rings, which I figured would reinforce the body structure enough to leave the body tube stock (no fiberglassing). The CR's had to be sanded down a little to fit the Estes 3" tube. Nose weight was something like 5 ounces, as much of the motor sits in front of the target CG the nose weight is really not that much to match where the stock rocket balances with a D12-3. The 1/8" fiberglass fins I used contributed the most to the aft weight. To anchor the eye bolt, I screwed on a couple T-nuts and poured my lead/epoxy mix in, this was also pinned to the nose cone with music wire and it is very solid.

Because the 54/852 case is longer than the body tube, I cut the nose cone shoulder and glued a short section of trimmed body tube inside the shoulder to regain the strength to hold the nose steady. This gave me enough room in the nose for some kevlar shock cord, a 24" parachute with chute release, a nomex blanket, and my T3 tracker (The board and battery were removed from my modular case and electrical taped to the shock cord). I did forget to install my Estes altimeter but the GPS showed a max altitude of something like 8,200'.

The project was a lot of fun and I have confidence it will continue to hold up to 54mm power.20190820_120918.jpg 20190820_123423.jpg
 
Because the 54/852 case is longer than the body tube, I cut the nose cone shoulder and glued a short section of trimmed body tube inside the shoulder to regain the strength to hold the nose steady. This gave me enough room in the nose for some kevlar shock cord, a 24" parachute with chute release, a nomex blanket, and my T3 tracker (The board and battery were removed from my modular case and electrical taped to the shock cord). I did forget to install my Estes altimeter but the GPS showed a max altitude of something like 8,200'.

Any nose cone pics? It’s the only part I’m having trouble seeing in my head.
 
Any nose cone pics? It’s the only part I’m having trouble seeing in my head.
No real picture, but here's the idea.

upload_2019-12-17_10-3-46.png

It's the angled part with the shock cord attachment that allows ejection gasses to escape without pushing the NC all the way out. A flat bulkhead solves the problem, and an eyebolt or U-bolt is needed for a new shock cord attachment point.
 
No real picture, but here's the idea.

View attachment 400967

It's the angled part with the shock cord attachment that allows ejection gasses to escape without pushing the NC all the way out. A flat bulkhead solves the problem, and an eyebolt or U-bolt is needed for a new shock cord attachment point.
I believe the OP was asking about how Ryan modified the nosecone for use with his AT 54/852 motor, and removing that section is definitely part of the process.
 
If you cut it there does that still allow enough shoulder for the cone to firmly sit in the body tube? I ask because I am thinking of doing a mod like this to a 2.5 inch pro series nose cone. I was thinking about how to get rid of the angle and install some sort of a removable bulkhead...

-Bob
 
If you cut it there does that still allow enough shoulder for the cone to firmly sit in the body tube? I ask because I am thinking of doing a mod like this to a 2.5 inch pro series nose cone. I was thinking about how to get rid of the angle and install some sort of a removable bulkhead...

-Bob

On the Big Daddy you have plenty of shoulder left. That is pretty much a standard mod. Not sure about the smaller one you mention.
 
If you cut it there does that still allow enough shoulder for the cone to firmly sit in the body tube? I ask because I am thinking of doing a mod like this to a 2.5 inch pro series nose cone. I was thinking about how to get rid of the angle and install some sort of a removable bulkhead...

-Bob
No, cut at the base to maximize shoulder length. But you also need to cut the sloped area, which goes up the shoulder a ways. This makes the shoulder flimsy, so I used some body tube material epoxied to the inside of the shoulder to stiffen it. Pic incoming.
 
I even laminated a short piece of body tube where the sloped section of nose cone used to be. Some masking tape was required to get the fit I wanted to not drag separate at mach 1.1217190936a.jpg
 
I cut the motor mount long enough so the nose cone shoulder would almost touch the forward centering ring with the nose on. This minimizes the section of unreinforced Estes body tube. I epoxied a length of 1" flat kevlar to the motor mount as a shock cord anchor point. Probably overkill but it works and is highly ejection charge blast resistant.1217190938.jpg
 
I did my L1 on a Big Daddy with the stock body tube as well.
  • I wanted to paper the fins but screwed them up. So I made new ones out of basswood with no additional strengthening.
  • The 29 mm MMT for a CTI 3 grain case is too long for the stock BT and NC, so I too cut out the bottom of the nose cone. I didn't know about the ramp leaking gas problem, and do not recommend the mod I used, for that reason. But it did work out fine.
  • I ordered new centering rings from Public Missiles and got them in 3/16" (if I remember right) plywood, and I'm sure that was overkill. The thickness was handy for screws to hold rail buttons.
  • The shock cord was tri-fold mounted to the inside of the nose cone with epoxy (JB Weld).
  • In point of fact, the whole build used JB.
Some might call this half-assed construction for HPR, but on an H54 it worked just fine.

My point here is that on an H motor - and it needn't be the really low thrust one - you just don't need more than careful MPR construction, and that's not much more than good solid LPR construction. If I could get my hands on one of those 24 × 95 mm H motors from Magical Rockets Inc. I'd stick it in a Big Daddy with only three special measures. First is the ramp removal which is advisable at any impulse. Second is to assemble with epoxy rather than yellow glue, which many builders would want to do anyway. Third is to paper the fins, which, again, many would do anyway. And then let 'er rip.
 
I have had both 29mm and 54mm Big Daddy's. Mine were carbon over the original cardboard tube and over the surface-mounted balsa fins. For 29mm, I would use carbon on the tube, which helps keep the tube round, and then surface-mount the fins to reduce weight. You need some sort of composite on the tube and on the inside of the cone so that you can use shear pins without tearing up the tube.

Jim

PS - The 54mm on a J250.

BigDaddySkid.jpg
 
Last edited:
I have done a 29 mm mod on a Big Daddy. It works great, and if I were doing it again, I'd go up to 38, so I could fly it on 120 and 240 Loki cases. Just remember to add nose weight to counteract the heavy motors.
 
So many thanks are in order for all of this!

I’ll post more as I build my 29 & 54mm Big Daddies.

...as well as possibly a bigger challenge: a Big Daddy that can withstand being a rough housing three year old’s favorite toy. (He currently has one of my childhood Rockets... I think it’s as much CA as original rocket at this point.)
 
No real picture, but here's the idea.

It's the angled part with the shock cord attachment that allows ejection gasses to escape without pushing the NC all the way out. A flat bulkhead solves the problem, and an eyebolt or U-bolt is needed for a new shock cord attachment point.

Recess the bulkhead for more recovery space...


IMG_6036.JPG
 
A few moons back, a friend built a 54mm Big Daddy clone out of fiberglass. He did use a set of the original Estes decals, tho. ;)
Kevlar cord, chute inside the n/c, used to fly it on the AT J800. 3, 2, 1... pull the trigger.
He also paid my daughter $50 to find it for him. Twice. :D
 
He did use a set of the original Estes decals, tho.

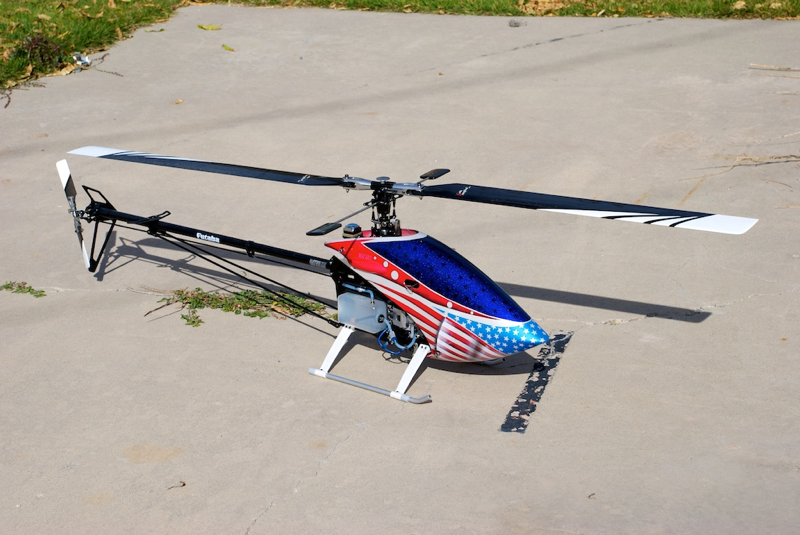
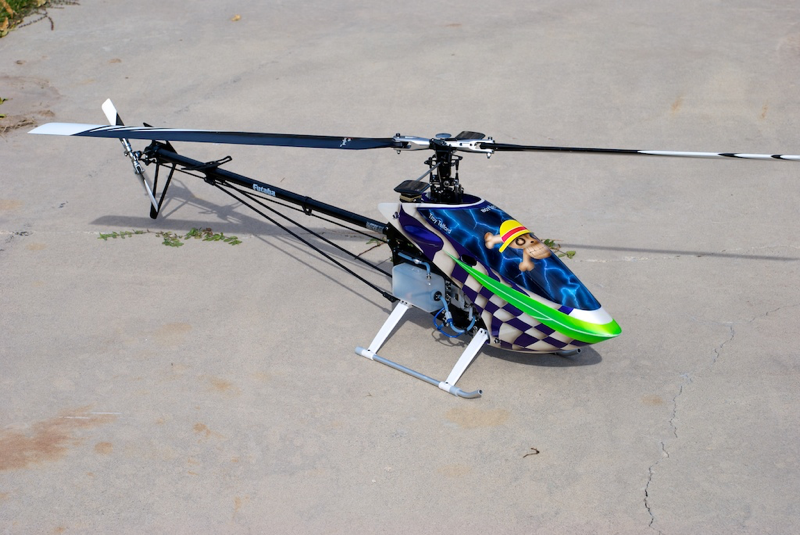
Since airbrushing with automotive finishes is one of my hobbies, I think I can do better than decals. :cool: It’s just a matter of how much time my spousal unit will let me paint...

Some examples of my work...
collage_lb_image_page4_2.png


collage_lb_image_page4_14.png


Kevlar cord, chute inside the n/c

I was thinking about that... how do you ensure the chute will be pulled out of the nose cone?

I’m a Ham Radio License, and a BeeLine TX. My intended launch site is the Bonneville Salt Flats. Hopefully it’ll be easy to find.

More importantly, hopefully I can earn a Level 2 Certification.
 
I was thinking about that... how do you ensure the chute will be pulled out of the nose cone?

It's all about the length of the shock cord, and where the parachute is tied to it. Too short or close to the nosecone and the parachute won't get pulled out.
 
Since airbrushing with automotive finishes is one of my hobbies, I think I can do better than decals. :cool: It’s just a matter of how much time my spousal unit will let me paint...

Some examples of my work...
collage_lb_image_page4_2.png


collage_lb_image_page4_14.png


I was thinking about that... how do you ensure the chute will be pulled out of the nose cone?

I’m a Ham Radio License, and a BeeLine TX. My intended launch site is the Bonneville Salt Flats. Hopefully it’ll be easy to find.

More importantly, hopefully I can earn a Level 2 Certification.

Nice paint jobs! :) What paint do you use?
 
Back
Top