Nacho
Active Member
Hi everyone,
After designing and building Comoran I, I decided to move on and create version 2.0. I wanted a few things for this build:


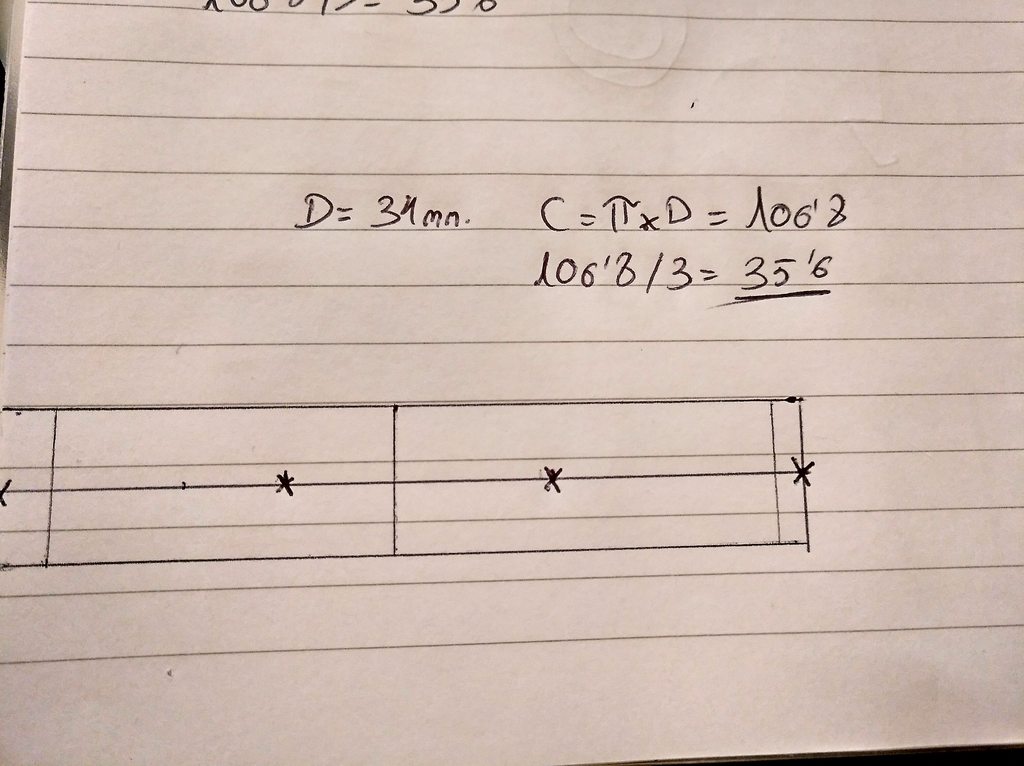
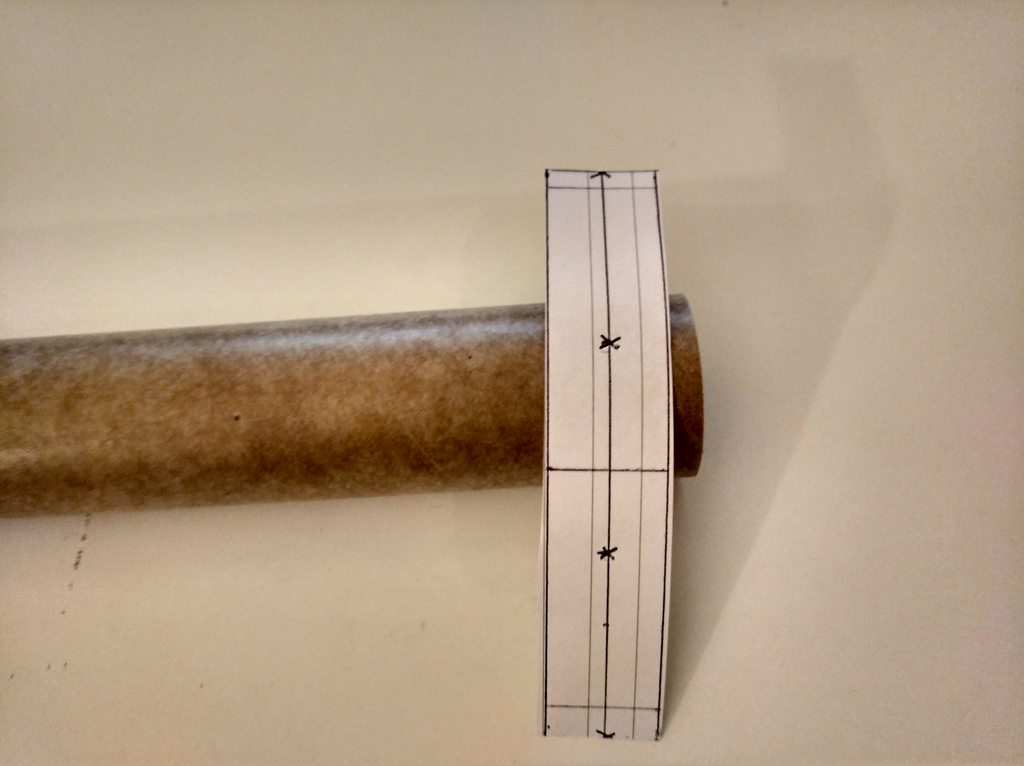
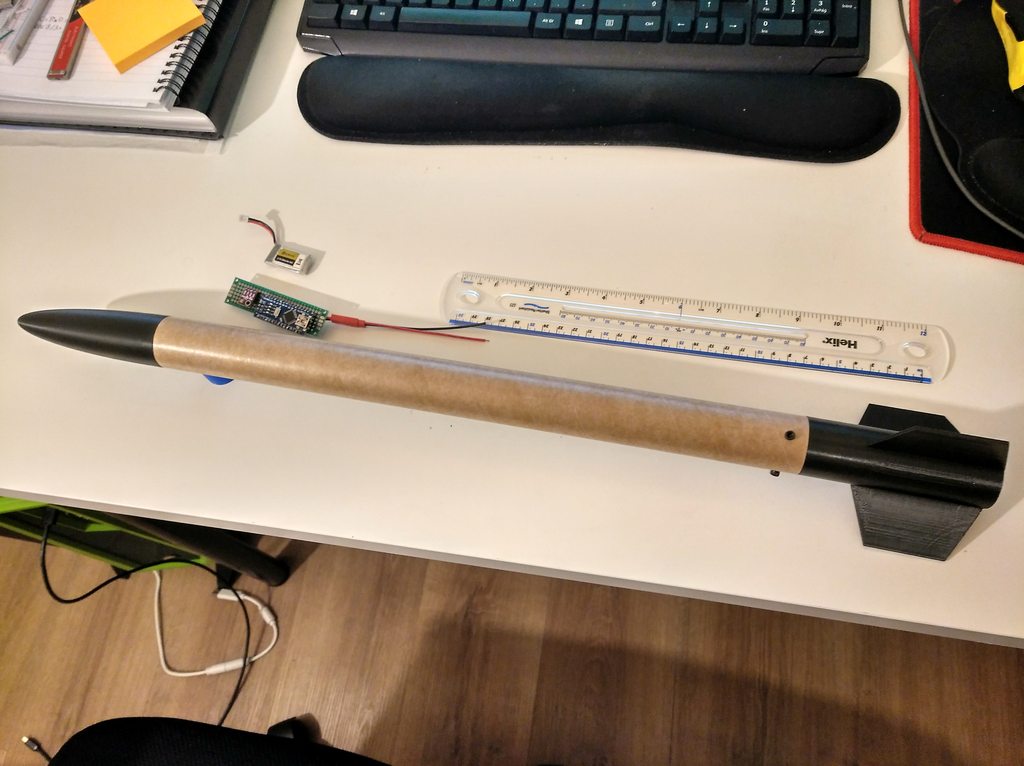
The rocket is 610mm tall, uses 34mm BT and 3 fins (34mm height). I will be posting the OpenRocket files in the Plans section soon!
Now to the build:
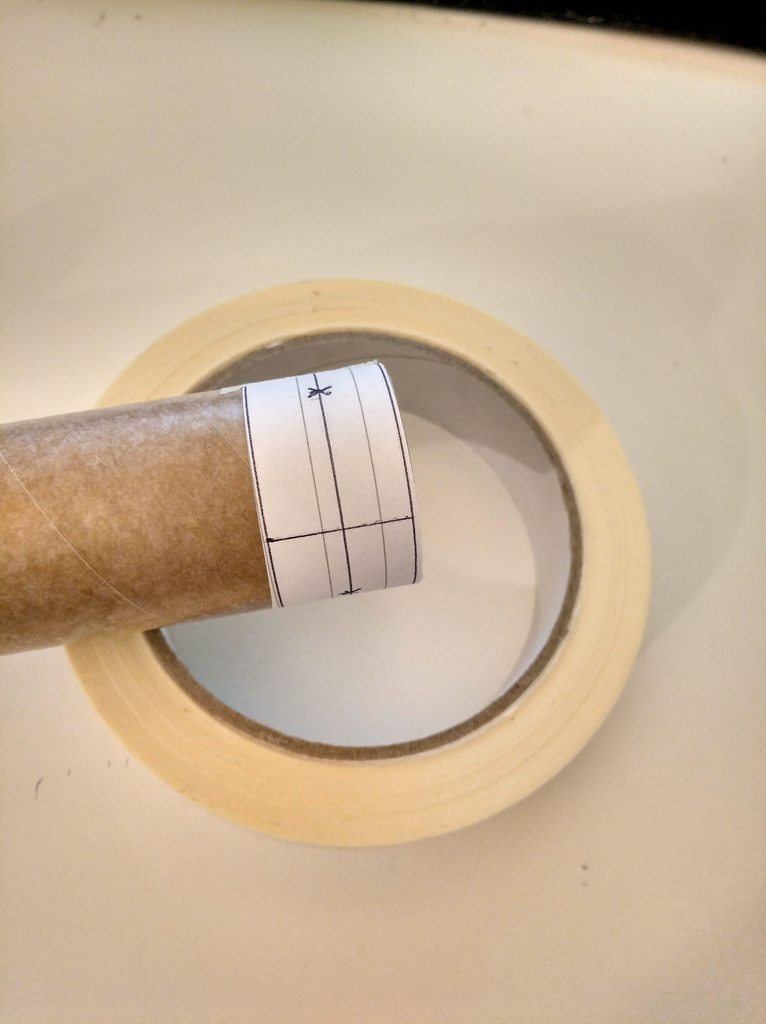
I decided to use a cardboard tube for the airframe as 3D printing it was really time consuming on my previous build and not as light as I would like. The rest of the parts are 3D printed.
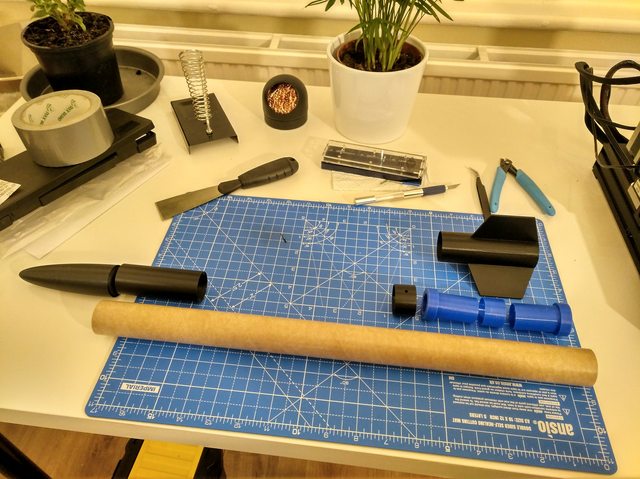
The blue parts are printed using PETG, which should withstand the temperatures much better. For the black ones, I used standard PLA. The fins are printed as one with the bottom of the airframe, this makes a stronger structure than my previous one, although it may not be enough in case of a rough landing.
That's all I have for this weekend, in the following days I will assemble the motor mount, adjust the size of the body tube and finishing the electronics package.
Thanks a lot.
~Nacho.
After designing and building Comoran I, I decided to move on and create version 2.0. I wanted a few things for this build:
- Needs a payload area
- Fins must be strongly attached to the frame (I had a problem with this on my previous build)
- Compatible with 24mm motors, both 70mm and 95mm long.
- Easy to assemble and replace parts.
- Improved motor mount with a hook instead of friction mounting.
The rocket is 610mm tall, uses 34mm BT and 3 fins (34mm height). I will be posting the OpenRocket files in the Plans section soon!
Now to the build:
I decided to use a cardboard tube for the airframe as 3D printing it was really time consuming on my previous build and not as light as I would like. The rest of the parts are 3D printed.
The blue parts are printed using PETG, which should withstand the temperatures much better. For the black ones, I used standard PLA. The fins are printed as one with the bottom of the airframe, this makes a stronger structure than my previous one, although it may not be enough in case of a rough landing.
That's all I have for this weekend, in the following days I will assemble the motor mount, adjust the size of the body tube and finishing the electronics package.
Thanks a lot.
~Nacho.
")