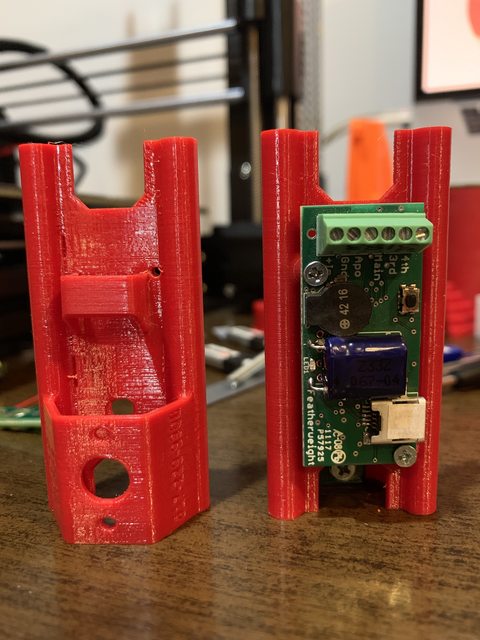
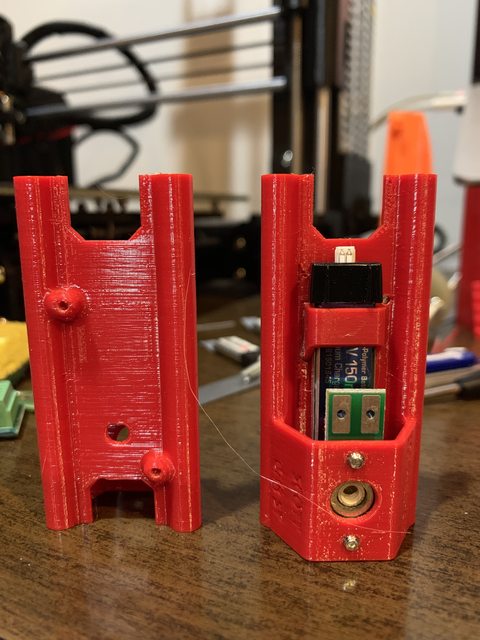
Finished up a sled design for 38mm minimum diameter rockets. It fits in a 3" long coupler and holds a Raven 3, 1s LiPo, and screw switch. My name and phone are embossed on the switch riser in the event someone else finds it before I do. The battery clip is printed separately then super glued on due to excessively stringy bridging when printed in situ. I'll work on bridging settings and integrate it later, but I declare this one done for now. I might take a soldering iron and do some plastic soldering to make sure the glue joint doesn't fail prematurely.