


Nytrunner
Pop lugs, not drugs
You're one step closer to pics like this!
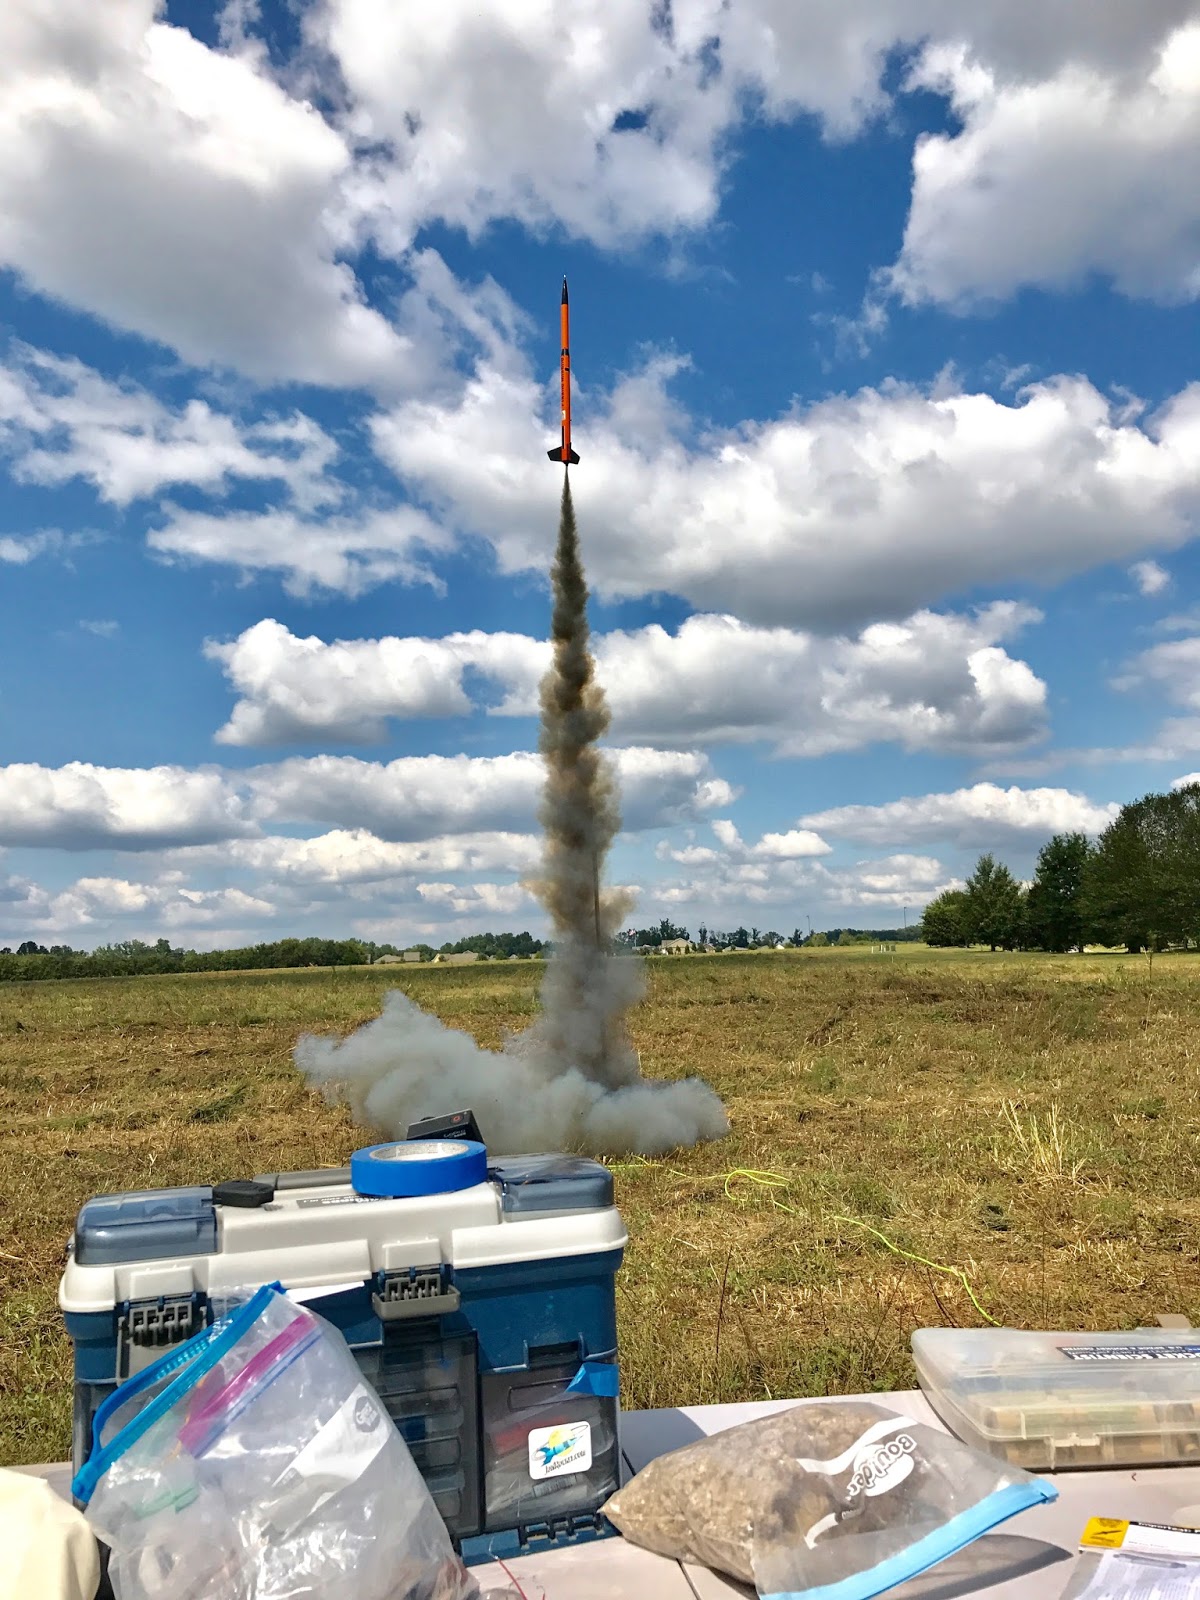
You're one step closer to pics like this!
Nice paint job and launch photo! What motor? F22J?
offhand I would guess that it is an F26 (single use)
Rex


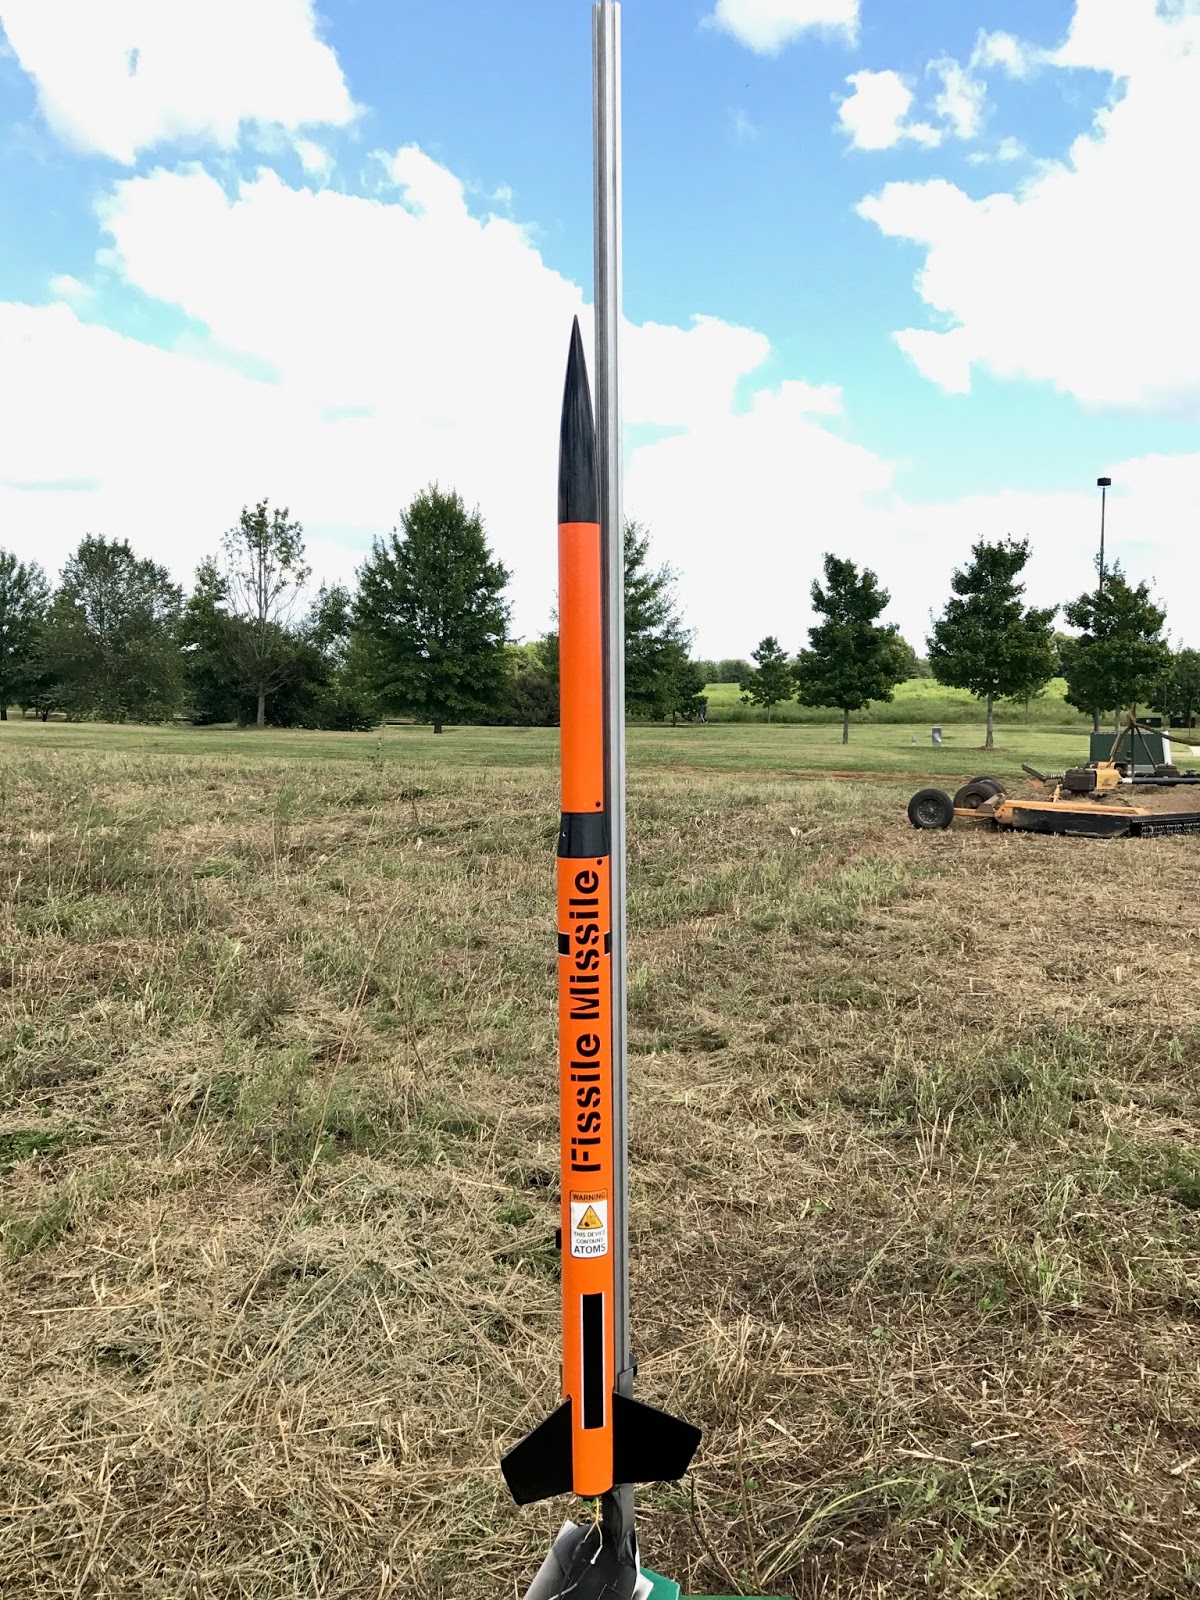
Part of the purpose of building my Argent was to experiment with fiberglassing fins and with forming fat but consistent fillets. And I also used it to experiment with some metallic paints.
View attachment 368478 View attachment 368479
Those are the fillets above.
In the pic below, the Argent is third from the left. The layout of the paint scheme is like the standard livery, which is rare for me. The colors are a few of the Rustoleum Stops Rust Metalics. I wanted to see how they would look layered over each other.
View attachment 368480
On the far right is my upscale Silver Comet, which is where I applied what I learned from building the Argent to fiberglass the fins, form the fillets, and use the silver paint. The pic is right before loading up to go to LDRS. I actually only ended up flying the bigger HPR rockets, so tomorrow will be the first time flying the Argent.
Your fillets look really nice and I like the scheme!
Thanks! We’ll see how it flies in about 2 hours!
Really? I have two in the build pile.You will be waiting awhile or have to pay quite a pretty penny for an Argent. They are OoP and sought after
That was the plan, here, too..My daughter and I finished putting one of those together. Its maiden flight will be in a couple weeks.
Hmmm...must be a daddy/daughter rocket. We built Leviathans together; we were going to build the Argents this winter.Must be a father daughter thing with that rocket - lol .
I love my Argent - I have about 14 G40 flights on mine. View attachment 368281
Really? I have two in the build pile.
and of course those plastic shock cord loops are ridiculously weak


It sounds like it could be a complex paint scheme. Looking forward to seeing it!
")


That red is really bright! I like it.
Are you getting some paint bleeding under the tape? If so there’s a few techniques you can try.
First, keep the masking tape that you use for paint masking clean. If it comes in a plastic container, put it back in the container every time you lay it down. Don’t lay it down on your workbench or other surface. Fuzz and other dirt debris will stick to the side of the roll and will wick paint under the edge of the tape. I have tape that I use for general taping, and I don’t worry about keeping that roll clean, but the tape used for masking paint jobs gets special,treatment.
After you put the tape on, go back and press the edges down tight before painting. You can use your finger, or you can use a piece of balsa or the side of a plastic pen to burnish the edge of the tape down tight to the surface.
If the new color is compatible with the color it’s going over when wet, you can spray a small amount of the original color on before adding the new color. In your case, you’d spray some white right before spraying the red. If any paint bleeds under, it’s the same color as the original, and it will seal the edge, preventing the new color from bleeding under. This only works with compatible paints — usually the same brand and the same family.
Sorry to hear about the liquid mask issues. Thanks for the shared experience. Hang I there and looking forward to the recovery.
Bk
Enter your email address to join: