New 102mm project - Chimichunga-I

The Rocketry Forum

Help Support The Rocketry Forum:

This site may earn a commission from merchant affiliate links, including eBay, Amazon, and others.
Fin can coupler is in...

IMG_9650.jpg

I’ve decided to put the fwd rail button half way up the upper segment of the fin can rather than into the fwd coupler - for a 2.8kg rocket, it seemed like it could be a lot of stress on the fwd rail button loading and unloading if it was too far back with the rest of the rocket acting like a 1.5m lever on it.

Because of this I’ve opted to do the coupler and Fwd segment of the fin can, as I want to do rail buttons before the fins, while I can still get into the back of the rocket without rogue epoxy from internal fillets getting in the way.

I’m now off to the hardware store to get longer rail button screws (not for this project, but I keep meaning to get some) and more isopropyl alcohol and acetone..

(Incidentally, I’ve made the last 25% of this bottle last as long as the first 75%... something about running low that makes me more conscious of not over using it... [emoji12])
 
Fwd section of the fin can now epoxied.

IMG_9652.jpg

I’ve also drilled, put in 1010 rail buttons and epoxied the back of the tee nuts.

IMG_9651.jpg

Epoxy is just to stop it moving and prevent laundry snags. I’ll sand it a little once it’s set.

Oh, and I made myself a new rocket stand - this one will let me have fin can and payload bay/NC on the same rack while prepping for flight.
 
Last edited:
IMG_9654.jpg
IMG_9657.jpg

Fins!

I’ve got the fin clean, epoxy prep, butter and insert down to 5min 30sec...

Juggling fins between elements of the kid’s dinner/bath/bed routine...
 
Internal fillets. The top right one in these pics is horrible - new “syringe on a stick” arrangement coupled with about 10x the amount of epoxy I’m used to doing made for a train smash with that first fillet. I figure I’ll revisit it and reflow the gaps once it’s set.

IMG_9659.jpg
IMG_9660.jpg

Had some outflow on the bottom left on the fin..

Managed to gloved Dipped acetone finger it back into submission...

IMG_9661.jpg

I used tape dams last time and they were more hassle than help.

Had to quickly clean up overflow on the bottom two fillets once the epoxy settled - all good though. [emoji26]

I think next time I’ll whack some tape on after I’ve poured the epoxy...
 
As for that first one, remember that as long as the fin is firmly attached, the aft CR hides a multitude of sins. (And a cos or two.)
 
Any one have suggestions on what to use when filling gaps in Quantum Tube joins?

IMG_9663.jpg
 
I just noticed that your sig says "Reasonably new to rocketry..." Just how new is that? You're doing really nice work, like a veteran.

Thank you for your kind words!! [emoji16]

I’ve just renewed my club membership for the first time, so at the beginning of year 2 for me...
 
Last edited:
Looking good man. I swear I could sit on these build forums for hours. I’m anxious to see it fly!
 

I don't think I'd leave a hammer close at hand while working on a rocket: Measure twice, mis-cut once, smash the hateful thing into oblivion... Australians must have nerves of steel.

More fillets...

It does look good.

I scanned through the thread, but I've lost count of the centering rings. Will there be a ring at the back end of the fin tabs, or will it just be the one in the tailcone?

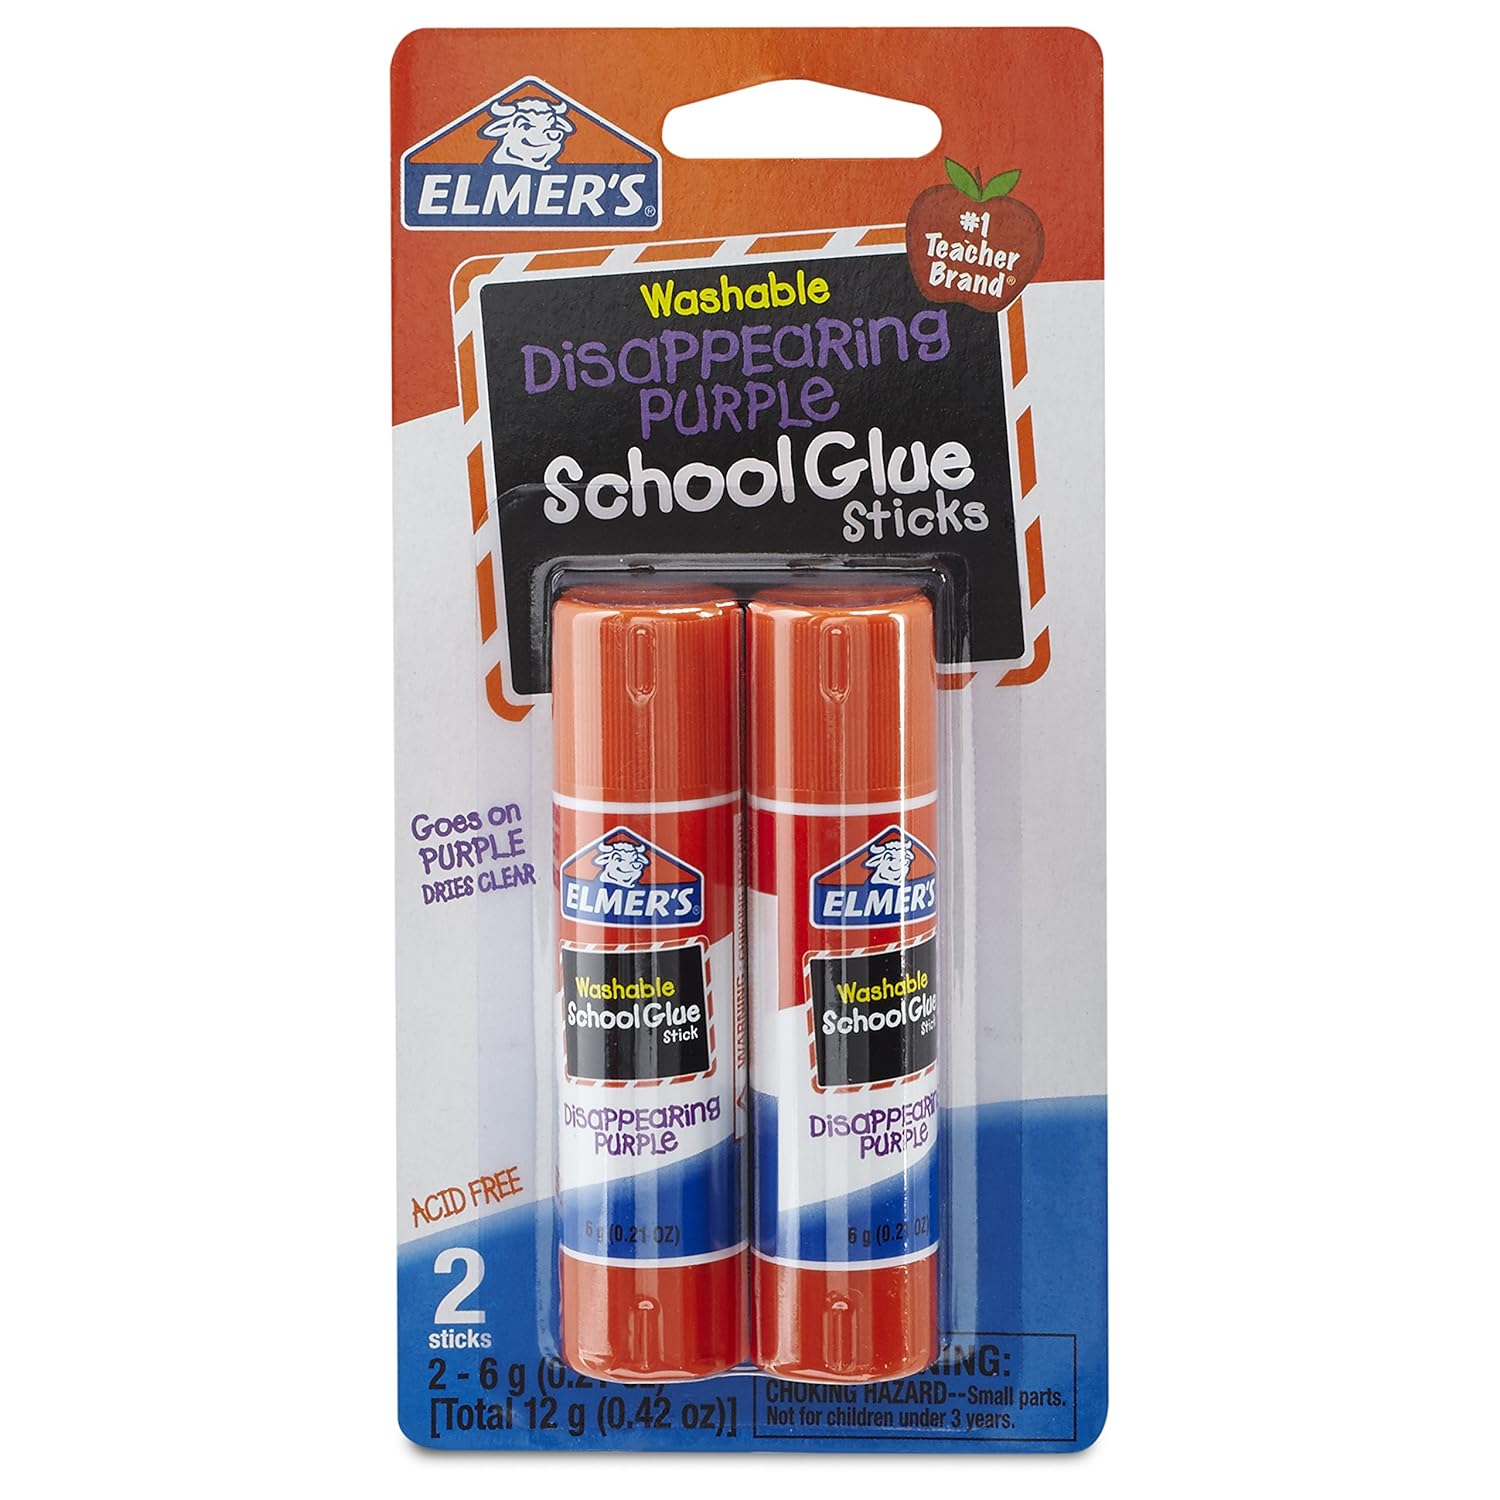
FWIW, for the next one, you can use glue stick to make dams to keep epoxy from leaking under or between joined pieces. Works tolerably well, and scrapes/sands off most not-too-porous surfaces cleanly. Its good to have a good heat gun, riffler files, and something like a dental scaler in your tool kit for these kinds of experiments.
 
Last of the 16 internal fillets done.

IMG_9671.jpg
IMG_9672.jpg

Massive overkill for this bird, but it’s the practice doing clean internal fillets that drive the decision. I have the tools to do it well, I feel the limiting factor is actually the BSI mid cure epoxy (15min) and being able to mix, load syringe and get them in fast enough.

I’ve started using a tall thin container to mix the epoxy so I don’t waste as much that I can’t load into the syringe.

I’m thinking the next bird might have some research into different / slower curing epoxies and fillers maybe - time to expand my adhesives knowledge me thinks.

Anyway: onto external fin fillets. Not making big ones here - a paddle pop stick (ice cream stick for you janqies) here will suffice.

IMG_9673.jpg
 
I don't think I'd leave a hammer close at hand while working on a rocket: Measure twice, mis-cut once, smash the hateful thing into oblivion... Australians must have nerves of steel.


It does look good.

I scanned through the thread, but I've lost count of the centering rings. Will there be a ring at the back end of the fin tabs, or will it just be the one in the tailcone?

FWIW, for the next one, you can use glue stick to make dams to keep epoxy from leaking under or between joined pieces. Works tolerably well, and scrapes/sands off most not-too-porous surfaces cleanly. Its good to have a good heat gun, riffler files, and something like a dental scaler in your tool kit for these kinds of experiments.

Yes, one final rear fin CR then tailcone.

When you say glue stick, do you mean a hot melt glue gun?

I am also assuming the heat gun is designed to help the epoxy flow and settle flat?

I’ve been on the lookout for cheap/good dental tools. The kid’s orthodontist is keeping an eye out for stuff they can’t use anymore that will be fine for hobby work...
 
Yes, one final rear fin CR then tailcone.

When you say glue stick, do you mean a hot melt glue gun?

You know, that might work too. But I was talking about stuff like this

910Nr1W6m9L._SL1500_.jpg


I've used it to seal cracks between pieces where I wanted to keep the epoxy (or yellow glue, or polyurethane glue) from squeezing or leaking out. I got the idea watching a friend use very expensive fixturing wax for this (his was not a rocketry application, but it might as well have been. Fiberboard and plywood held together with epoxy). Water-soluble glue stick is adhesive enough and flexible enough to fill open seams, but -- in thick applications -- dries slowly enough that you can scrape it out after the epoxy has stopped flowing.

I am also assuming the heat gun is designed to help the epoxy flow and settle flat?

I was still going on about the glue stick. It melts at a fairly low temperature, even after it has mostly dried, so the heat gun is good for getting globs of it off the surface.

I’ve been on the lookout for cheap/good dental tools. The kid’s orthodontist is keeping an eye out for stuff they can’t use anymore that will be fine for hobby work...

Well, if you weren't in the antipodes I could direct you to good sources for free (broken or worn) dental tools. For instance, I'd send you to the allied health department at the local community college. I wonder, do any of those words mean anything in a country where popsicles are -- apparently -- called "paddle pops" <smile>.

EDIT: The external fillets are very pretty.
 
You know, that might work too. But I was talking about stuff like this

910Nr1W6m9L._SL1500_.jpg


I've used it to seal cracks between pieces where I wanted to keep the epoxy (or yellow glue, or polyurethane glue) from squeezing or leaking out. I got the idea watching a friend use very expensive fixturing wax for this (his was not a rocketry application, but it might as well have been. Fiberboard and plywood held together with epoxy). Water-soluble glue stick is adhesive enough and flexible enough to fill open seams, but -- in thick applications -- dries slowly enough that you can scrape it out after the epoxy has stopped flowing.


I was still going on about the glue stick. It melts at a fairly low temperature, even after it has mostly dried, so the heat gun is good for getting globs of it off the surface.


Well, if you weren't in the antipodes I could direct you to good sources for free (broken or worn) dental tools. For instance, I'd send you to the allied health department at the local community college. I wonder, do any of those words mean anything in a country where popsicles are -- apparently -- called "paddle pops" <smile>.

EDIT: The external fillets are very pretty.

Similar to what I’m doing - my son’s orthodontist is apparently keeping a stash for me when opportunity arises.

Glue stick is the same name here. I wondered if that was what you meant but figured I was nuts. It’s actually quite a good idea. I’ll give it some thought.

As for paddle pop sticks:
https://en.m.wikipedia.org/wiki/Paddle_Pop

IMG_9678.jpg

Except that rainbow flavour sucks - everyone knows banana is the best... [emoji12]

EDIT: I will say this though; Janquis “Yoo-Hoo” milk tastes better than our “Uhu” glue!

View attachment 359787

It was the cause of much confusion when I asked a US colleague to pass me the Uhu stick on my desk... [emoji6]
 
Last edited:
Two more ext fillets done. IMG_9684.jpg

Also filled the Quantum Tube Fin can join with epoxy putty.

IMG_9685.jpg

Before:
IMG_9663.jpg

After:
IMG_9681.jpg

Best results had from squashing it 1/2 cm either side of the join, then scraping it hard with it with a razor blade dipped in isopropyl alcohol, with the blade facing away from the direction I was dragging.

Kind of acted like a lubricated trowel!

You can see areas where there was a small low spot from minor tube misalignment in the coupler, and more than the seam got filled...
 
EDIT: I will say this though; Janquis “Yoo-Hoo” milk tastes better than our “Uhu” glue!

View attachment 359787

It was the cause of much confusion when I asked a US colleague to pass me the Uhu stick on my desk... [emoji6]

Have you actually tried Yoo-hoo? It’s nasty stuff, I think I would rather take a chance with the glue stick...
 
Now onto the next problem.

It would appear that my rear CR and tailcone no longer fit..

You can see from these pictures.
IMG_9687.jpg
IMG_9688.jpg

I have no idea how this has happened.

It all fit fine before I did the internal fillets...

I made the mistake of wiping some spilled epoxy that overflowed onto the back of the ttw fin with some acetone. I noticed that my tube scuffing disappeared, did some reading and discovered that acetone and Quantum Tube is a no no...

It was only a surface wipe and I’d be surprised if that has caused the tube to change shape...

That being said, I have no other ideas why the rear CR and tail cone don’t fit anymore.

Could the MMT have shifted?! After the epoxy it’s attached with has set?!?!

I’m at a loss...

Anyone have any ideas?
 
Last of the 16 internal fillets done.

Massive overkill for this bird, but it’s the practice doing clean internal fillets that drive the decision. I have the tools to do it well, I feel the limiting factor is actually the BSI mid cure epoxy (15min) and being able to mix, load syringe and get them in fast enough.

I’ve started using a tall thin container to mix the epoxy so I don’t waste as much that I can’t load into the syringe.

Snip…
Using a tall, narrow container for epoxy frequently leads to epoxy “cooking off”, which is a sort of chain reaction where the epoxy’s exothermic heat builds up, causing the epoxy to react even faster, which causes more heat, until the epoxy can get so hot that it smokes and melts through plastic containers. It’s a dangerous situation and should be avoided.

It’s easiest to mix in a small container like a paper hot drink cup (never styrofoam), but then I like to pour it into a shallow dish, such as a wide metal paint tray.

Some structural epoxies are available with mixing tips where you can squeeze it where you want it and it’s mixed as it’s applied:
https://fhis-dispenser.com/product/50ml-ab-glue-gun-kit-for-two-component-filling-and-use/

With that said, you’re doing a beautiful job!

Thanks Steve - for the advice and the kind words.

I’m wondering has anyone else had a MMT shift in QT after curing before?

After sleeping on it, I’m convinced the rear CR and tailcone not fitting now, comes from a 0.5-1.0mm MMT shift and not the qt deforming - the photos show what I’m thinking: the CR is the right size, the hole in the middle has just shifted...
 
I built a lot of Quantum Tube rockets. Most of the rockets I built before I learned to fiberglass were QT. I never had anything shift. As long as it’s sufficiently roughed up with sandpaper, I don’t think it could.
 
Rear CR fitted by shaving a little from the ID and OD to get it back in. MMT minor de-alignment is what I’m thinking, somewhere between fins in and fillets done. I’ll have to think more on how this might have happened.

I wonder if the epoxy in the totally enclosed space between the fwd CR and the TTW fins might have gassed out while curing into a sealed space and maybe pushed something out of whack?! No idea.

Anyway. It’s in and filleted now.


Trimming
IMG_9689.jpg

In
IMG_9690.jpg

Filleted
IMG_9691.jpg
 
Once the epoxy is set, I’ll re-rough up the ID of the tube and fit and epoxy the tail cone in.
 
I built a lot of Quantum Tube rockets. Most of the rockets I built before I learned to fiberglass were QT. I never had anything shift. As long as it’s sufficiently roughed up with sandpaper, I don’t think it could.

Ok then - that’s a data point. My only other thought is that it was always a little out of whack, and before the fin fillets went it, there was more flex that allowed enough travel to get it all together - once the MMT tube was anchored with 4 fins and their 16 filets, there was no more room to play...

I’ve checked my build photos and I can see that the areas that didn’t fit at the end were tight in the beginning, so that might just be it...
 
Ok then - that’s a data point. My only other thought is that it was always a little out of whack, and before the fin fillets went it, there was more flex that allowed enough travel to get it all together - once the MMT tube was anchored with 4 fins and their 16 filets, there was no more room to play...

You complained about warp in the fins in another thread. I wonder it there was enough root-to-tip bow in one or another of the fins that you had to pull the motor tube off-axis to make contact with all four tabs.
 
Back
Top