Fin fillets for me have not been so much a challenge, but certainly I’m finding there are many ways to “skin a cat” In my time building rockets I’ve used a combination of TBWG and TWMT for making fillets on LPR and MPR. Hobby line epoxy and epoxy clay. I guess depending on the build each application has a place.
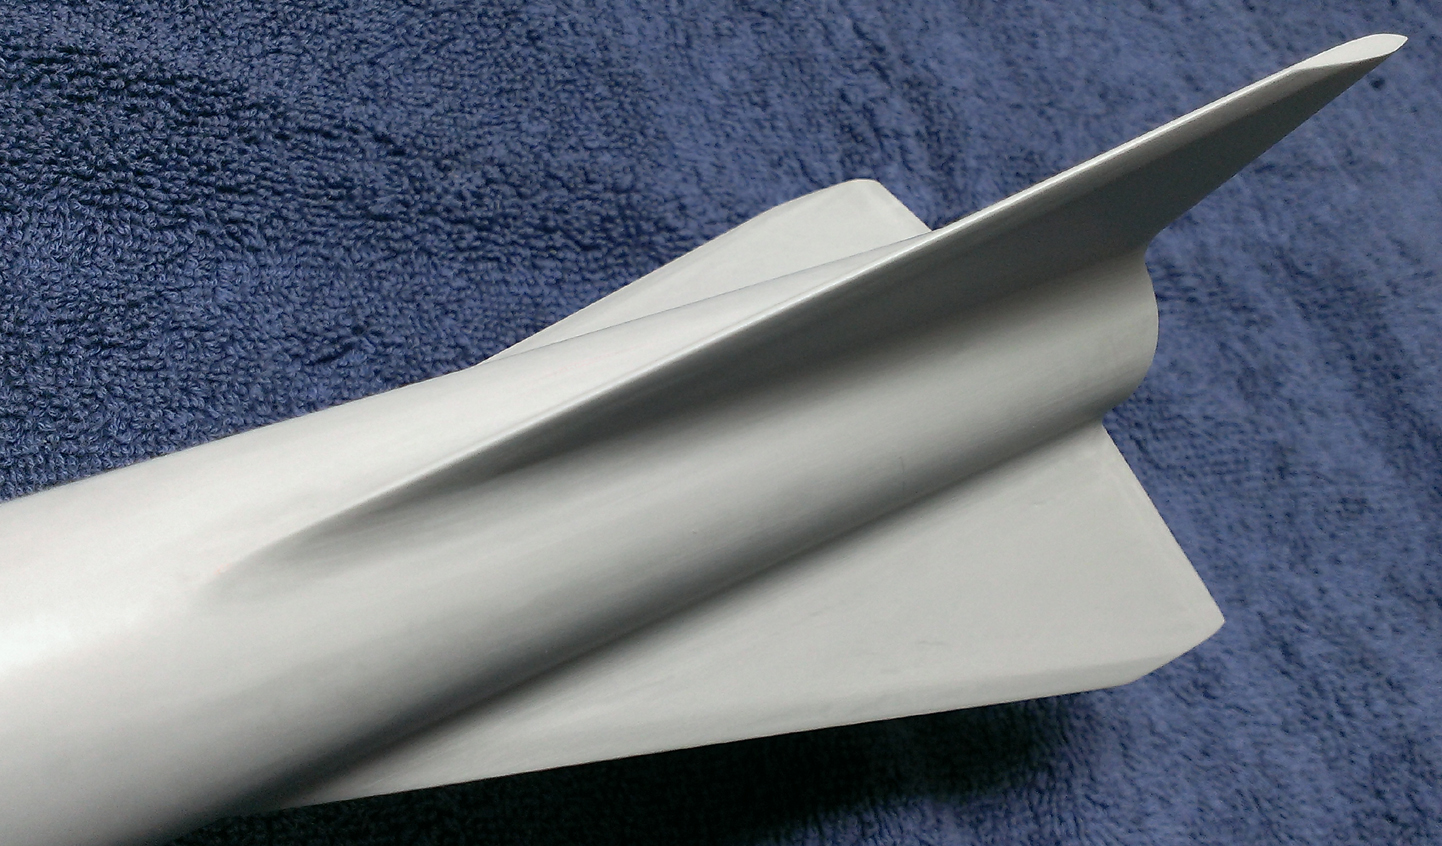
For me I feel the challenge lies in creating the fillet as it wraps around the leading edge where it meets the airframe without having it drip. Using epoxy clay I don’t have this issues, but after it dries it requires some shaping and sanding. I know the process of taping off the fillets and using tape on each end to “dam” up the epoxy, but that does nothing to complete the connection between both sides of the fin.
How do you get it to “wrap around” without it dripping or running down the side and still make it look smooth? I know some will use Rocket Epoxy which is more like a paste and maybe that’s the only way to get the desired results?
Any of fillets gurus want to provide some insight?
Thanks!!
AB