It totally depends on your (and your household occupants) tolerance for smells.
I'm lucky enough to have permanent paintbooths in my basement BUT!!!! that doesn't always clear ALL the smell from some applications.
Balsa sealer and Balsa Filler are to different things; Sealer is just that a sealer that takes a lot of coats and time to Fill any grain. Balsa Filler has heavier solids filling grain much quicker. Both are Lacquer thinner based products that smell to high heaven. I like the Filler but the better 2/3rd does not so It's resevered for very special projects, almost never used anymore.
Brush/roll on Polyurethane clear is not a filler either. While it doesn't smell nearly as bad as the balsa fillers. It is a clear polyurethane finish... Ment for high foot traffic wood floor areas...it does not sand with a hoot! so I'd not suggest it for filling gain.
Miniwax Wood hardener is another very high smelling wood product that really does harden the Sapwood parts of most any wood. Given enough coatings it would i'm sure fill some balsa grain but the resulting weight and hardness to sanding would likely make it not worth the smell or trouble. It really does harden wood though and is a great product for reparing damaged wood or stiffening very light weight balsa. I would not use it as a filler.
Elmers or however it's being packaged these days "Fill n Finish" is a fine product of those who don't mind taking the time to thin it out, trowel it on, wait for it to dry and then sand it off, and repeat. It is by far the least smelly of all the options, but it's also WAY to slow, and from the times I have used it, really no better then my current preferred seam and balsa grain filling method "Cheapy Auto grey spray Primer".
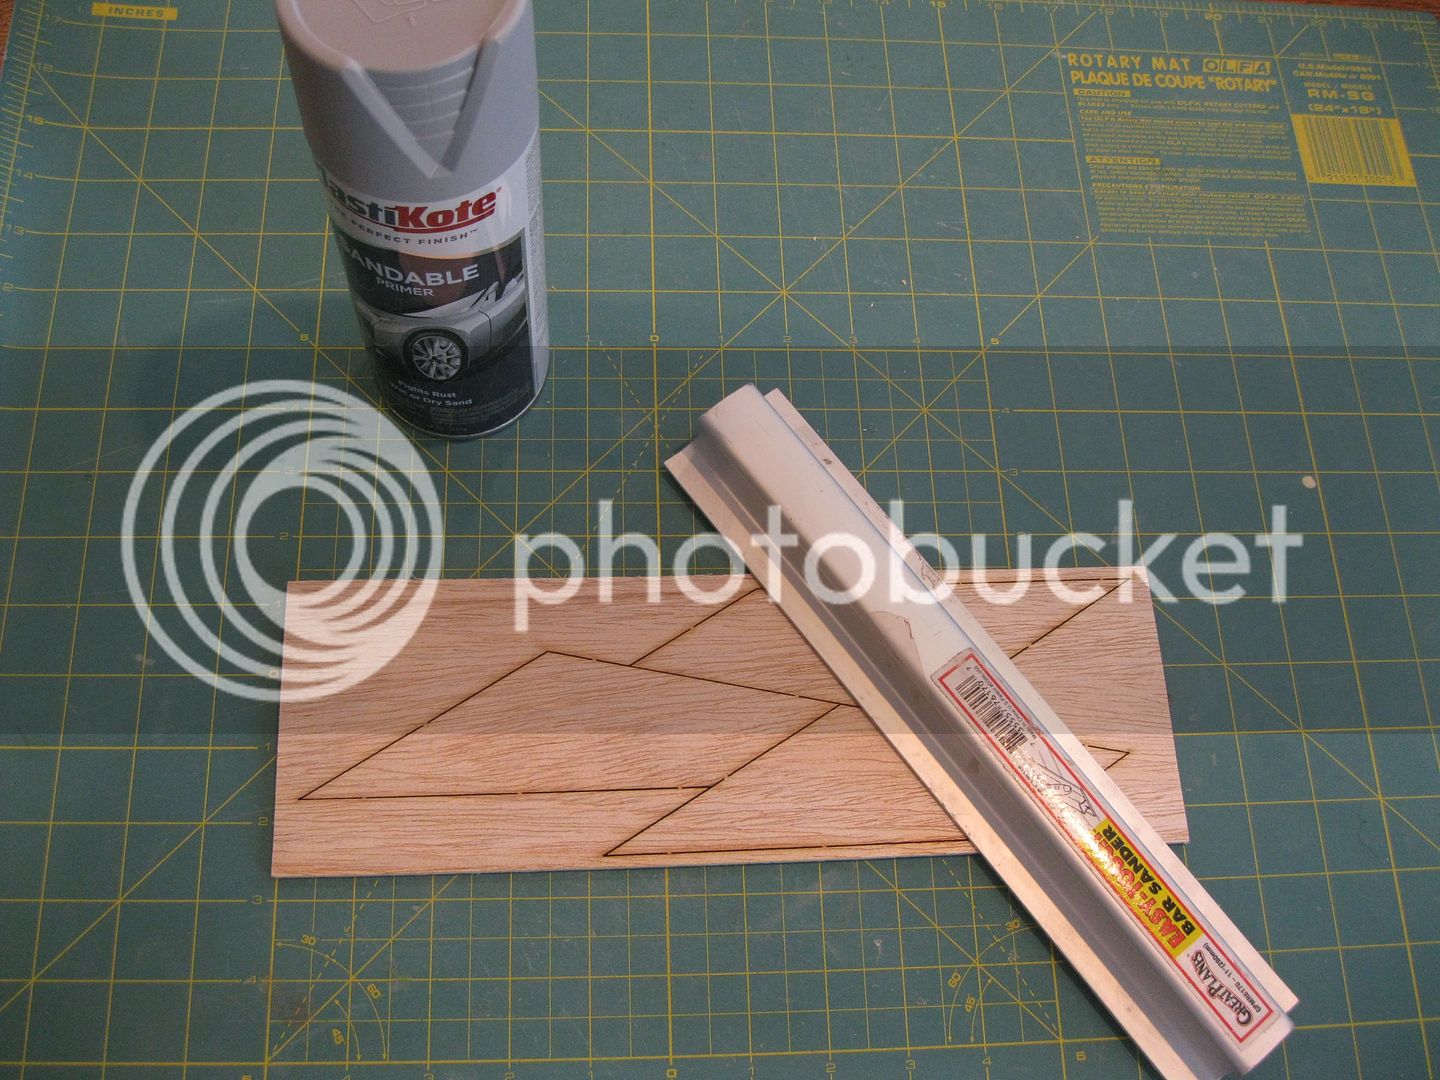
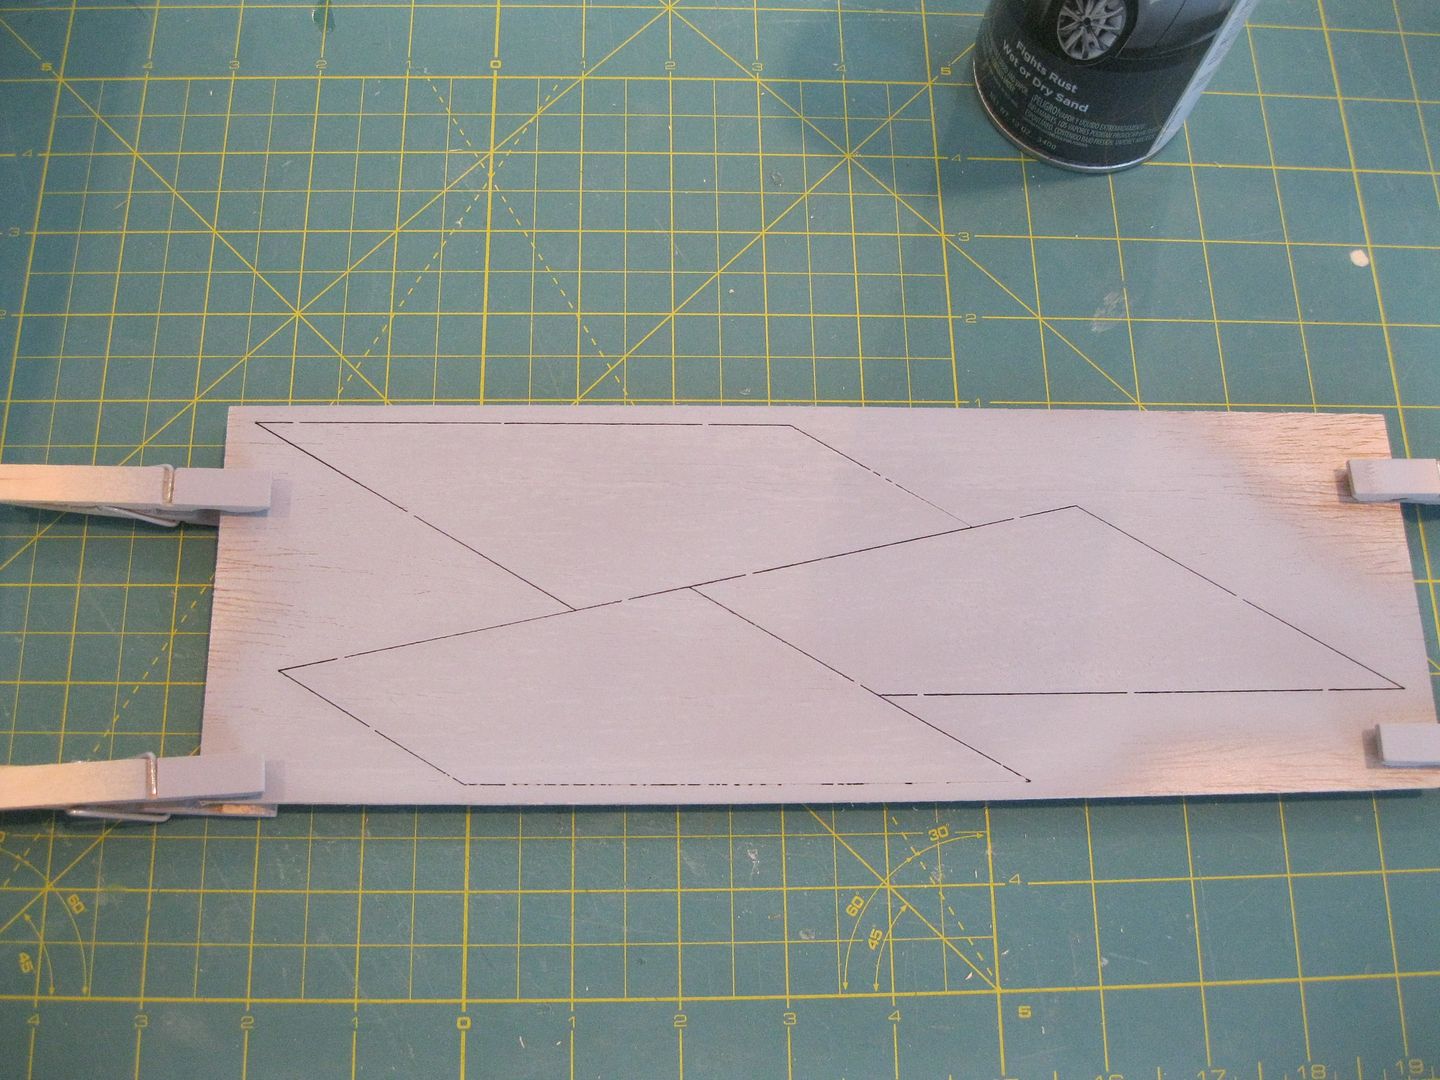
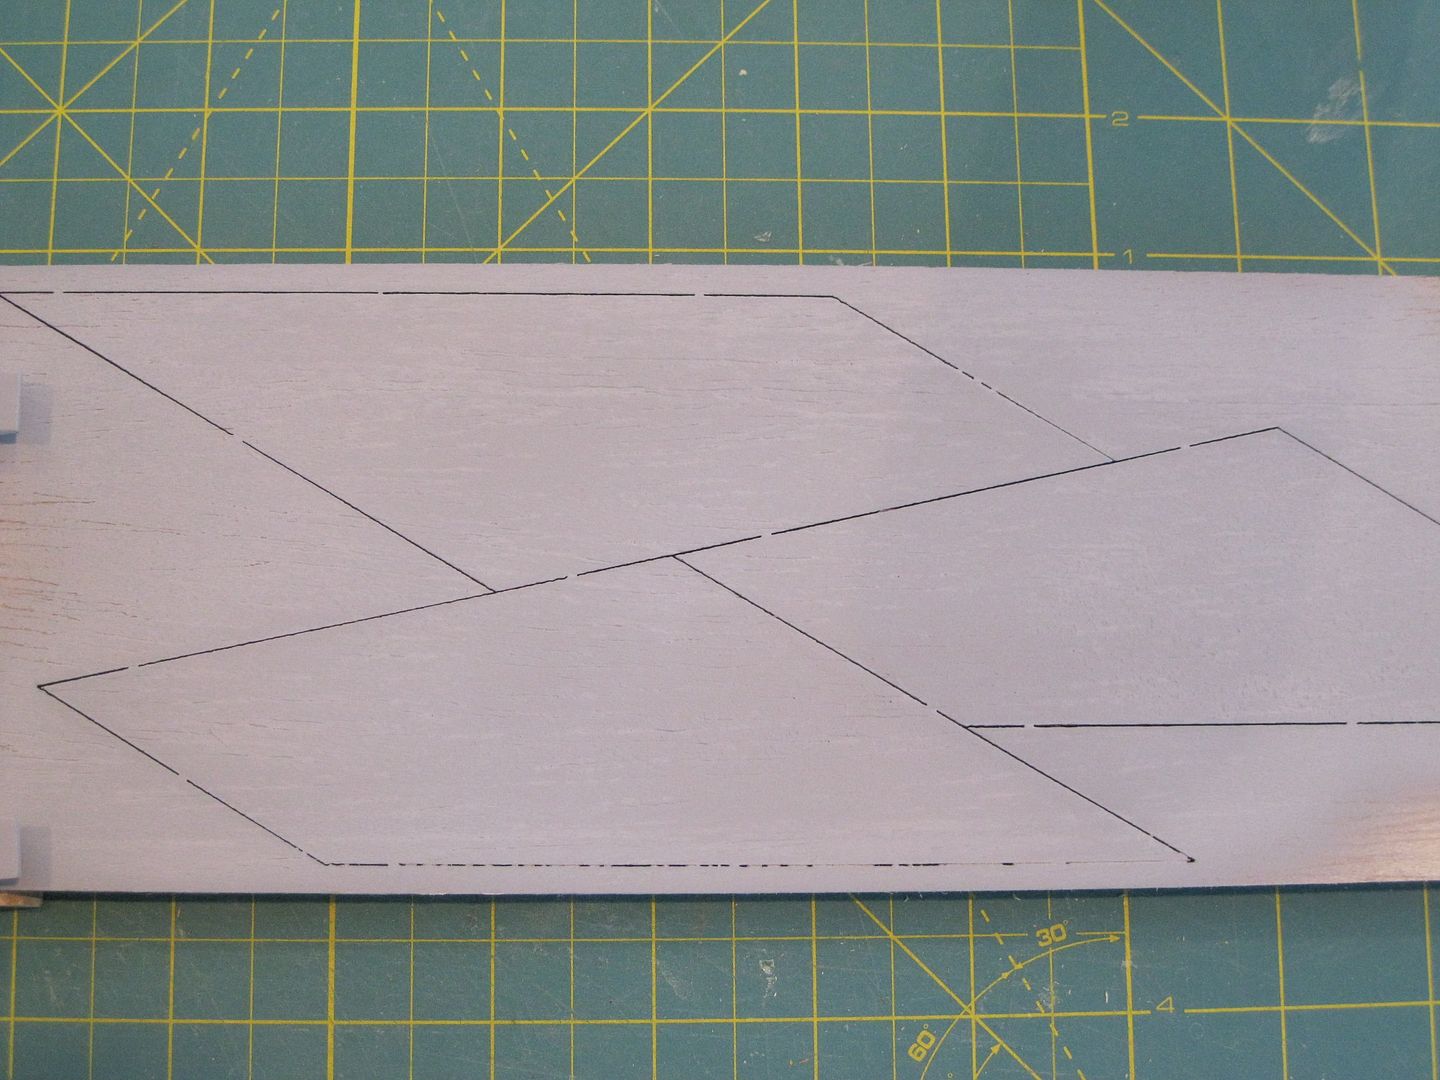
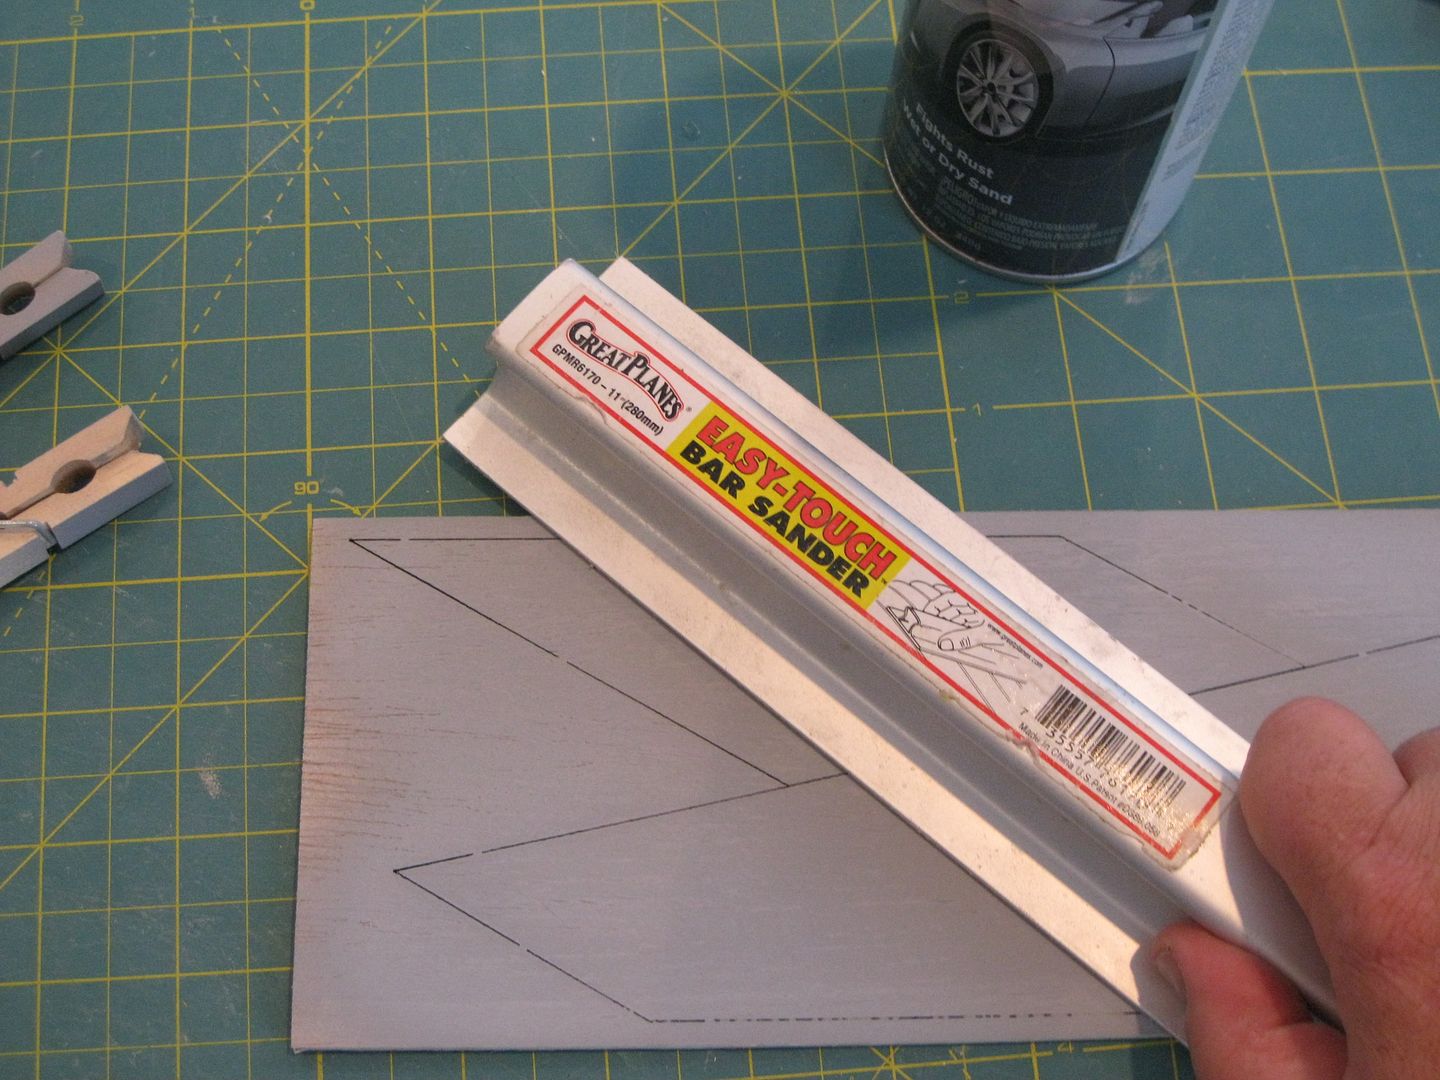
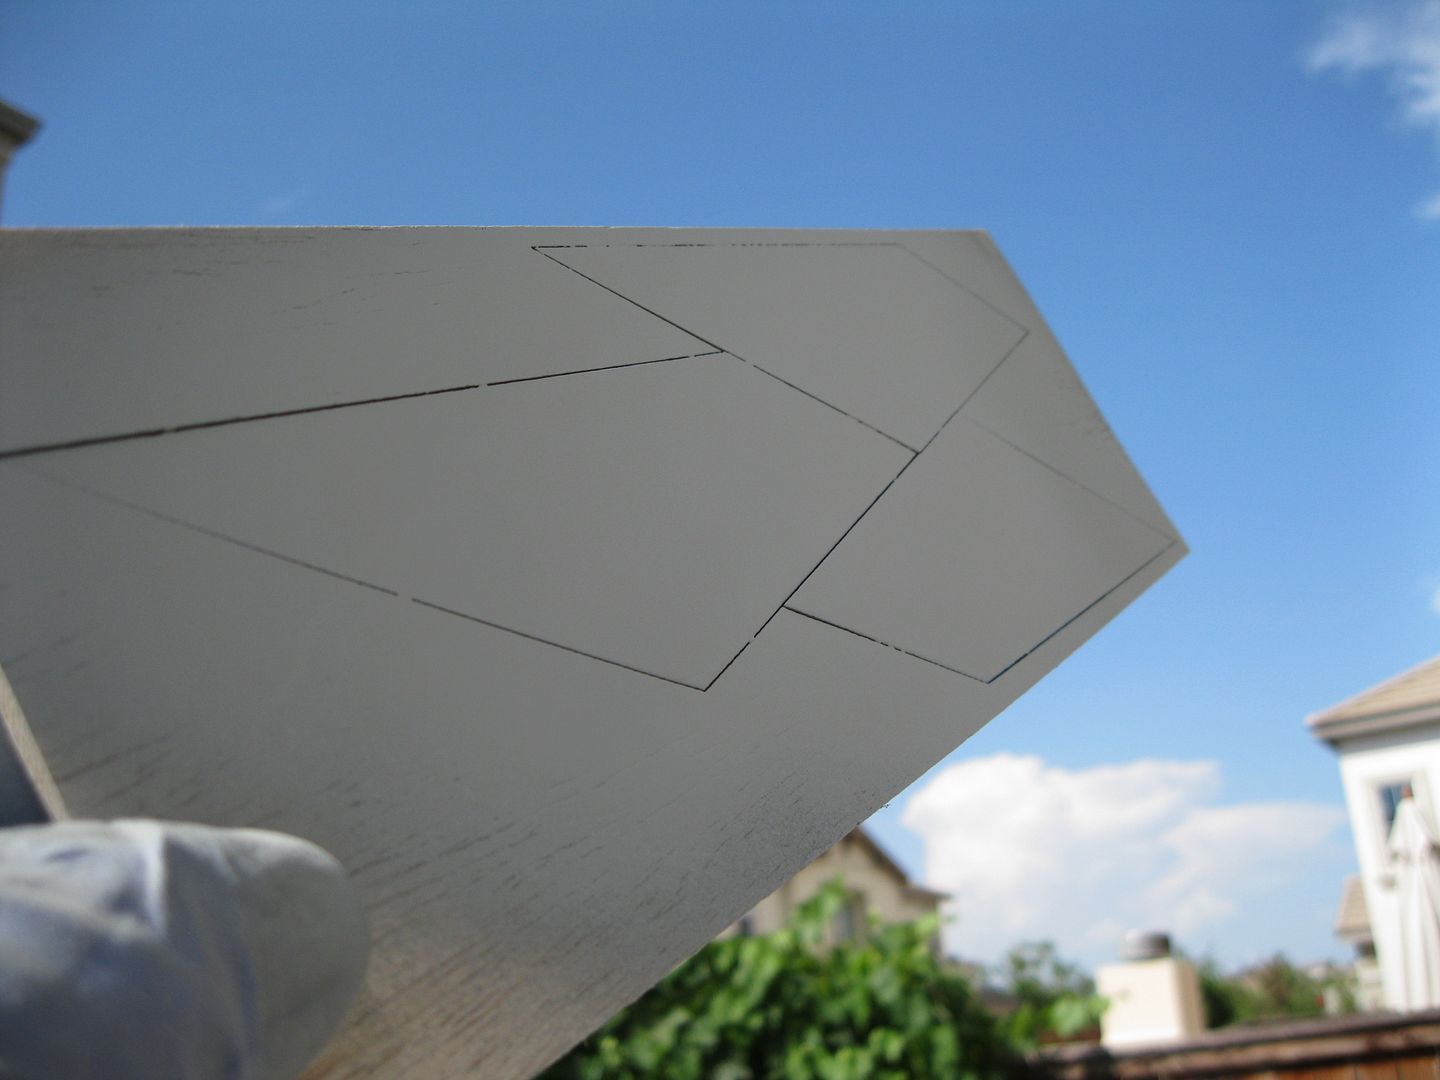
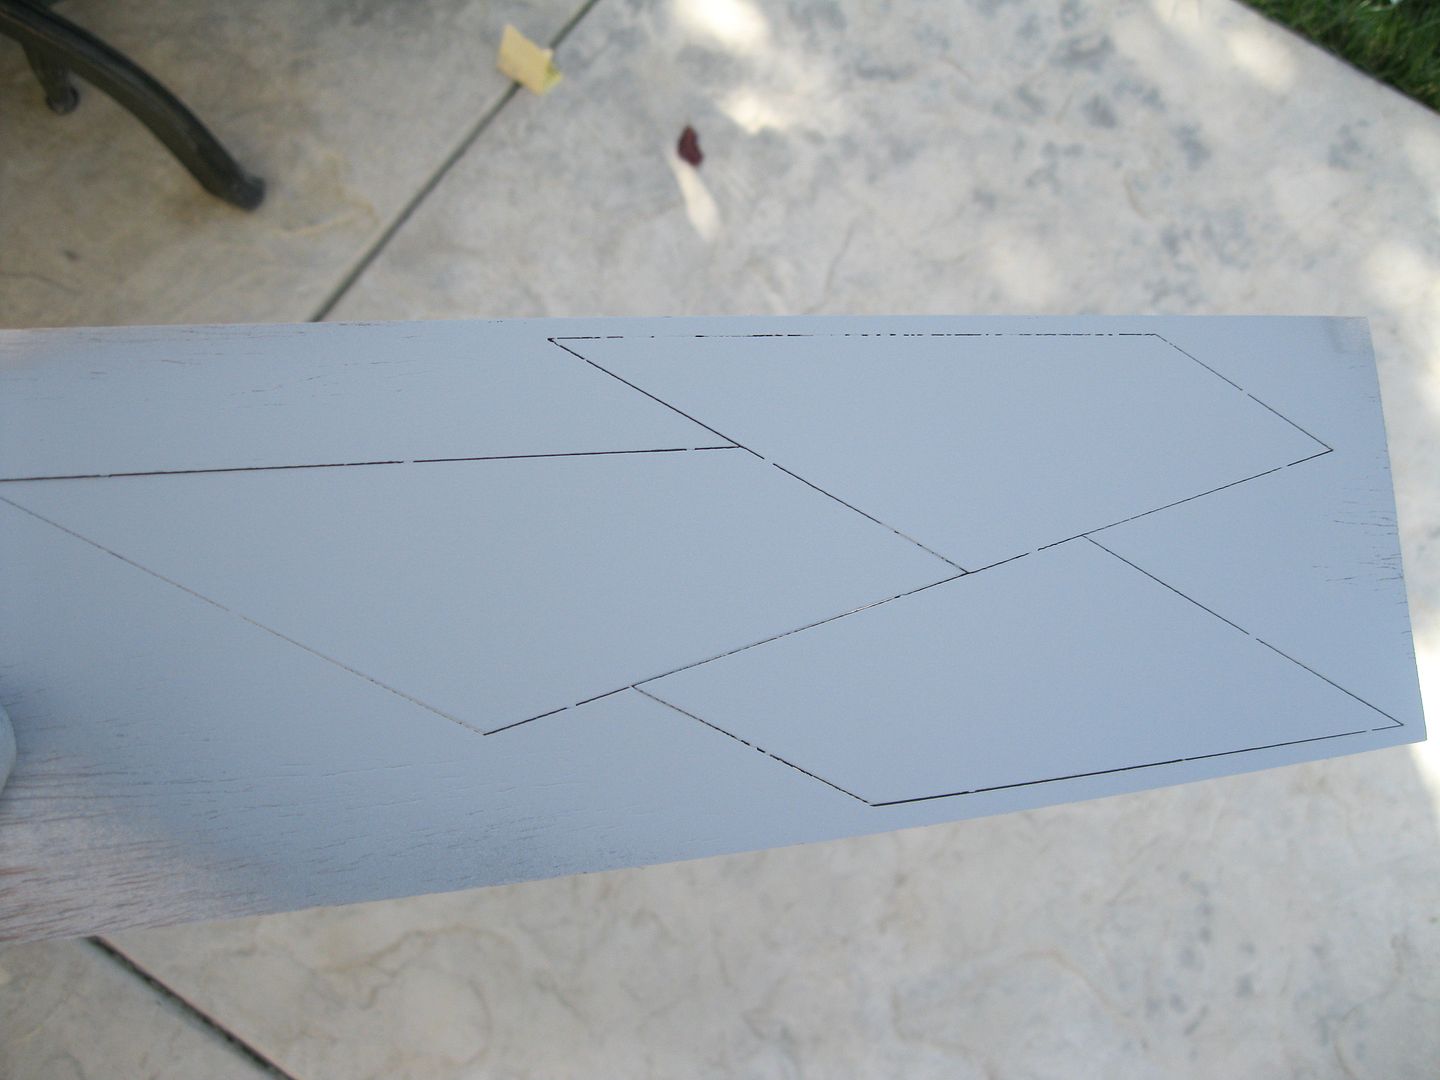
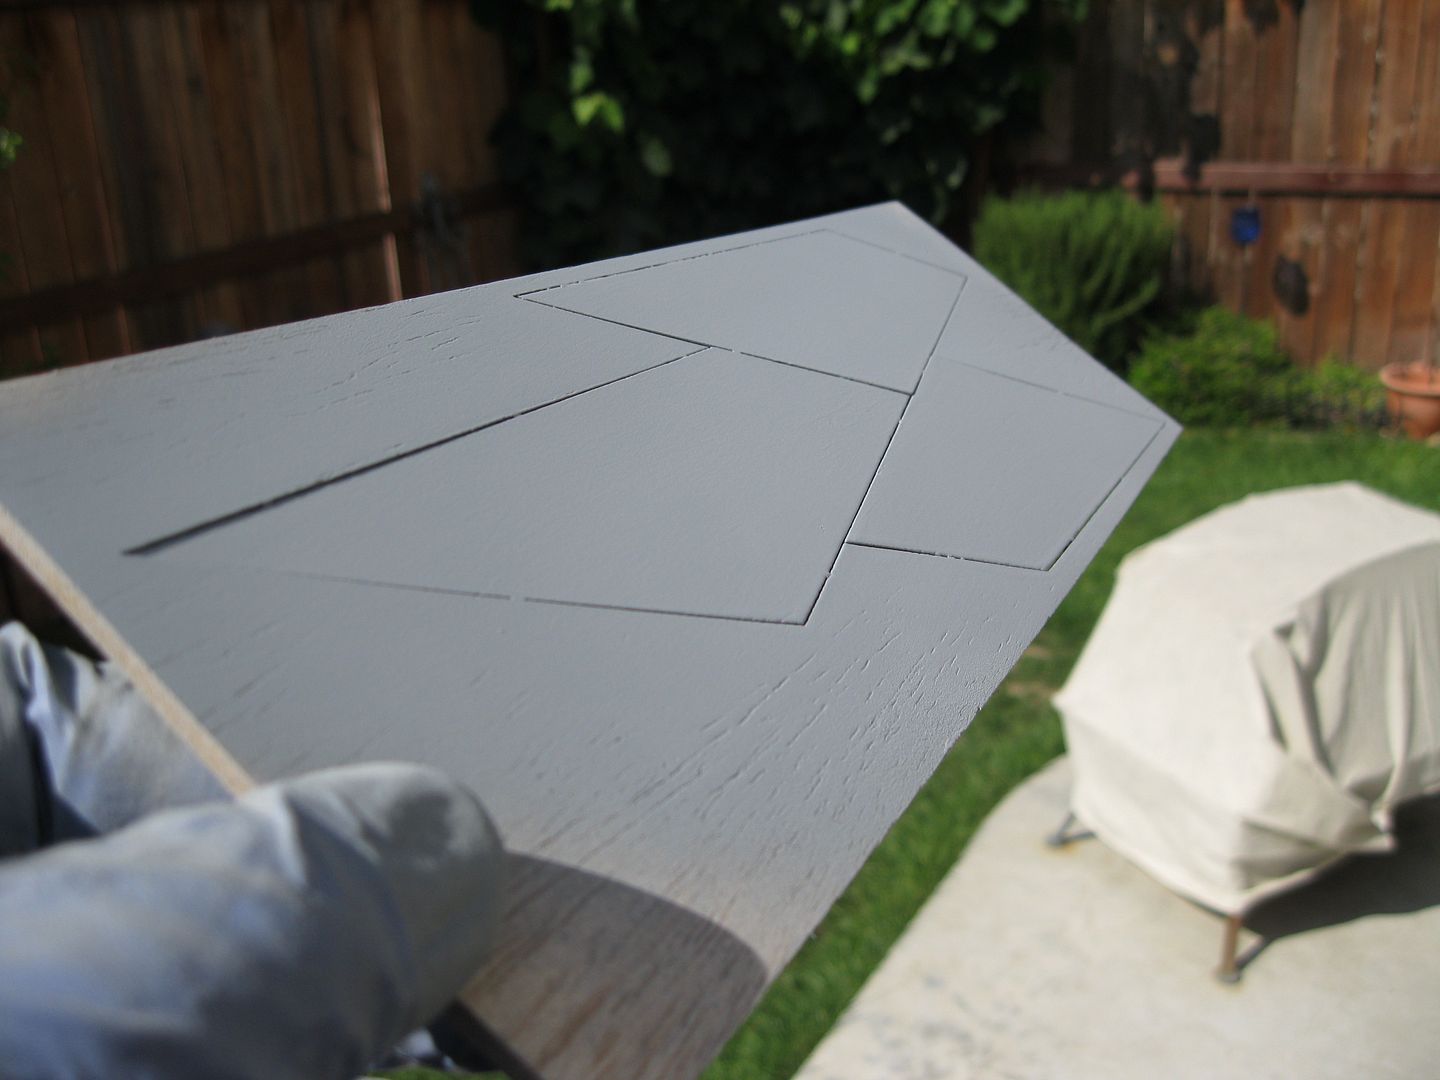
Cheapy sandable auto primer. I'm buying .89 cent a 12oz can Walmart rattlecan spray Auto primer. It's used in two to three unsanded coats, let dry 10 minutes then two to three additional coats. This process is repeated one more time making 3 sets of 2-3 coats over the entire model than allowing the model to set drying for 2 days. Once it's NOSE Dry ("With nose on or right next to the model if you can smell it...it is NOT dry".) Once dry, sand with 120, 240, to 360 dry sandpaper. Checking often for remaining seamlines or grain. If after sanding I've reached bare wood or cardboard with grain or seamlines remaining, an additional repeat 2-3 sets of 3 coats and sand again to a babies butt smooth 360grit finish. Then base color coat, and on to finishing.
This method works great on any size model requiring one or 1-1/2 cans if the model is up to BT-80 & about 40" long. A bit more on larger models but not much, only rarely have I used over 2 cans on a single model. As mentioned the drawback to the method is it does sometime allow the other members of the family know your spray painting in the dungon and you need a way to control the overspray (such as a paint booth)
")
Hope this helps a little.