dragon_rider10
Well-Known Member
- Joined
- Dec 9, 2009
- Messages
- 699
- Reaction score
- 2
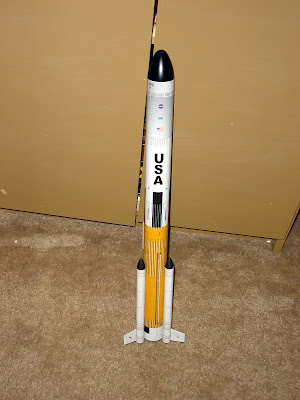
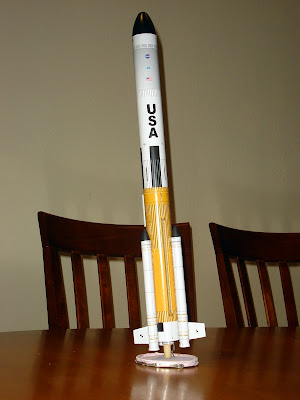
Here's a build on this Level-3 kit from Quest.
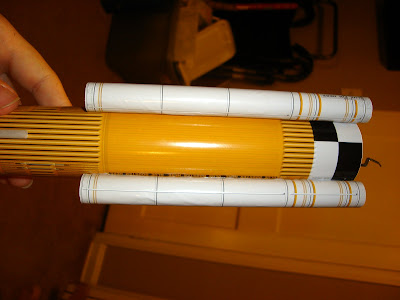
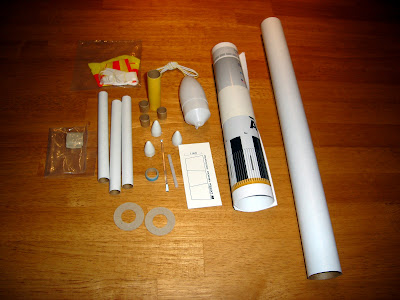
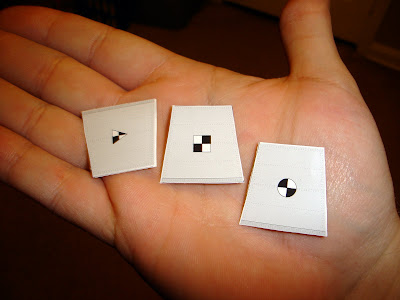
Starting out with the obligatory 'what's in the bag' shot. Note the conspicuous absence of anything balsa.
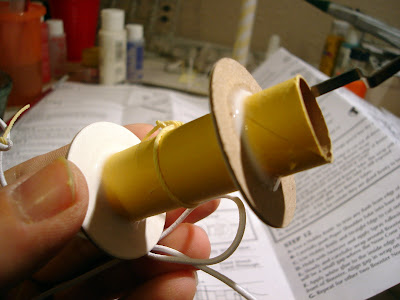
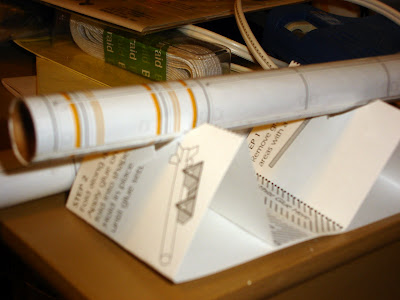
Next, the assembled motor-mount. Fairly standard Quest fare.
Working on the nose. According to the directions, you are supposed to cut into the shoulder of a cone with an Xacto knife or razor saw to open a hole large enough to mush clay into the tip. Cutting this with a hobby knife seemed dangerous, and I figured with a little elbow grease i could widen this hole instead.
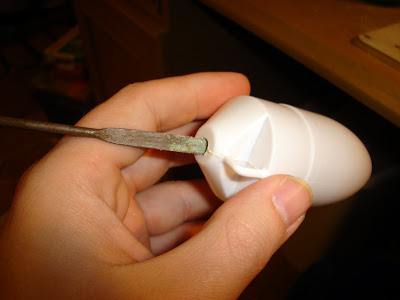
I 'snaked' the clay and weaseled it in. What I discovered was that none of my tools small enough to fit in the hole had a base big enough to securely tamp the clay. Never discouraged, I figured I could drip in some white glue to solidify it. Well that was a mistake. It never dried. I ended up having to drain it all out and hack into the cone with a razor saw anyway.
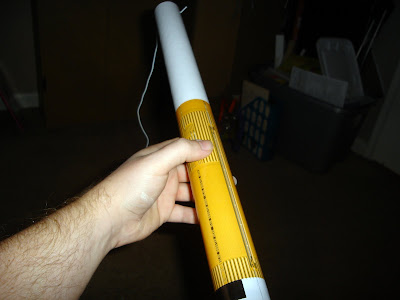
More to come!
Starting out with the obligatory 'what's in the bag' shot. Note the conspicuous absence of anything balsa.
Next, the assembled motor-mount. Fairly standard Quest fare.
Working on the nose. According to the directions, you are supposed to cut into the shoulder of a cone with an Xacto knife or razor saw to open a hole large enough to mush clay into the tip. Cutting this with a hobby knife seemed dangerous, and I figured with a little elbow grease i could widen this hole instead.
I 'snaked' the clay and weaseled it in. What I discovered was that none of my tools small enough to fit in the hole had a base big enough to securely tamp the clay. Never discouraged, I figured I could drip in some white glue to solidify it. Well that was a mistake. It never dried. I ended up having to drain it all out and hack into the cone with a razor saw anyway.
More to come!
") and you can forget about epoxy pot life (ther aint any). :y:
and you can forget about epoxy pot life (ther aint any). :y: